How to Draw a Nutcracker: Easy 10-Step Guide for Kids
Bring the magic of the holidays to your sketchbook with this friendly nutcracker tutorial. Designed for ages 5 and up, this project uses basic geometric shapes to build a festive character. Grab your pencil, eraser, and markers to start creating your own toy soldier today.
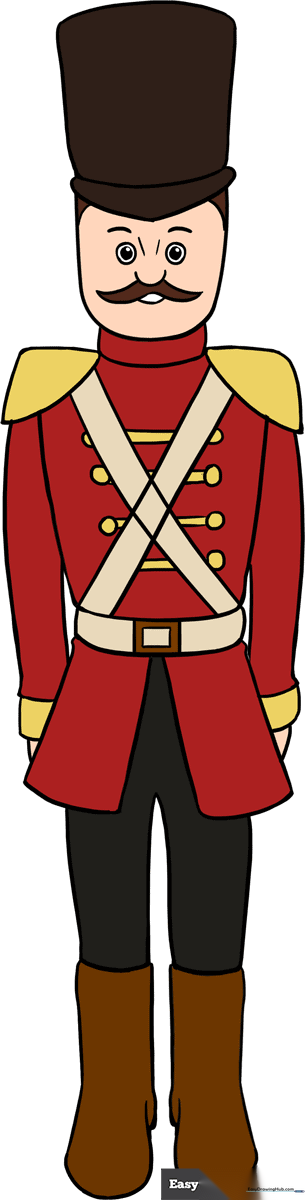
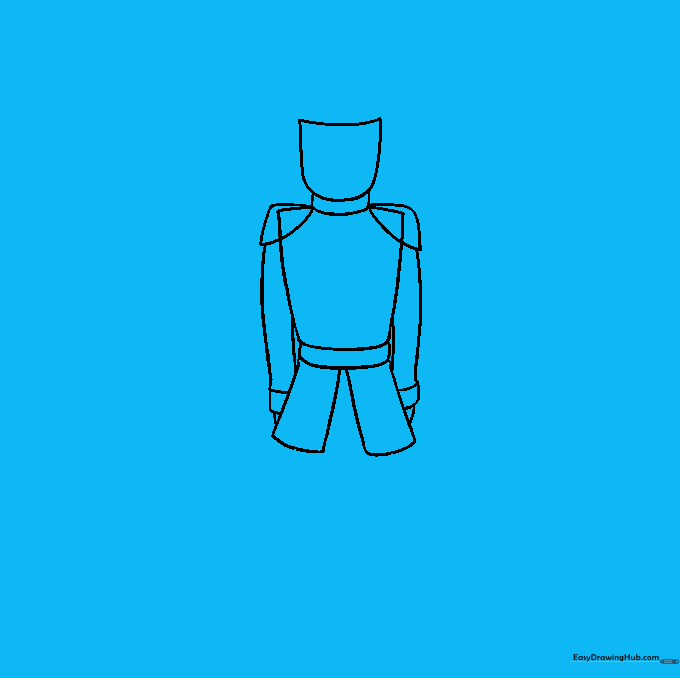
🎯 Final Result
Step-by-Step Instructions
Sketching the Face
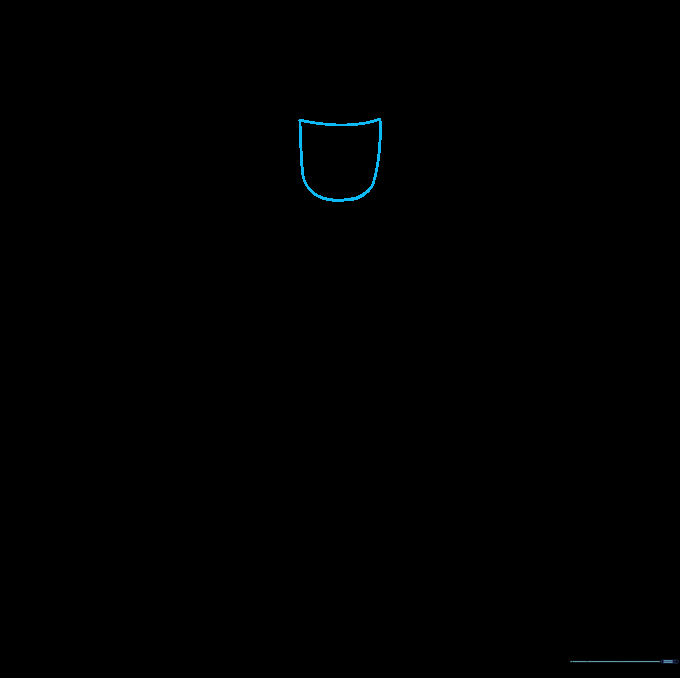
Draw a shape resembling the letter 'D' with the rounded side facing down. Teacher's Tip: Keep this shape light and airy; it serves as the foundation for your nutcracker's head.
Forming the Collar and Torso
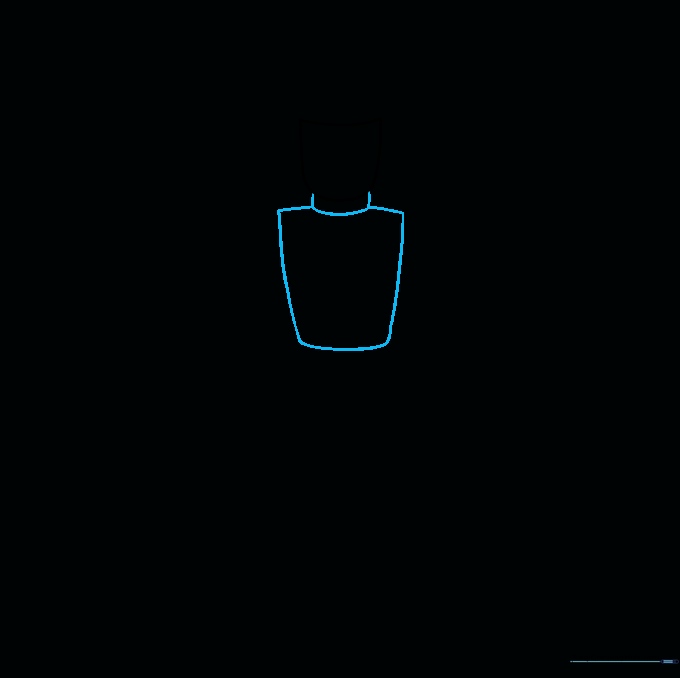
Draw a small, rounded rectangle under the face for the collar, then add four curved lines to create the rectangular torso. Teacher's Tip: Ensure the torso is centered beneath the head for a balanced look.
Adding the Belt and Coat Tails
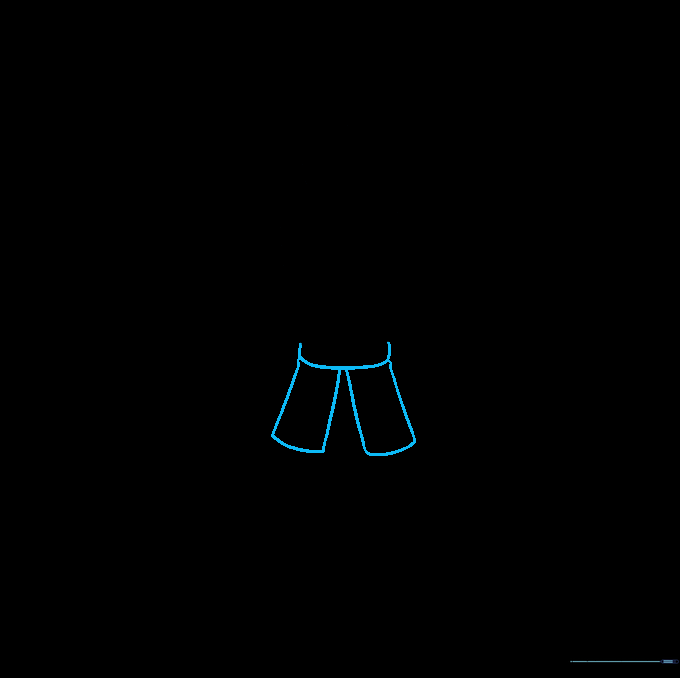
Add a flattened, rounded shape for the belt, and two slanted rectangles below it for the coat tails. Teacher's Tip: Slanting the coat tails outward gives your nutcracker a sense of movement.
Shoulders and Arms
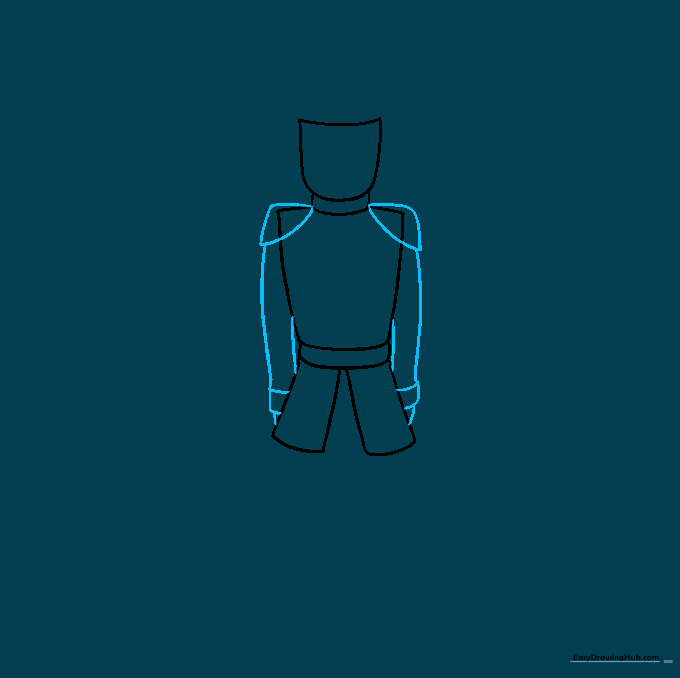
Draw two curved triangles on the shoulders for epaulets, then add the arms with rectangular cuffs. Teacher's Tip: Use short, curved lines for the hands to keep them looking soft and simple.
Drawing the Legs
Sketch the legs using an upside-down 'U' shape. Teacher's Tip: Keep the legs relatively short to maintain the classic, stocky nutcracker proportions.
Adding Boots
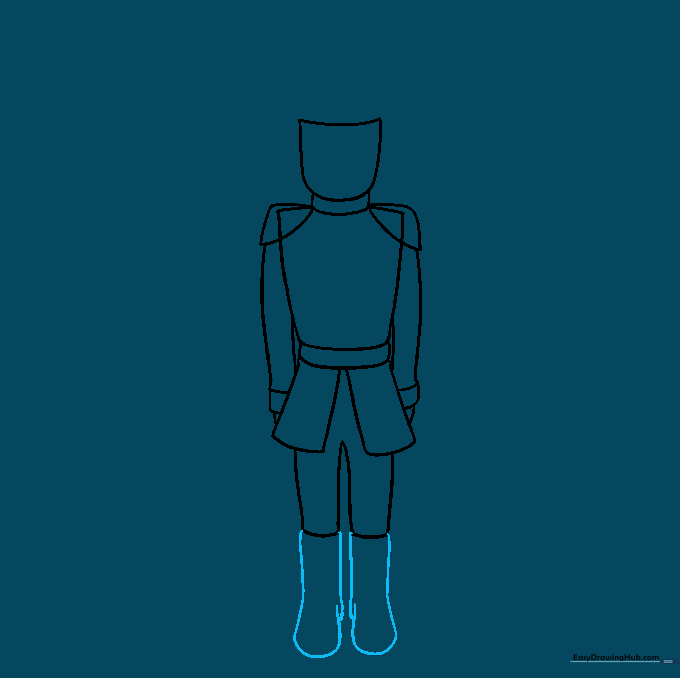
Draw the boots with a long, curved line, adding a small crease for the heel. Teacher's Tip: A slight curve in the boot line makes them look like they are standing firmly on the ground.
Cleaning the Sketch

Carefully erase any overlapping guide lines to reveal the clean outline of your nutcracker. Teacher's Tip: Use a kneaded eraser if you have one; it’s gentler on the paper.
Hat and Uniform Details
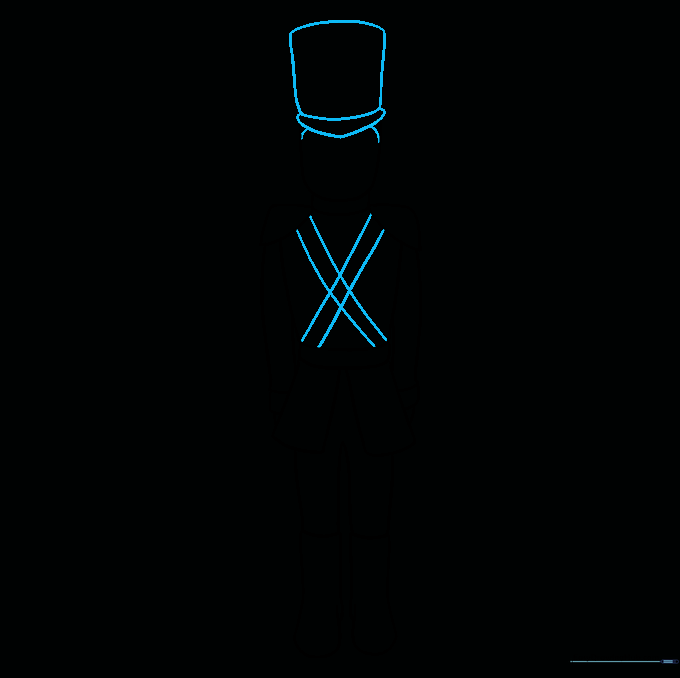
Add the hat brim and a square top. Draw diagonal lines across the chest for the uniform. Teacher's Tip: Use a ruler if you find it hard to keep your diagonal lines straight.
Facial Features
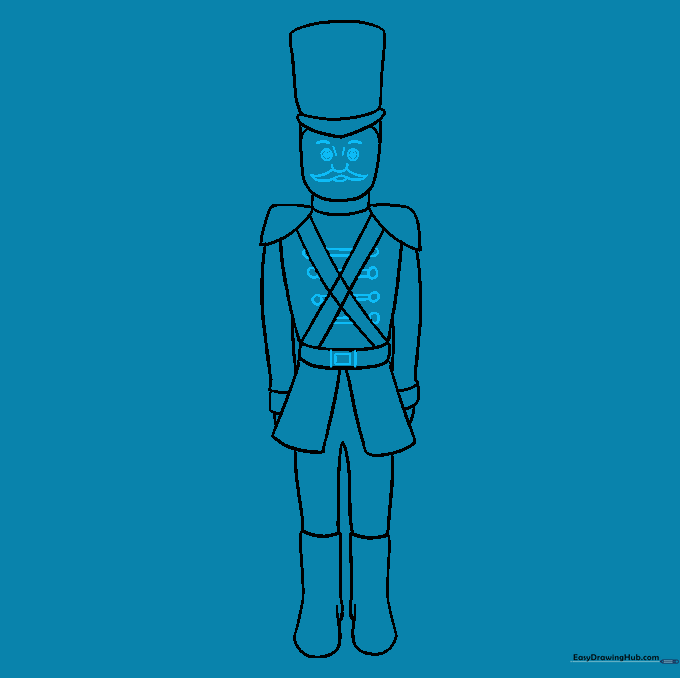
Draw the eyes, eyebrows, nose, and a pointy mustache. Add a buckle to the belt. Teacher's Tip: The mustache is key to the 'nutcracker' look—make it nice and sharp!
Adding Color
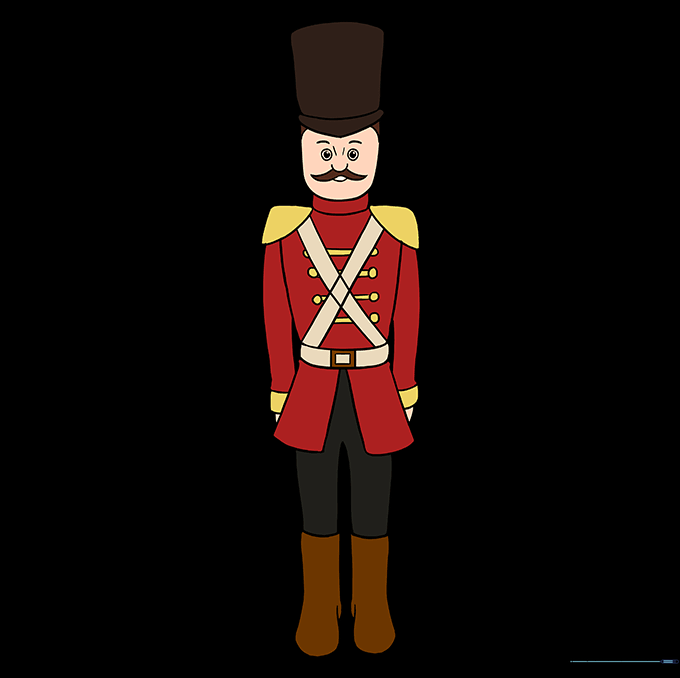
Bring your nutcracker to life with color! Traditional red, gold, and black work well, but feel free to be creative. Teacher's Tip: Use bright colors to make your nutcracker pop off the page.
More Tutorials


