How to Draw a Nurse: Easy 10-Step Cartoon Guide
Celebrate our healthcare heroes by learning to draw a cartoon nurse! This project is perfect for artists ages 7 and up who want to practice character proportions and facial expressions. Grab your pencil, eraser, and paper, and let’s bring this character to life together.
🎯 Final Result

Step-by-Step Instructions
Step 1: Sketching the Face and Eye

Start by sketching the nurse's face. Use an 'L' shaped line for the nose. Beside it, draw three curved lines to form a square, anime-style eye. Add a circle for the pupil and two curved lines above for the eyelid and brow. Teacher's Tip: Keep your pencil pressure light so you can easily adjust the eye placement if needed.
Step 2: Adding the Second Eye and Smile
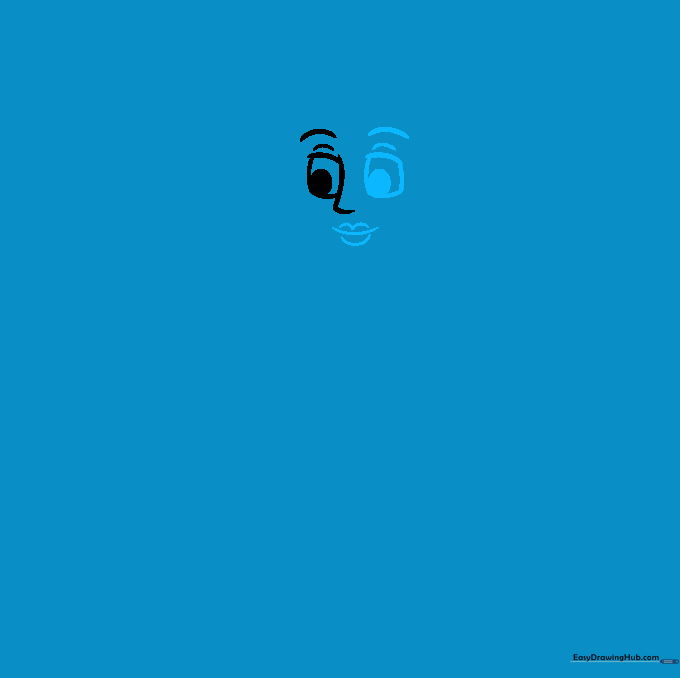
Draw the second eye using the same square-shaped technique as the first. Once the eyes are balanced, stack three gentle curved lines to create a warm, smiling mouth. Teacher's Tip: Ensure the mouth is centered horizontally between the eyes for a natural look.
Step 3: Defining the Face Shape

Use overlapping curved lines to outline the contours of the face, including the hair, temples, cheeks, chin, and ears. Teacher's Tip: Try to draw one continuous, smooth line for the chin to make the character look more professional.
Step 4: Drawing the Nurse's Cap
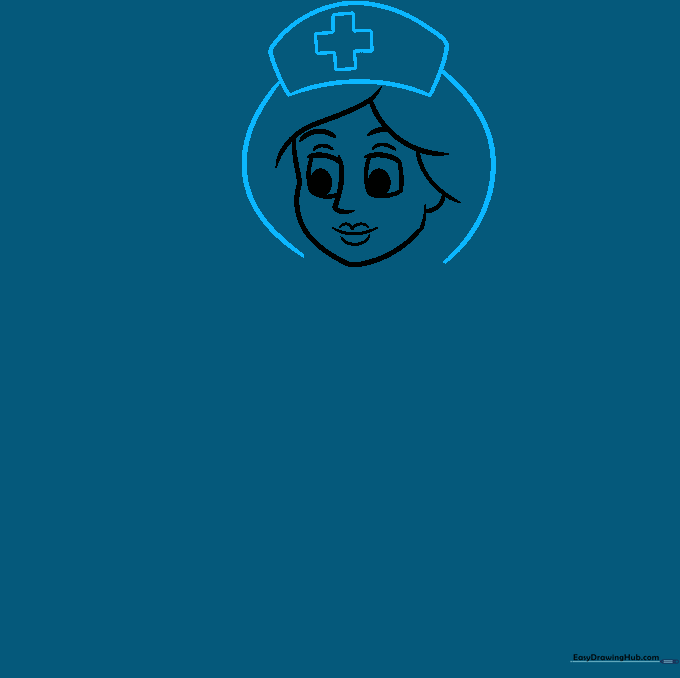
Sketch the nurse's cap by enclosing a four-sided shape on top of the head. Add a cross symbol in the center using short, straight lines. Finish by drawing curved lines on the sides to define the hair. Teacher's Tip: The cross is the iconic symbol of a nurse, so make sure it's centered clearly.
Step 5: Adding the Uniform Collar
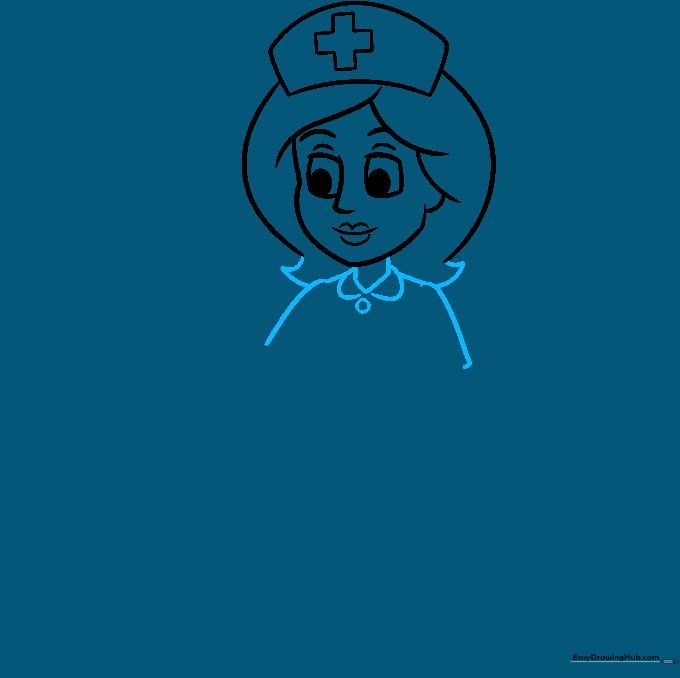
Draw two short lines for the neck and connect them to the torso. Add 'U' shaped lines for the collar and a small circle for a button. Extend lines for the shoulders and finish the hair with upturned curls. Teacher's Tip: Keep the collar lines symmetrical to give the uniform a neat, tidy appearance.
Step 6: Drawing the Clipboard

Outline the lower arm and hand. Then, draw a rectangle partially tucked behind the arm to represent the clipboard. Teacher's Tip: Use a ruler if you want the clipboard to look perfectly straight, or freehand it for a more organic, cartoon style.
Step 7: Detailing the Uniform
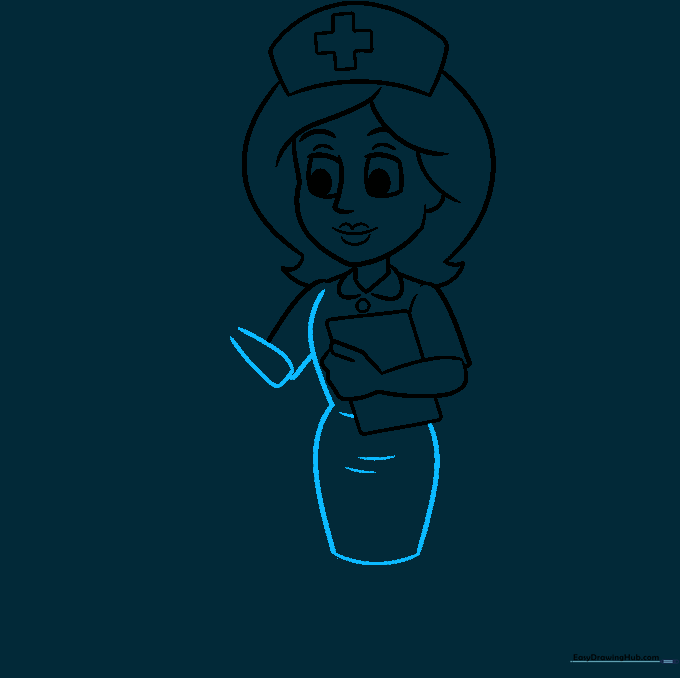
Use curved lines to define the torso and skirt. Add short horizontal lines to the fabric to create a textured, realistic look. Teacher's Tip: These small lines suggest folds in the fabric, making your drawing look more three-dimensional.
Step 8: Adding the Thermometer
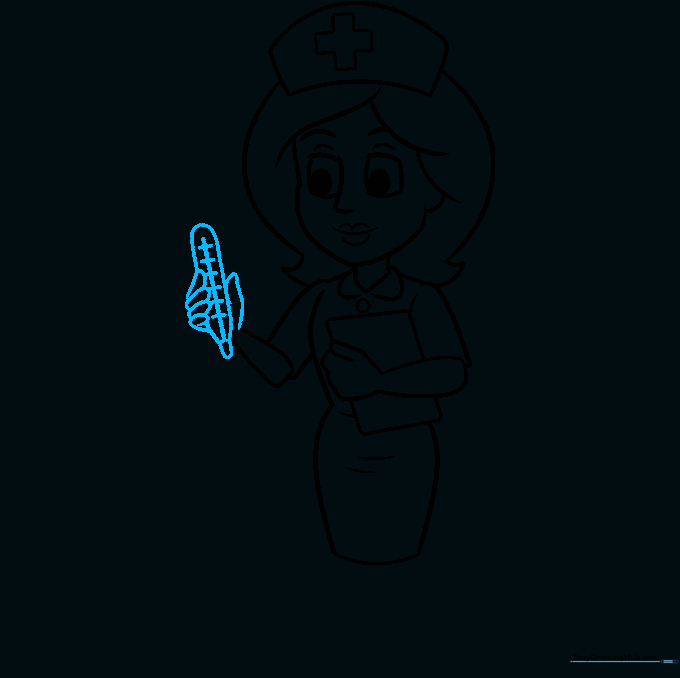
Draw an irregular rounded shape for the thermometer. Add a band at the bottom and a line running through the center with small cross-hatch marks. Sketch the thumb and finger holding it. Teacher's Tip: Keep the thermometer small so it doesn't distract from the nurse's face.
Step 9: Drawing the Legs and Shoes
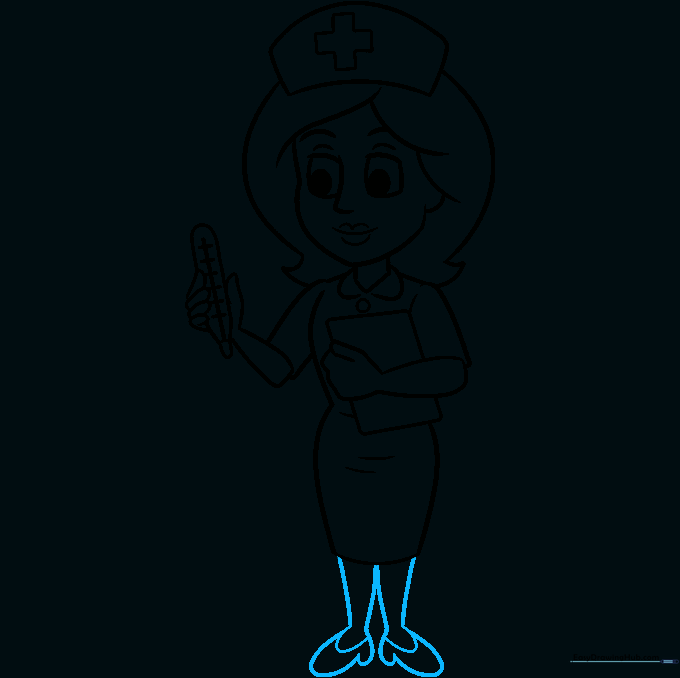
Draw pairs of curved lines for the legs. Finish the feet with 'U' shaped lines to create the shoes, including a small heel. Teacher's Tip: Ensure the legs are proportional to the torso so the character looks balanced.
Step 10: Coloring Your Nurse

Time to color! While traditional nurses wore white, feel free to use bright, cheerful colors for the scrubs. You can also add a stethoscope around the neck to complete the look. Teacher's Tip: Use colored pencils to add soft shading to the folds of the uniform for a professional finish.
More Tutorials


