How to Draw a Numbat: Easy 10-Step Guide for Kids
Ready to draw a unique Australian marsupial? This tutorial is perfect for ages 5 and up, requiring only a pencil, paper, and an eraser. Follow these steps to build your numbat from simple shapes into a detailed, furry friend.
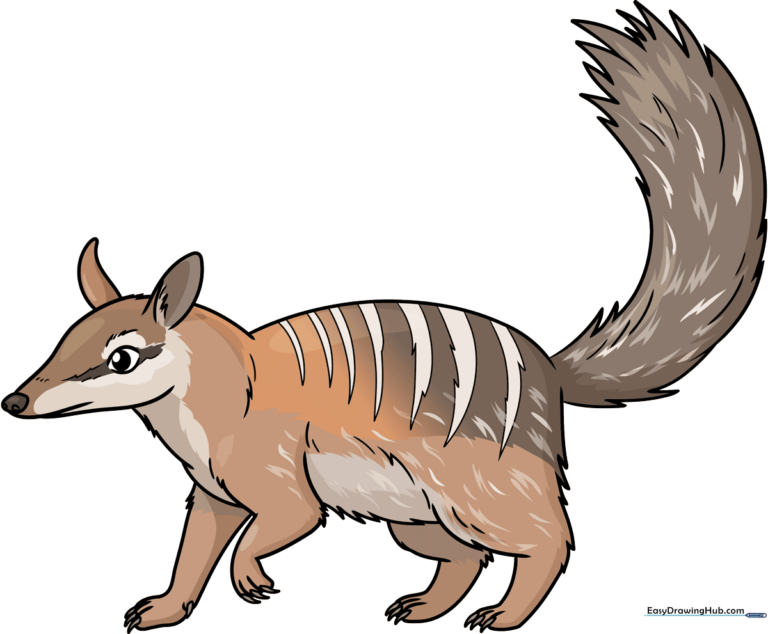
🎯 Final Result
Step-by-Step Instructions
Step 1: Sketching the Snout and Eye
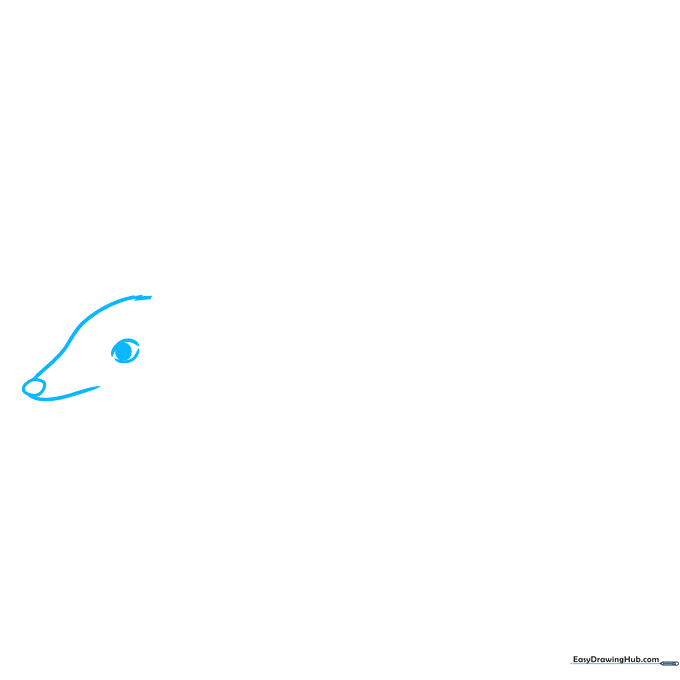
Start by drawing an irregular round shape for the nose, then extend curved lines to form the snout. Add a small, incomplete circle for the eye with a dark pupil. Teacher's Tip: Keep your pencil lines light so you can easily adjust the shape of the snout if needed.
Step 2: Adding Ears and Brow
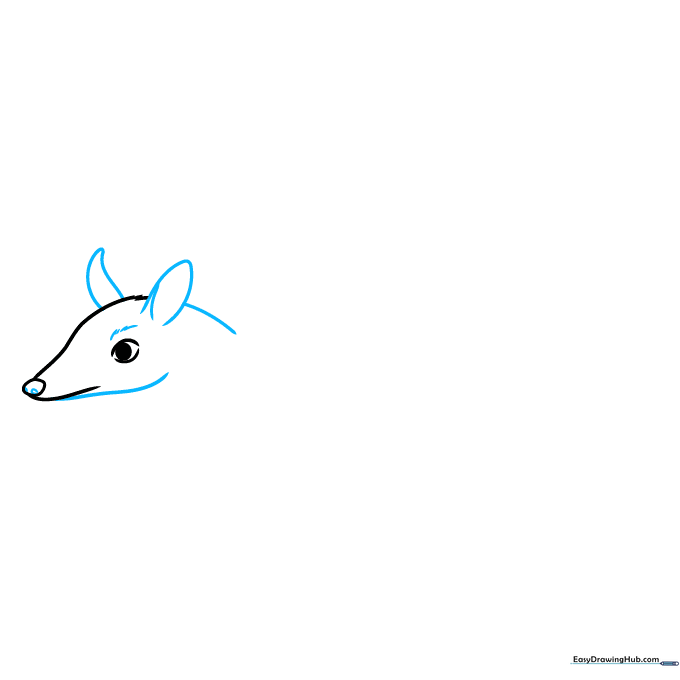
Draw two curved ears extending from the top of the head. Add two small circles inside the nose for nostrils and a jagged brow line above the eye. Teacher's Tip: Numbat ears are quite rounded; try to make them look like soft, curved petals.
Step 3: Defining the Cheeks and Neck
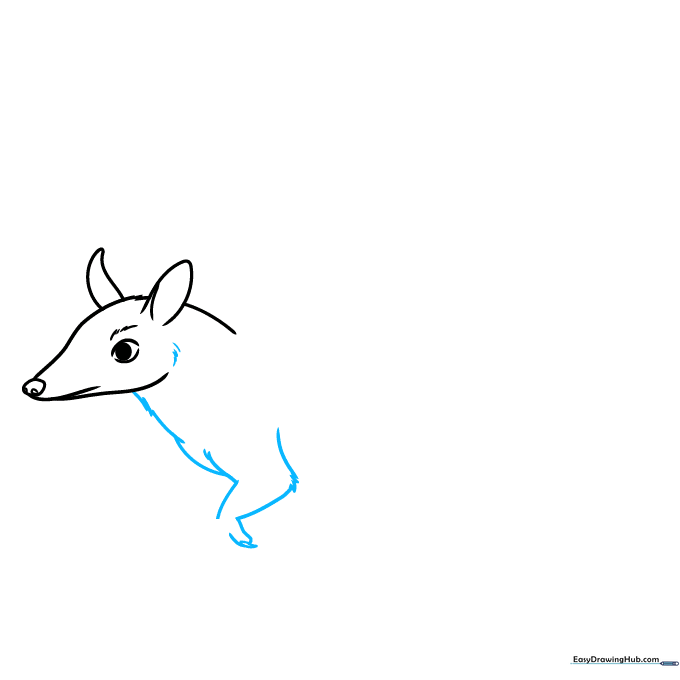
Use short, quick strokes to create a furry texture on the cheeks. Connect these to the neck and chest using jagged lines. Teacher's Tip: Use a 'zigzag' motion with your pencil to mimic the look of soft fur.
Step 4: Drawing the Front Paws
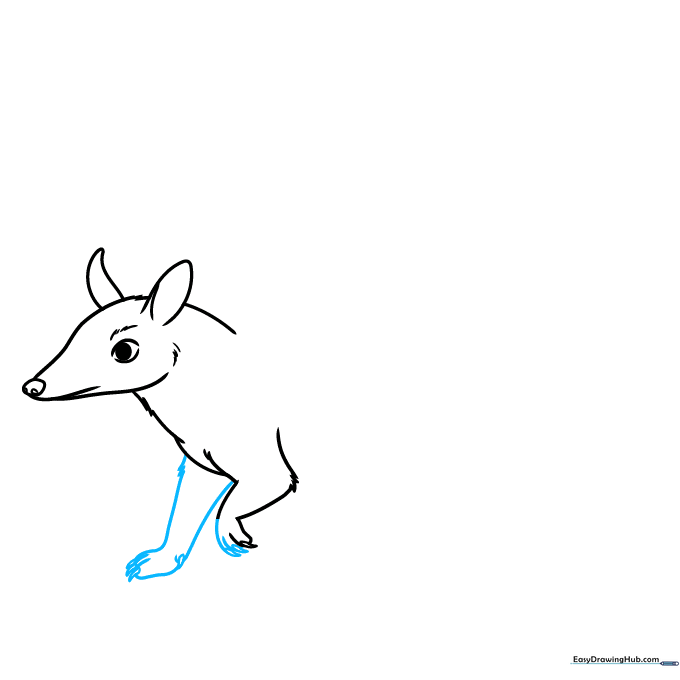
Draw the front legs and paws, finishing each toe with a small teardrop-shaped claw. Teacher's Tip: Numbats have strong claws for digging; make sure the teardrop shapes look sharp and distinct.
Step 5: Shaping the Back and Belly
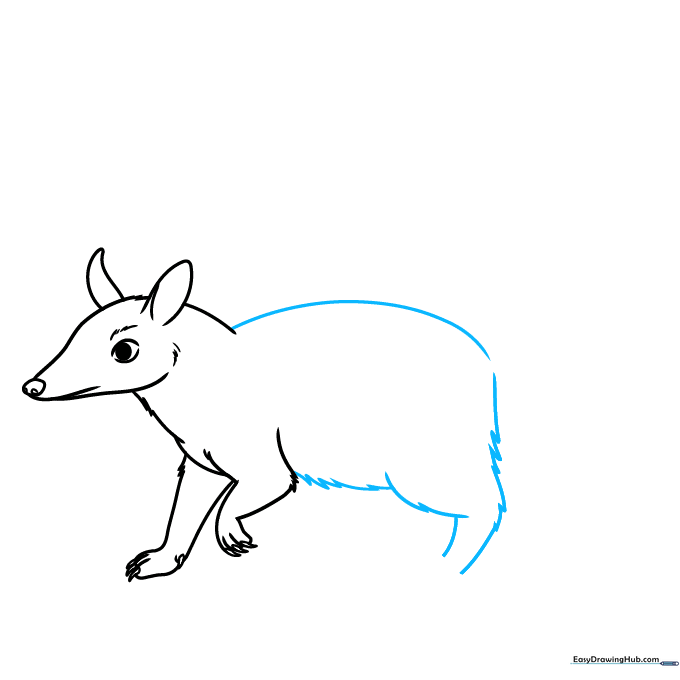
Extend a long, smooth curve from the neck to create the back. Use jagged lines to suggest the belly and the start of the rear leg. Teacher's Tip: Keep the back line fluid to show the numbat's natural posture.
Step 6: Adding the Rear Legs
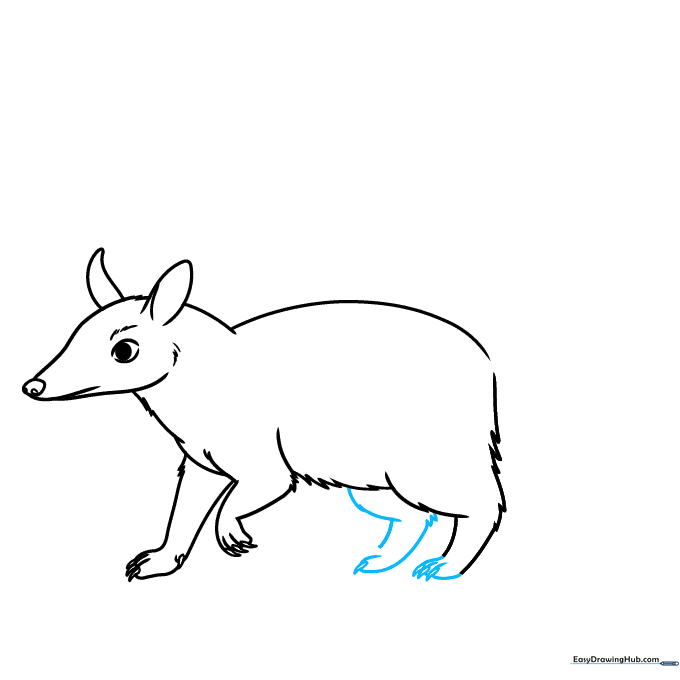
Draw the rear legs using the same furry, jagged line technique. Ensure the legs look sturdy. Teacher's Tip: Focus on the connection point where the leg meets the body to keep the drawing balanced.
Step 7: Drawing the Bushy Tail
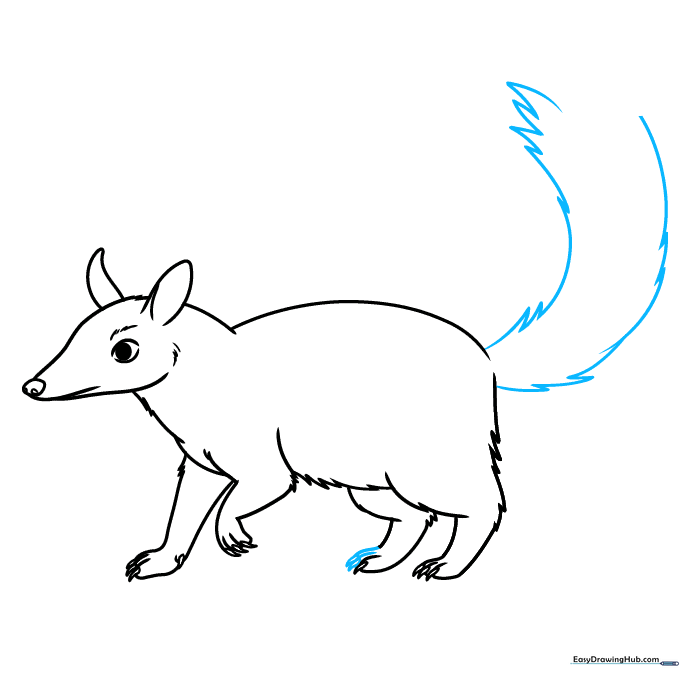
Complete the rear paws with claws, then draw the large, bushy tail. Use long, sweeping curved lines that meet at jagged points. Teacher's Tip: The tail is a signature feature of the numbat—make it nice and big!
Step 8: Adding Back Stripes
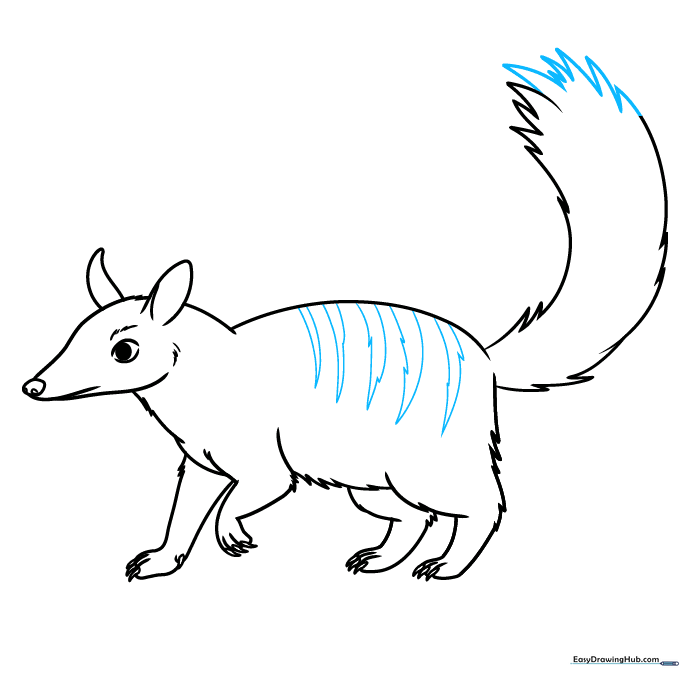
Refine the tail with more jagged lines and add the numbat's iconic stripes across its back. Teacher's Tip: Space the stripes out evenly to give the numbat its characteristic look.
Step 9: Final Fur Details
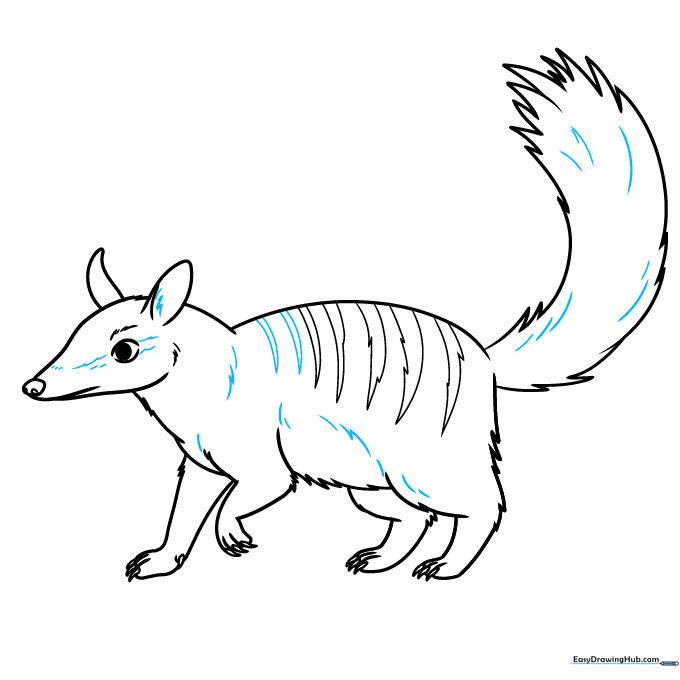
Go over your drawing and add short, light curved lines throughout the body to enhance the fur texture. Teacher's Tip: Less is more! A few well-placed lines look better than too many messy ones.
Step 10: Bring Your Numbat to Life with Color
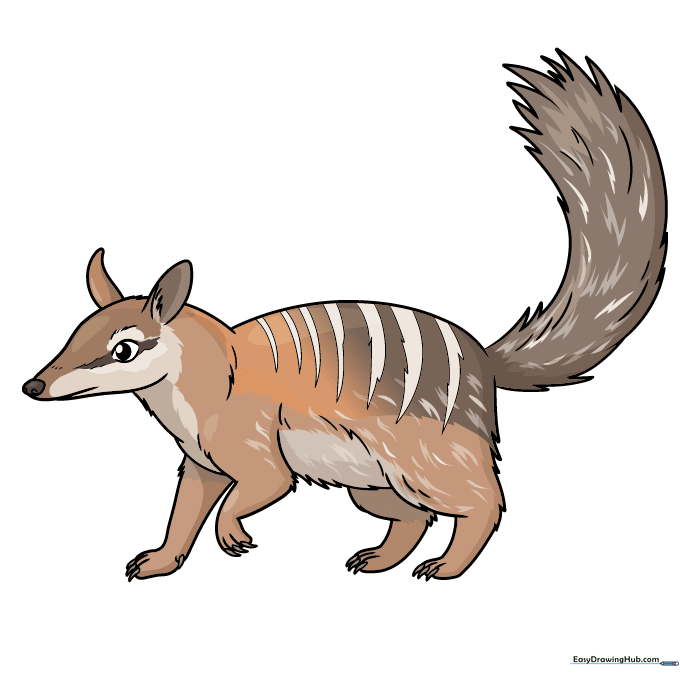
Your outline is complete! Use shades of reddish-brown, gray, and white to color your numbat. Teacher's Tip: Use light brown for the main body and white for the stripes to make them pop!
More Tutorials


