How to Draw a Night Sky: Easy 10-Step Guide for Kids
Create a magical starlit scene with this beginner-friendly drawing guide, perfect for artists ages 5 and up. You only need a pencil, an eraser, and a piece of paper to get started. By the end of this lesson, you will master drawing atmospheric clouds and twinkling stars to build your own nighttime landscape.
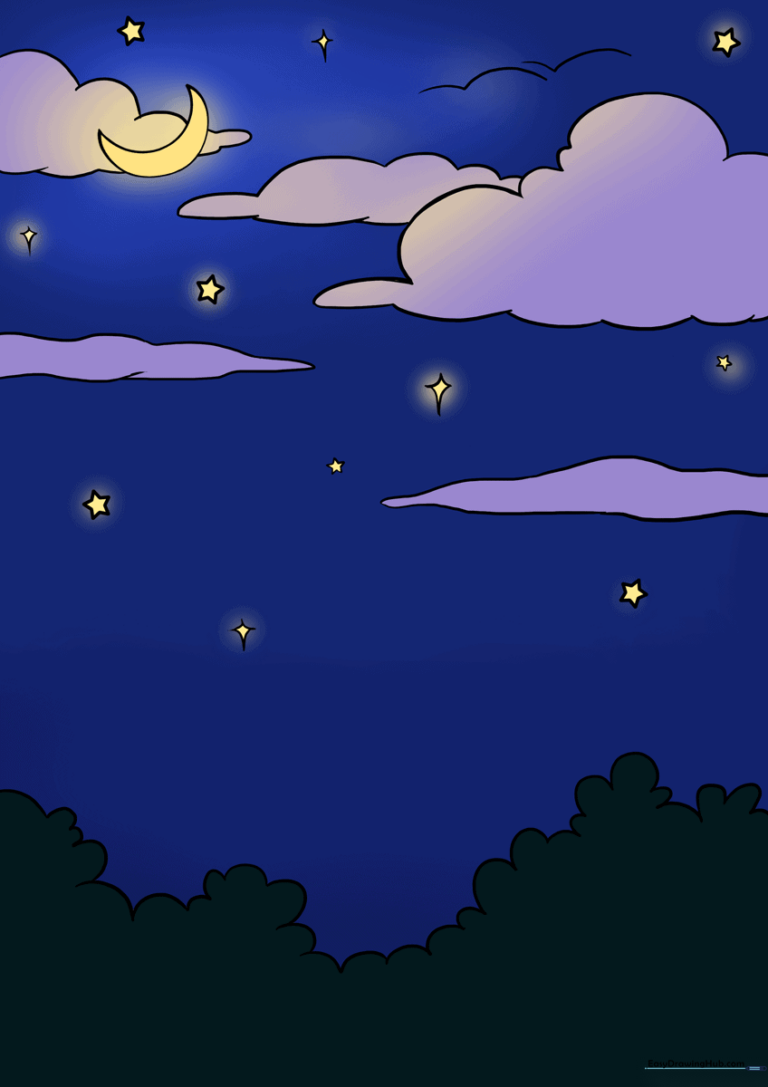
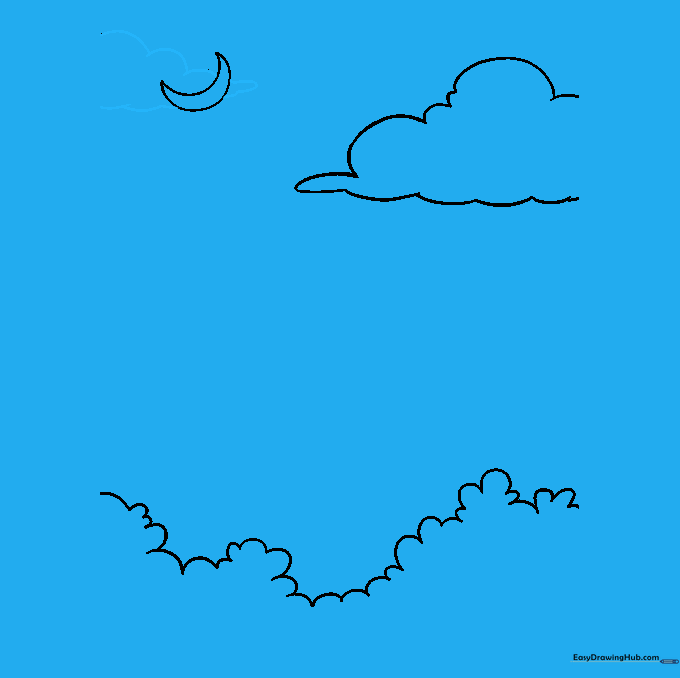
🎯 Final Result
Step-by-Step Instructions
Step 1: Sketching the Tree Line
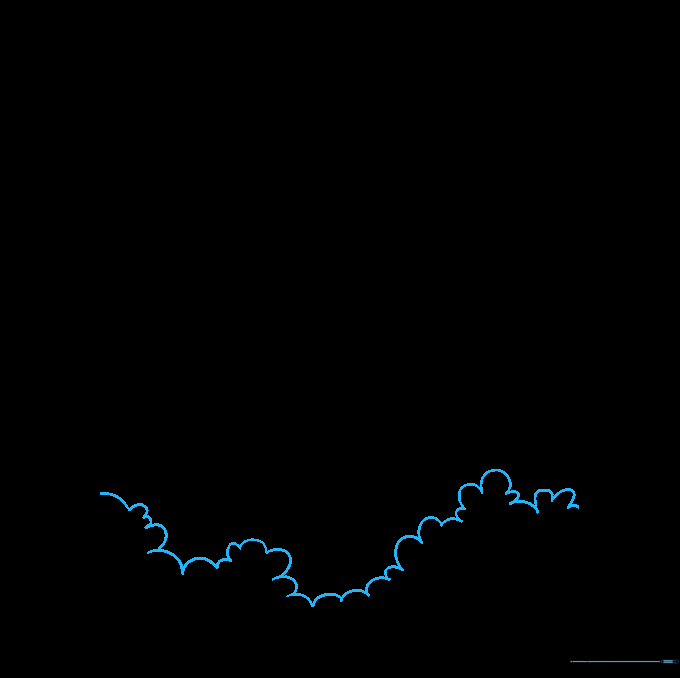
Start by drawing the silhouette of a tree line at the bottom of your page. Use short, connected, wavy lines to create a jagged edge. Teacher's Tip: Keep your pencil pressure light so you can easily erase any overlapping lines later.
Step 2: Drawing the Crescent Moon
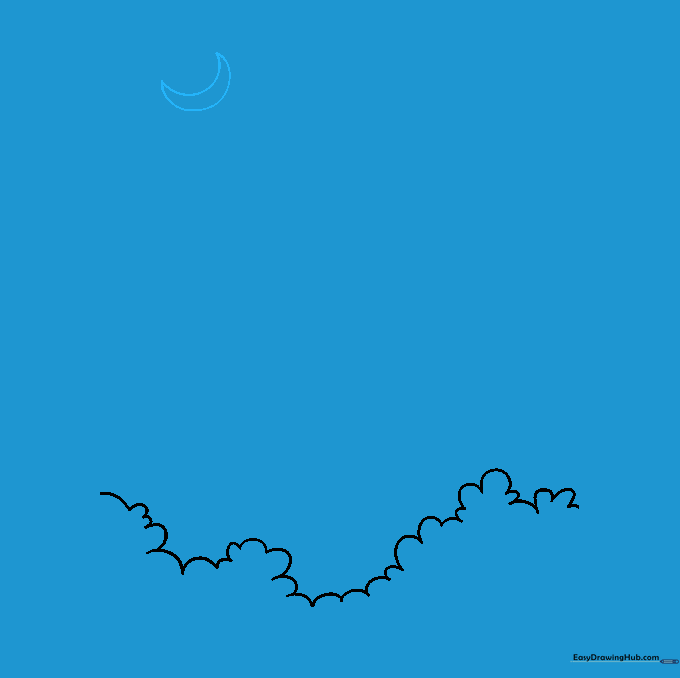
Draw a crescent moon in the upper portion of your sky. Use two curved 'C' shaped lines that meet at sharp points. Teacher's Tip: Try drawing the inner curve slightly thinner than the outer curve to give the moon a realistic glow.
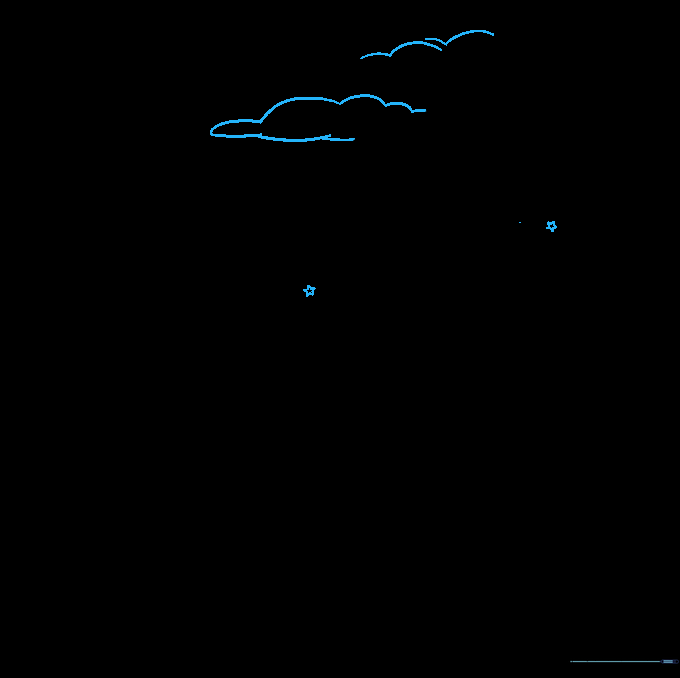
Step 3: Adding the First Cloud
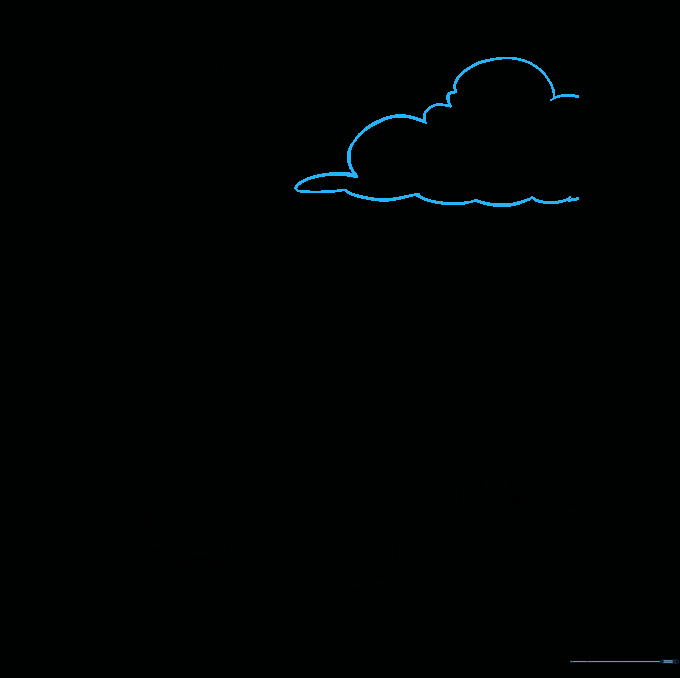
Draw a cloud by connecting several curved lines of varying lengths. Keep the bottom of the cloud flatter and the top nice and fluffy. Teacher's Tip: Don't worry about making it perfect; clouds are naturally irregular shapes!
Step 4: Layering Clouds Behind the Moon
Draw another cloud partially behind the moon to create depth. Use overlapping curved lines to make it look like the moon is peeking through the mist. Teacher's Tip: Erase the lines of the moon that are covered by the cloud to make it look like it's in the background.
Step 5: Adding More Cloud Texture
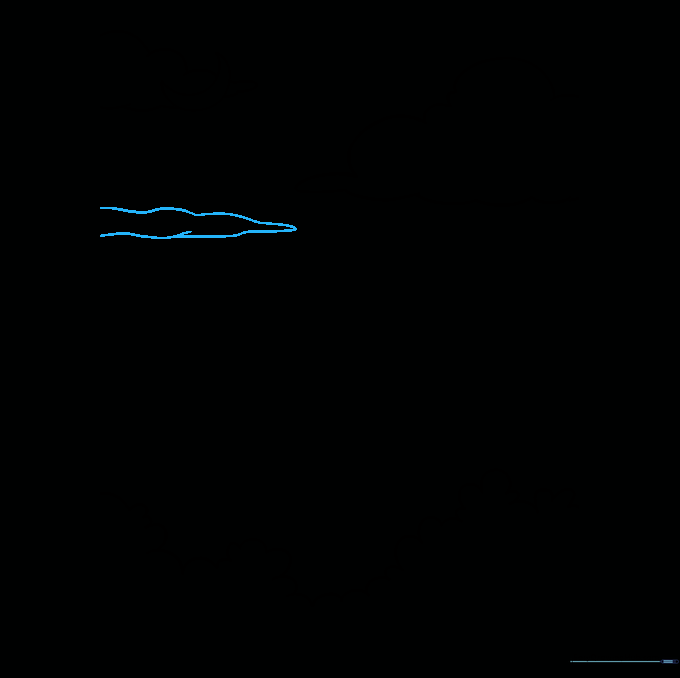
Add another cloud to the empty space in your sky using connected, curved lines. Vary the size of the curves to make the cloud look natural. Teacher's Tip: Use short, quick strokes to give the edges a softer, puffier look.
Step 6: Filling the Sky
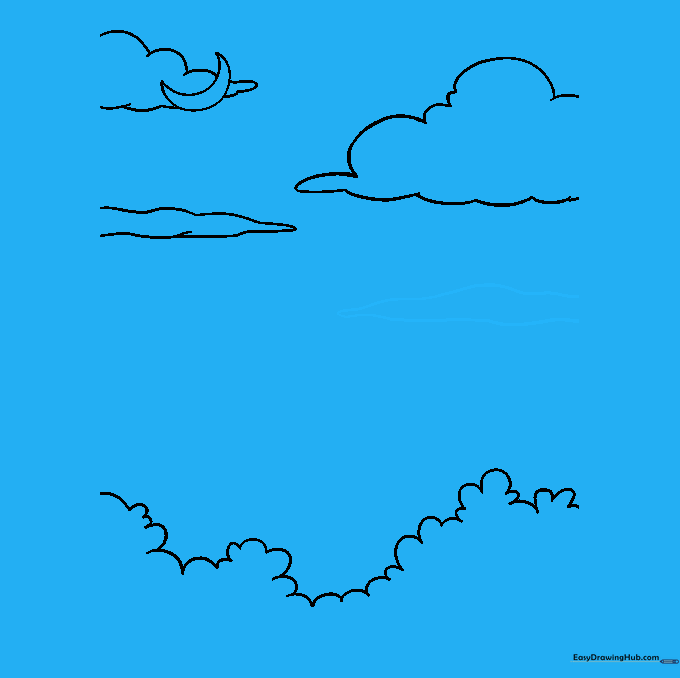
Continue filling your sky with more cloud shapes. Don't be afraid to let them touch or overlap slightly. Teacher's Tip: Think about where the wind might be blowing and draw your clouds in a similar direction.
Step 7: Drawing Classic Stars
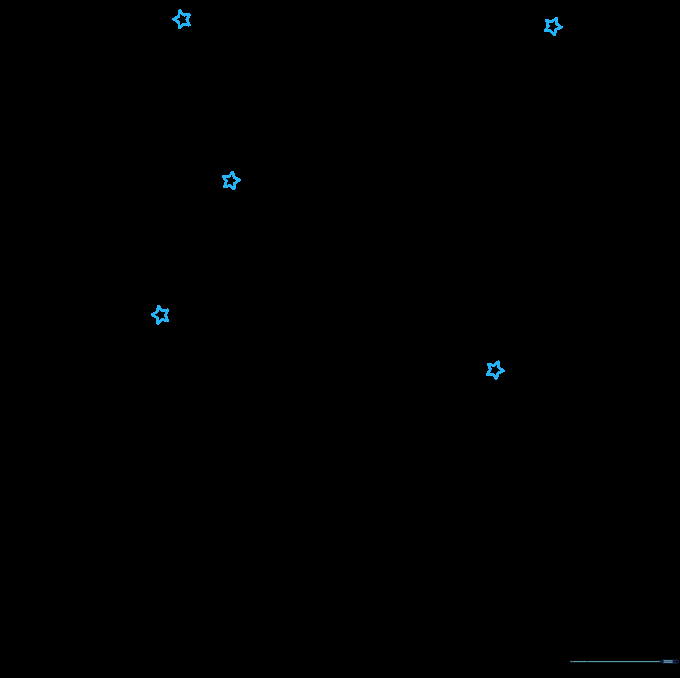
Time to add some sparkle! Draw five-pointed stars using ten short, straight lines. Teacher's Tip: If you find drawing stars tricky, try drawing a small 'X' first, then add a horizontal line through the middle.
Step 8: Adding Four-Pointed Stars
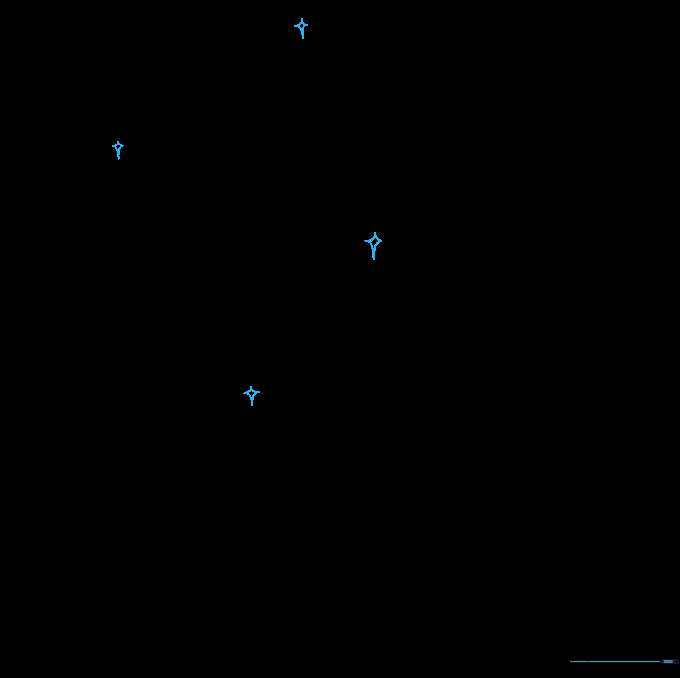
Add variety by drawing four-pointed stars. Notice how the bottom arm is slightly longer than the others to give it a 'twinkling' effect. Teacher's Tip: Place these near your five-pointed stars to create a sense of movement.
Step 9: Final Touches
Add any final clouds or tiny dots to represent distant stars. This is your chance to make the sky look as busy or as peaceful as you like. Teacher's Tip: Step back and look at your drawing to see if you need to balance out any empty spaces.
Step 10: Bringing It to Life with Color
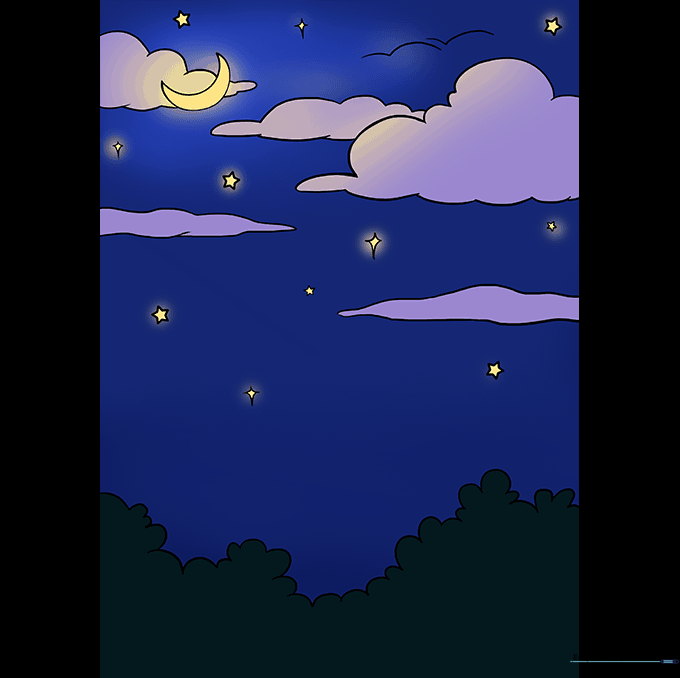
Color your sky using deep blues, purples, and blacks. Use a yellow or white pencil for the moon and stars to make them pop. Teacher's Tip: Try blending your colors for a smooth transition, and consider adding a forest or nocturnal animals like an owl to complete your masterpiece!
More Tutorials


