How to Draw a Neuron Diagram: Simple Biology Lesson
Bring biology to life with this simple, step-by-step guide to drawing a neuron. Designed for students and science enthusiasts, this activity helps you visualize the complex structure of a nerve cell using just a pencil and paper. Follow along to build your anatomical knowledge while creating a clear, accurate diagram.
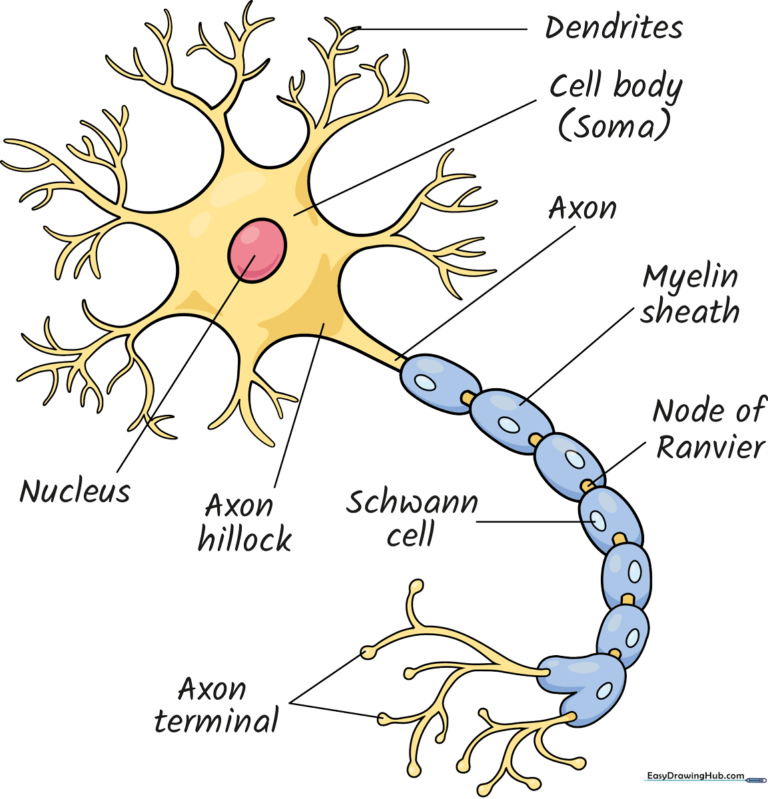
🎯 Final Result
Step-by-Step Instructions
Step 1: Sketching the Nucleus and Soma
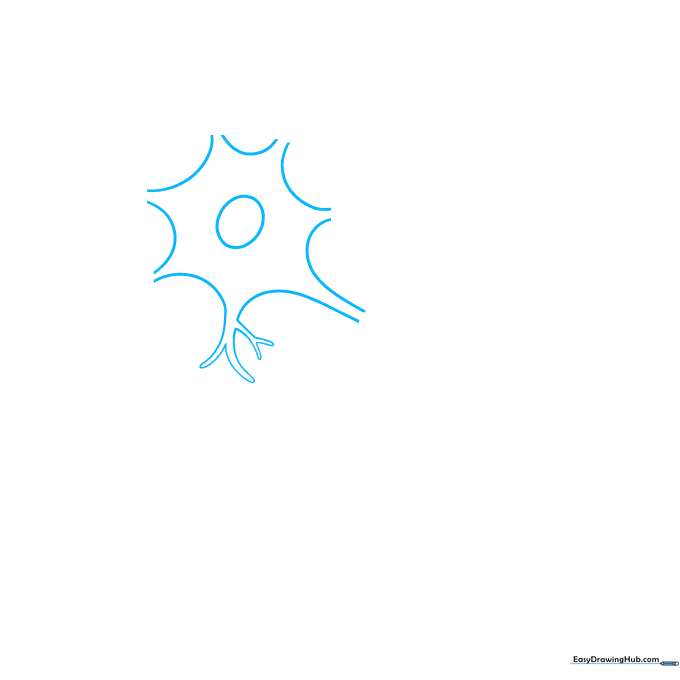
Start by drawing a small oval in the center of your page; this is the nucleus. Around it, draw a larger, irregular shape to represent the soma (cell body). Tip: Keep the lines for the soma slightly wavy to give it a natural, organic look.
Step 2: Adding Initial Dendrites
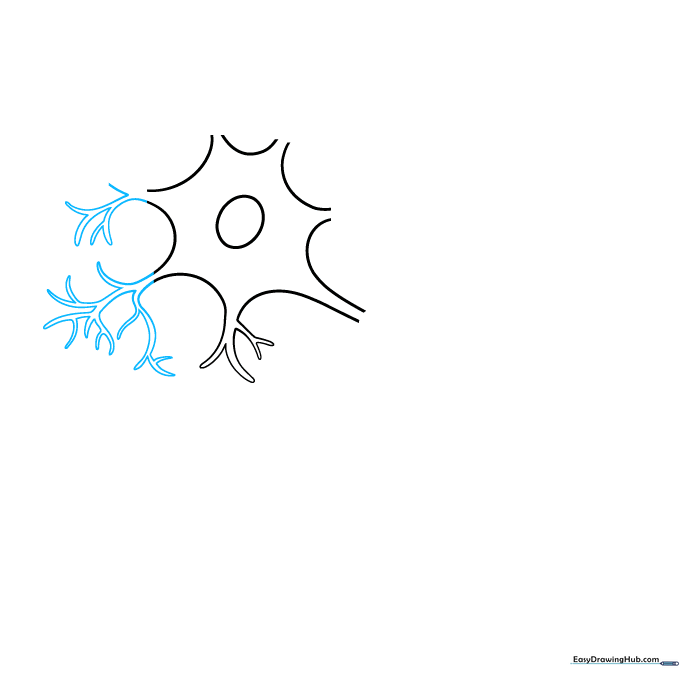
Draw branching 'Y' shapes extending from the edges of the soma. These are the dendrites. Tip: Vary the length of your branches to make the neuron look more realistic and less uniform.
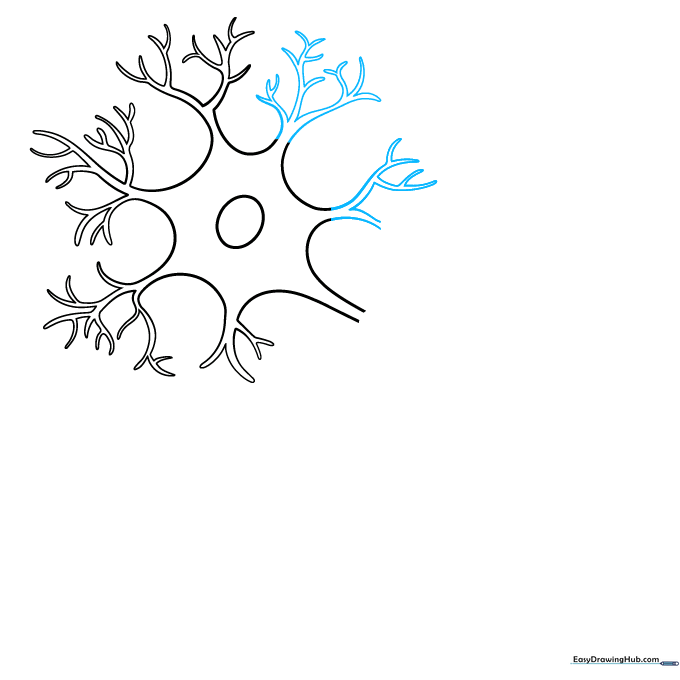
Step 3: Expanding the Dendritic Tree
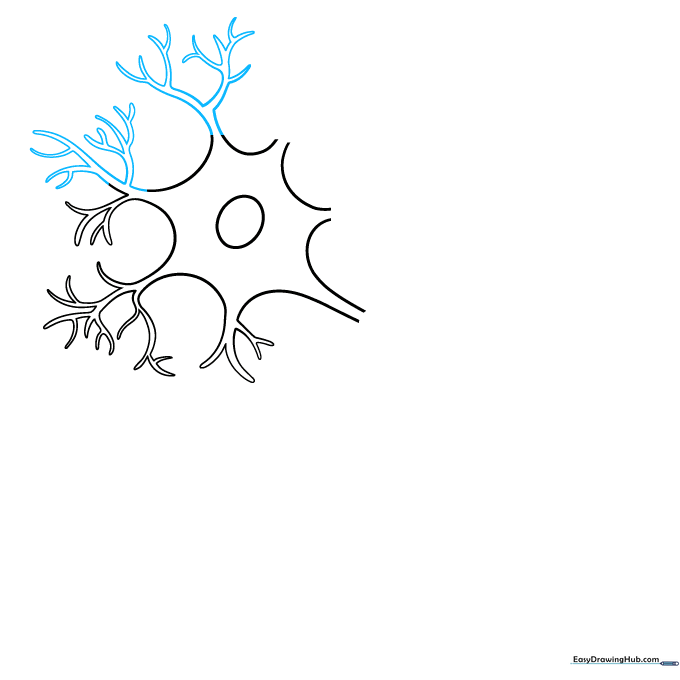
Continue adding more 'Y' shaped branches to fill the space around the soma. Tip: Don't worry about making them perfect; neurons have complex, chaotic branching patterns in nature.
Step 4: Refining the Dendrites
Connect any remaining gaps in your dendrite structure. Tip: Use your eraser to clean up any overlapping lines where the branches meet the soma for a crisp finish.
Step 5: Drawing the Myelin Sheath
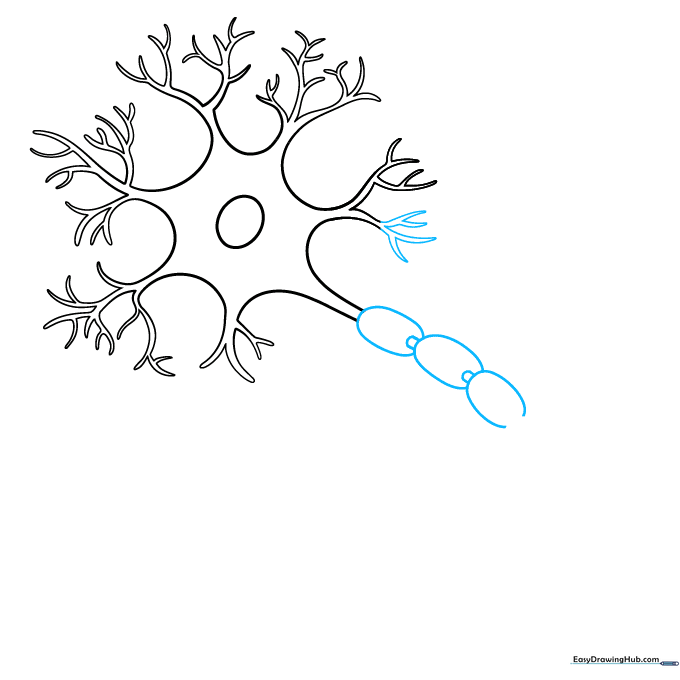
Extend a long line from the soma and draw a series of overlapping ovals along it. These represent the myelin sheath. Tip: Add small, thin rectangles between the ovals to represent the nodes of Ranvier.
Step 6: Forming the Axon Terminal
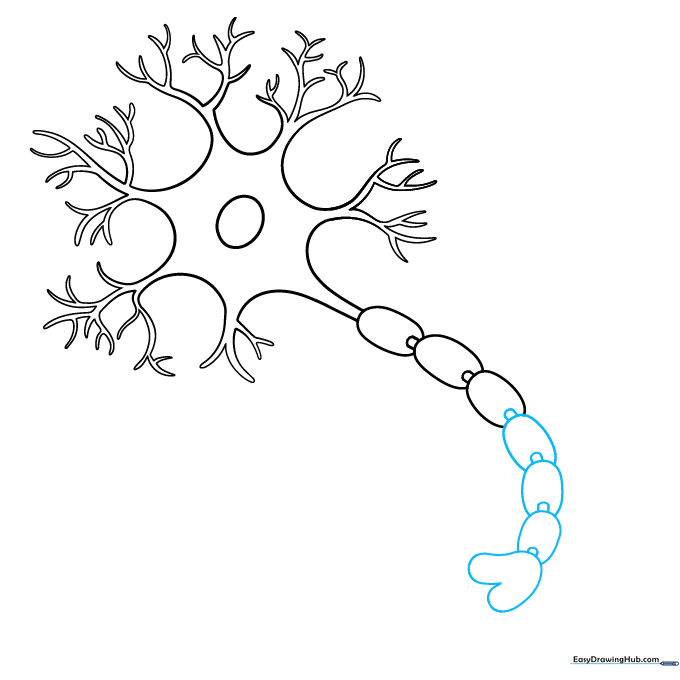
At the end of your axon, draw a rounded heart shape. This will serve as the base for the axon terminals. Tip: Keep this shape rounded to distinguish it from the sharp, pointed dendrites.
Step 7: Adding Axon Terminal Branches
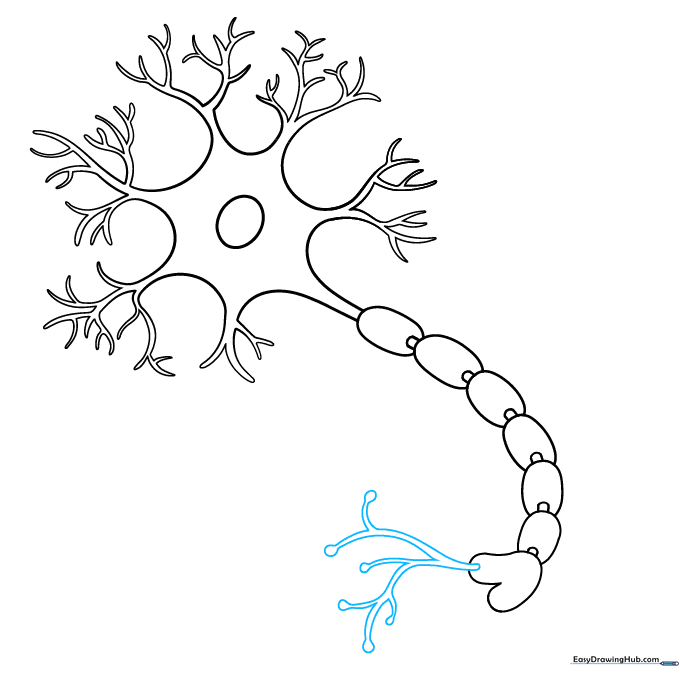
Draw small, branching 'Y' structures from the heart shape. End each branch with a small circle to represent the synaptic knobs. Tip: Use a steady hand to keep these small circles uniform in size.
Step 8: Detailing the Schwann Cells
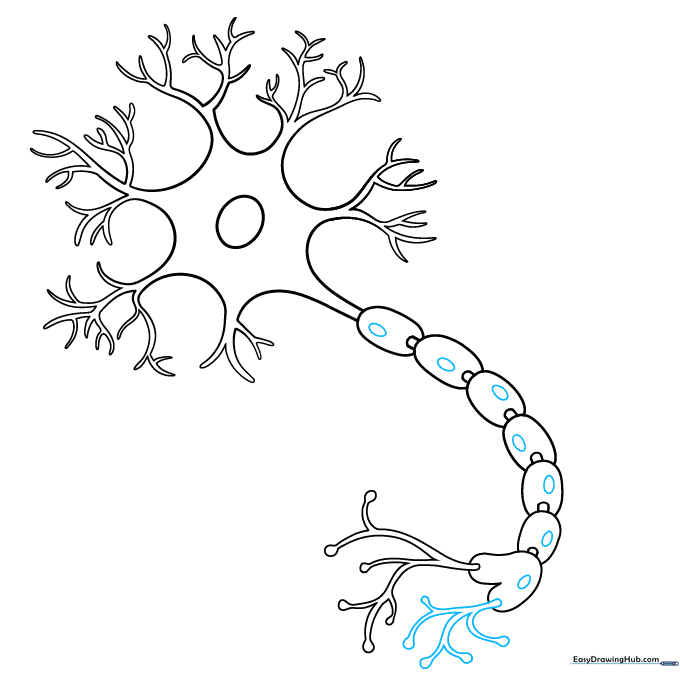
Draw a small oval inside each myelin sheath segment to represent the Schwann cells. Tip: These details are small, so use a sharp pencil for precision.
Step 9: Labeling Your Diagram
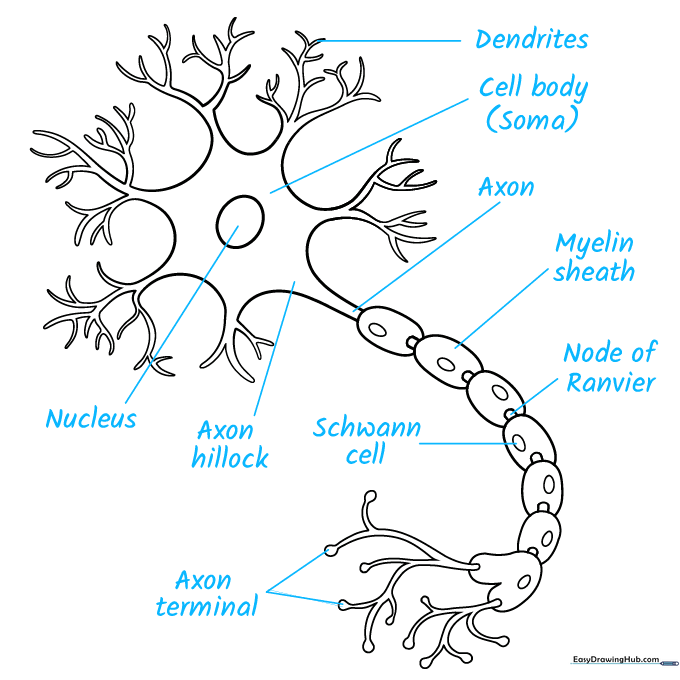
Draw straight lines from each part of your drawing and write the names: Dendrites, Soma, Axon, Myelin Sheath, Node of Ranvier, Axon Terminal, Schwann Cell, and Nucleus. Tip: Use a ruler to ensure your label lines are perfectly straight.
Step 10: Adding Color
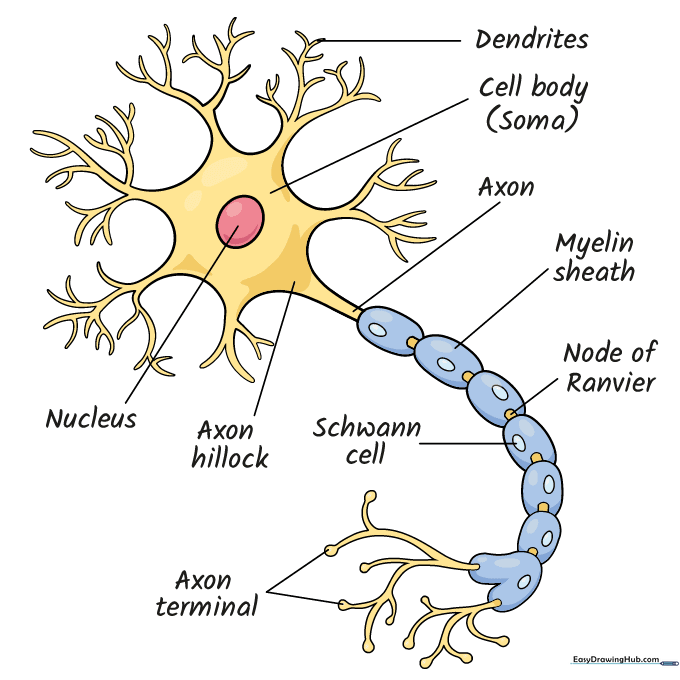
Bring your diagram to life with color! Use different shades to distinguish between the soma, axon, and dendrites. Tip: Using a color-coded key makes your diagram much easier to study for biology exams.
More Tutorials


