How to Draw a Mustache: Easy 10-Step Cartoon Guide
Bring your cartoon characters to life with this fun, beginner-friendly mustache drawing guide. Designed for artists ages 5 and up, this activity requires only a pencil, paper, and an eraser. Follow these steps to master facial proportions and add personality to your sketches.
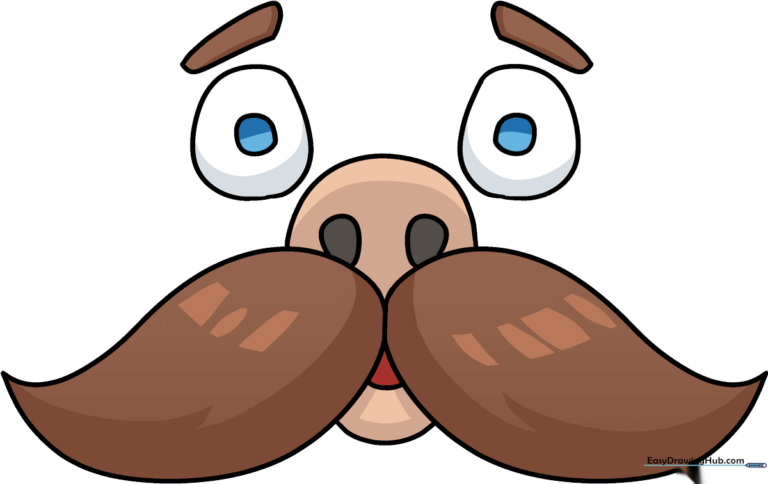
🎯 Final Result
Step-by-Step Instructions
Step 1: Sketching the Nose

Draw a simple, gentle curve to form the base of the nose. Teacher's Tip: Keep this line centered on your paper to ensure you have enough room for the mustache underneath.
Step 2: First Mustache Half
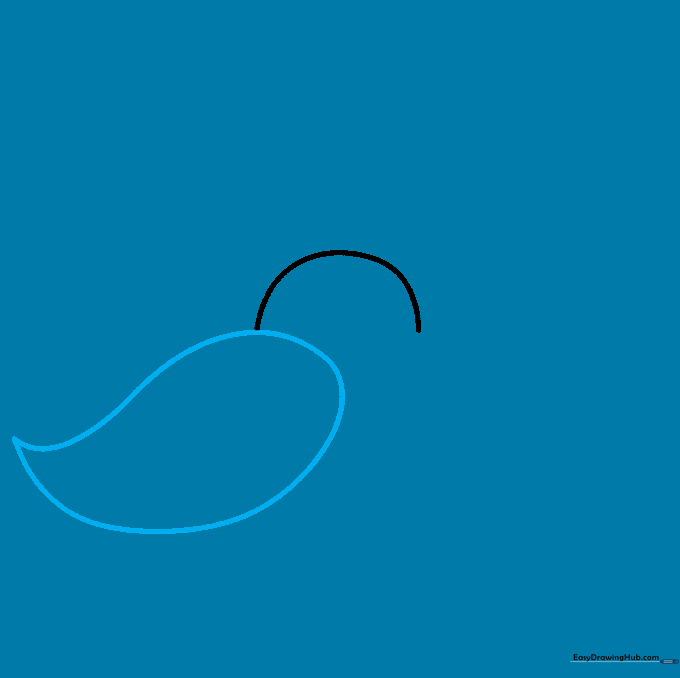
Draw a teardrop shape extending from the center point of the nose. Teacher's Tip: Think of this as a soft, rounded triangle; don't worry about making it perfect on the first try!
Step 3: Completing the Mustache
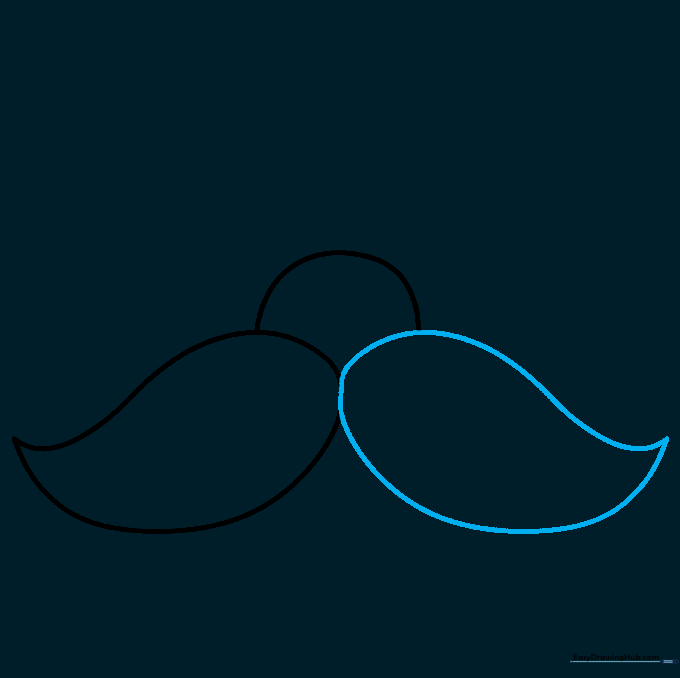
Mirror the first shape on the right side to complete the mustache. Teacher's Tip: Try to make both sides symmetrical for a balanced, classic cartoon look.
Step 4: Defining the Nostrils
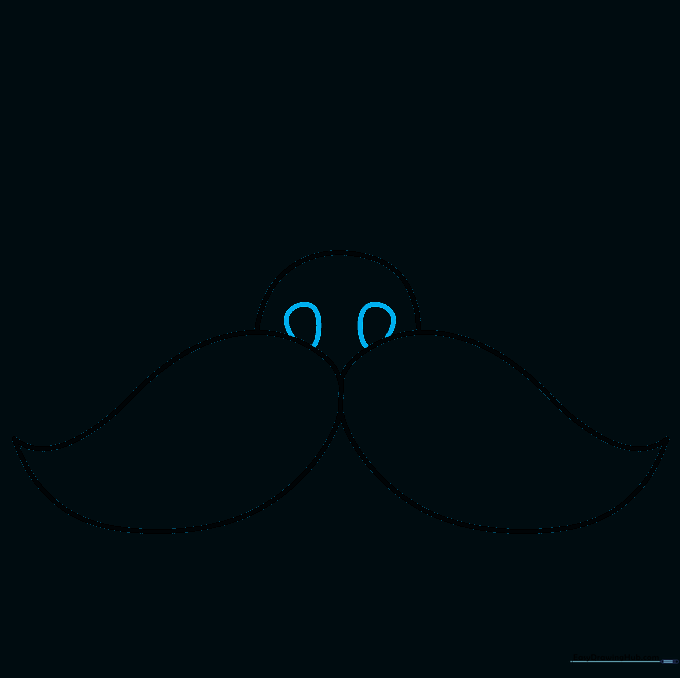
Add two small circles inside the nose area. Teacher's Tip: Keep these small and dark to give the nose depth and character.
Step 5: Drawing the Mouth

Sketch two curved lines beneath the mustache to form the mouth and lower lip. Teacher's Tip: A slight curve makes the character look like they are smiling!
Step 6: The First Eye
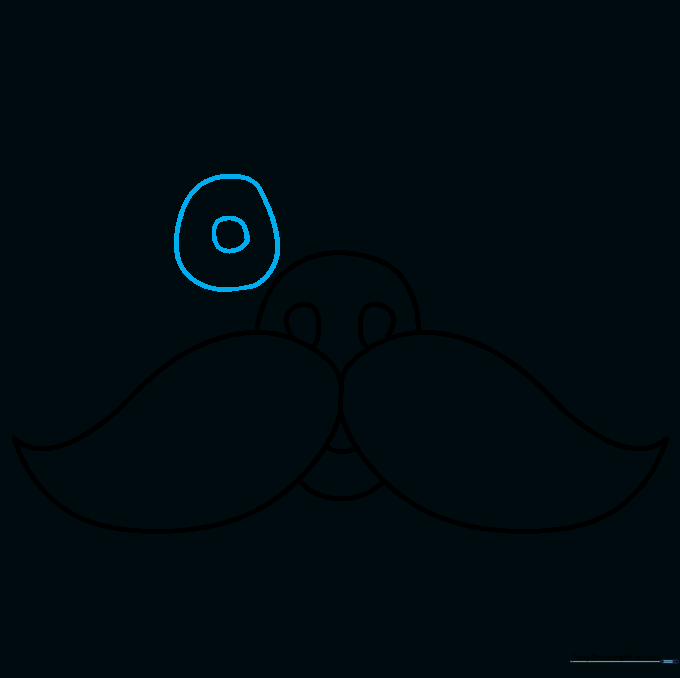
Draw a circle within a circle above the nose for the first eye. Teacher's Tip: The inner circle is the pupil; leave a tiny white dot inside it to create a 'sparkle' effect.
Step 7: The First Eyebrow
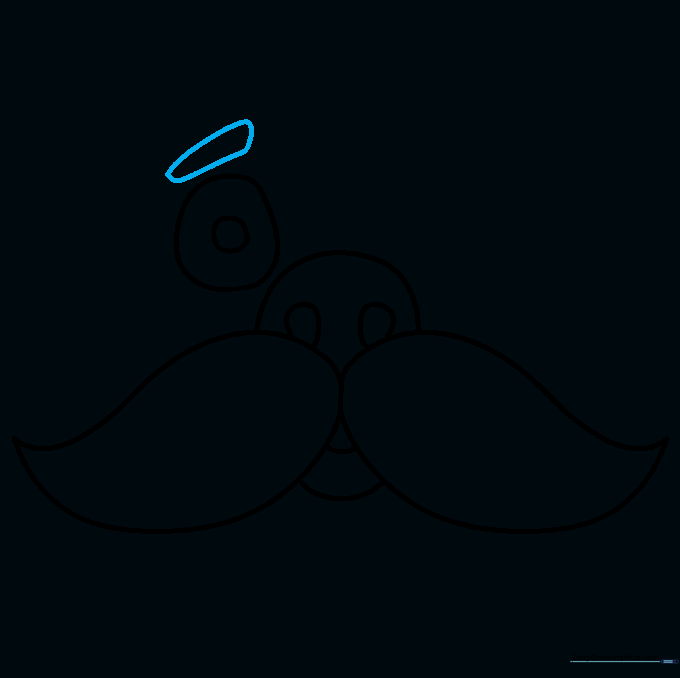
Draw a curved line above the eye to create an expressive eyebrow. Teacher's Tip: A higher arch makes the character look surprised, while a flatter line looks more serious.
Step 8: The Second Eye
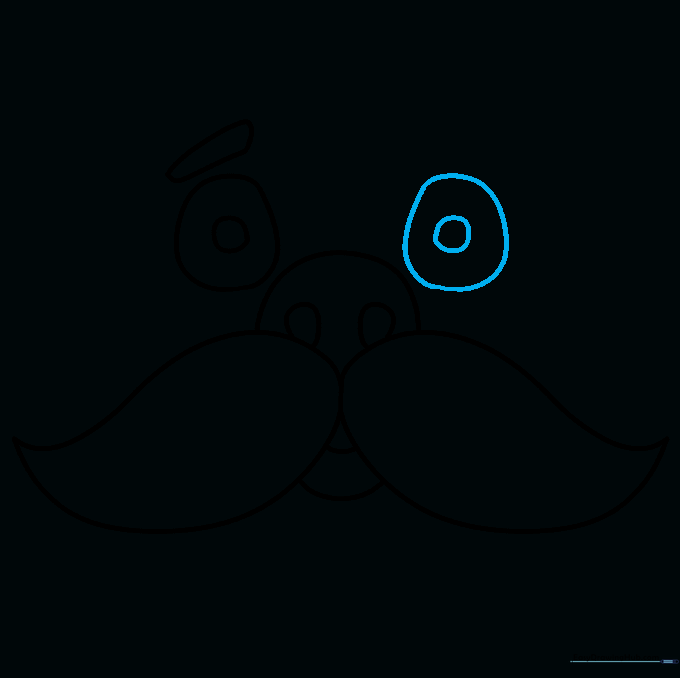
Repeat the eye drawing process on the other side. Teacher's Tip: Check that both eyes are at the same height to keep the face looking balanced.
Step 9: The Second Eyebrow

Draw the final eyebrow to match the first one. Teacher's Tip: Symmetry is key here, so take your time to match the curve of the first eyebrow.
Step 10: Adding Color

Bring your drawing to life with color! Teacher's Tip: Use darker shades at the edges of the mustache to create a 3D effect, and lighter shades in the center to show highlight.
More Tutorials


