How to Draw a Mummy: Easy 10-Step Guide for Kids
Bring a classic monster to life with this fun, step-by-step mummy drawing tutorial. Designed for young artists ages 6 and up, this project requires only a pencil, paper, and an eraser. Follow along to master basic shapes and layering techniques while building your confidence as an illustrator.
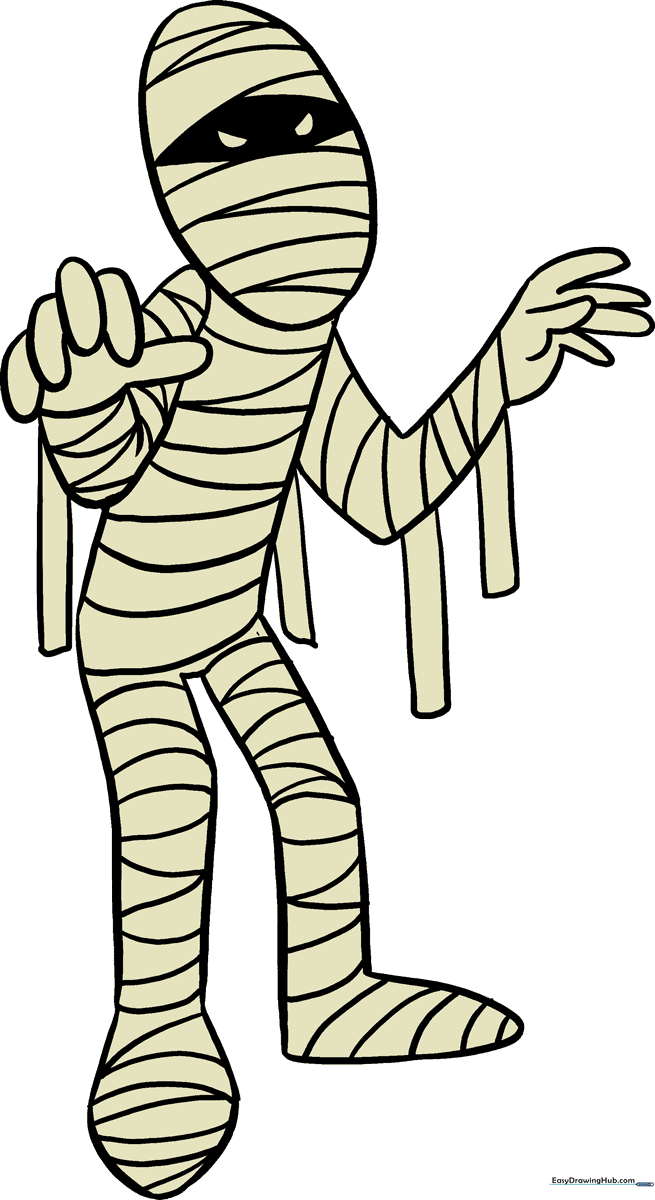
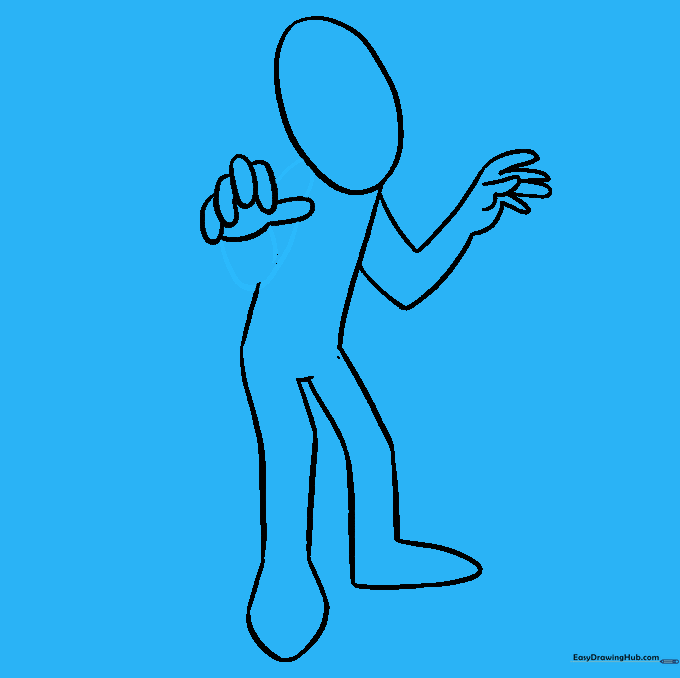
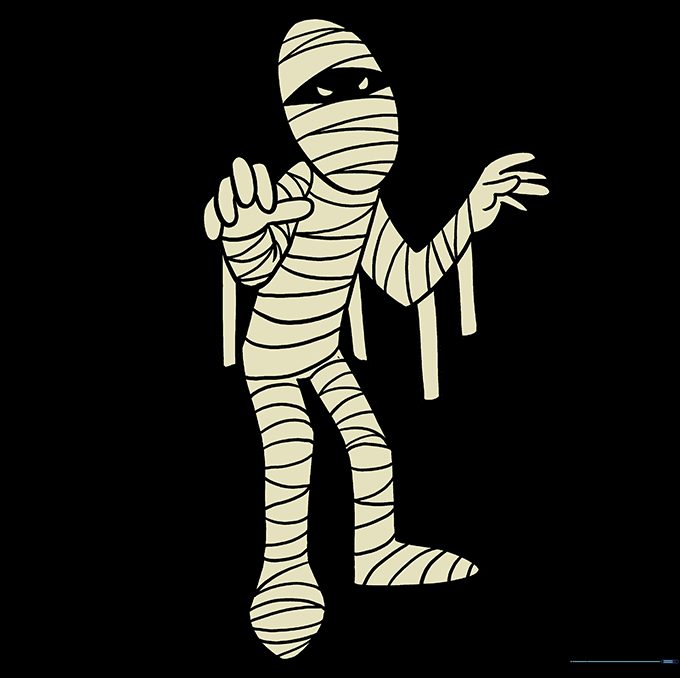
🎯 Final Result
Step-by-Step Instructions
Step 1: Sketching the Head

Start by drawing a simple oval to serve as the mummy's head. Teacher's Tip: Keep this shape light and loose; it acts as a guide for the rest of your character's proportions.
Step 2: Defining the Torso
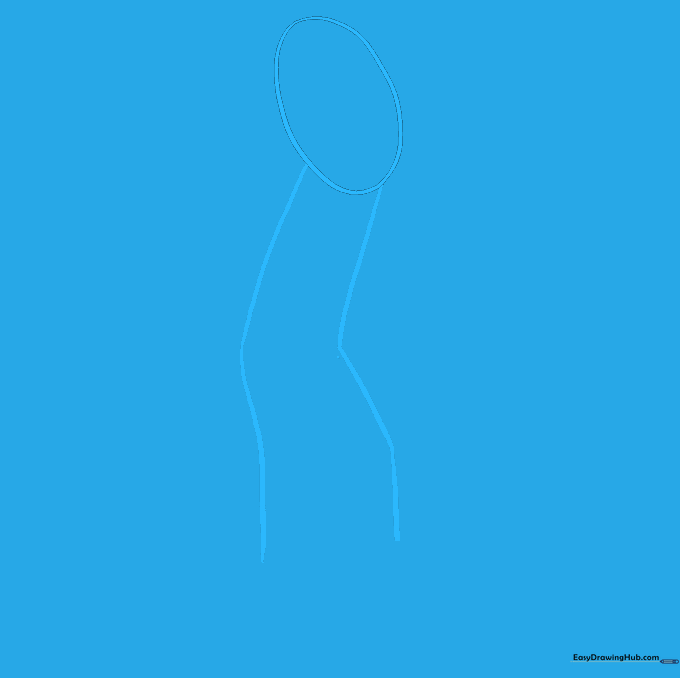
Extend two curved, jointed lines downward from the head to create the frame for the body and legs. Teacher's Tip: Use a fluid motion to keep the lines looking natural rather than stiff.
Step 3: Forming the Feet
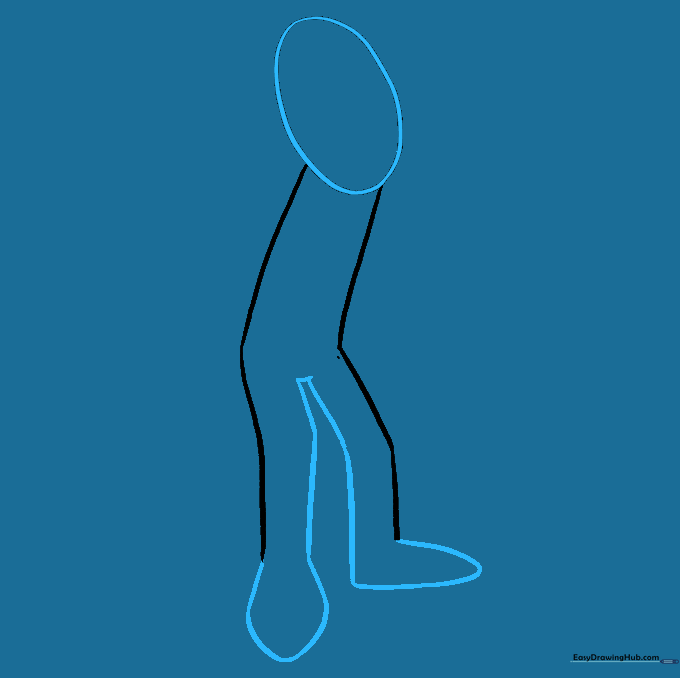
Complete the legs by adding feet at the bottom, ending in rounded points. Teacher's Tip: Think of these as simple, rounded triangles to keep the proportions balanced.
Step 4: Drawing the First Arm
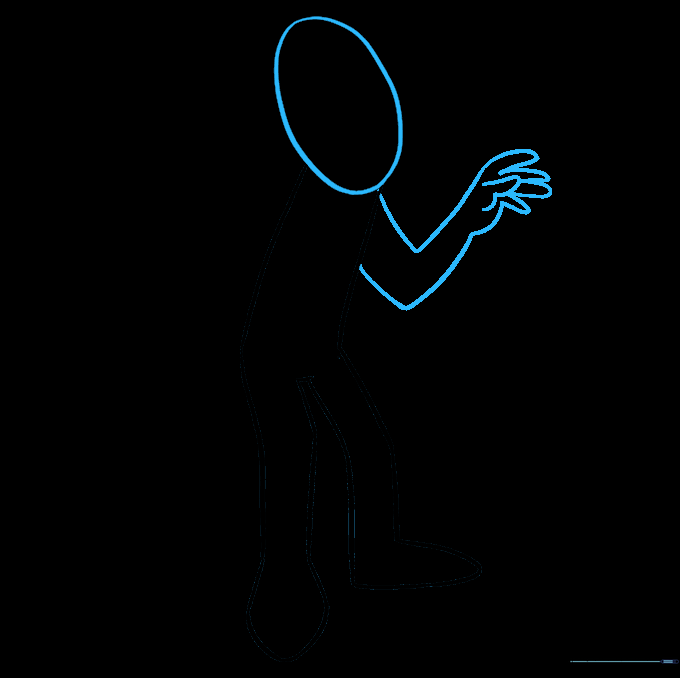
Use two 'V' shaped lines to outline the arm, then add 'U' shaped lines for the fingers. Teacher's Tip: Don't worry about perfect fingers; the wrappings will hide most of the detail later!
Step 5: Adding the Second Hand
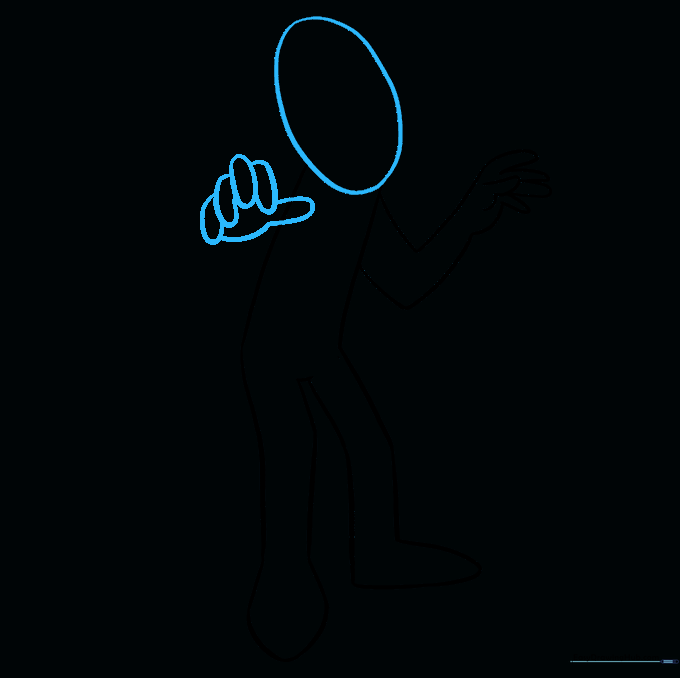
Draw the second hand by enclosing elongated ovals for fingers and a curved line for the palm. Teacher's Tip: Keep the hand size consistent with the first one for a balanced look.
Step 6: Defining the Shoulders and Elbows
Add a half-oval for the shoulder and a wide 'U' shape for the elbow. Teacher's Tip: A short, curved line at the elbow joint helps show that the arm is bent.
Step 7: Facial Features and Wrappings
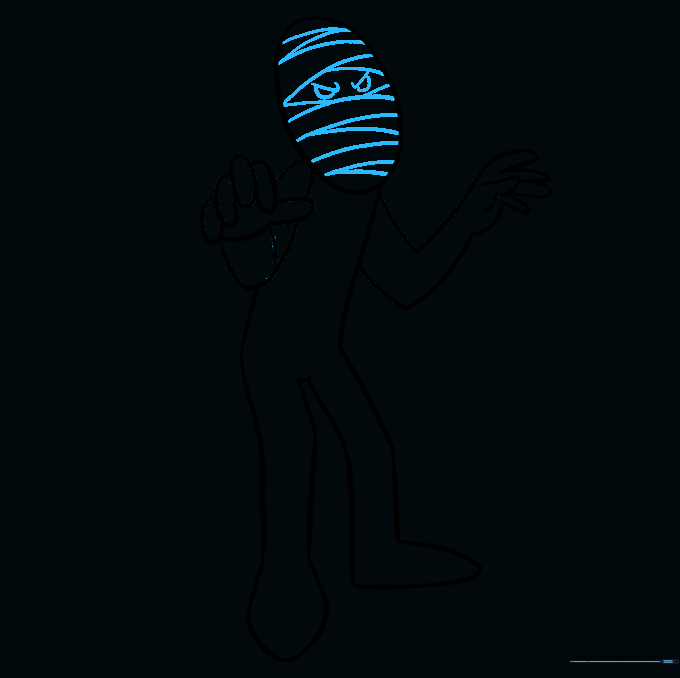
Draw two short lines for eyebrows, then add curved lines across the face to represent wrappings. Teacher's Tip: Vary the angle of your lines to make the wrappings look like they are wrapping around a head.
Step 8: Detailing the Body Wrappings
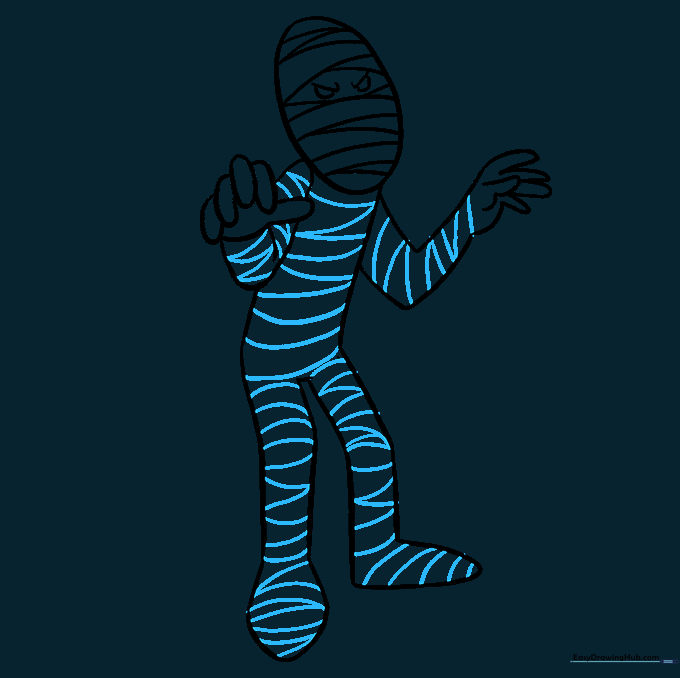
Crisscross the body, arms, and legs with curved lines to complete the mummy's bandages. Teacher's Tip: Don't worry about making them perfectly straight; bandages are messy and should look slightly uneven.
Step 9: Adding Dangling Wrappings
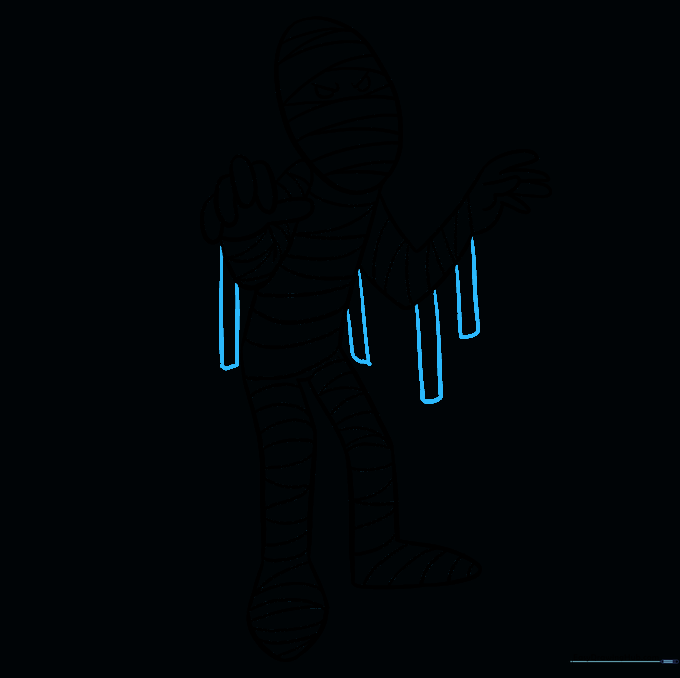
Draw small rectangles with rounded corners hanging from the arms to show loose bandages. Teacher's Tip: Vary the length of these rectangles to add movement to your drawing.
Step 10: Final Coloring
Color your mummy using shades of beige, light grey, or off-white. Teacher's Tip: Use a darker shade of grey to add shadows between the bandages to make them pop!
More Tutorials


