How to Draw a Mountain Biker: Easy 10-Step Guide
Ready to hit the trails? This tutorial is perfect for young artists ages 7+ who want to capture the excitement of mountain biking. You’ll only need a pencil, an eraser, and a piece of paper to bring this action-packed scene to life.
🎯 Final Result

Step-by-Step Instructions
Sketching the Helmet and Goggles
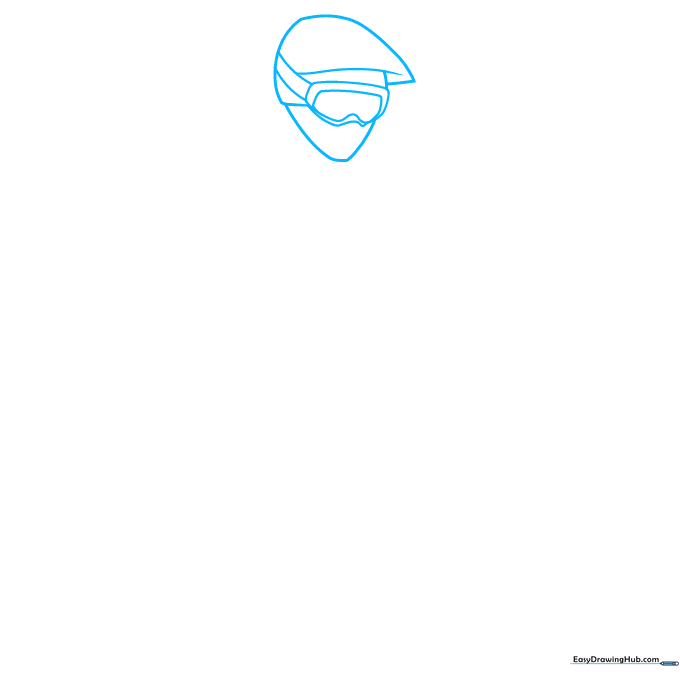
Start by drawing a teardrop shape for the helmet. For the goggles, sketch a rectangle with a W-shape on the bottom, then add a diagonal rectangle on the left side. Teacher's Tip: Keep your pencil lines light so you can easily adjust the shape of the helmet later.
Defining the Upper Body and Arm
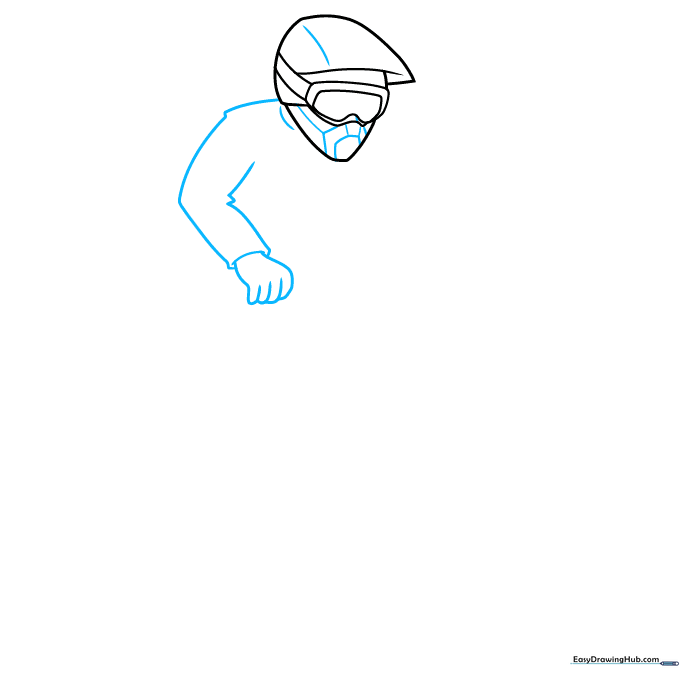
Add details inside the mask and helmet. Draw a straight line for the shoulder, then add two sideways V-shapes for the arm. Sketch a curve near the neck and a triangle on the elbow. Tip: Use the V-shapes to create a natural bend in the arm, making the biker look like they are actively gripping the bars.
Creating the Handlebars
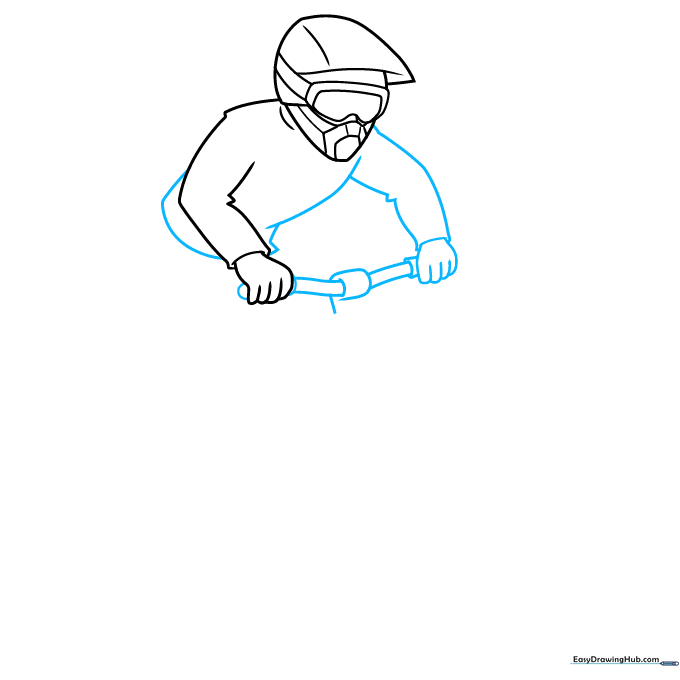
Outline the right side of the body and add the fingers using small semi-ovals. Sketch a cylinder between the hands to represent the center of the handlebars. Tip: Keep the fingers close together to show a firm grip on the bike handles.
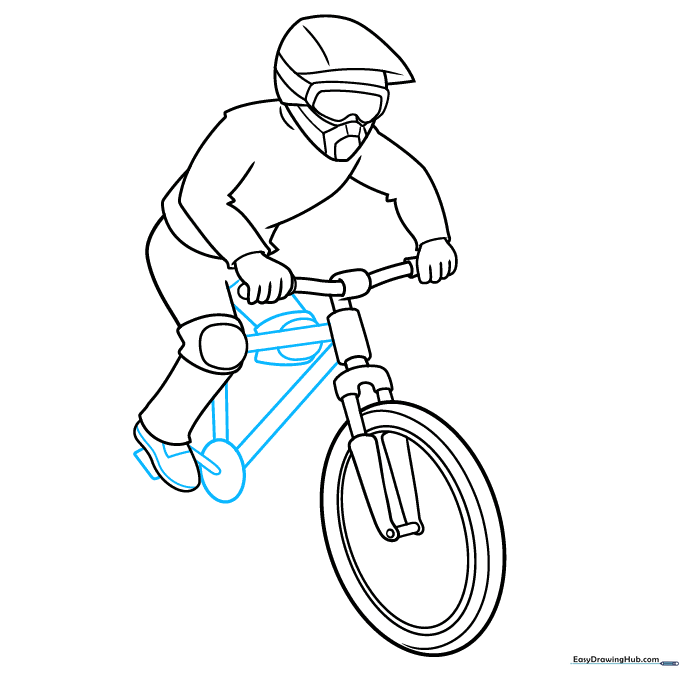
Drawing the Front Wheel

Outline the wheel using two ovals. Draw a cylinder below the handlebars, then sketch an upside-down U-shape to connect the frame. Tip: Use a light touch for the wheel ovals so you can erase the overlapping lines inside the tire later.
Adding the Left Leg

Sketch an oval and a curve inside the tire for detail. Draw the left leg using four diagonal lines. Add an oval for the knee and an oblong shape for the lower leg. Tip: The knee oval helps establish the joint's position, making the movement look more realistic.
Adding the Right Leg
For the right leg, sketch three diagonal lines and an oval attached to a rectangle. Draw an oval beside the left shoe to represent the pedal area. Tip: Ensure the legs are positioned as if they are pushing down on the pedals for a dynamic action pose.
Refining the Feet and Pedals
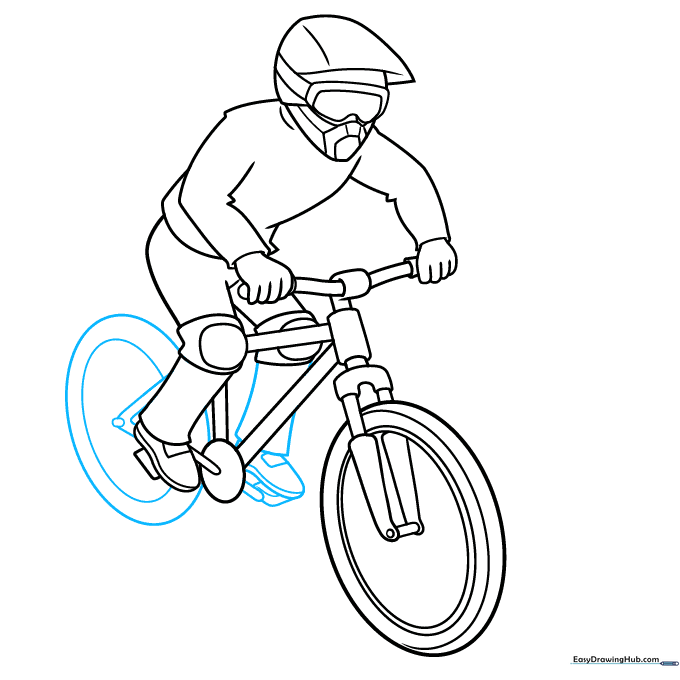
Draw two large ovals and a triangle behind the left leg to show the bike frame. Complete the right shoe with a rectangle and oval. Tip: Adding the small cylinder below the right foot helps define the pedal, grounding the character to the bike.
Adding Tire Detail
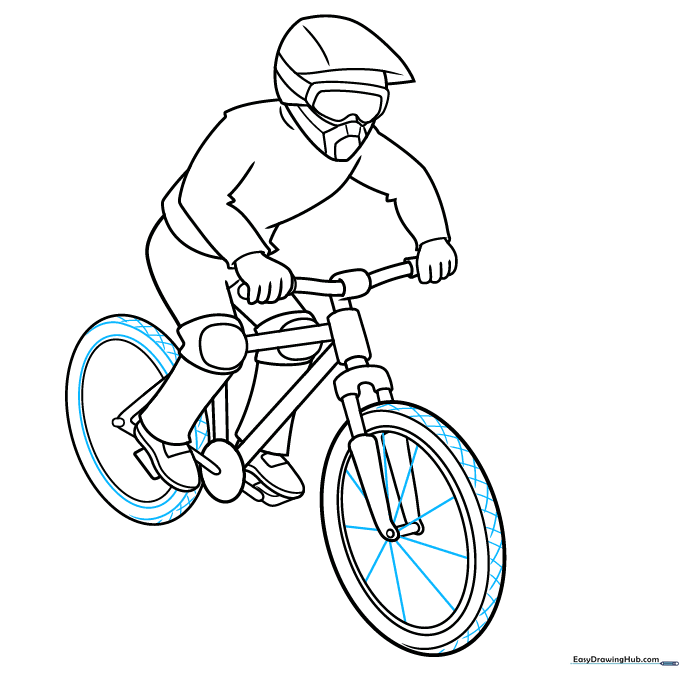
Sketch an oval and a curve inside the left tire. Add lines inside the wheels to represent the spokes. Tip: Use a ruler if you want the spokes to look perfectly straight, or draw them freehand for a more cartoonish style.
Finalizing the Outline
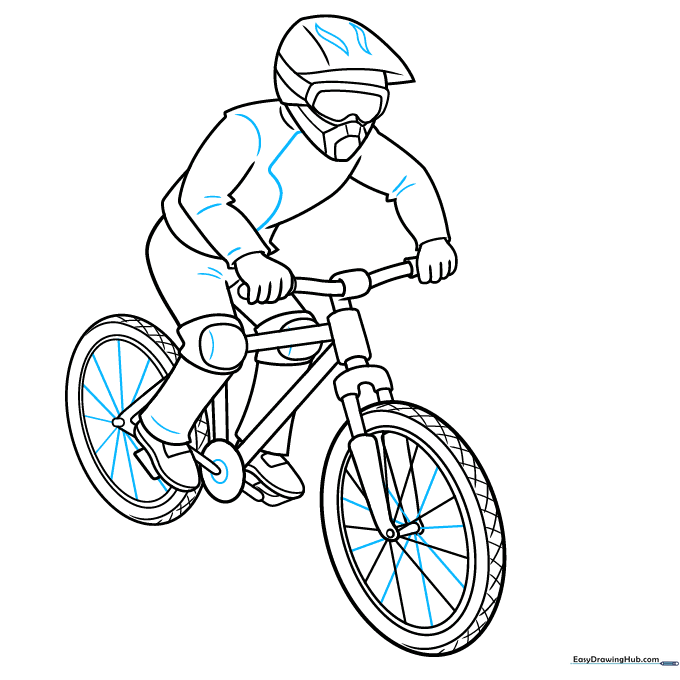
Add more lines inside the wheels and clothing to show texture. Once you are happy with your sketch, go over your lines with a black ink pen. Tip: Wait for the ink to dry completely before erasing your pencil marks to avoid smudging.
Adding Color
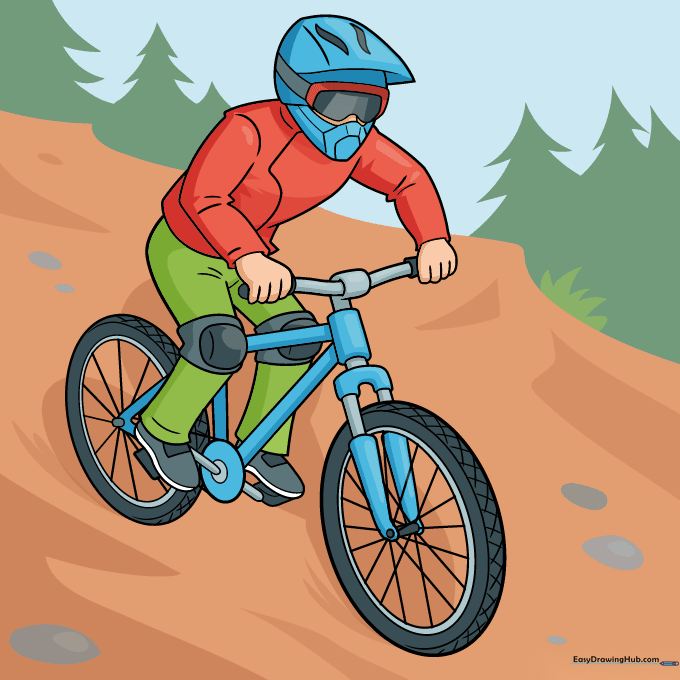
Bring your biker to life! Use your favorite skin tones, and choose bright colors for the bike and gear. Add shades of green and brown for the background to show the biker is on a trail. Tip: Use darker shades on the bottom of the tires to create a sense of shadow and depth.
More Tutorials


