How to Draw a Motorcycle: Easy 10-Step Guide for Kids
Ready to hit the road? This motorcycle drawing tutorial is perfect for young artists ages 6 and up. You’ll only need a pencil, an eraser, and some paper to bring this speedy bike to life while practicing your control over curved lines and geometric shapes.
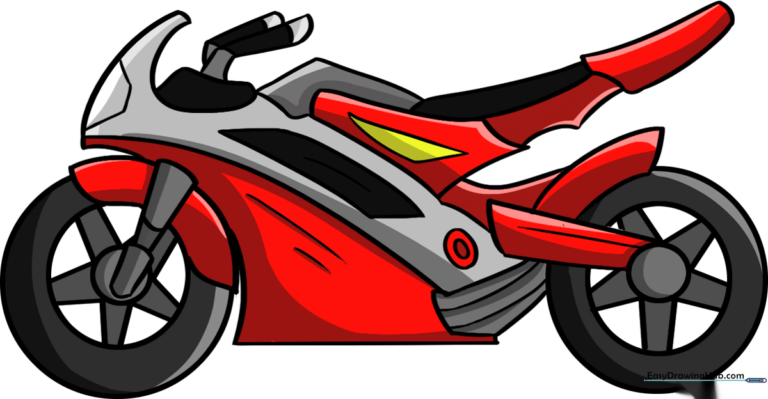
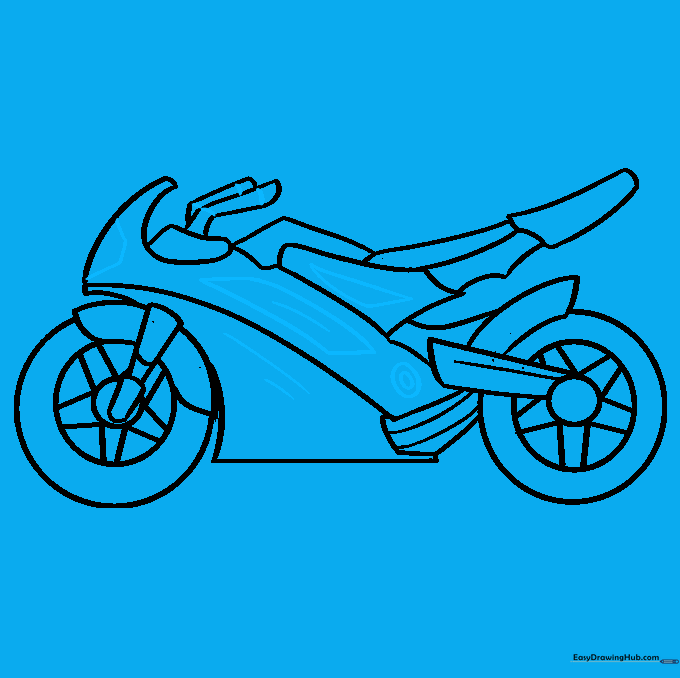
🎯 Final Result
Step-by-Step Instructions
Step 1: Sketching the Wheels
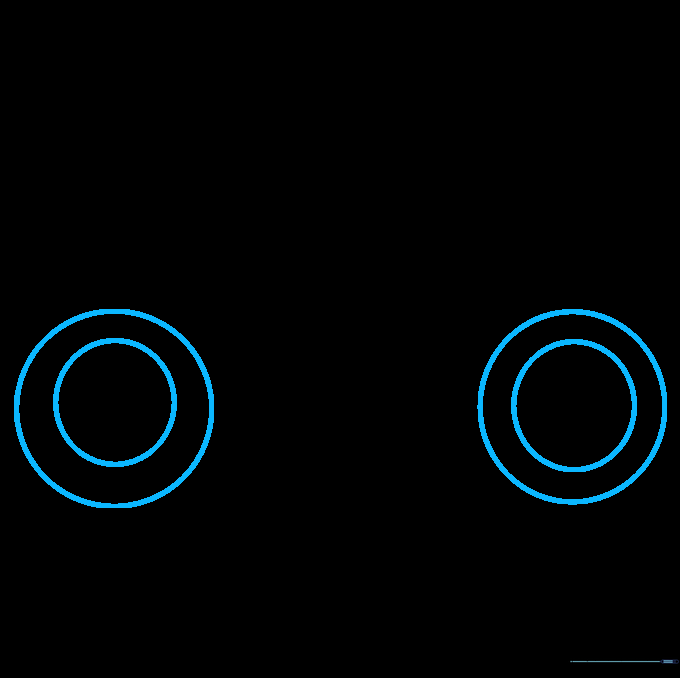
Draw two circles side-by-side, then add a smaller circle inside each. Teacher's Tip: Keep your pencil pressure light so you can easily erase any overlapping lines later!
Step 2: Adding Wheel Spokes

Draw a tiny circle in the very center of each wheel. Connect them to the outer ring with straight lines to create a star-like spoke pattern. Tip: Use a ruler if you want your spokes to look perfectly symmetrical!
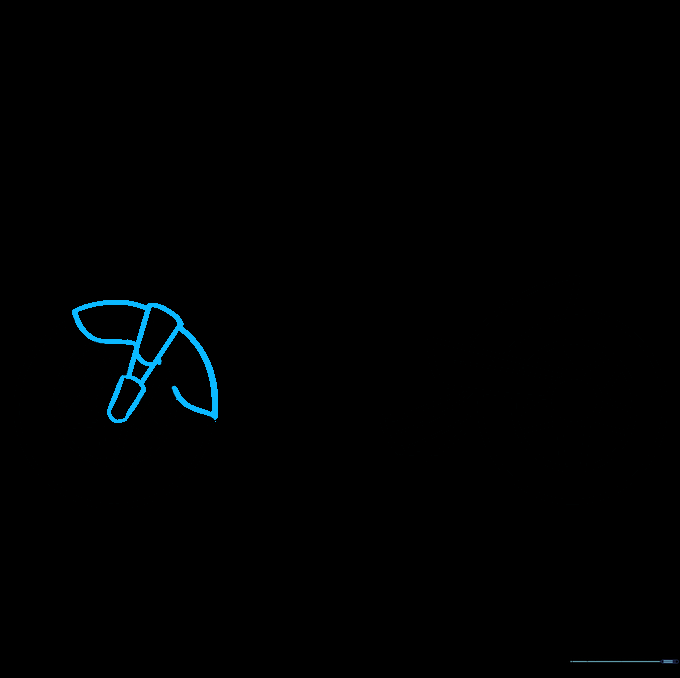
Step 3: The Rear Suspension and Muffler

Draw the swingarm connecting to the back wheel and add the muffler shape near the bottom. Tip: Focus on the curves here—motorcycles are all about smooth, aerodynamic lines.
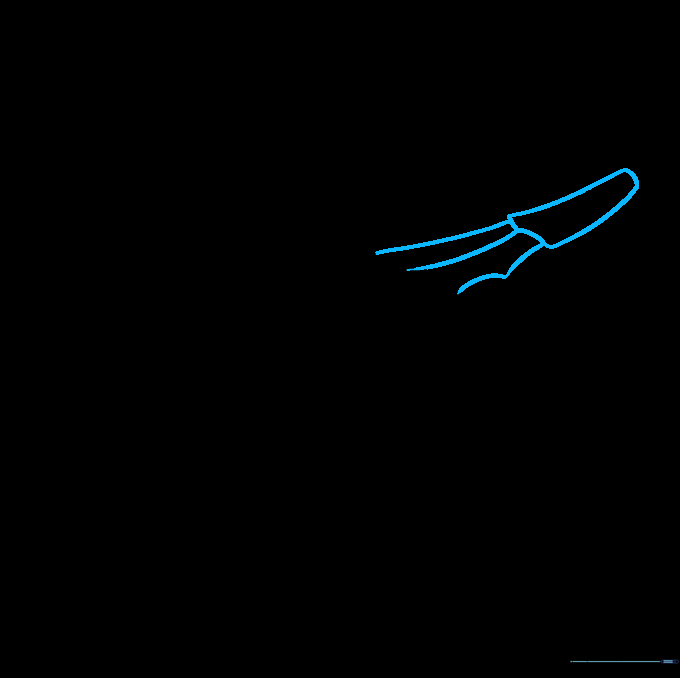
Step 4: Front Fender and Fork
Draw a curved arch over the front tire for the fender, then add two lines extending upward to form the front fork. Tip: Make sure the fork lines are parallel to keep the bike looking sturdy.
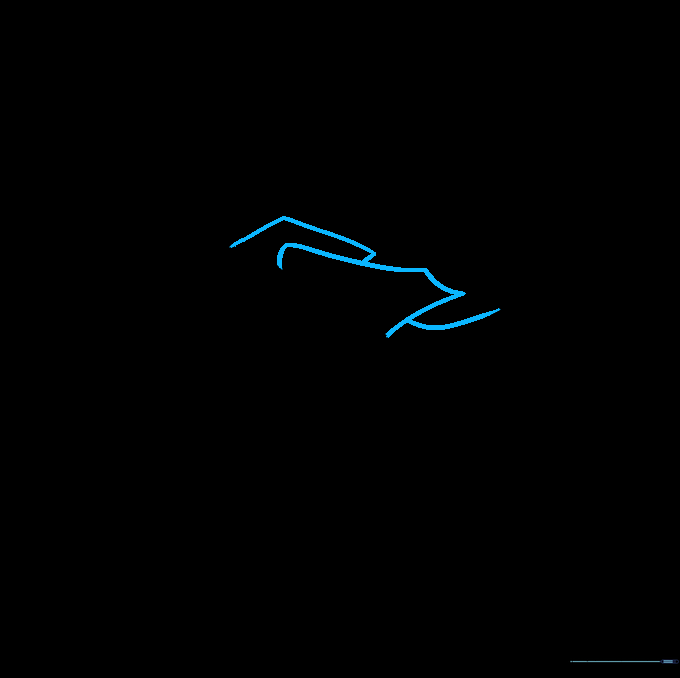
Step 5: Connecting the Body
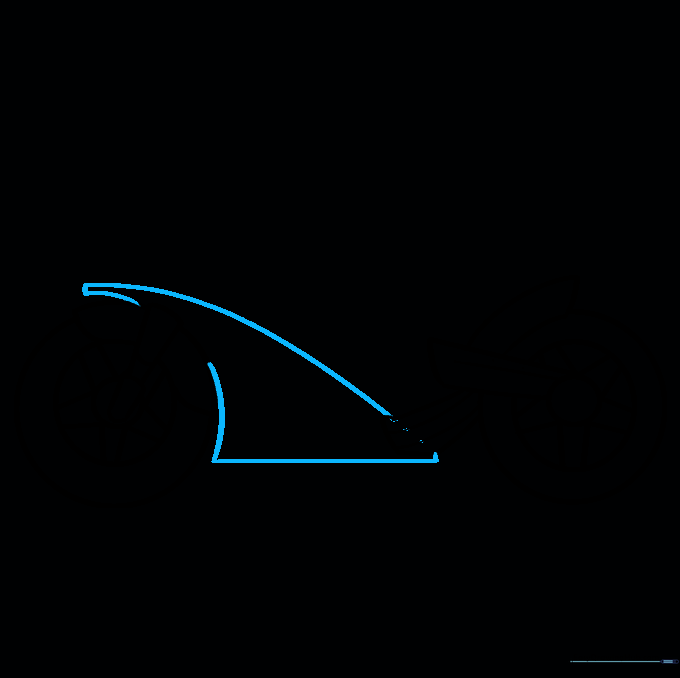
Draw a long, curved triangular shape to connect the front and back sections. This creates the main chassis of the bike. Tip: Imagine you are drawing the frame that holds the engine!
Step 6: Handlebars and Upper Body
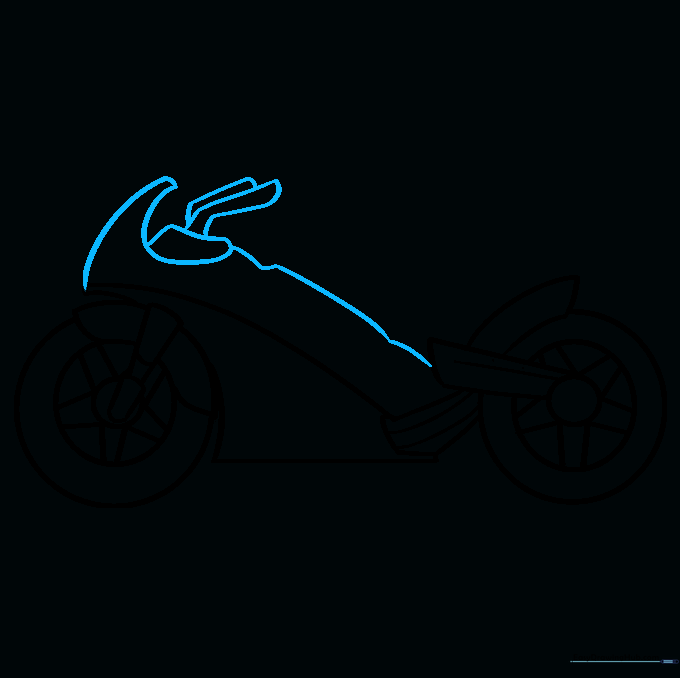
Sketch the upper body and the handlebars using curved lines. Tip: Keep the handlebars looking like a gentle 'C' shape to give the bike a classic, sporty look.
Step 7: Refining the Body Panels
Add three irregular shapes to the body to give it more depth. Tip: Don't worry if they aren't perfect; motorcycles have many overlapping parts, so small variations look natural.
Step 8: Adding the Seat
Draw the seat and subframe using elongated shapes. Tip: Think of this as the 'saddle' where the rider sits—keep it smooth and comfortable-looking!
Step 9: Final Details
Add the headlight, clutch cover, and any final lines to the body. Tip: Use a darker pencil stroke for these final details to make your drawing pop.
Step 10: Color Your Masterpiece
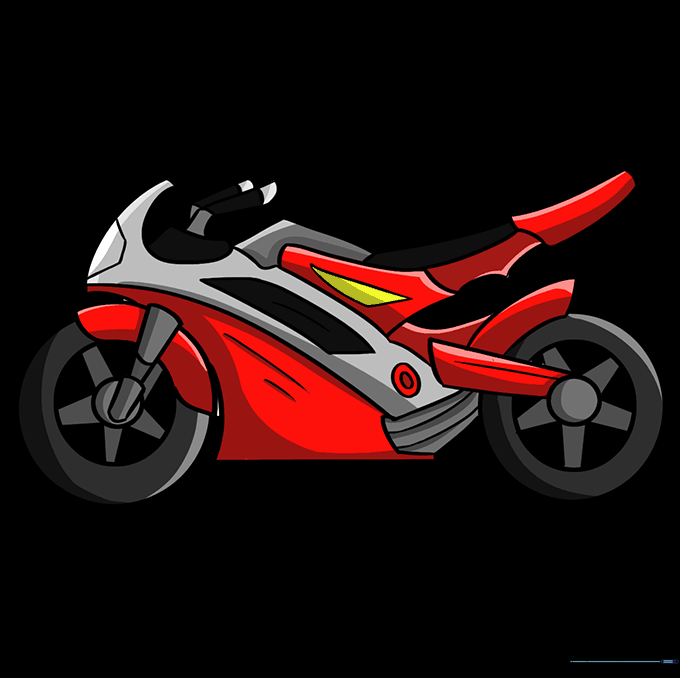
Time to color! Use bold colors for the body and metallic silver for the engine parts. Tip: Try using markers for a vibrant, cartoon-style finish.
More Tutorials


