How to Draw a Motorbike Rider: Easy 9-Step Guide
Ready to hit the road? This tutorial is perfect for young artists ages 7+ who want to master drawing a character in motion. Grab a pencil, an eraser, and your favorite markers to bring this high-speed rider to life while practicing basic geometric shapes.
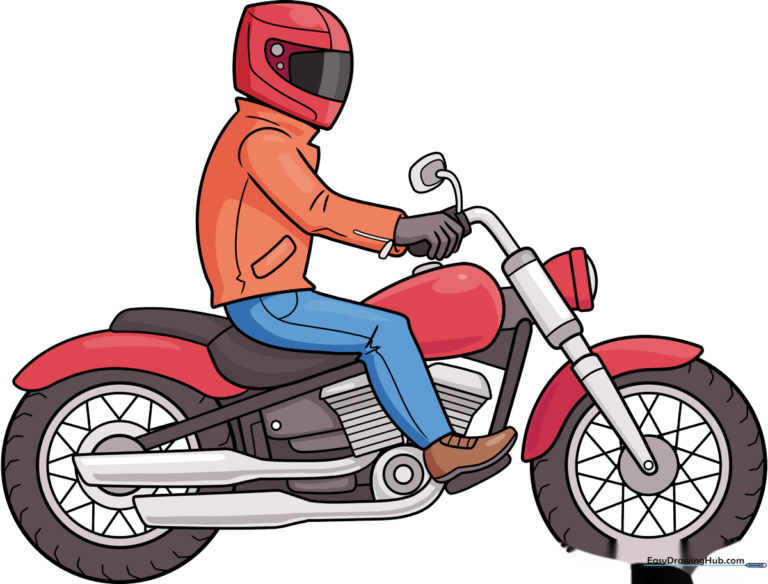
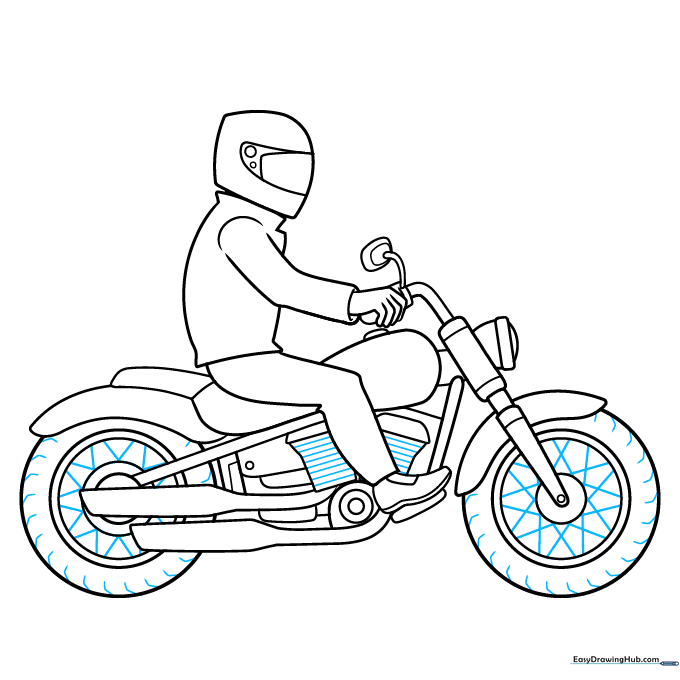
🎯 Final Result
Step-by-Step Instructions
Step 1: Sketching the Helmet
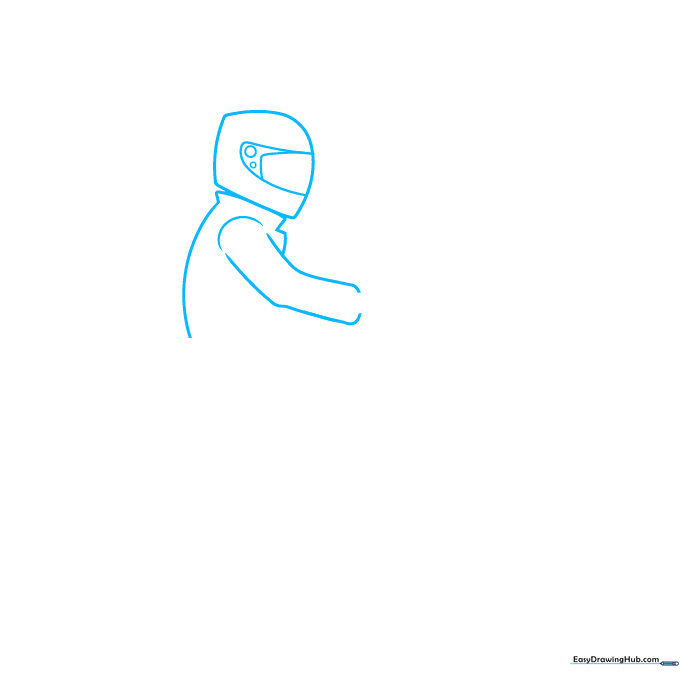
Start the helmet with an L-shape, then connect it with a smooth curve. Sketch a long semi-oval inside for the visor. Teacher's Tip: Keep your lines loose and light; you're just mapping out the head shape here.
Step 2: Defining the Torso and Limbs
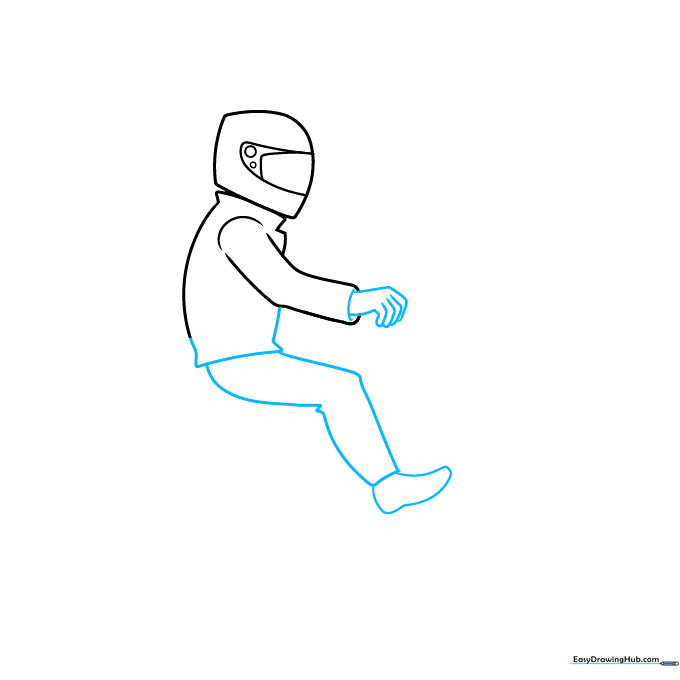
Complete the torso using two crooked lines. For the leg, draw two upside-down V-shapes. Tip: Think of the shoe as a banana shape—it helps keep the proportions looking natural and sporty.
Step 3: Adding Handlebars and Mirrors
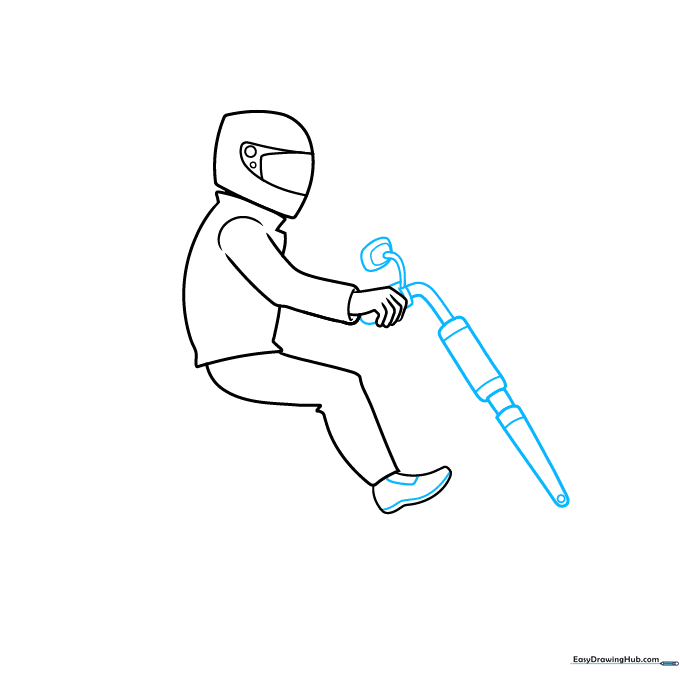
Draw a large cylinder for the handlebars and a rounded rectangle for the mirror. Tip: Use a ruler if you struggle with straight lines, but try freehand first to build your muscle memory!
Step 4: Constructing the Wheels
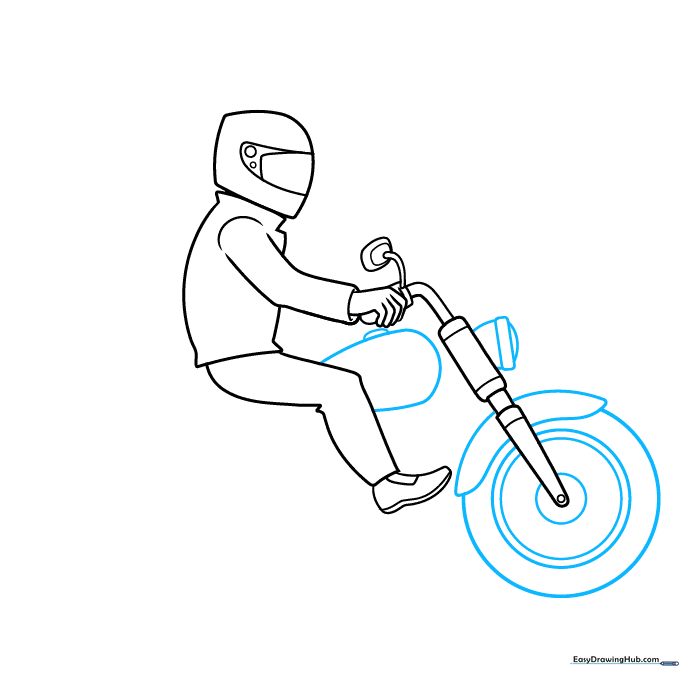
Draw four concentric circles for the tires. Tip: Draw these slowly. If they aren't perfect, don't worry—real tires have tread and texture, so a little imperfection adds character.
Step 5: Building the Engine Frame
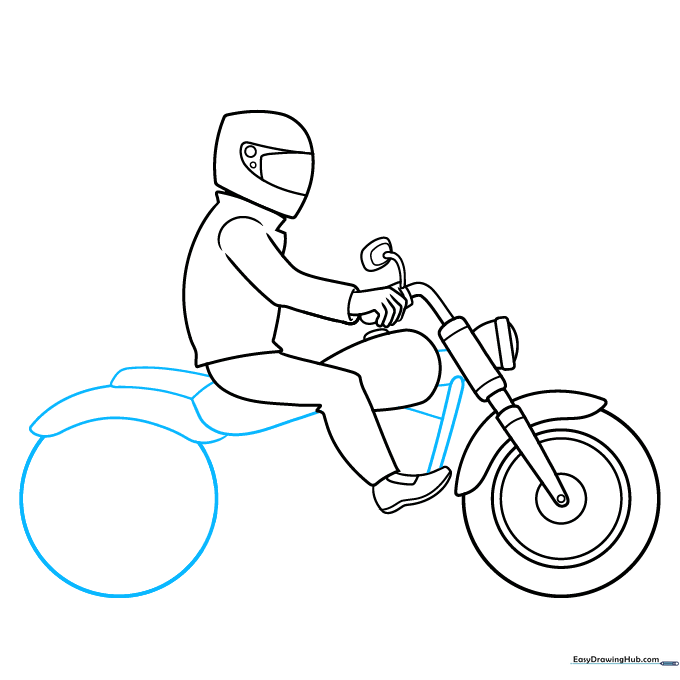
Add a second wheel circle and connect the engine parts with cylinders. Tip: Focus on how the shapes overlap; this creates the illusion of depth in your drawing.
Step 6: Refining the Chassis
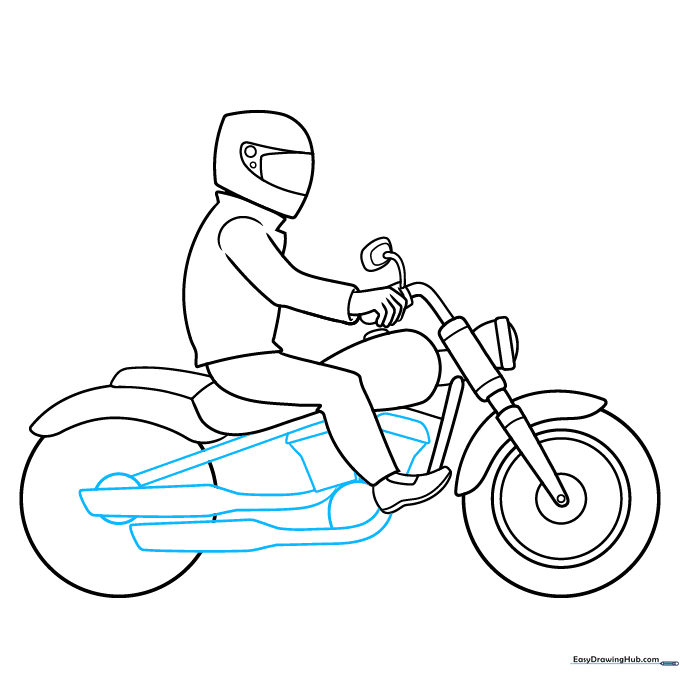
Add boxy shapes under the seat and connect the engine to the wheels with curved lines. Tip: Keep your pencil pressure consistent to ensure the lines look uniform.
Step 7: Adding Wheel Detail
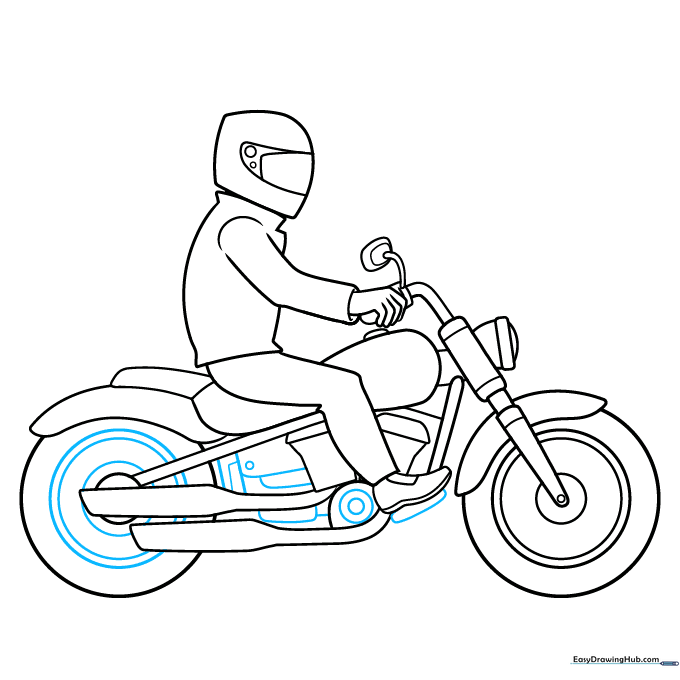
Add small circles to the center of the wheels to represent the hubs. Tip: Use a light touch here so you don't smudge the rest of your work.
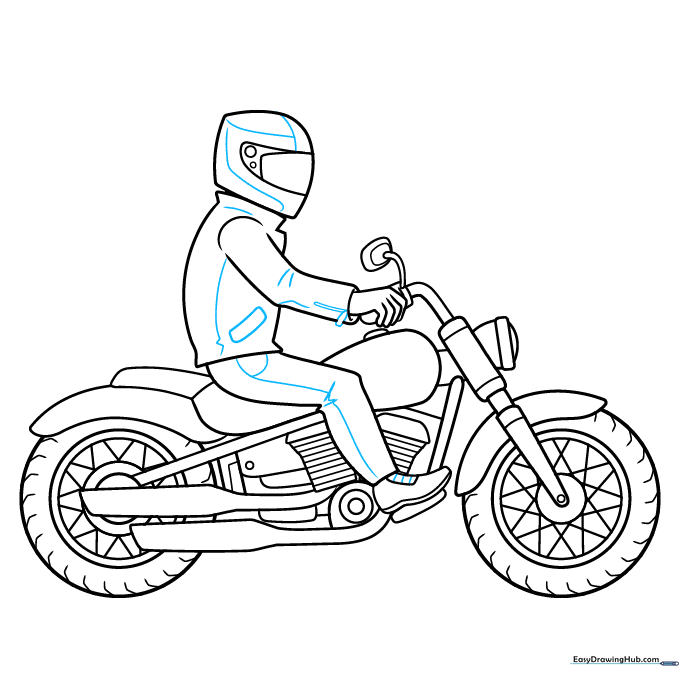
Step 8: Finalizing Mechanical Details
Add lines inside the wheels and frame to show mechanical parts. Tip: These small lines add 'texture' and make the bike look like a real machine.
Step 9: Inking Your Masterpiece
Go over your pencil lines with a black pen. Once the ink is dry, erase the pencil marks. Tip: Use a steady hand and rotate your paper to make drawing curves easier.
Step 10: Bringing it to Life with Color
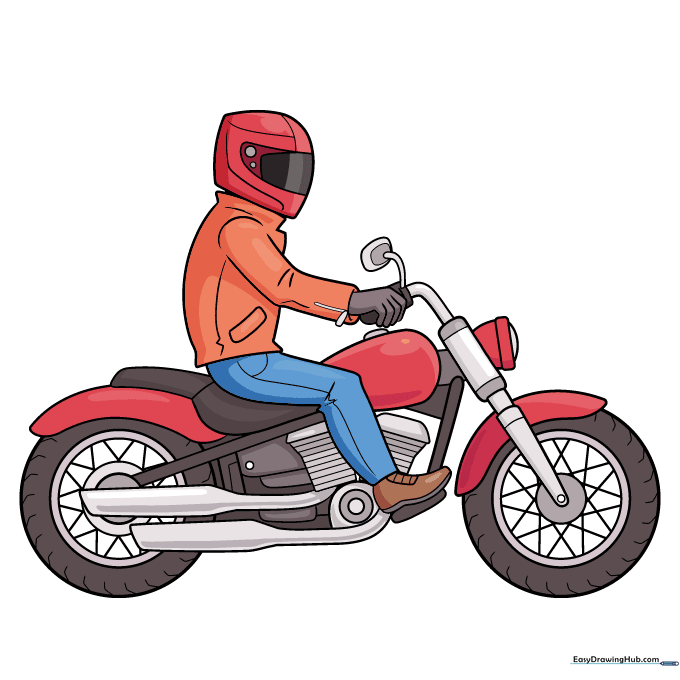
Use bright colors like red for the helmet and orange for the jacket. Tip: Try using two shades of the same color to create shadows, which makes your drawing look 3D!
More Tutorials


