How to Draw a Moth: Easy 10-Step Guide for Beginners
Ready to bring a fuzzy moth to life on your paper? This tutorial is perfect for young artists ages 5 and up, requiring only a pencil, eraser, and paper. By following these simple steps, you will master the art of drawing insect anatomy while creating a beautiful, detailed moth character.
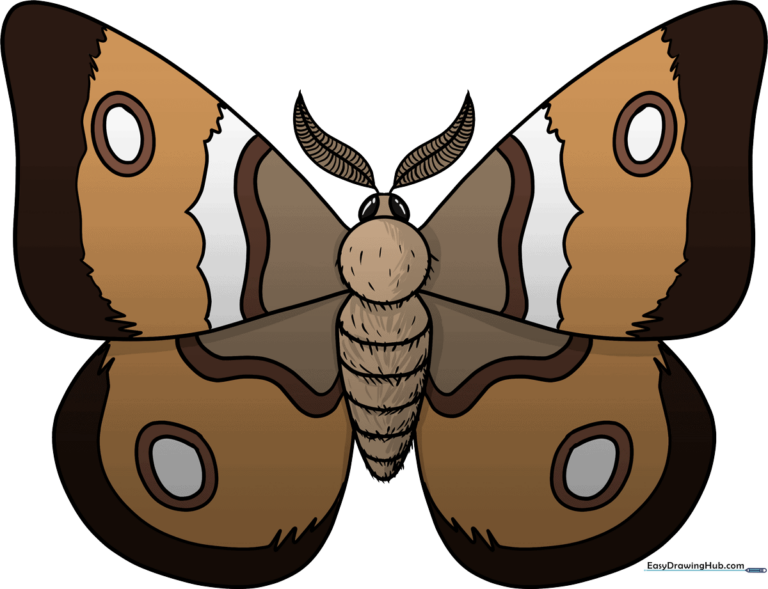
🎯 Final Result
Step-by-Step Instructions
Step 1: Sketching the Thorax and Abdomen

Start by drawing a small circle for the thorax. From the bottom, extend a long, curved line and loop it back to form the abdomen. Teacher's Tip: Keep your pencil pressure light here so you can easily refine the shape later.
Step 2: Adding the Head and Antennae
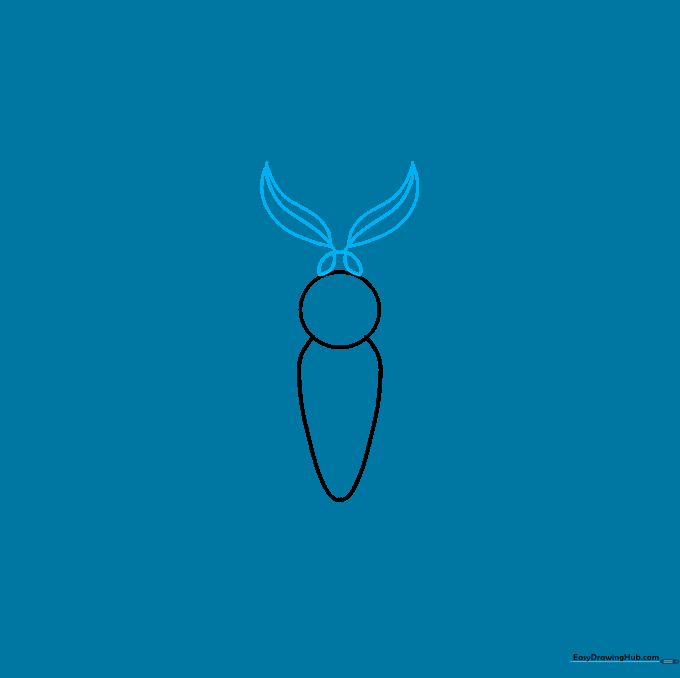
Draw a half-circle on top of the thorax for the head, adding two small curves for the eyes. Sketch two long, curved lines extending upward for the antennae. Teacher's Tip: Use short, quick strokes to make the antennae look feathery.
Step 3: Detailing the Antennae
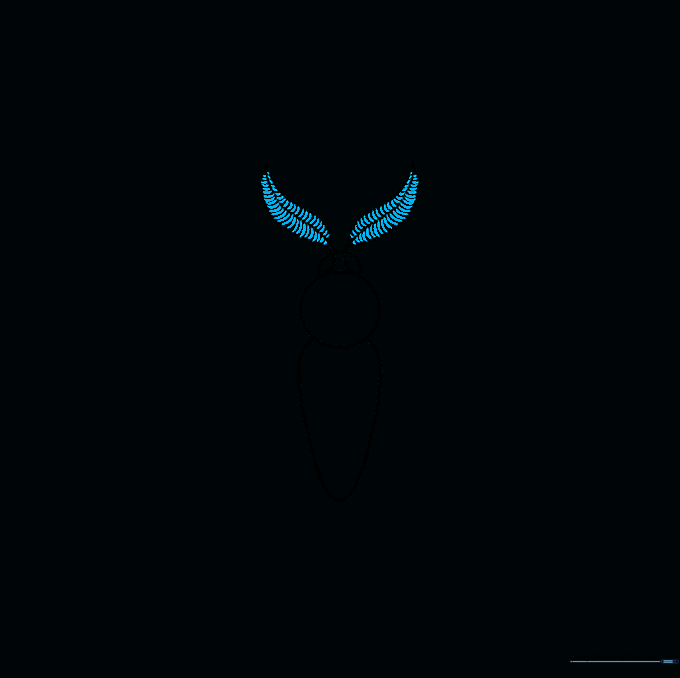
Add small, diagonal lines along the antennae to give them a 'bipectinate' or feather-like texture. This is a key feature that distinguishes moths from butterflies!
Step 4: Drawing the Forewings
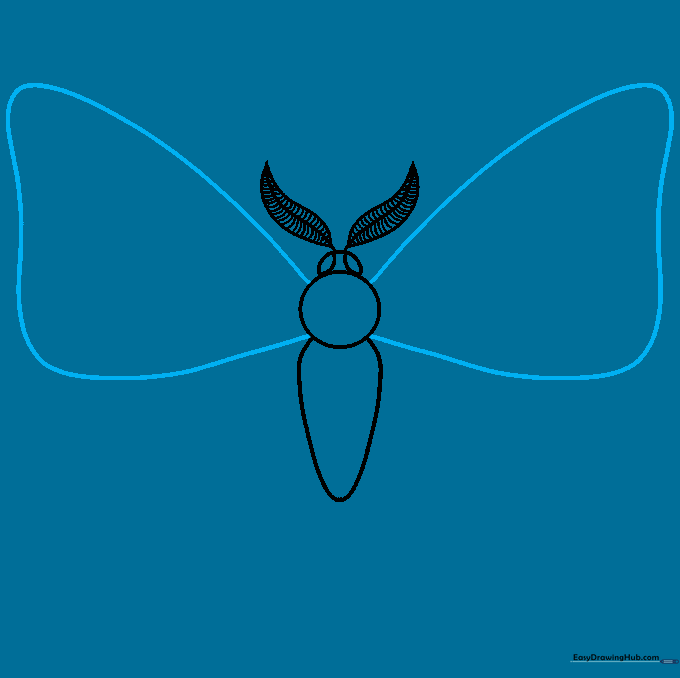
Extend a large, curved line from the thorax to create the top wing (forewing). Repeat on the other side to ensure symmetry. Teacher's Tip: Try to make both wings the same size for a balanced look.
Step 5: Adding the Hindwings
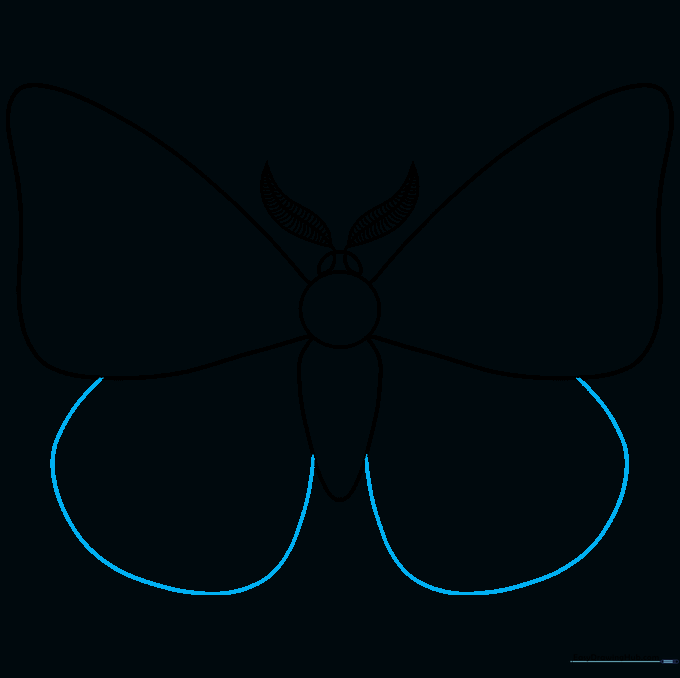
Draw smaller, rounded lines beneath the forewings to form the hindwings. These should tuck slightly under the top wings.
Step 6: Adding Wing Patterns
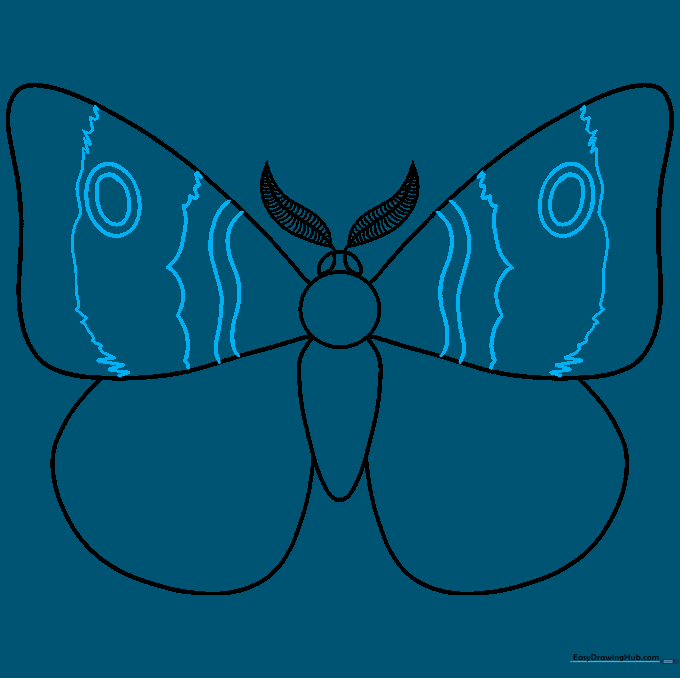
Draw wavy lines across the wings and add an 'eyespot' (an oval within an oval). Teacher's Tip: Explain to your child that these spots help moths hide from predators by looking like large eyes!
Step 7: Detailing the Lower Wings
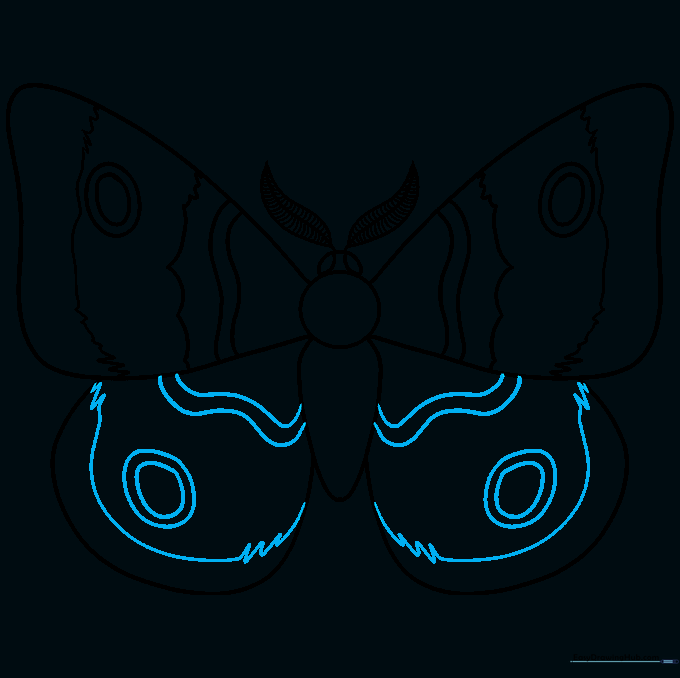
Repeat the pattern on the hindwings by adding a jagged line near the edge and a smaller eyespot. This creates a cohesive, natural look.
Step 8: Texturing the Abdomen

Draw horizontal, slightly curved lines across the abdomen to represent the segments of the moth's body.
Step 9: Adding Furry Details
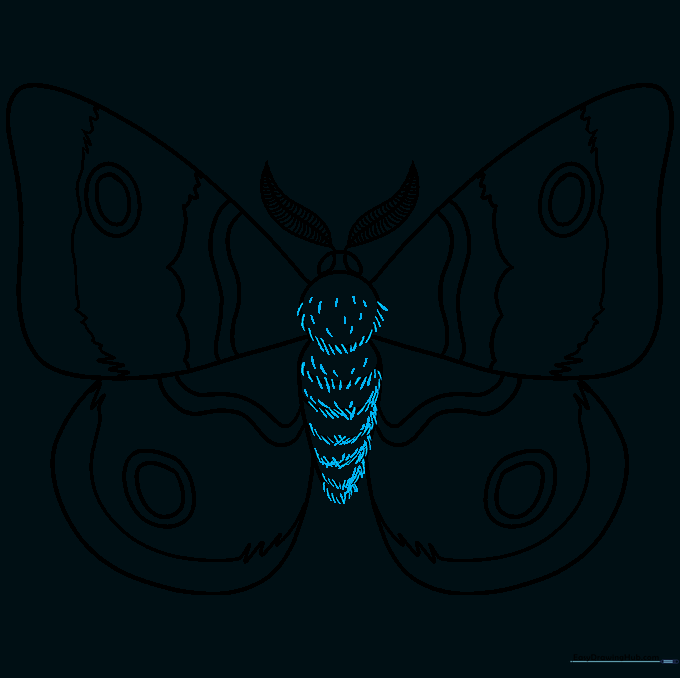
Moths are fuzzy! Add short, quick, curved lines along the edges of the body to suggest soft fur. Teacher's Tip: Don't worry about making these lines perfect—the messier, the fuzzier!
Step 10: Bringing Your Moth to Life with Color
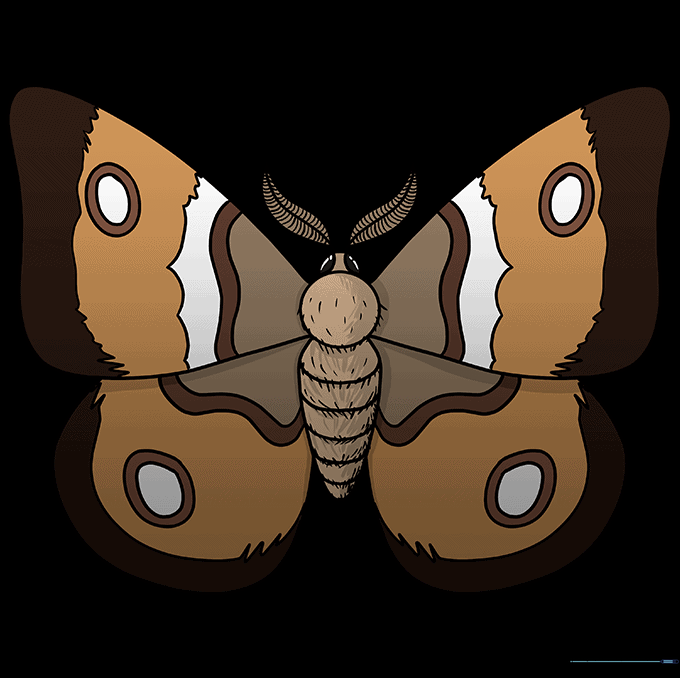
Time to color! Use warm tones like cream, soft brown, and deep red to fill in your moth. Use lighter colors for the body and darker shades for the wing patterns to create depth.
More Tutorials


