How to Draw a Mosasaurus: Easy 9-Step Dinosaur Guide
Ready to bring a prehistoric sea monster to life? This guide is perfect for young artists ages 6+ who love dinosaurs. Grab a pencil, an eraser, and some paper to start building your own aquatic reptile, step by step.
🎯 Final Result

Step-by-Step Instructions
Step 1: Sketching the Eye and Brow
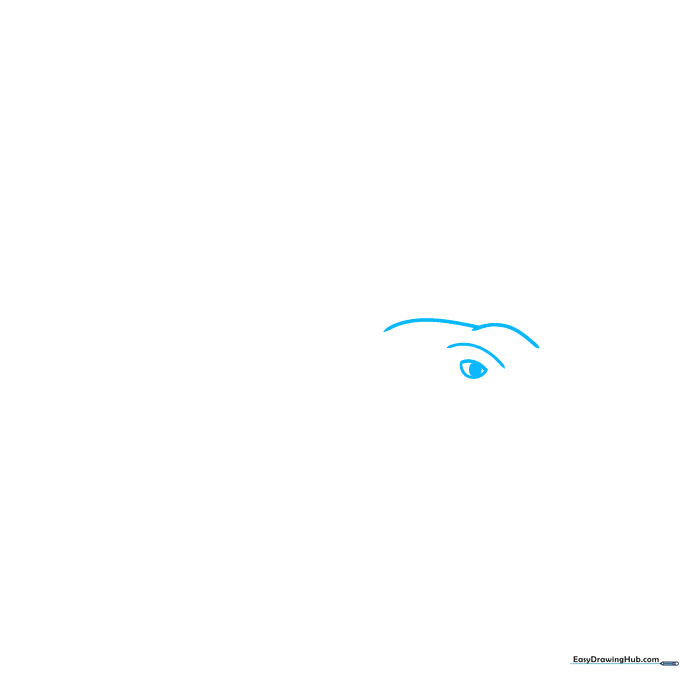
Draw a half-circle for the eye and shade in a round pupil. Add curved lines above for the brow ridge. Teacher's Tip: Keep your pencil pressure light here so you can easily adjust the shape if needed.
Step 2: Defining the Upper Snout
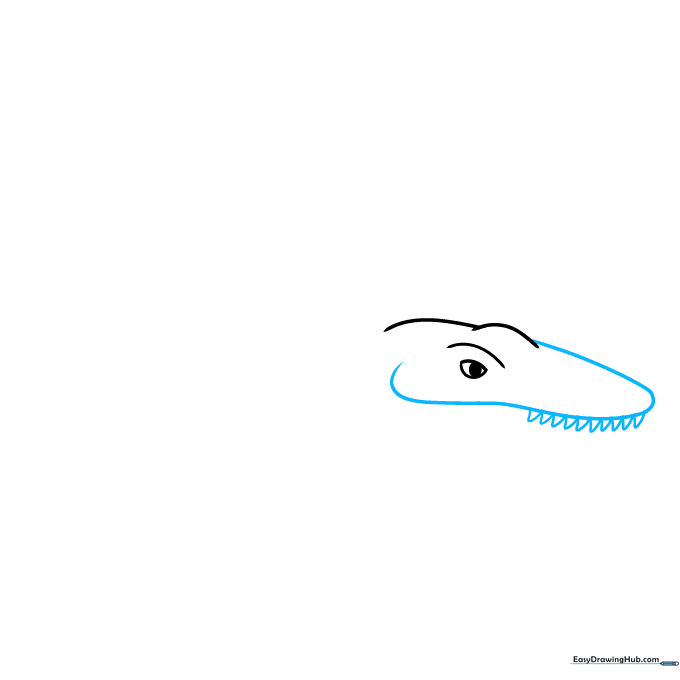
Extend a long, curved line from the brow to form the snout, doubling it back to create the top jaw. Add small triangles for the upper teeth. Tip: Make the teeth look sharp by keeping the triangles narrow.
Step 3: Creating the Lower Jaw
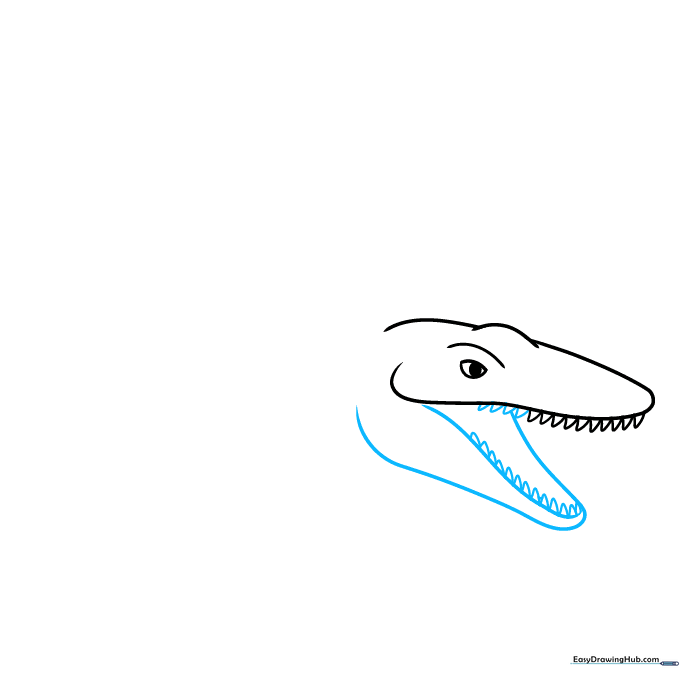
Draw a curved line extending from the back of the mouth to form the lower jaw. Add more triangular teeth along this bottom edge. Tip: Ensure the jaw looks wide enough to fit the top teeth inside when the mouth closes.
Step 4: Adding Nostrils and Tongue
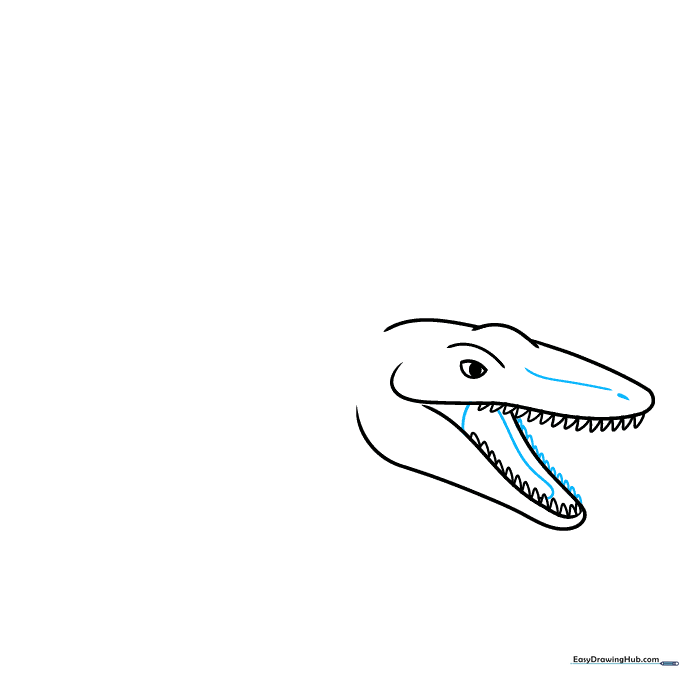
Add a small teardrop shape on the snout for the nostril and draw a curved tongue inside the mouth. Tip: A little detail like the nostril makes your dinosaur look much more realistic.
Step 5: Sketching the Neck and Flipper
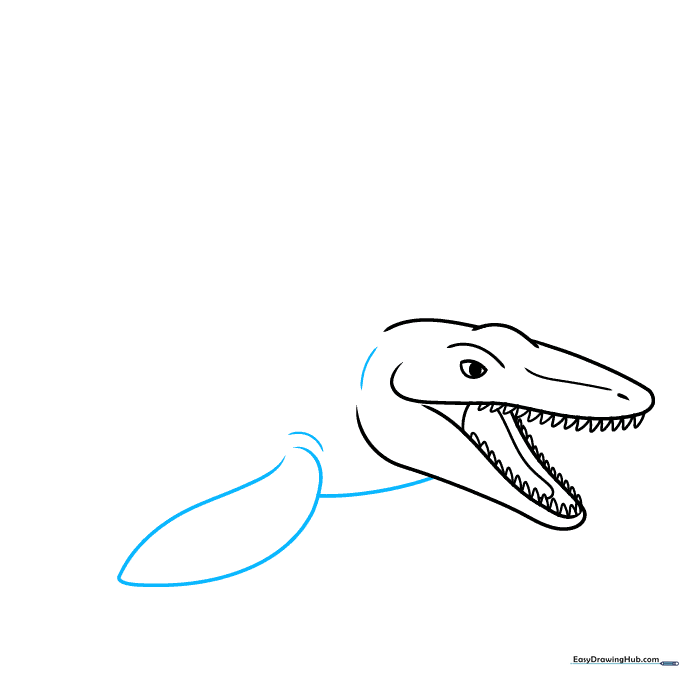
Draw a curved line from the jaw to form the neck, then add a large, paddle-shaped flipper. Tip: Mosasaurus flippers are similar to sea turtle fins; keep the edges smooth and rounded.
Step 6: Drawing the Belly and Rear Flipper
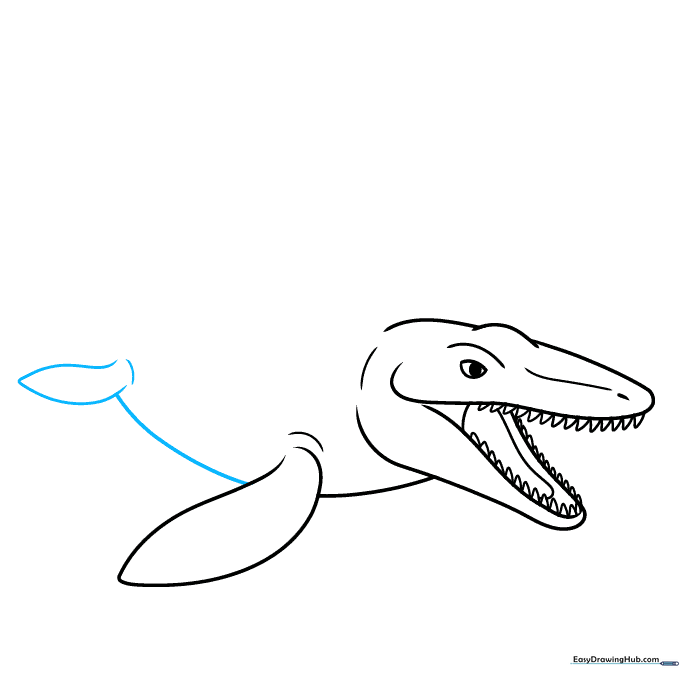
Extend a long line for the belly and add a smaller rear flipper. Tip: The rear flipper should be slightly smaller than the front one to show perspective.
Step 7: Forming the Tail and Back
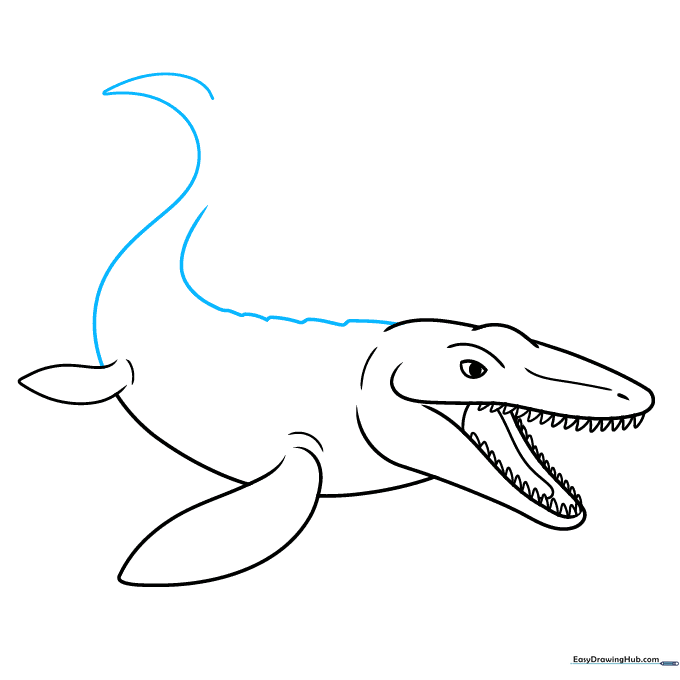
Use a jagged line along the back to show texture, then start sketching the long, powerful tail. Tip: Leave the end of the tail open for now; we will finish that in the next step.
Step 8: Completing the Tail Fin
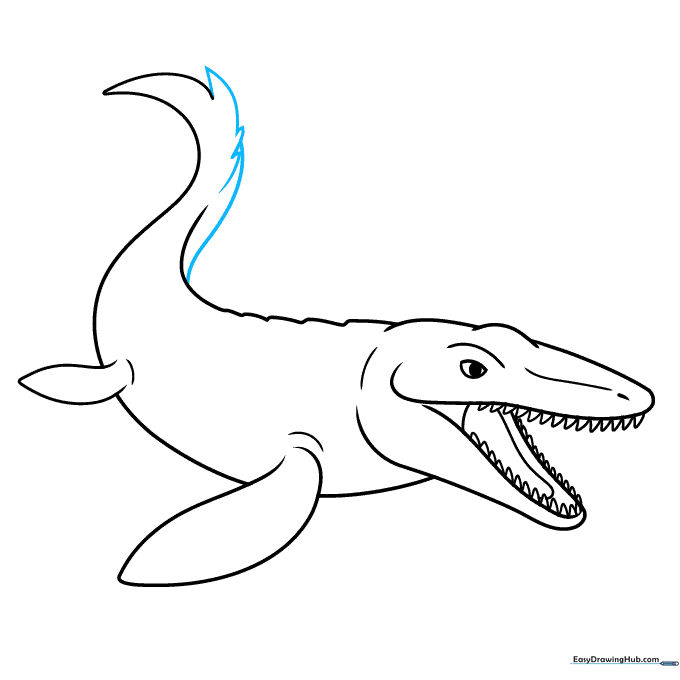
Finish the tail by drawing a series of curved lines that meet at sharp points to create a fin. Tip: Use quick, confident strokes to make the fin look like it's moving through water.
Step 9: Final Touches
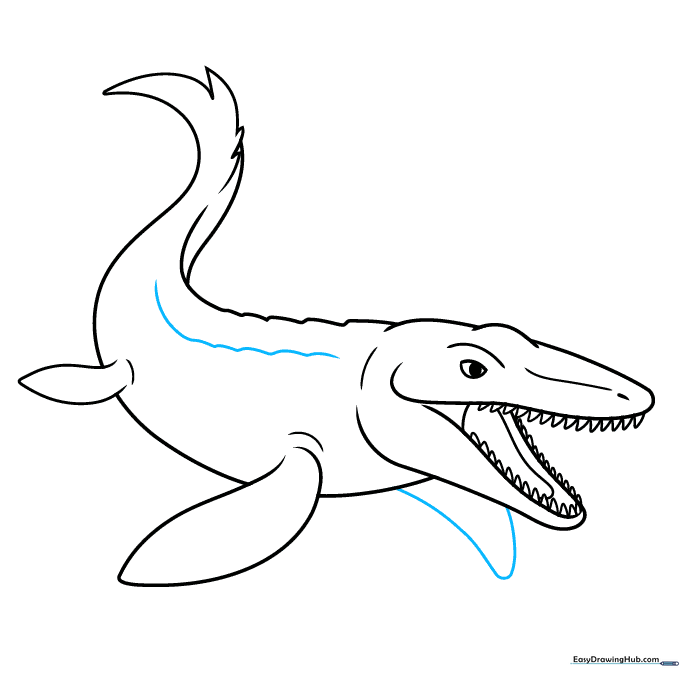
Add the final foreflipper and refine the scalloped ridge along the back. Tip: Erase any overlapping guide lines to make your drawing look clean and professional.
Color Your Mosasaurus
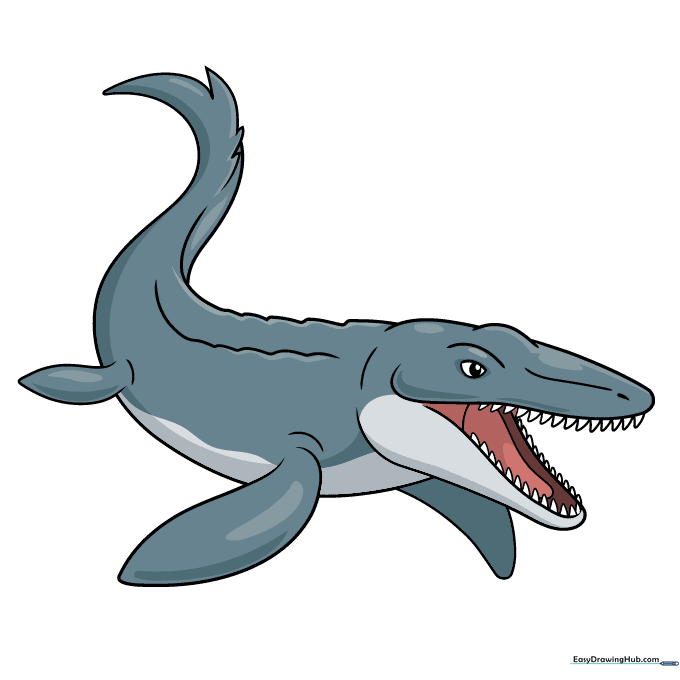
Now for the fun part! Use shades of gray or blue. Since we don't know their exact colors, try a 'countershading' technique: use a darker color on the top and a lighter color on the belly, just like a modern shark.
More Tutorials


