How to Draw a Morning Glory: Easy 10-Step Guide
Bring the garden to your sketchbook with this simple morning glory tutorial, perfect for artists ages 5 and up. You will only need a pencil, an eraser, and your favorite coloring supplies to create this vining beauty. Follow along to master organic shapes and flowing lines while building your confidence as an artist.
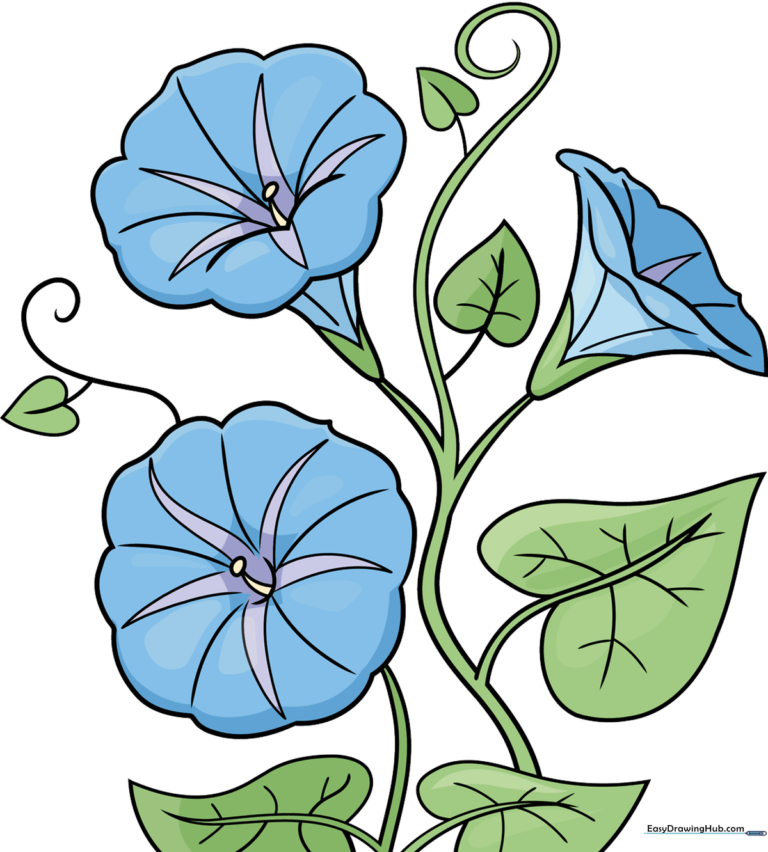
🎯 Final Result
Step-by-Step Instructions
Step 1: Sketching the First Blossom
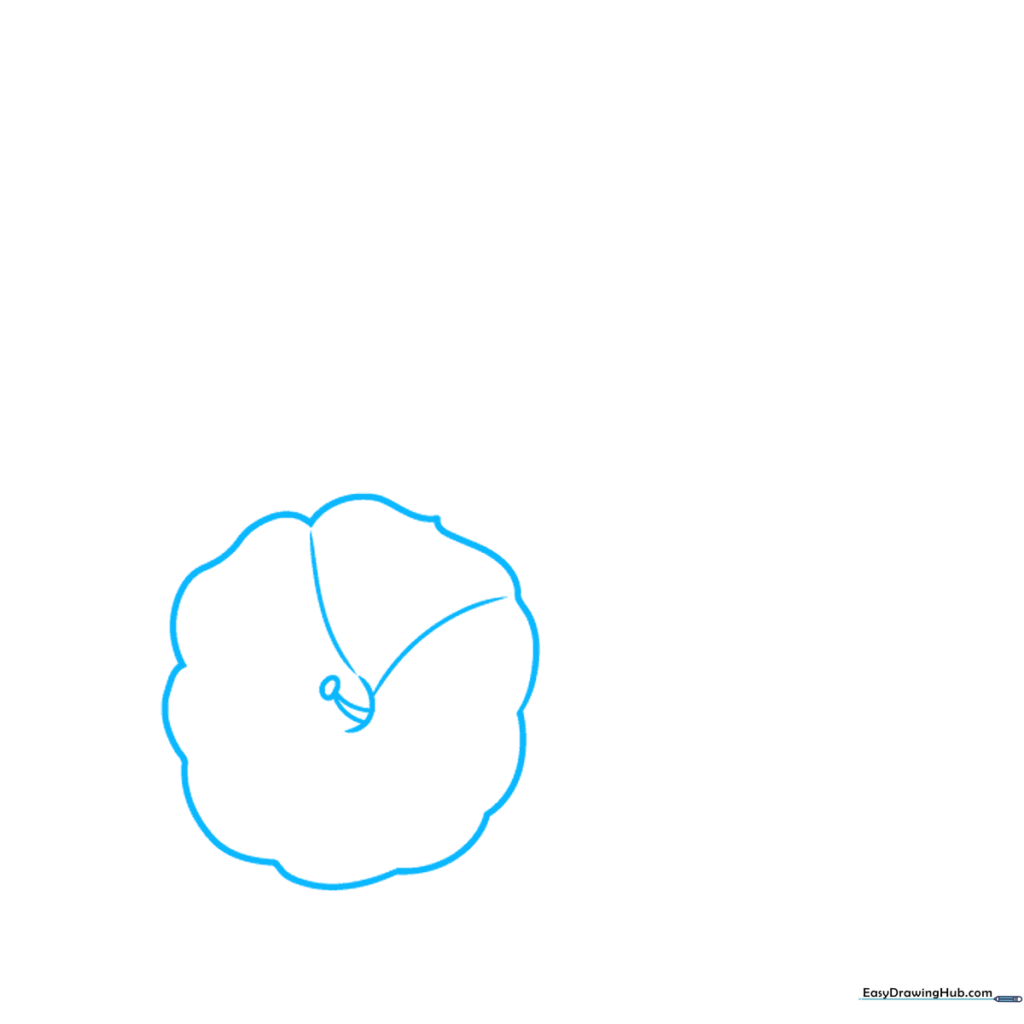
Start by drawing a wavy, circular shape for the flower head. Add a small 'C' shape in the center, then draw two short lines meeting at a point to form the stamen, finishing with a tiny oval for the anther. Teacher's Tip: Keep your pencil pressure light here; the wavy edges don't need to be perfect!
Step 2: Defining the Petals and Stem
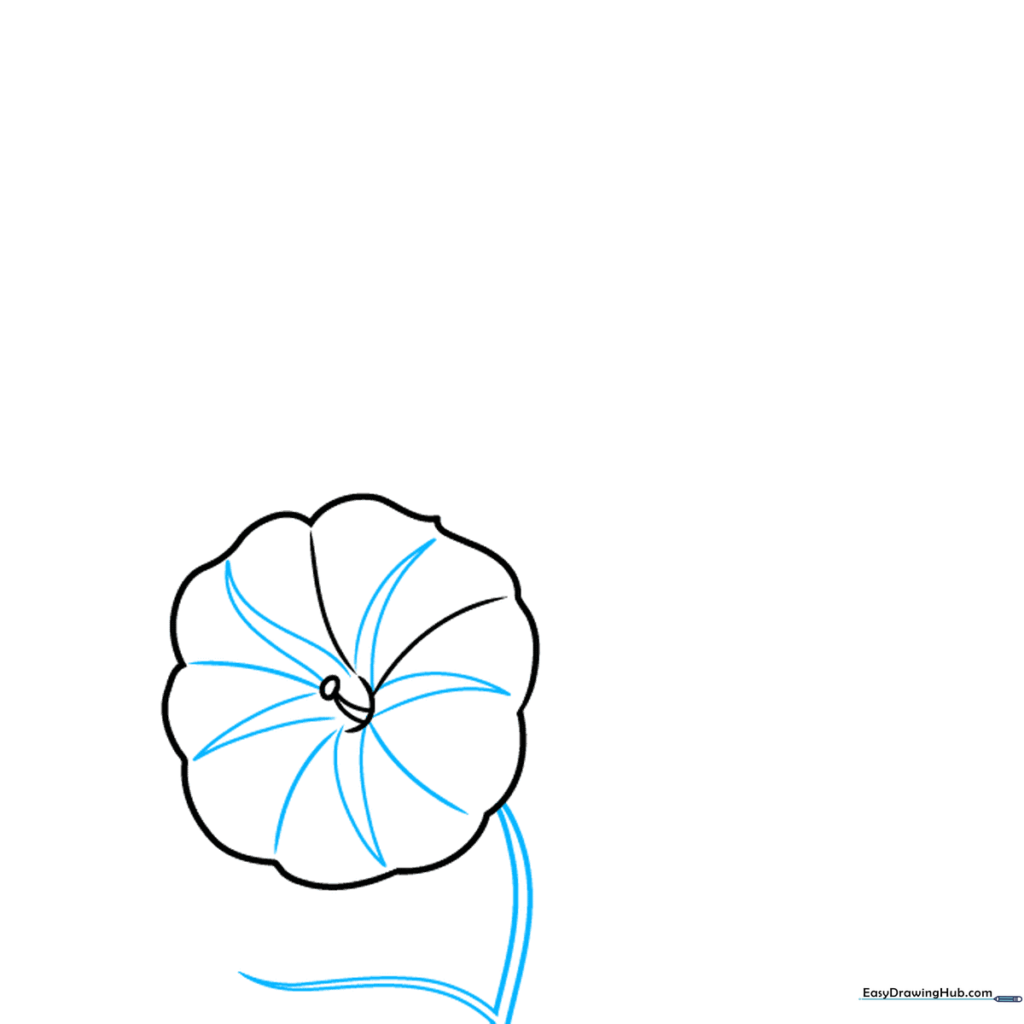
Divide your flower into five distinct petals using curved lines radiating from the center. Add a small triangular stripe to each petal for depth. Below the flower, draw two curved lines to start the stem and a leaf vein. Teacher's Tip: Think of the petals like a fan; keep the spacing roughly equal for a balanced look.
Step 3: Adding Heart-Shaped Leaves
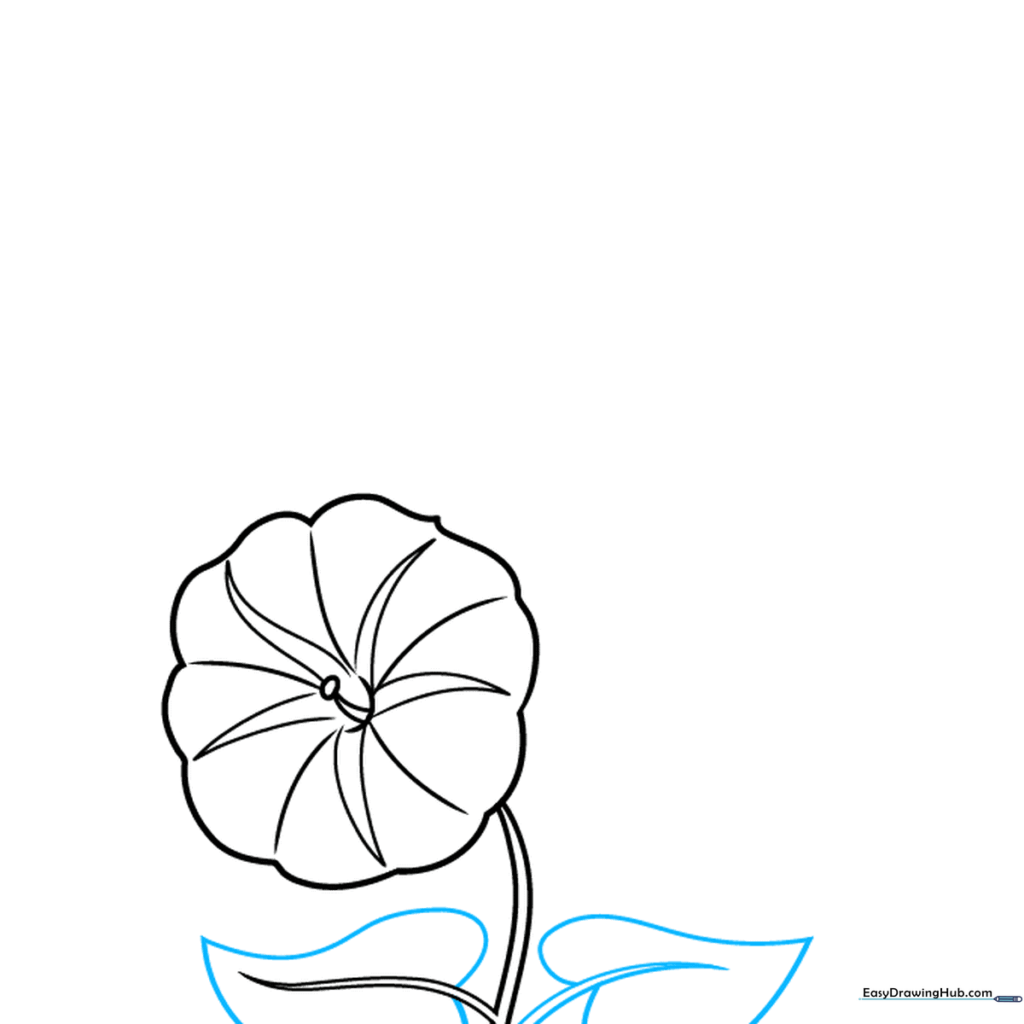
Extend the leaf structure by drawing heart-shaped outlines around the veins you created. Teacher's Tip: Nature isn't perfectly symmetrical, so don't worry if one side of your leaf is slightly larger than the other—it makes your drawing look more realistic!
Step 4: Drawing the Vining Stem
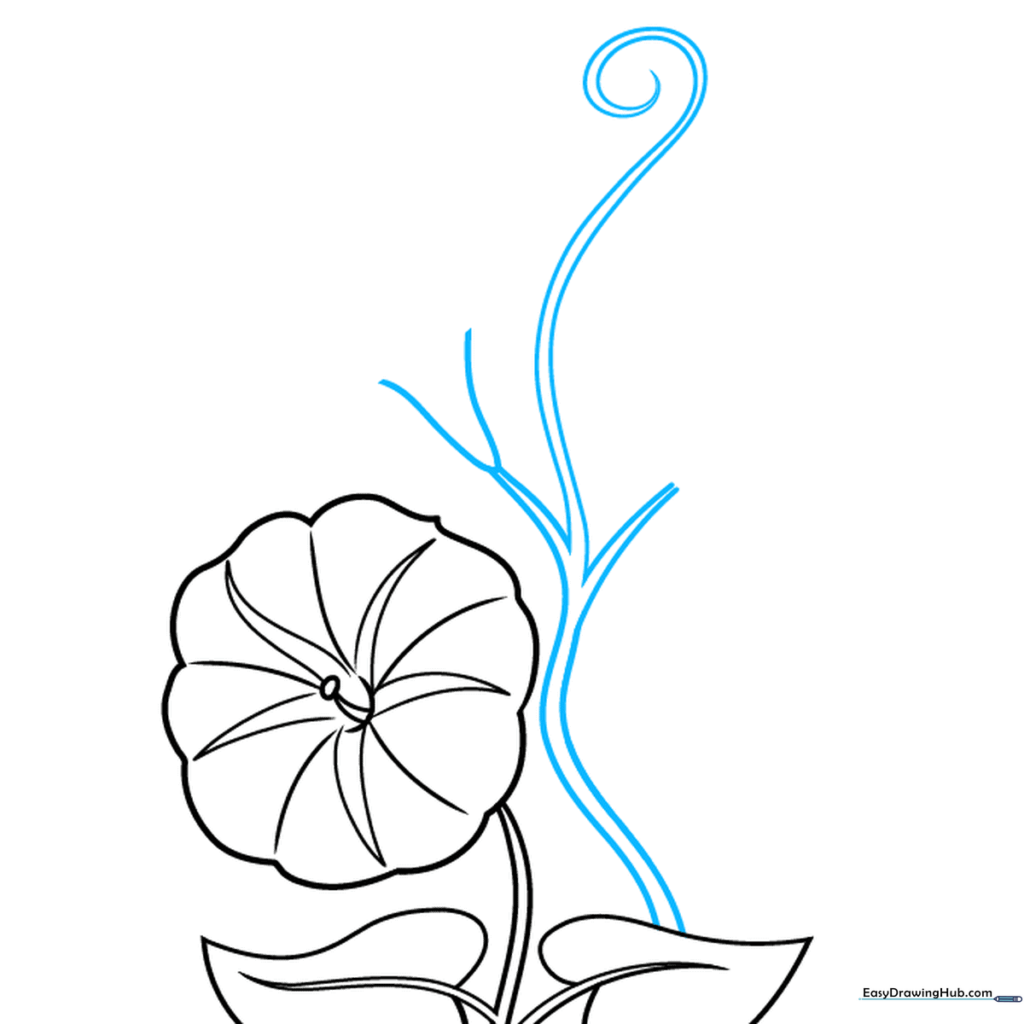
Draw a long, winding stem that branches out across your page. Add a small, spiraling tendril at the top. Teacher's Tip: Use a fluid, continuous motion with your wrist to make the vine look like it's growing naturally.
Step 5: Sketching a Second Blossom
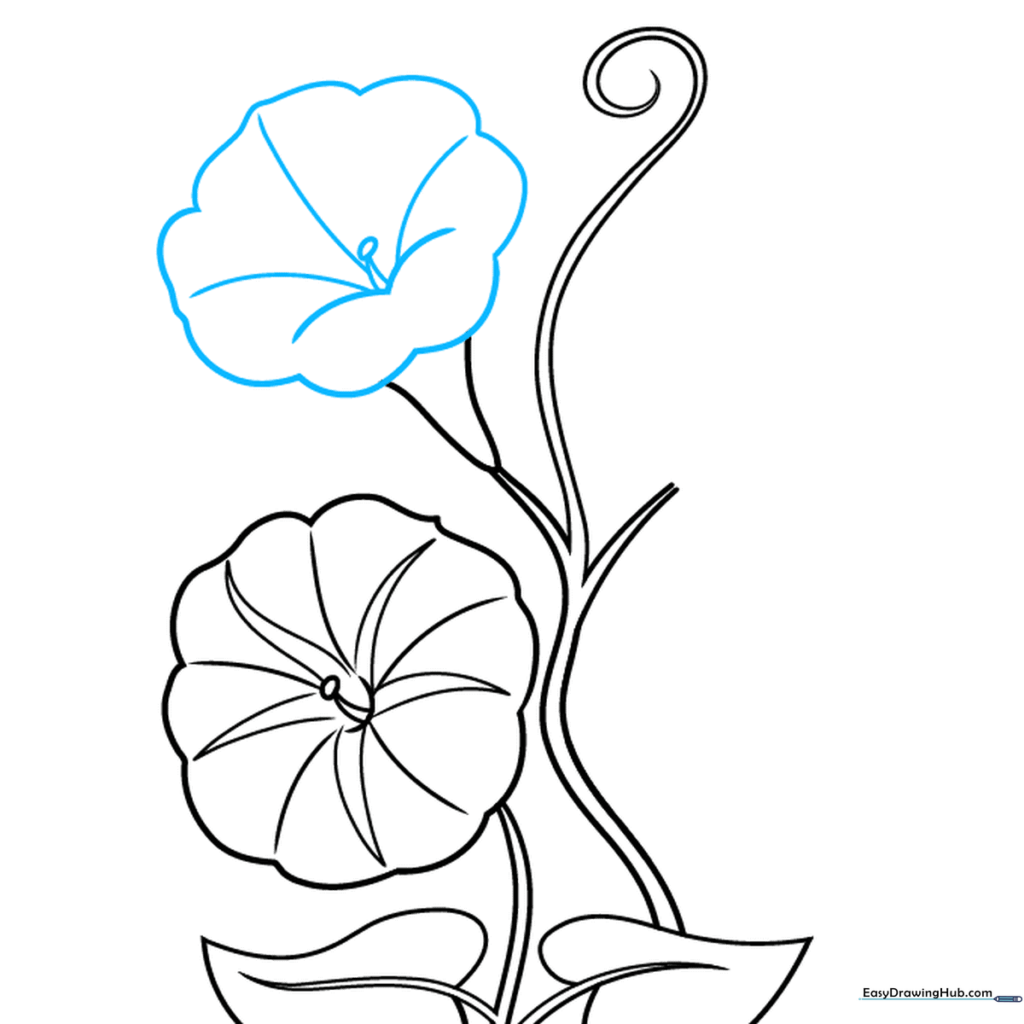
Create a second flower head using a wavy, scalloped line. Add the central stamen details just like you did in step one. Teacher's Tip: Varying the size of your flowers adds visual interest to your composition.
Step 6: Detailing the Petals
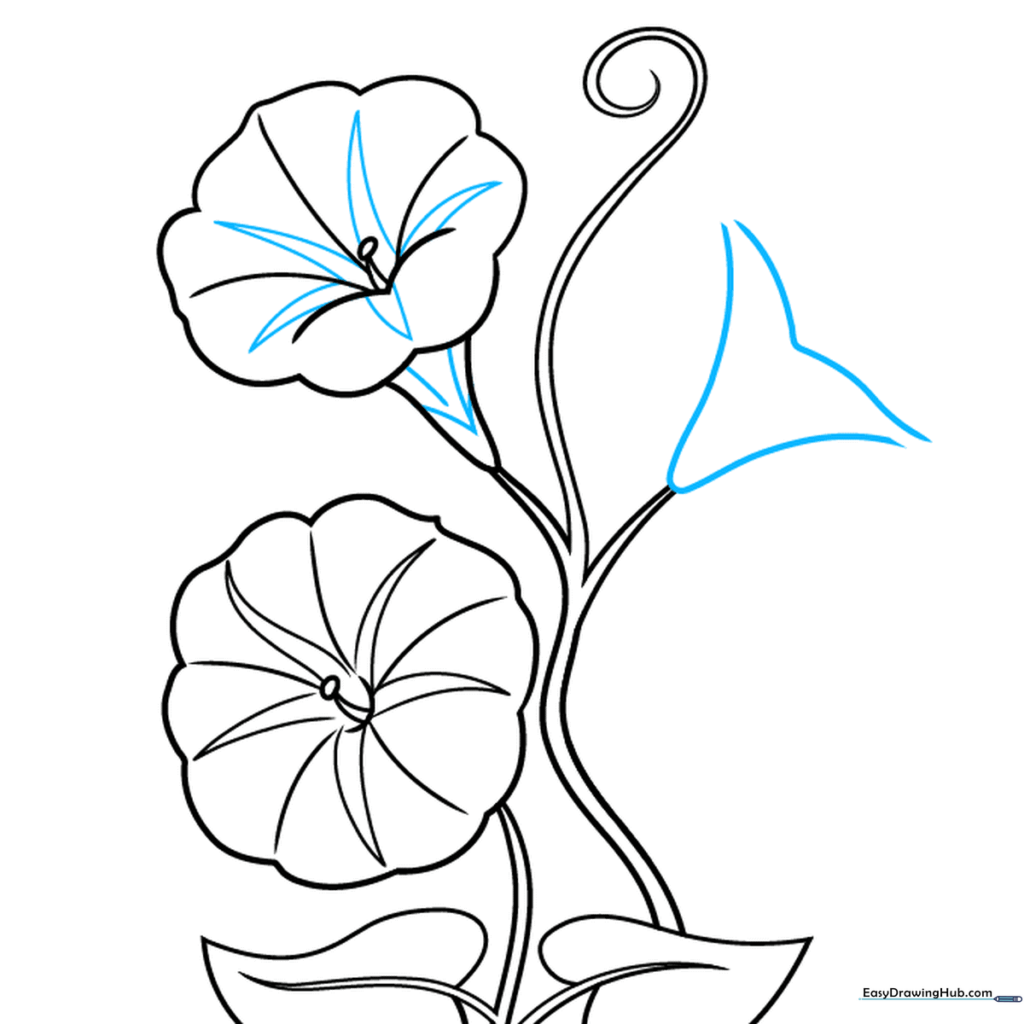
Add triangular stripes to the petals of your second flower and define the sepals at the base. Start the outline of a third, partially hidden flower. Teacher's Tip: Use a 'V' shape to show where the flower meets the stem.
Step 7: Refining the Flower Shapes
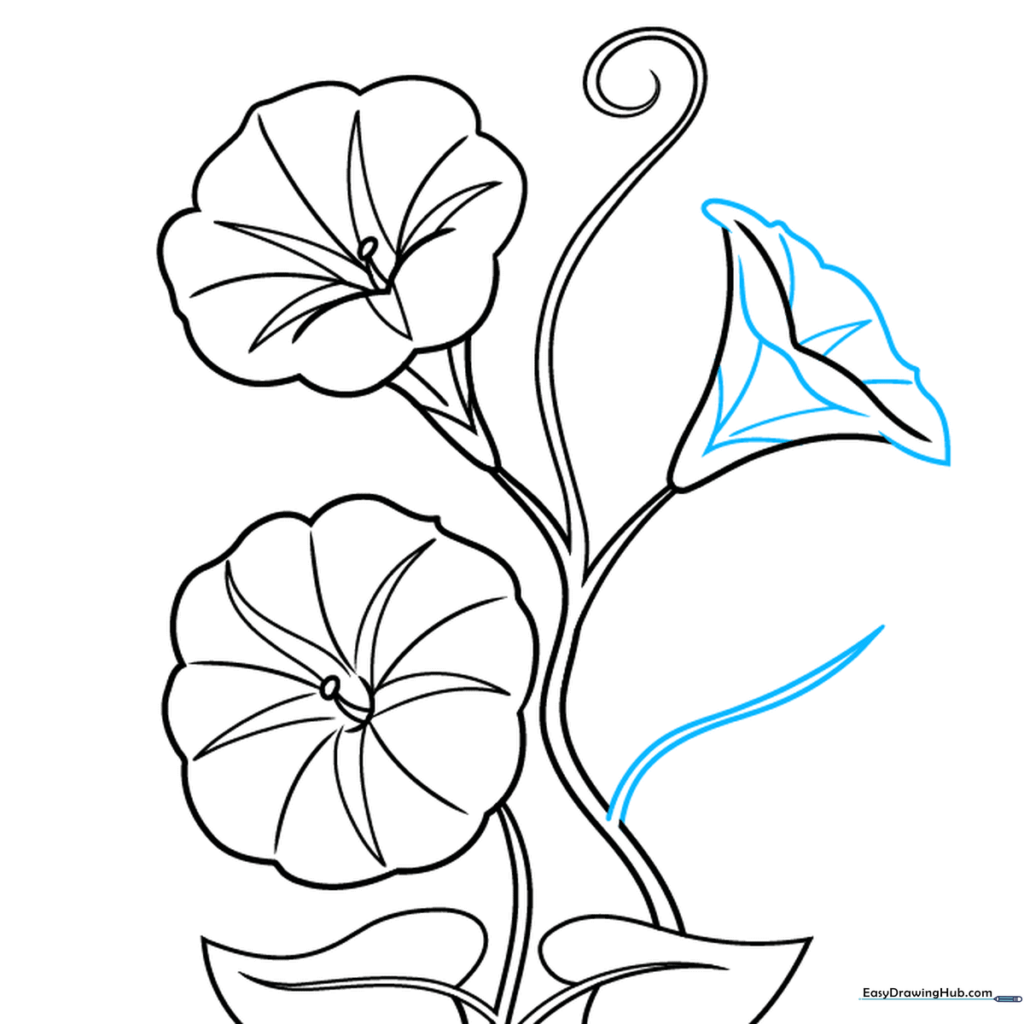
Connect the lines of your third flower with a wavy edge. Add final details like petal stripes and stem connections. Teacher's Tip: If your lines look a bit shaky, try rotating your paper to find a more comfortable angle for your hand.
Step 8: Adding Foliage
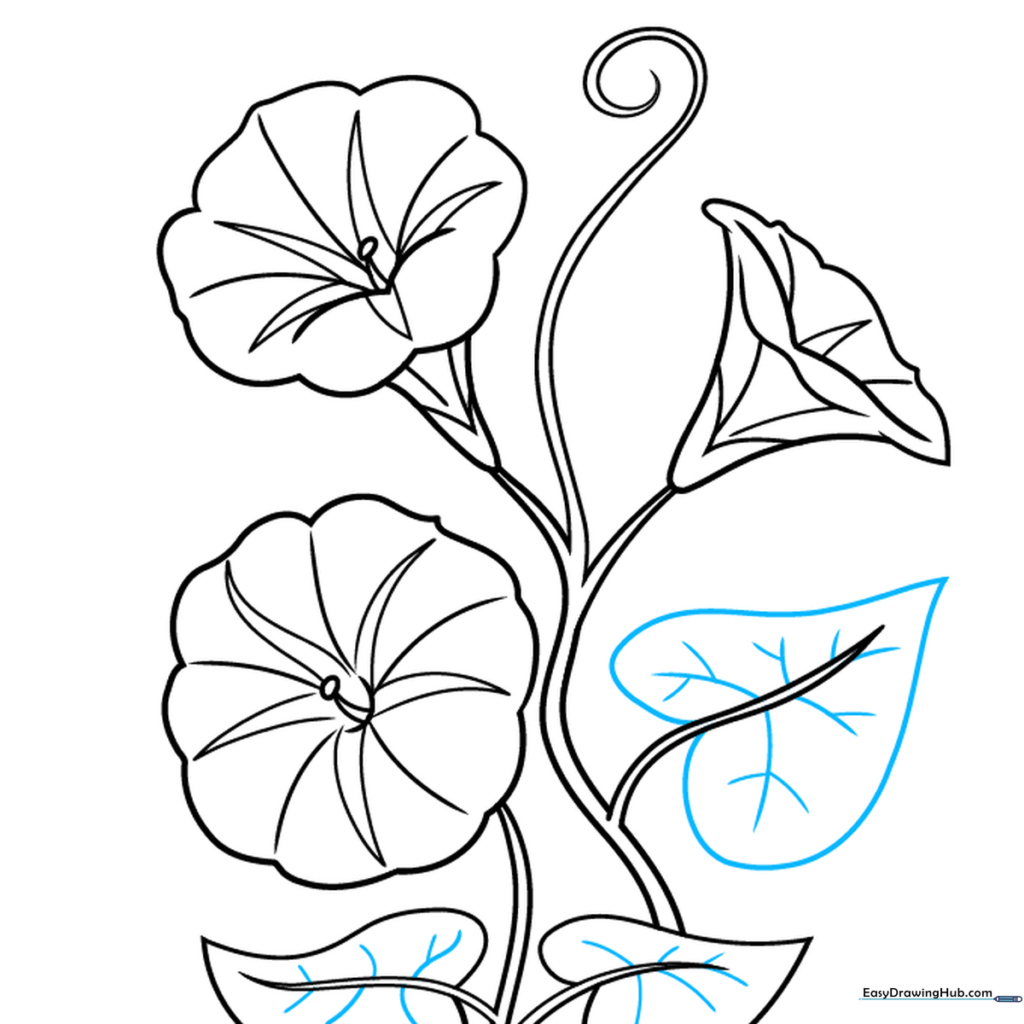
Draw more heart-shaped leaves along the vine and add small lines to represent leaf veins. Teacher's Tip: Vary the size of the leaves to make the plant look fuller and more established.
Step 9: Final Touches
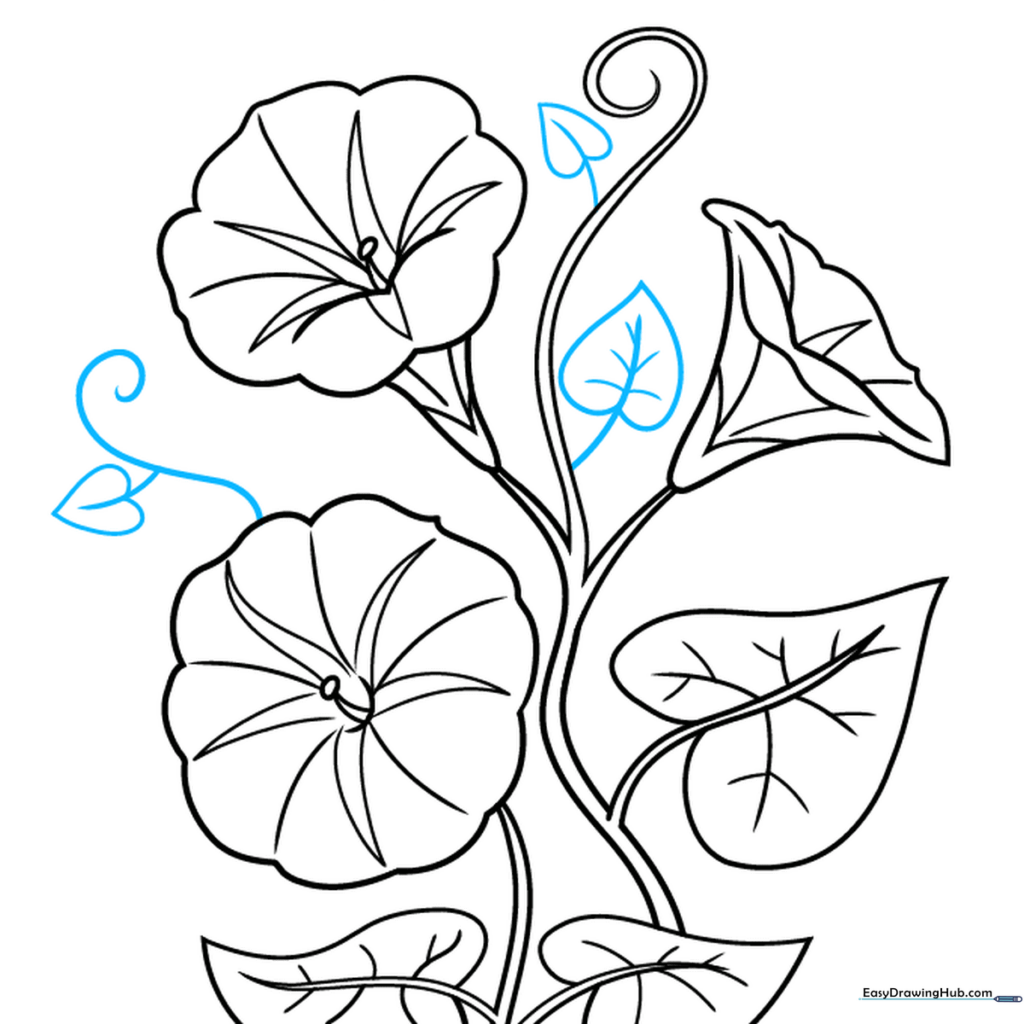
Add any final small leaves or spiraling tendrils to fill in empty spaces on your vine. Teacher's Tip: Check your drawing for any stray pencil marks and erase them now to prepare for coloring.
Step 10: Coloring Your Masterpiece
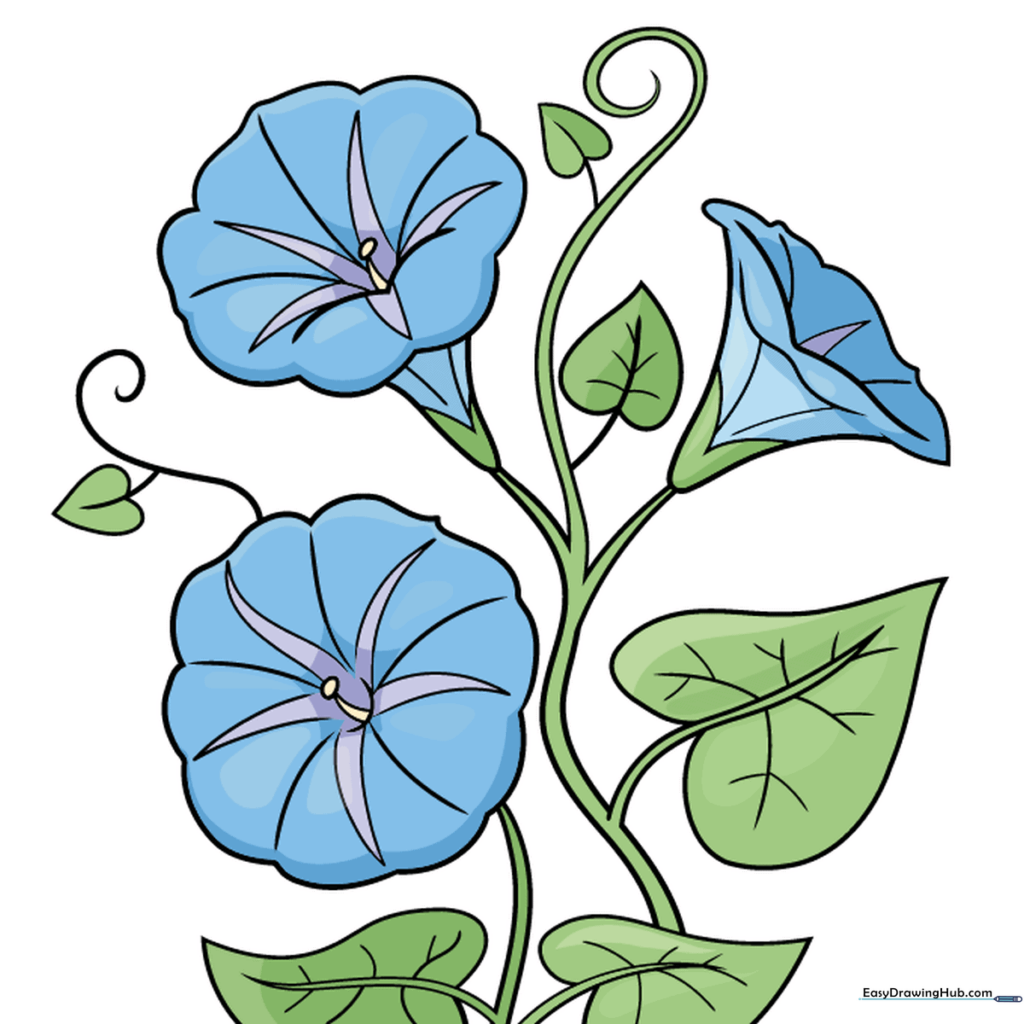
Bring your morning glory to life with color! Use vibrant purples, pinks, or blues. Add a lighter shade in a star-like pattern around the center to make the flower pop. Teacher's Tip: Use a darker shade of green for the veins of the leaves to add contrast.
More Tutorials


