How to Draw a Monster Face: Easy 10-Step Guide
Ready to create your own friendly beast? This tutorial is perfect for young artists ages 5 and up. All you need is a pencil, an eraser, and some paper to bring your unique monster to life while practicing symmetry and expressive character design.
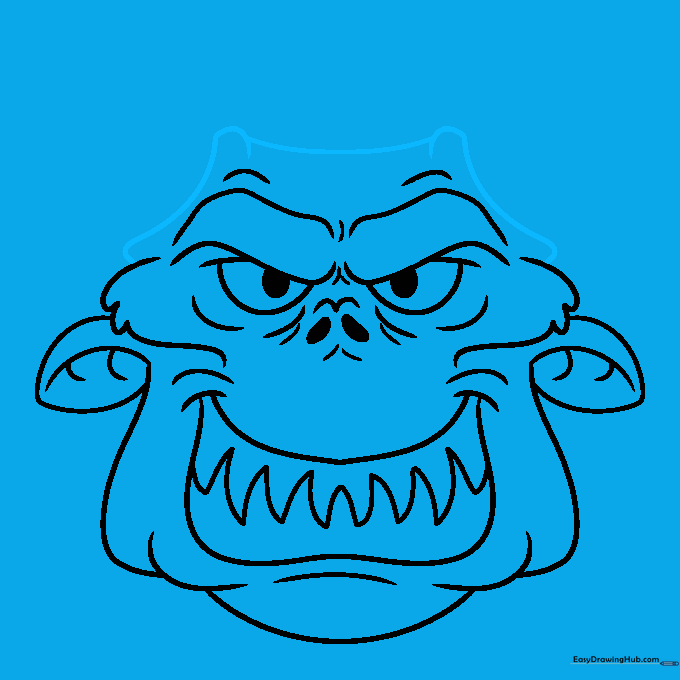
🎯 Final Result

Step-by-Step Instructions
Step 1: Sketching the Eye Sockets

Draw two curvy lines that look like a rotated letter 'S'. Underneath each, sketch a lemon shape with a small oval in the center. Teacher's Tip: Keep these shapes light; they act as the foundation for your monster's expression.
Step 2: Adding Brow Details

Draw a rounded 'M' shape between the eyes, then add two ovals with short lines beneath them. Sketch loose, uneven shapes over the eyes to create a grumpy or silly brow. Tip: Don't worry about perfection; monsters look better when they are a little lopsided!
Step 3: Defining the Nose and Mouth
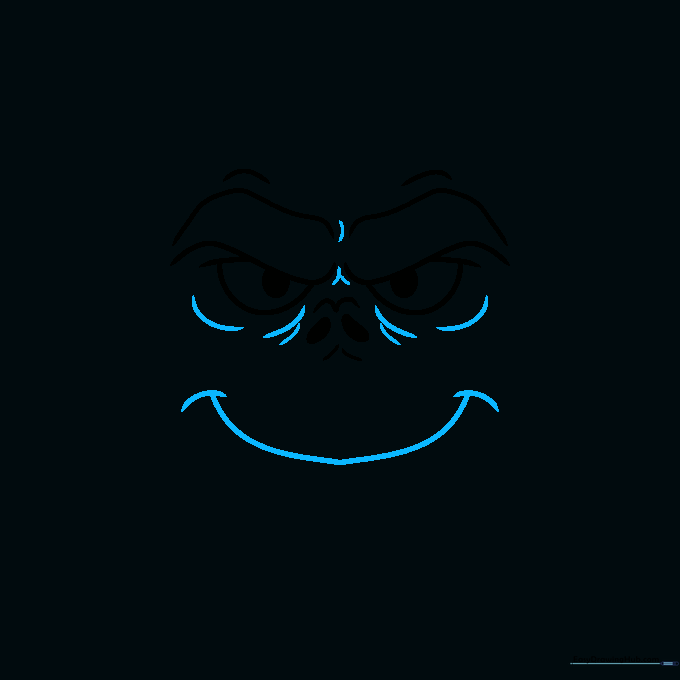
Outline the mouth using a wide curve with a small dash on either side. Add curvy lines around the eyes and nose to give the face texture. Tip: Use short, quick strokes to make the skin look bumpy and monstrous.
Step 4: Drawing the Teeth

Complete the mouth by drawing two wide loops and connecting them. Add uneven triangles for the teeth. Tip: Make the teeth different sizes to give your monster a fun, chaotic grin.
Step 5: Shaping the Head
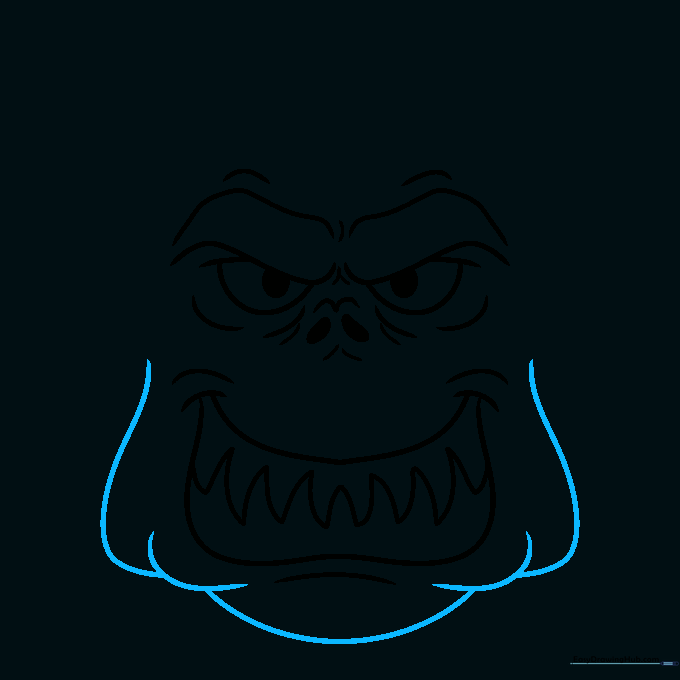
Draw a short loop on either side of the mouth, then outline the rest of the head with taller, rounded loops. Add a curve at the bottom for the chin. Tip: Try to keep your hand loose to create natural, organic shapes.
Step 6: Adding Side Details
Sketch two loops that end in long, curved lines on each side of the head. These will eventually become part of the monster's unique features. Tip: Imagine these are like little ears or tufts of fur.
Step 7: Adding Depth

Draw a lemon shape on both sides of the face, then add extra curves for depth. Tip: These shapes help make your monster look 3D rather than flat on the page.
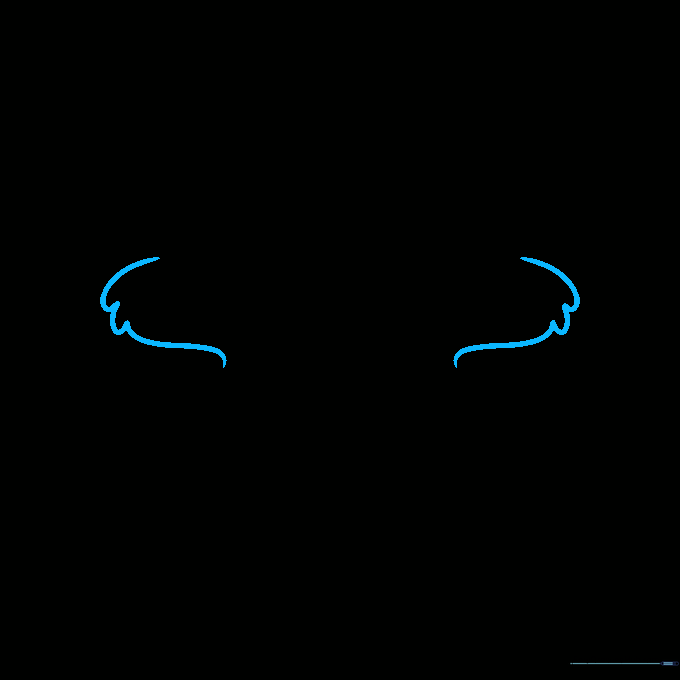
Step 8: Creating the Horns
Make a tube shape on each side that looks like a hot dog. Connect them with a curved line across the top. Tip: If you want a scarier monster, make these horns pointier!
Step 9: Finalizing the Horns
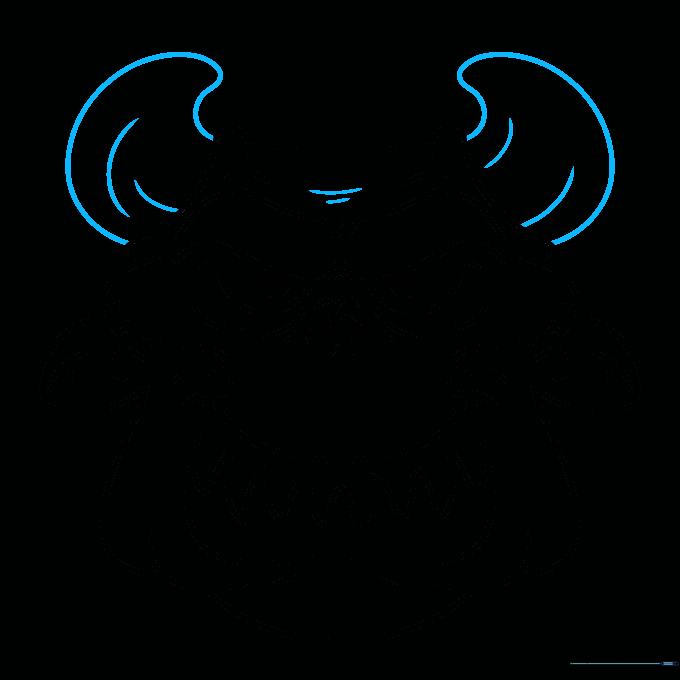
For each horn, start with a short curve and extend it into a large, sweeping curve. Sketch two lines above the brow for extra detail. Tip: Think of the horns on Sully from Monsters, Inc. for inspiration!
Step 10: Adding Color
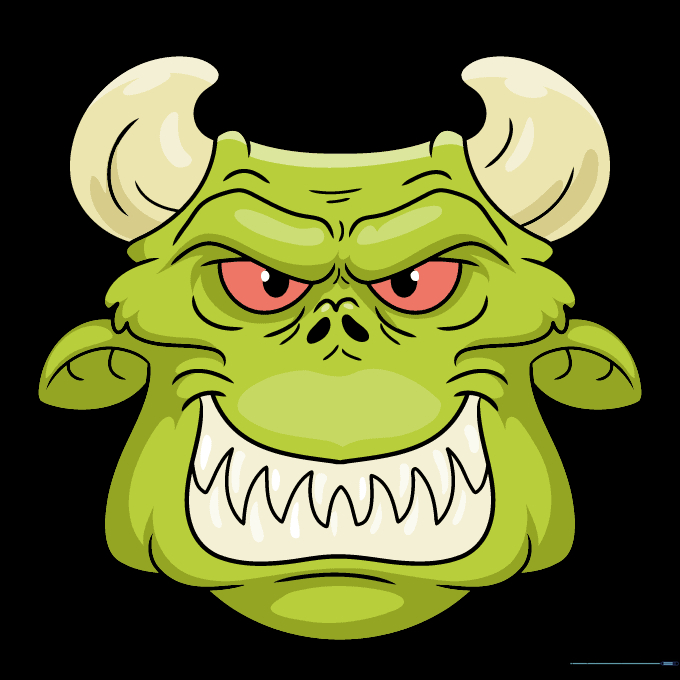
Outline your monster with a black pen, then erase your pencil marks. Color the face olive green, the eyes red, and the teeth off-white. Tip: Use light, circular motions with your colored pencils for a smooth, even look.
More Tutorials


