How to Draw a Monarch Butterfly: Easy 10-Step Guide
Bring the beauty of nature to your sketchbook with this simple Monarch butterfly tutorial, perfect for artists ages 5 and up. All you need is a pencil, an eraser, and a piece of paper to get started. By following these clear, guided steps, you will master the iconic wing patterns and delicate body shape of this famous insect.
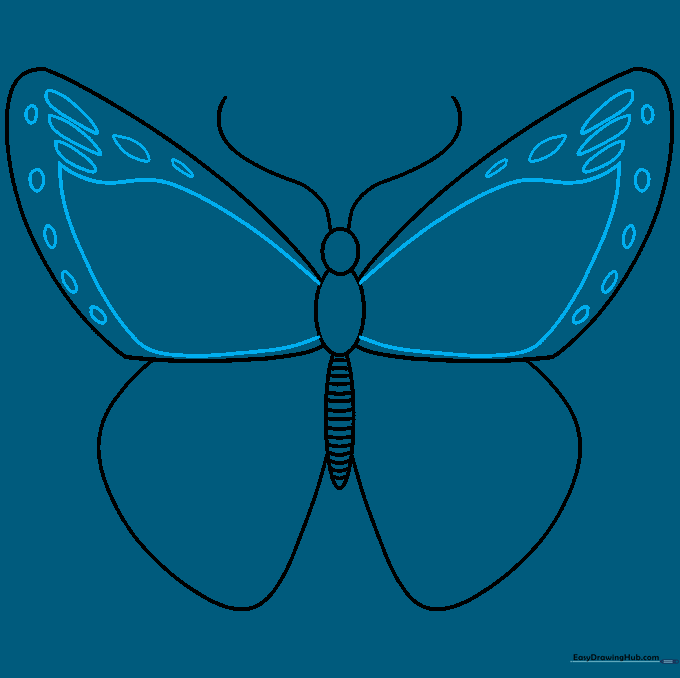
🎯 Final Result
Step-by-Step Instructions
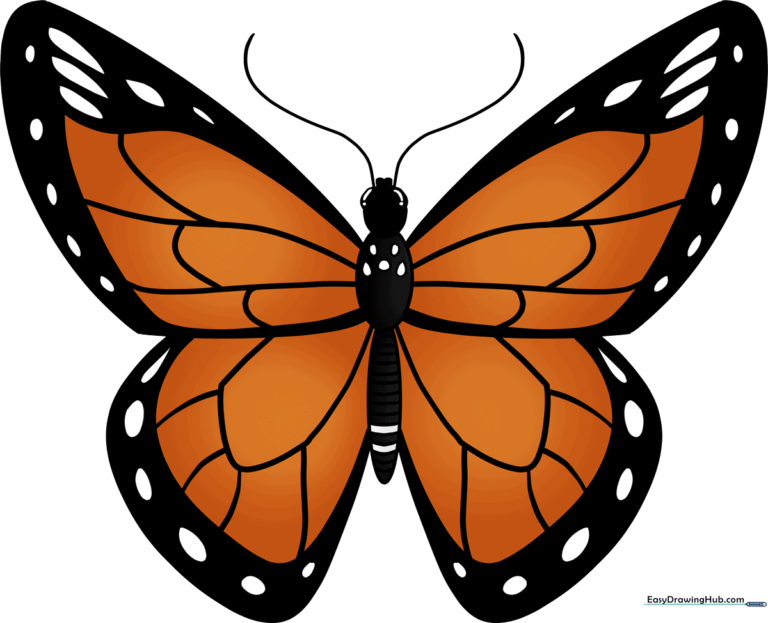
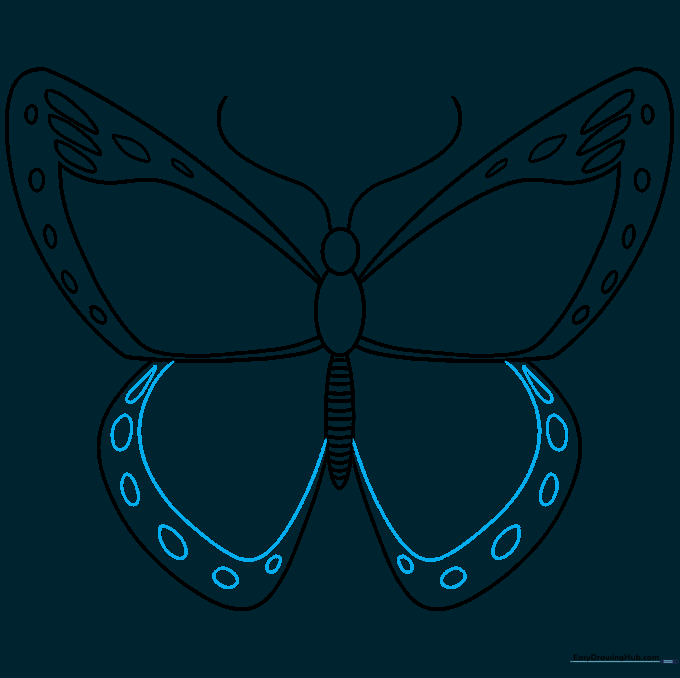
Step 1: Sketching the Body Segments

Draw a small circle for the head, a medium oval for the thorax, and a long, narrow oval for the abdomen. Tip: Keep your pencil lines light and loose so they are easy to clean up later!
Step 2: Refining the Outline and Antennae
Erase the overlapping lines inside the body. Add two long, curved lines on the head for antennae, and draw large, sweeping curves from the thorax to create the primary wing shapes. Tip: Use a smooth, continuous motion for the wings to make them look graceful.
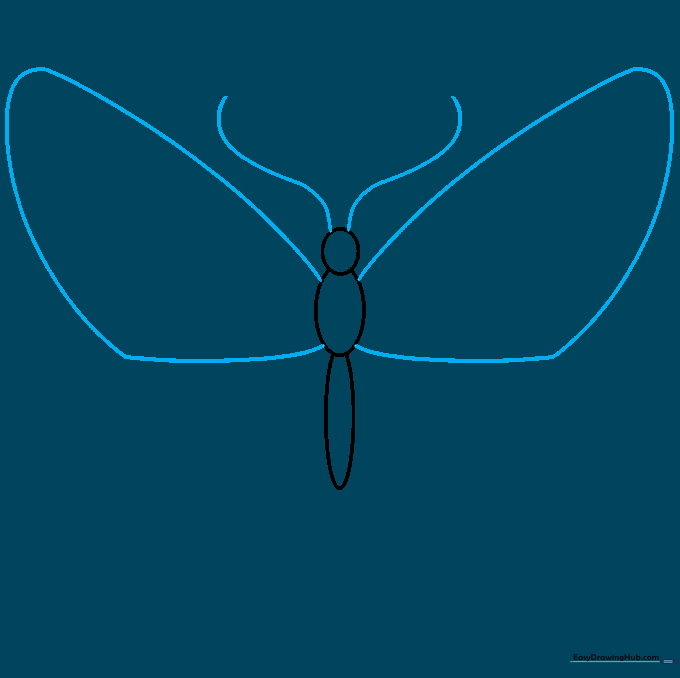
Step 3: Defining the Lower Wings
Extend a curved line from the bottom of each wing and loop it back to the abdomen to form the hindwings. Tip: Make sure the hindwings look slightly rounder than the top wings for a realistic look.
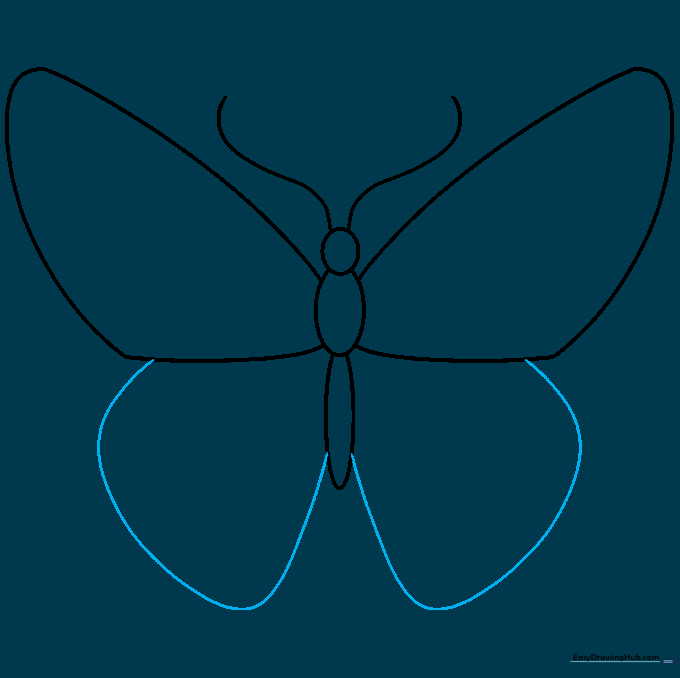
Step 4: Adding Abdominal Texture
Draw short, horizontal curved lines across the abdomen to create segments. Tip: Keep these lines evenly spaced to give the butterfly a natural, insect-like appearance.
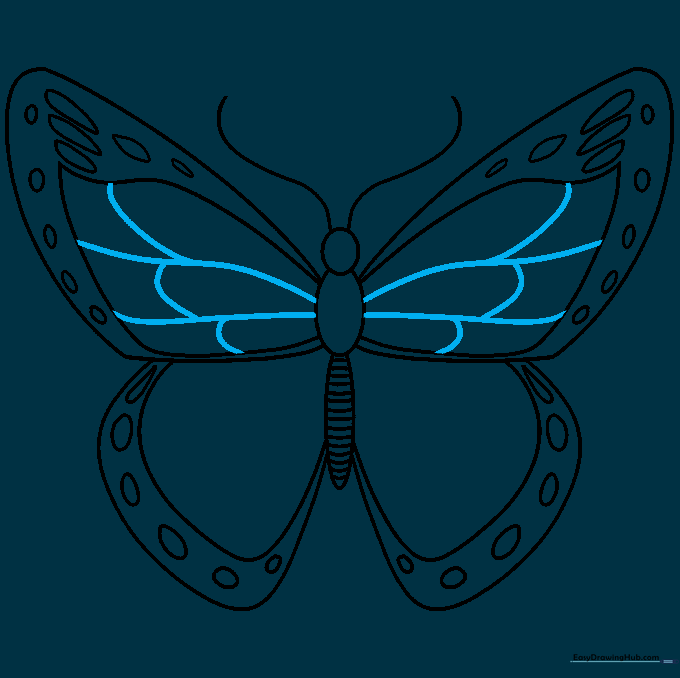
Step 5: Detailing the Forewings
Inside the top wings, draw two curved lines meeting at a point. Add small teardrop and oval shapes near the edges. Tip: These shapes will become the white spots on your butterfly, so leave them blank for now!
Step 6: Detailing the Hindwings
Draw a curved line inside each hindwing that follows the outer edge. Add more teardrop and oval shapes along the border. Tip: Symmetry is key here—try to match the shapes on the left wing to the right wing.
Step 7: Adding Wing Veins
Draw thin, curved lines radiating from the thorax toward the wing edges, then connect them with smaller cross-lines. Tip: Don't worry about making them perfectly straight; butterfly wings have organic, flowing patterns.
Step 8: Completing Hindwing Patterns
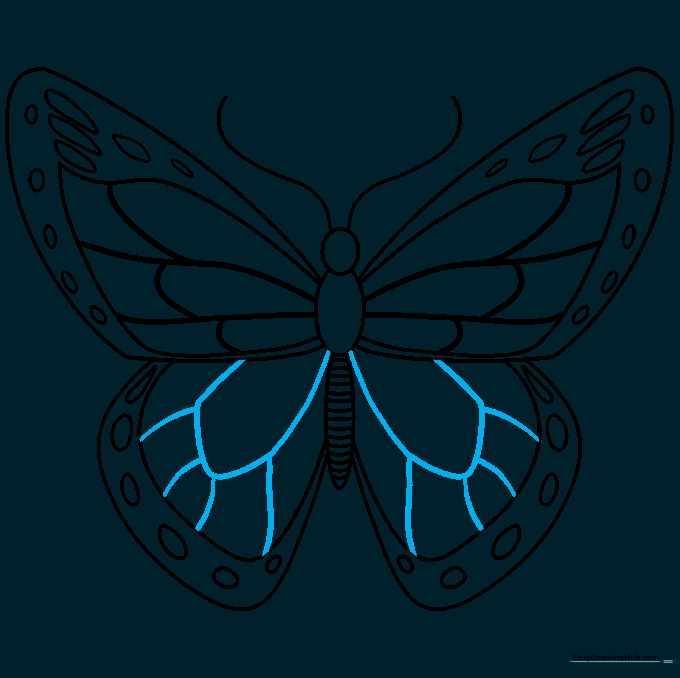
Add more vein details to the hindwings by drawing curved lines that double back on themselves. Tip: This creates the intricate 'stained glass' look that Monarchs are famous for.
Step 9: Final Touches on the Head
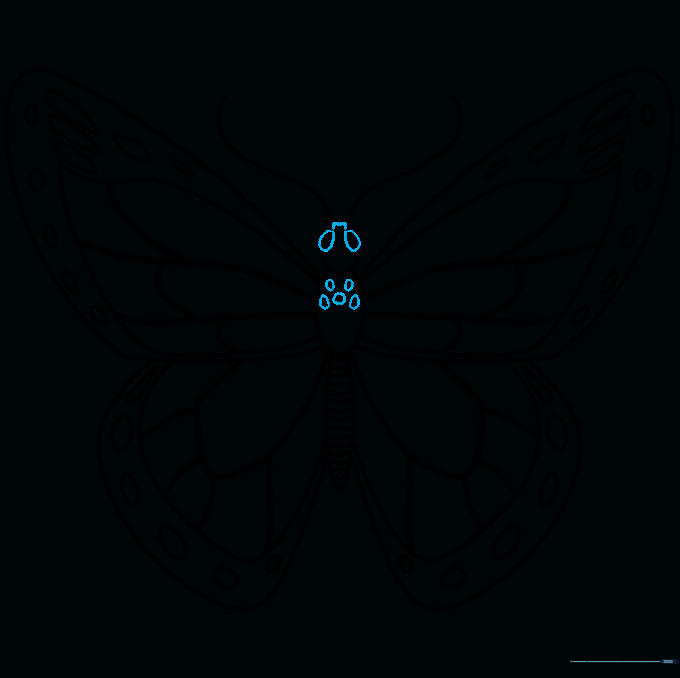
Draw a small, wavy shape between the antennae for the proboscis, and add two ovals on the sides of the head for eyes. Add a few final spots to the thorax. Tip: Use a fine-tip pen to outline your work before erasing your pencil guidelines.
Step 10: Bringing It to Life with Color
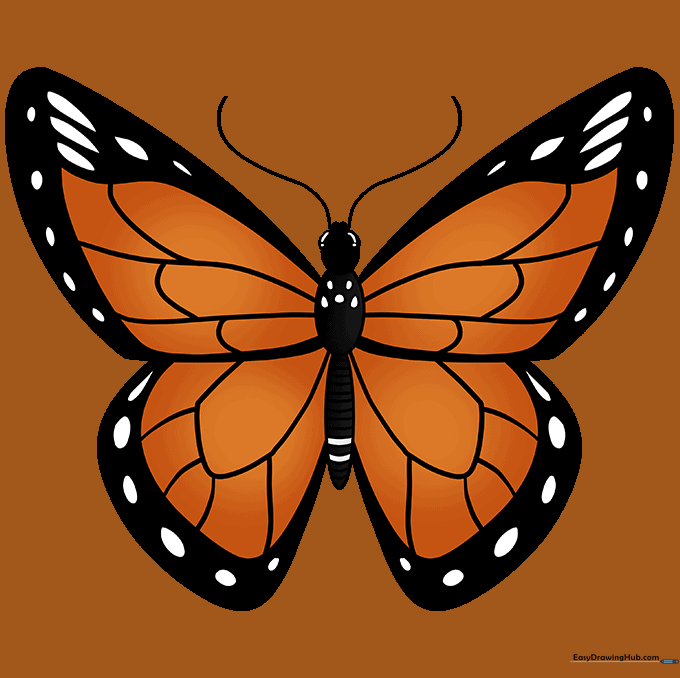
Time to color! Use vibrant orange for the main wing sections, black for the veins and borders, and leave the small spots white. Tip: Use a light touch with your markers to keep the colors bright and clean.
More Tutorials


