How to Draw a Mole: Easy 10-Step Guide for Kids
Ready to bring a burrowing friend to life? This tutorial is perfect for young artists ages 5 and up. You will only need a pencil, an eraser, and a piece of paper to master this adorable mole, helping you practice drawing organic shapes and textured fur lines.
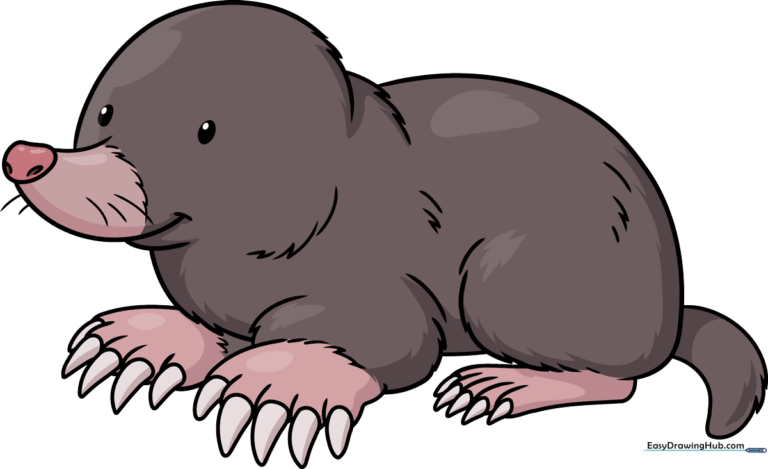
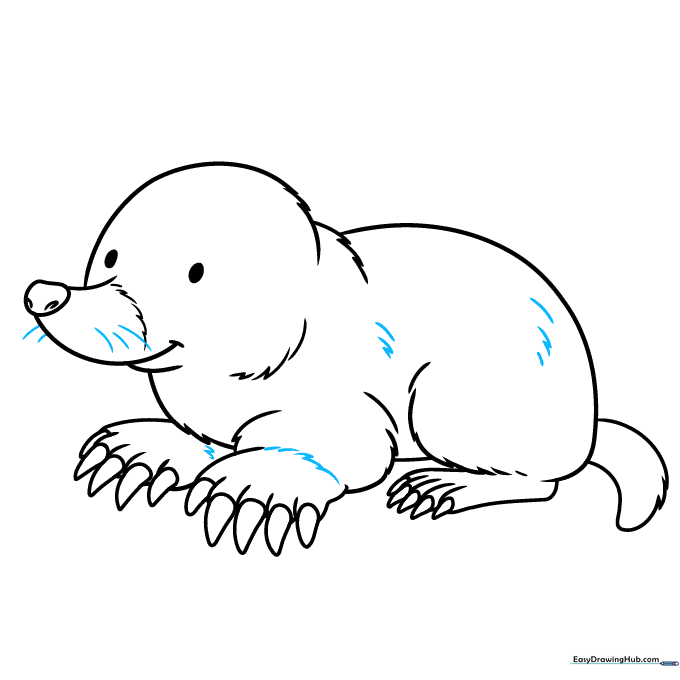
🎯 Final Result
Step-by-Step Instructions
Step 1: Sketching the Snout

Start by drawing an irregular rounded shape for the nose, then extend curved lines to form the snout. Tip: Keep your pencil pressure light here so you can easily adjust the shape if needed.
Step 2: Defining the Head and Fur
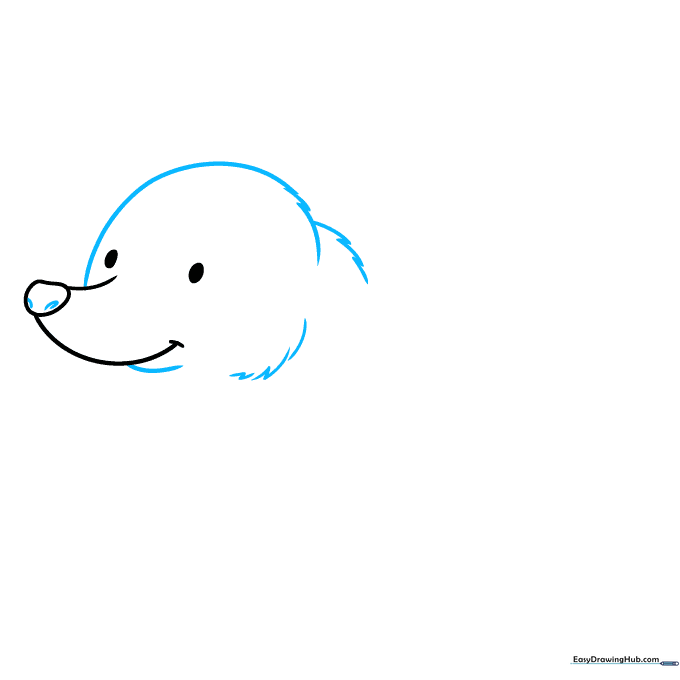
Outline the head and cheek using short, overlapping curved lines to create a jagged, furry texture. Tip: Don't worry about making the lines perfectly smooth; the 'messier' the line, the more realistic the fur looks!
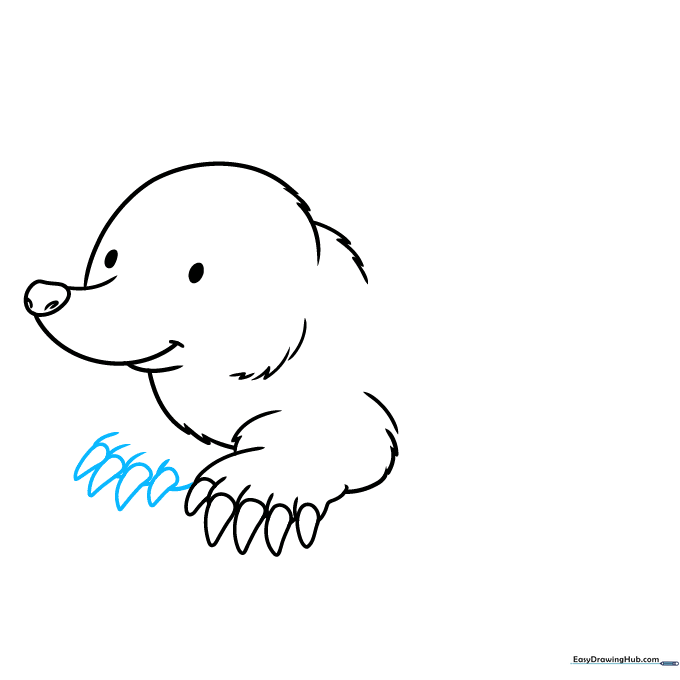
Step 3: Drawing the First Claw
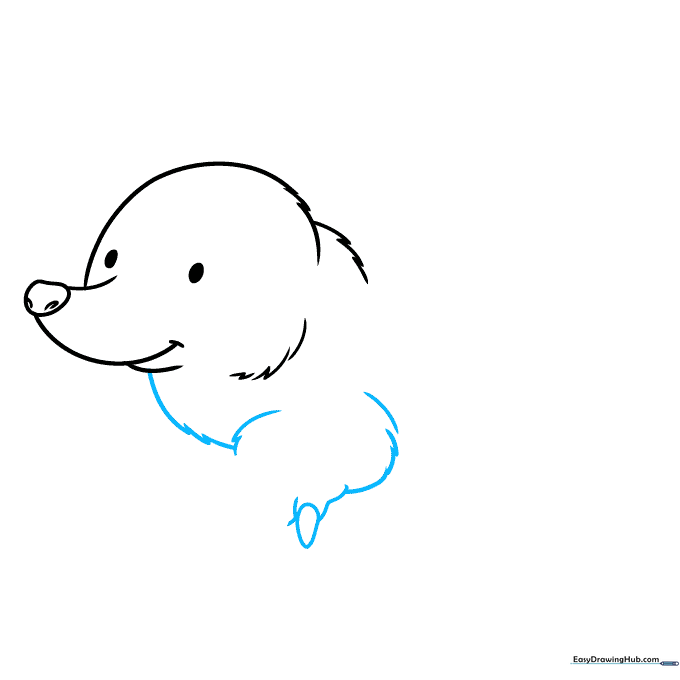
Use jagged lines to sketch the chest and the powerful forelimb. Add a teardrop shape at the end for the claw. Tip: Moles are expert diggers, so make that claw look strong and slightly pointed.
Step 4: Adding More Toes
Continue the paw by adding overlapping curved lines for the toes, each ending in a small teardrop claw. Tip: Try to vary the size of the toes slightly to make the paw look natural.
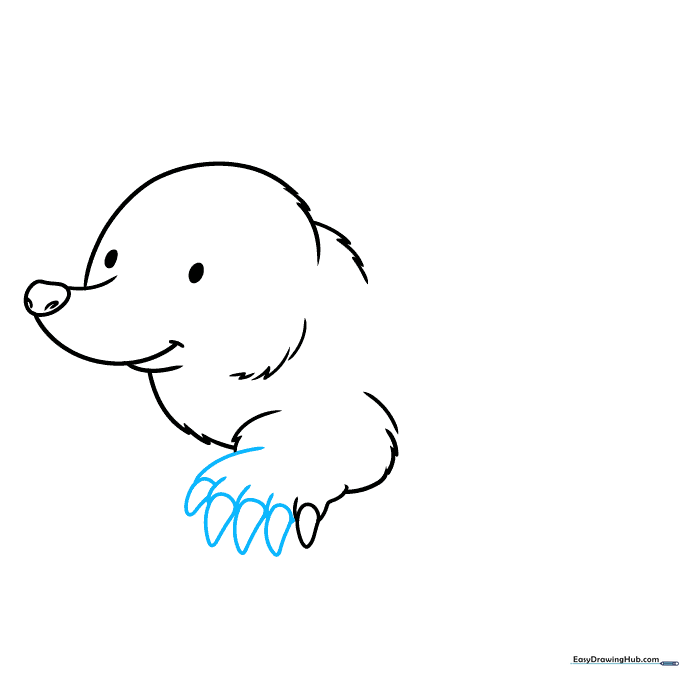
Step 5: Sketching the Second Paw
Draw the second paw using the same technique: overlapping curves for the toes and teardrop shapes for the claws. Tip: Since the mole is facing forward, this paw should look slightly behind the first one.
Step 6: Forming the Back and Hip
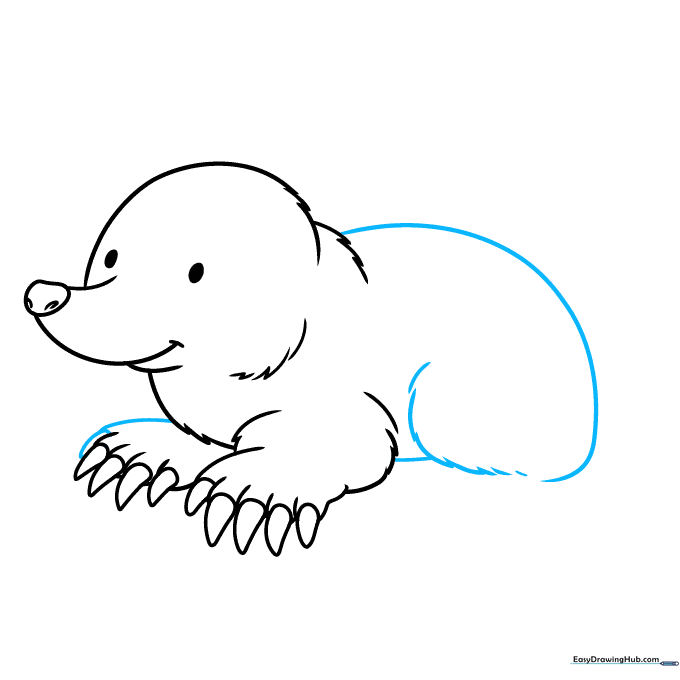
Finish the forepaw, then draw a long, smooth line for the back. Use short, jagged strokes for the hip area to maintain that furry look. Tip: Use a continuous motion for the back to keep the line clean.
Step 7: Adding the Rear Foot
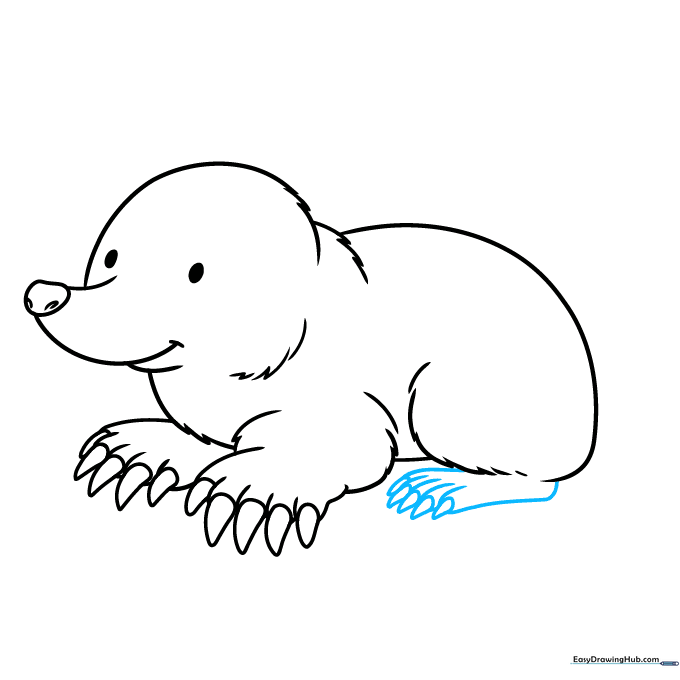
Draw the rear foot with smaller teardrop claws. Tip: Notice how the rear claws are smaller than the front ones; this helps show the mole's anatomy for digging versus walking.
Step 8: Adding Tail and Nose Details
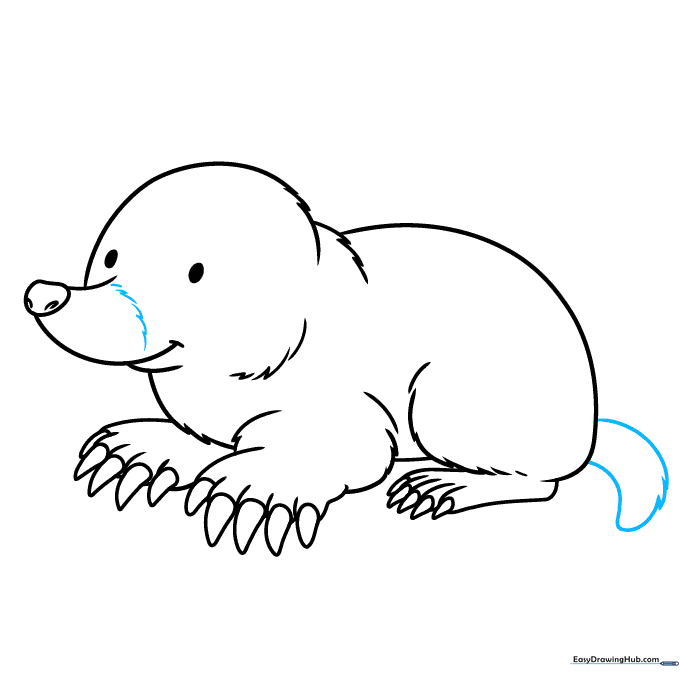
Enclose the tail with jagged lines and add a small, textured line across the nose. Tip: Keep the tail short and stubby—moles don't have long, flowing tails!
Step 9: Final Fur and Whiskers
Add final touches of fur texture along the back and paws using short, quick strokes. Don't forget the whiskers on the sides of the nose! Tip: Whiskers should be thin, straight lines to contrast with the fuzzy body.
Step 10: Color Your Mole

Your outline is finished! Use shades of light grey or brown to color your mole. Tip: Use a circular motion with your colored pencil to fill in the fur, leaving a little white space to make it look soft.
More Tutorials


