How to Draw a Mirror: Easy 9-Step Guide for Kids
Looking for a fun, creative project? This mirror drawing tutorial is perfect for artists ages 5 and up. All you need is a pencil, an eraser, and some paper to bring this classic object to life while practicing your symmetrical line work.
🎯 Final Result

Step-by-Step Instructions
Step 1: Sketching the Handle Base
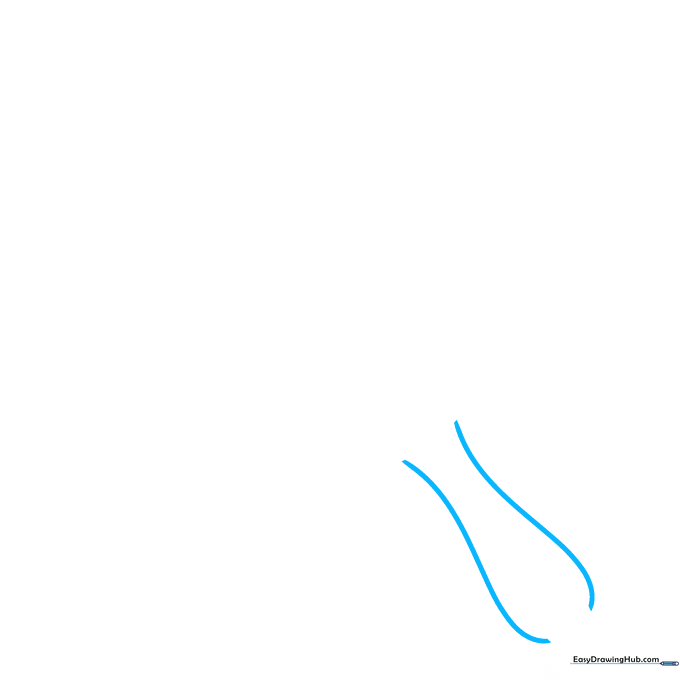
Start by drawing two gentle, parallel curved lines. These form the base of your mirror's handle. Tip: Keep these lines close together so the handle looks sturdy and balanced.
Step 2: Adding Decorative Curves

Connect the bottom of the handle with a small curve. At the top, add a series of cloud-like, scalloped lines. Tip: Don't worry about making these perfectly even; a little variation makes the mirror look more ornate.
Step 3: Defining the Handle
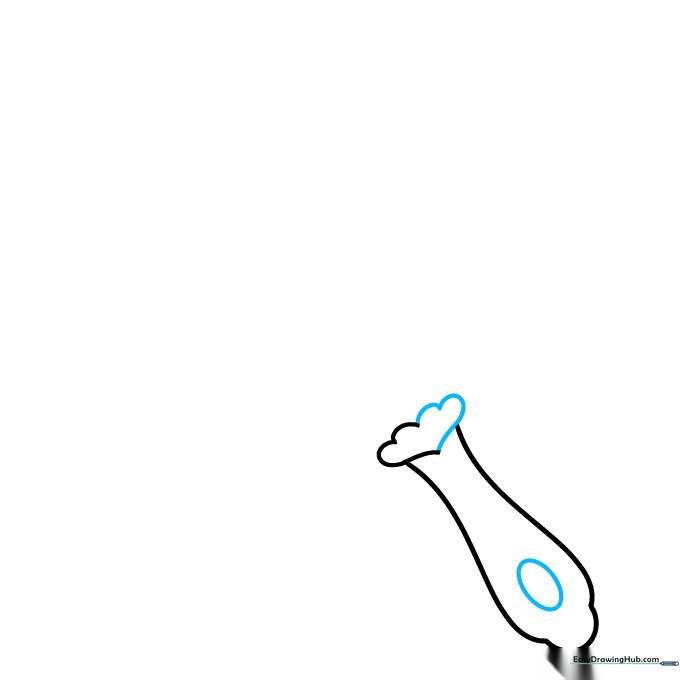
Continue the curved lines downward until they meet at a point. Add a small oval near the bottom of the handle for a decorative grip. Tip: Use a light touch for the oval so it looks like a subtle detail.
Step 4: Outlining the Frame
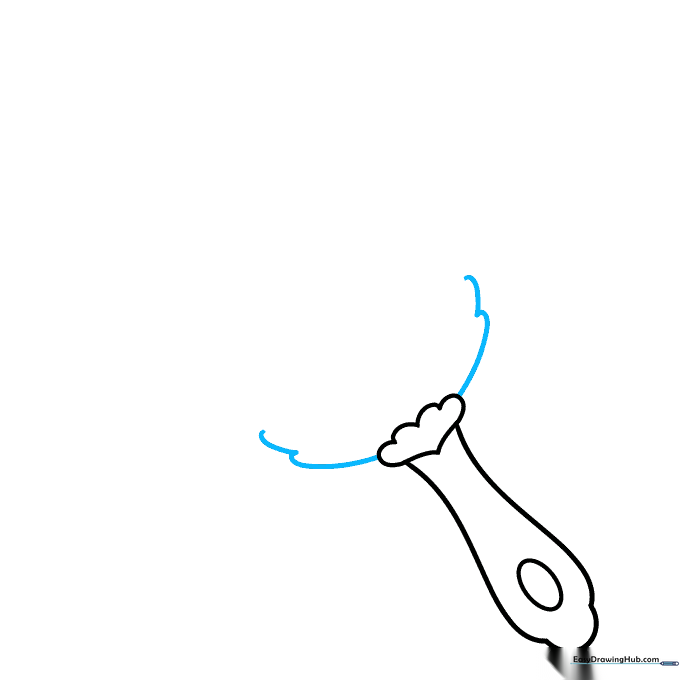
Extend a curved line outward from each side of the handle. Then, add another curve from those points to begin the outer frame. Tip: Imagine you are drawing the wings of a butterfly to keep the sides symmetrical.
Step 5: Shaping the Left Side
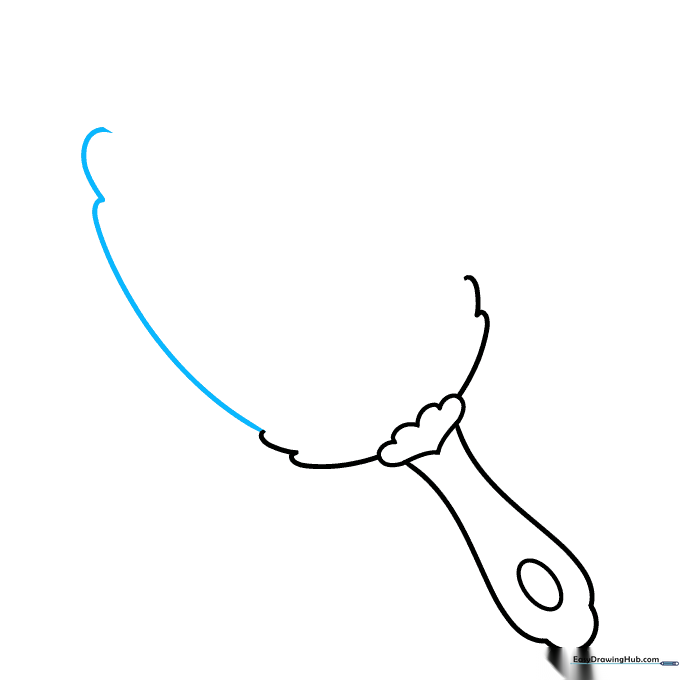
Draw a long, elegant curved line for the left side of the frame, followed by a shorter curve at the top. Tip: Use one fluid motion for the long curve to keep it looking smooth.
Step 6: Balancing the Right Side
Repeat the process on the right side, drawing a long and short curved line to match the left. Tip: Check your work by holding your paper up to a light to see if both sides look balanced.
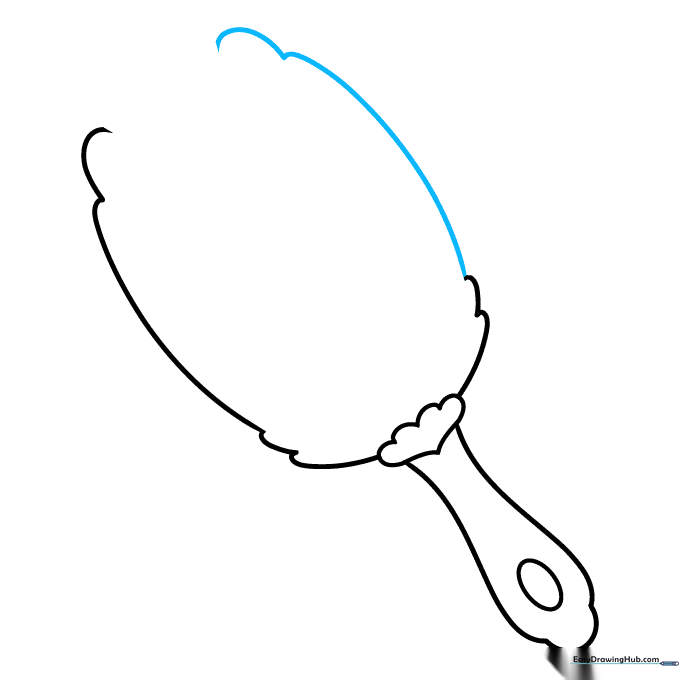
Step 7: Closing the Frame
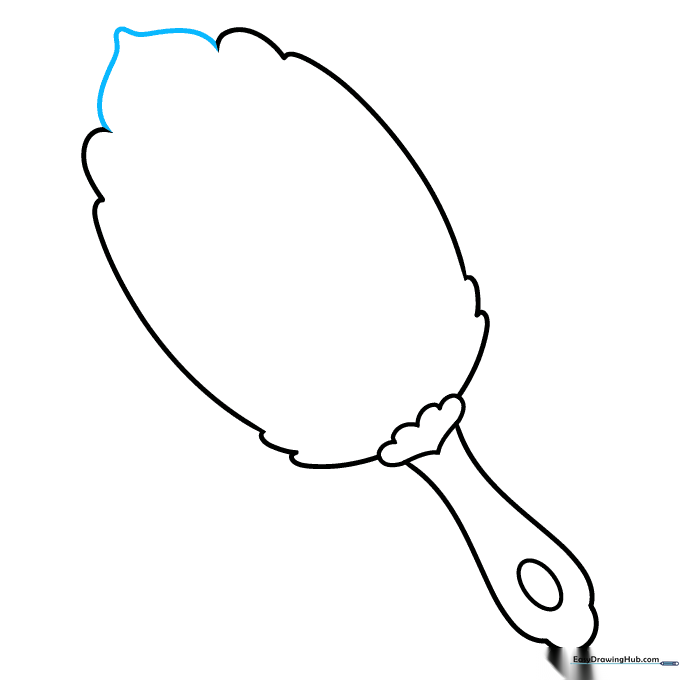
Extend the lines upward from both sides until they meet at a gentle point at the top. This completes the outer frame shape. Tip: If the point looks a bit sharp, use your eraser to soften the curve.
Step 8: Adding the Glass Reflection
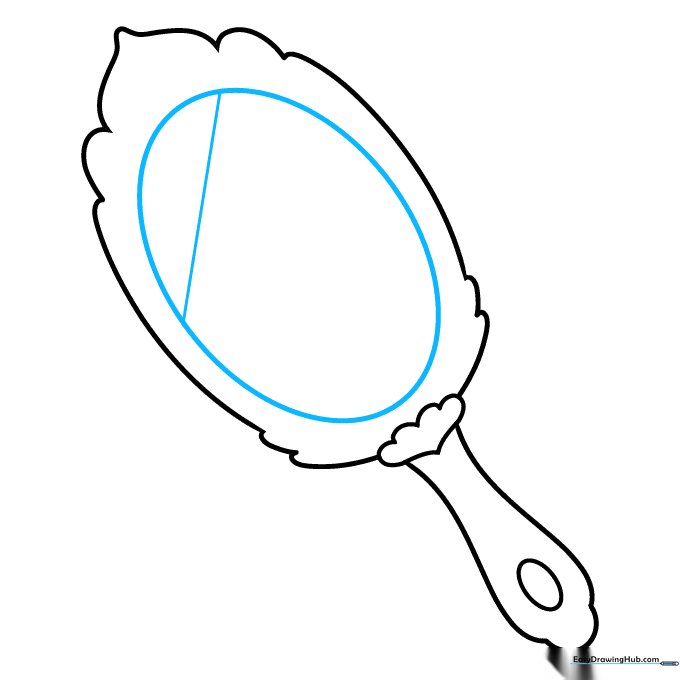
Draw a large oval inside the frame to represent the mirror glass. Add a diagonal line across the center to suggest a reflection of light. Tip: Keep the diagonal line thin so it looks like a highlight, not a crack!
Step 9: Final Details
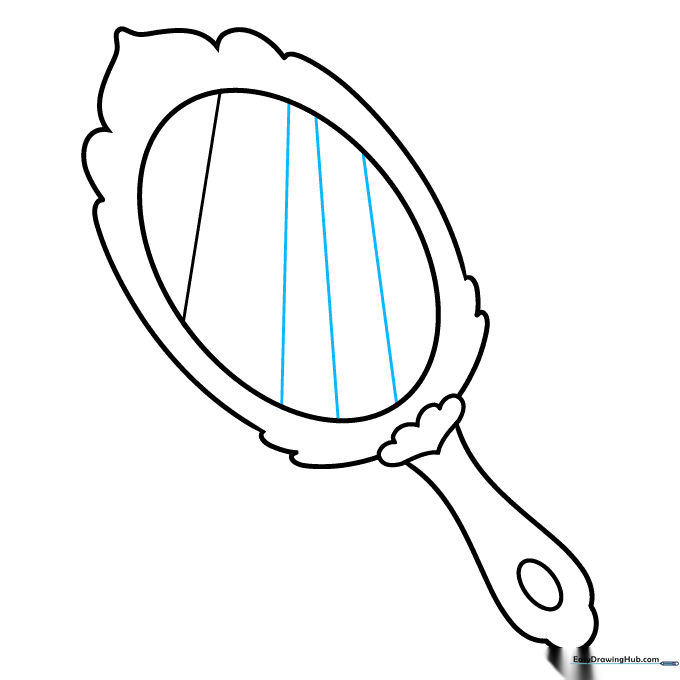
Add a few more diagonal lines across the glass to enhance the reflective effect. Your mirror outline is now complete and ready for color!
Color Your Mirror
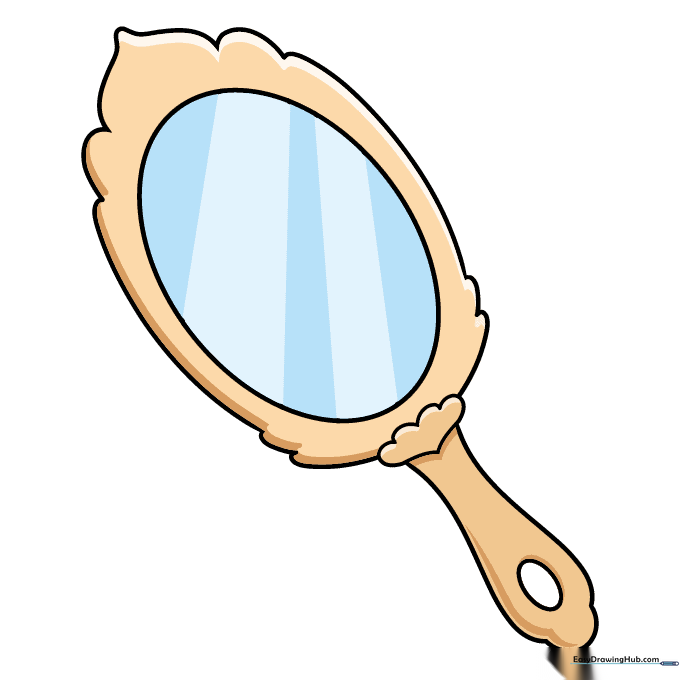
Bring your drawing to life! We used gold for a royal look, but you can use silver, blue, or your favorite color. Tip: Use a light grey or blue for the glass to make it look shiny.
More Tutorials


