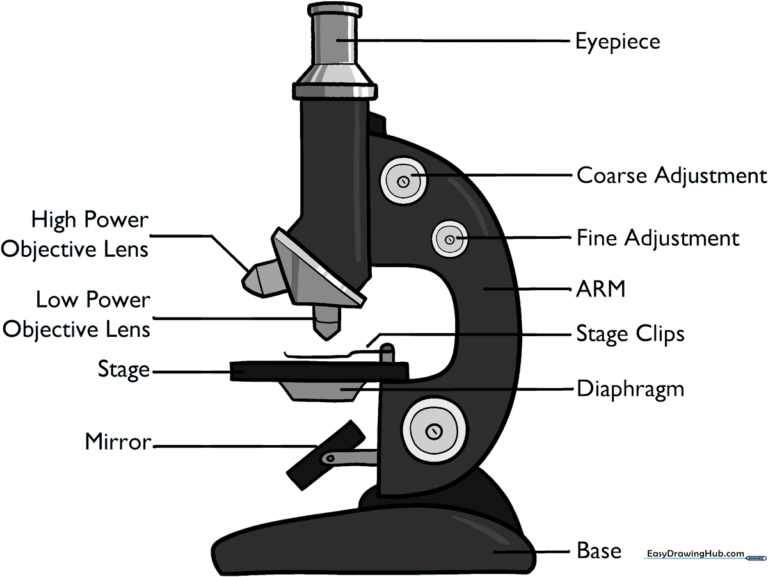
How to Draw a Microscope: Easy Science Diagram for Kids
Bring your science notebook to life with this easy-to-follow microscope drawing guide. Designed for students and young scientists, this activity helps you master the anatomy of a microscope while practicing precise line work. All you need is a pencil, an eraser, and a steady hand to get started.
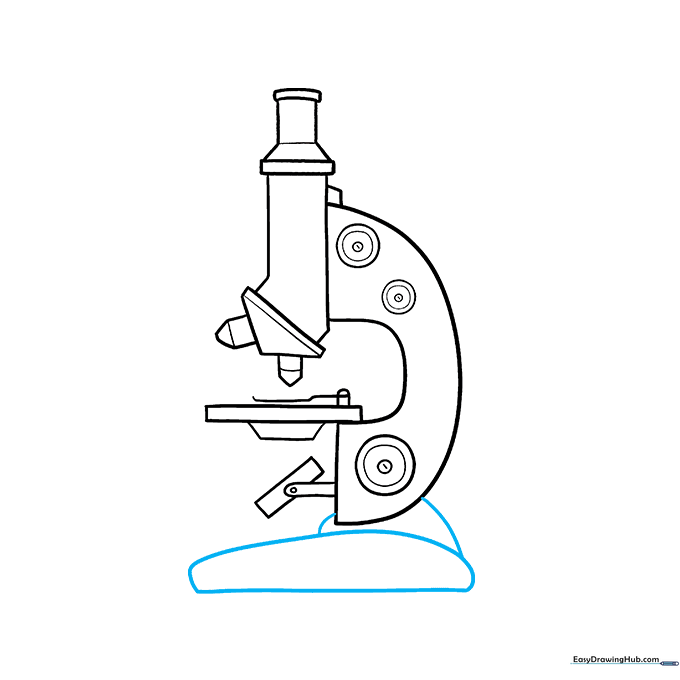
🎯 Final Result
Step-by-Step Instructions
Step 1: Sketching the Eyepiece
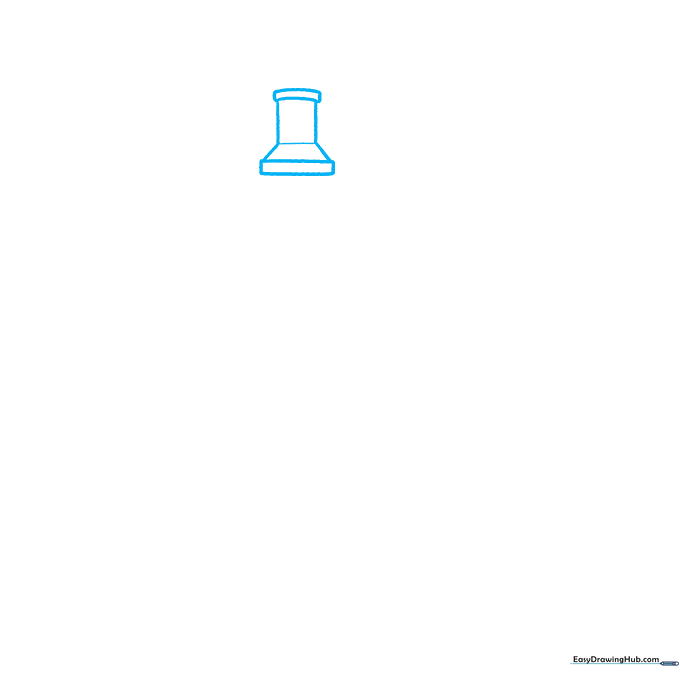
Start by drawing a horizontal rectangle for the eyepiece, with a small trapezoid resting on top. Add a thin rectangle above that, finishing with a slightly curved line at the very top. Teacher's Tip: Keep your pencil pressure light so you can easily adjust the proportions if needed.
Step 2: Forming the Nosepiece
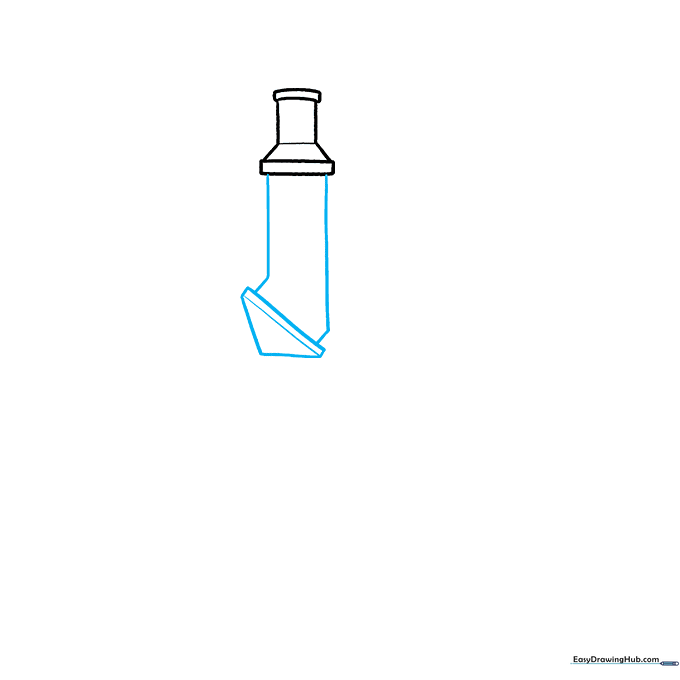
Draw a slanted triangle beneath the eyepiece. Connect it to the eyepiece using two 'L' shaped lines. Tip: Use a ruler if you want the lines to look extra sharp and professional.
Step 3: Sketching the Microscope Arm
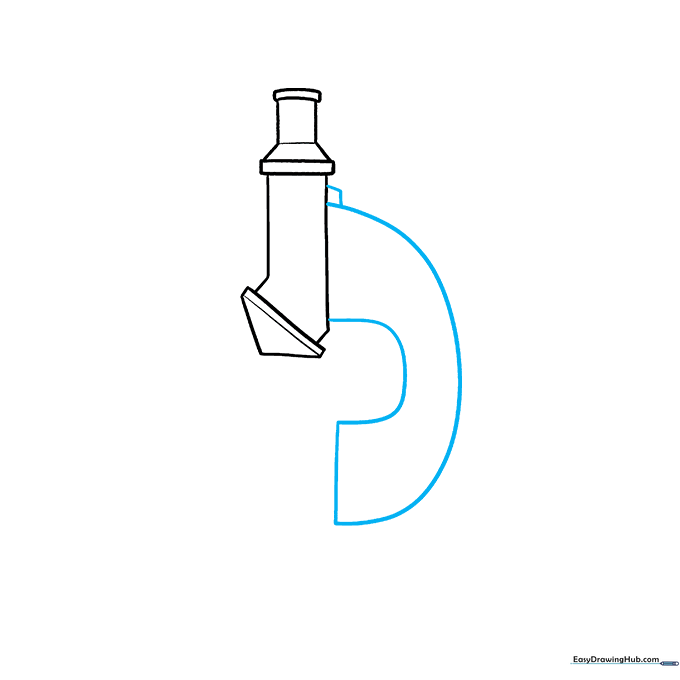
Create the sturdy arm of the microscope using a large 'C' shape. Connect the lines with a straight edge, then add a small, irregular rectangle on top. Tip: Imagine the 'C' as the backbone of the microscope—it needs to look strong!
Step 4: Adding Lenses and the Stage
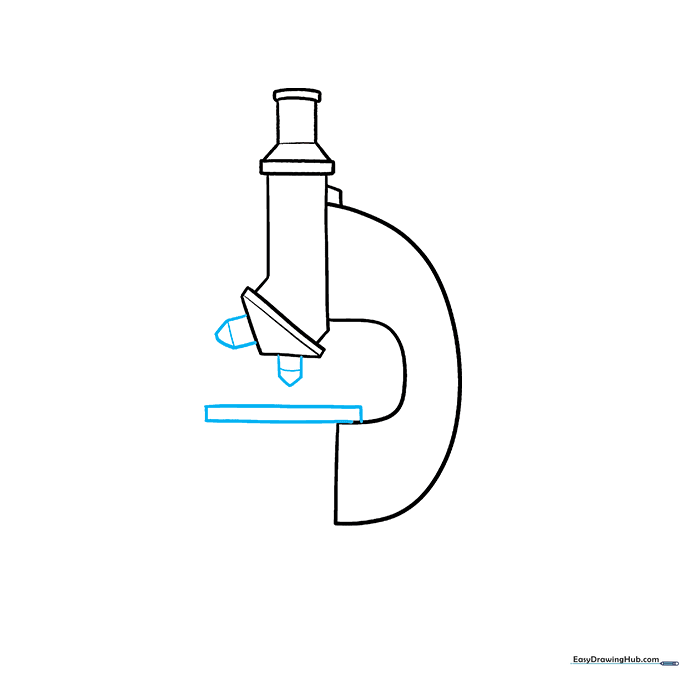
Draw small pentagons on the sides of the triangle to represent the objective lenses. Then, draw a narrow horizontal rectangle across the 'C' arm—this is your stage. Tip: The stage is where the slide sits, so make sure it looks flat and stable.
Step 5: The Stage Clip and Illuminator
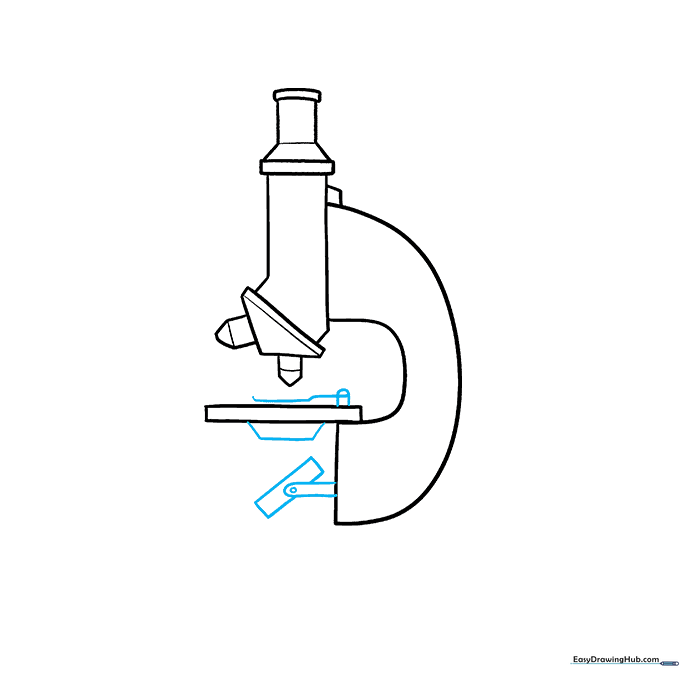
Draw a 'U' shape on the stage for the clip. Below the stage, draw a trapezoid and a small circle to represent the mirror or illuminator. Tip: The mirror reflects light upward, so draw it at a slight angle to show depth.
Step 6: Adding Adjustment Knobs
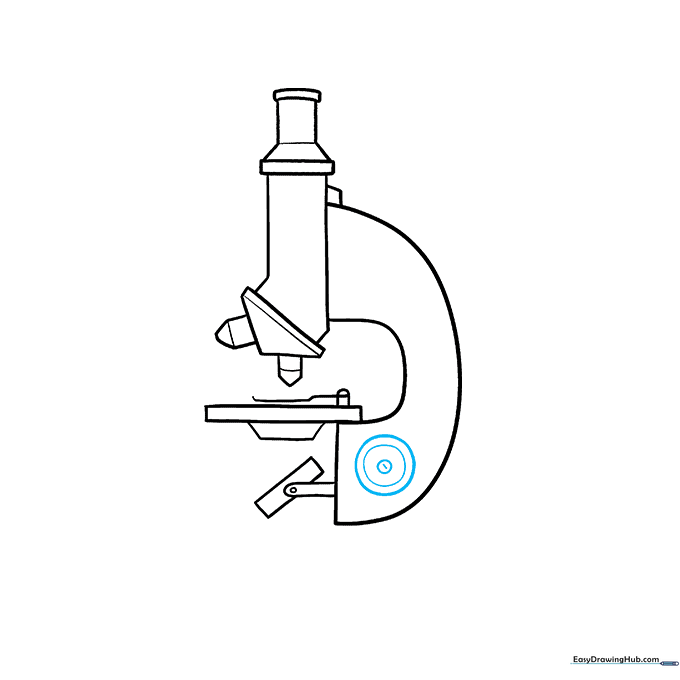
Draw three circles of decreasing size within the base of the arm. Add a short diagonal line inside the smallest one to show detail. Tip: These represent the coarse adjustment knobs used to focus the image.
Step 7: Fine-Tuning the Knobs
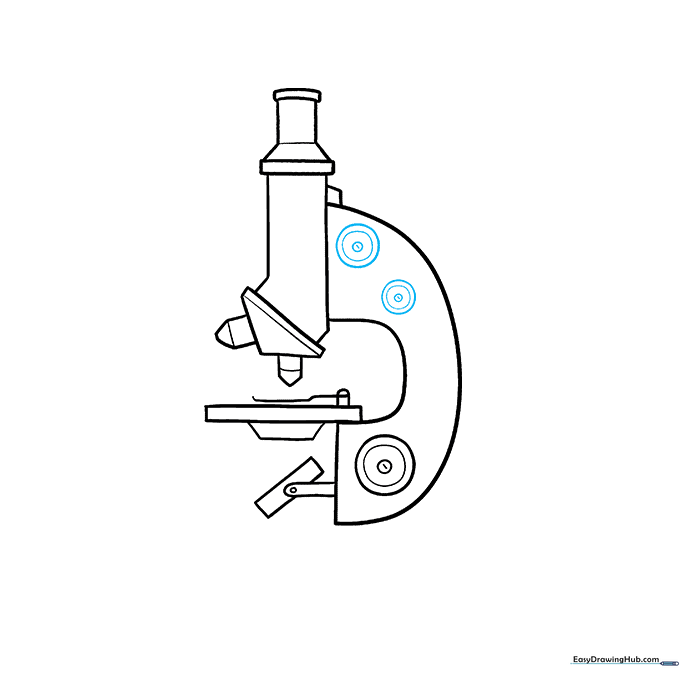
Add two more sets of three circles at the top of the arm. These represent the fine adjustment knobs. Tip: Keep these circles small and neat to avoid cluttering your diagram.
Step 8: Drawing the Base
Draw the heavy base at the bottom using curved lines to create a solid, rounded shape. Tip: The base needs to look heavy to support the rest of the microscope.
Step 9: Labeling Your Diagram

Now, add labels to your drawing. Starting from the mirror and moving clockwise, label the parts: mirror, stage, objective lenses, eyepiece, adjustment knobs, arm, and base. Tip: Use a ruler for your label lines to keep the diagram clean and easy to read.
Step 10: Adding Color
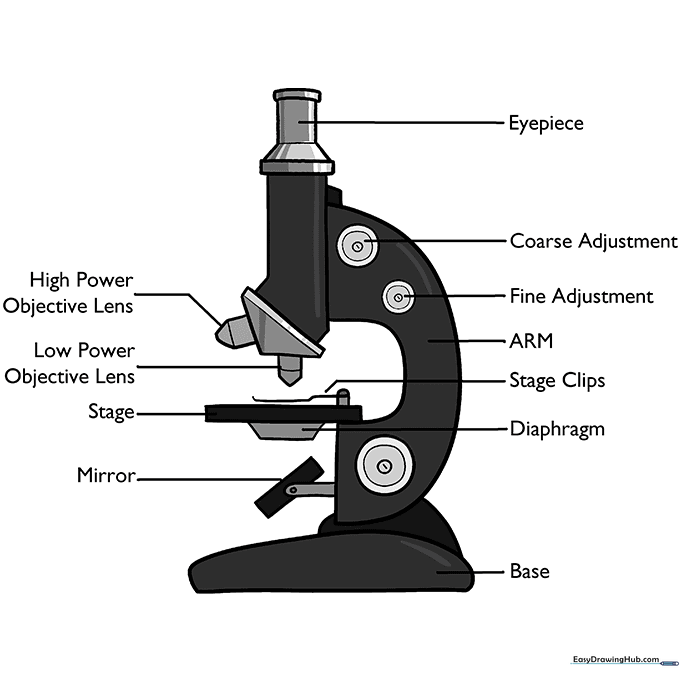
Finish your drawing by adding color. Most microscopes are black, white, or metallic silver. Tip: Use light grey shading on the metal parts to give it a realistic, shiny look.
More Tutorials


