How to Draw a Microscope: Easy 10-Step Guide for Kids
Ready to explore the tiny world? This tutorial is perfect for young scientists ages 6+ who want to draw their own laboratory equipment. All you need is a pencil, an eraser, and a piece of paper to get started. Follow these simple steps to build your own microscope from the ground up.
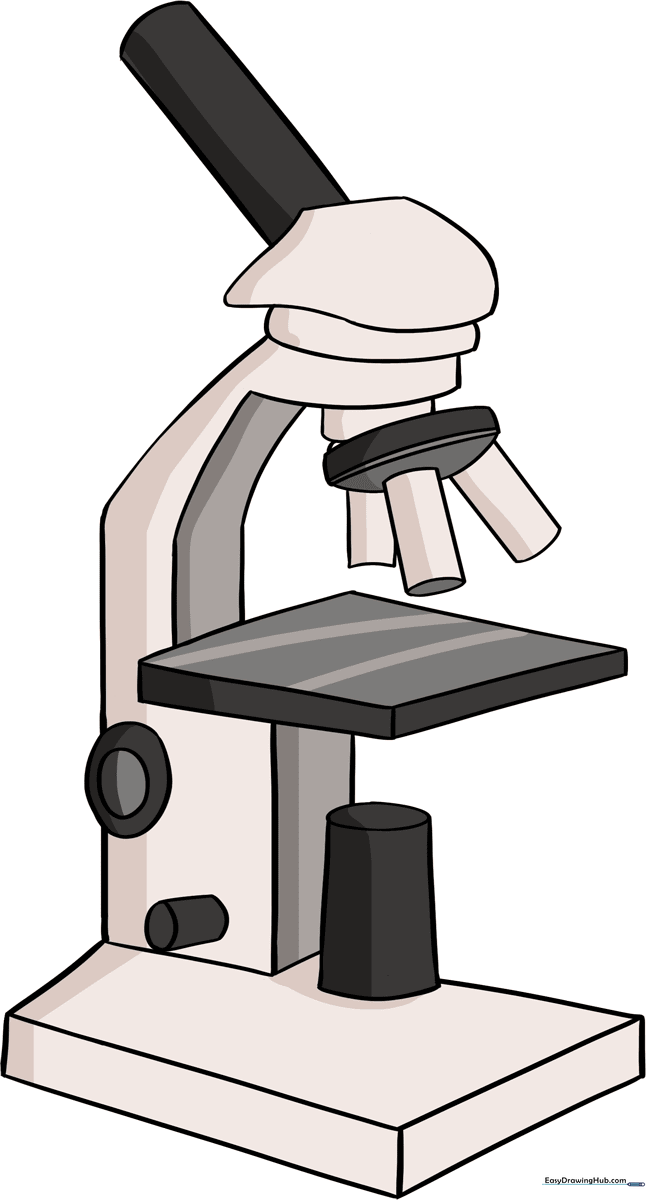
🎯 Final Result
Step-by-Step Instructions
Step 1: Sketching the Head

Begin by drawing an irregular, rounded shape for the top of the microscope head. Teacher's Tip: Keep this shape small and compact; it’s the 'brain' of your microscope!
Step 2: Adding the Eyepiece

Extend two parallel lines from the head and cap them with a small curve. This is the eyepiece tube where you look through. Tip: Use a ruler if you want the lines perfectly straight, or keep them freehand for a softer cartoon look.
Step 3: Forming the Arm
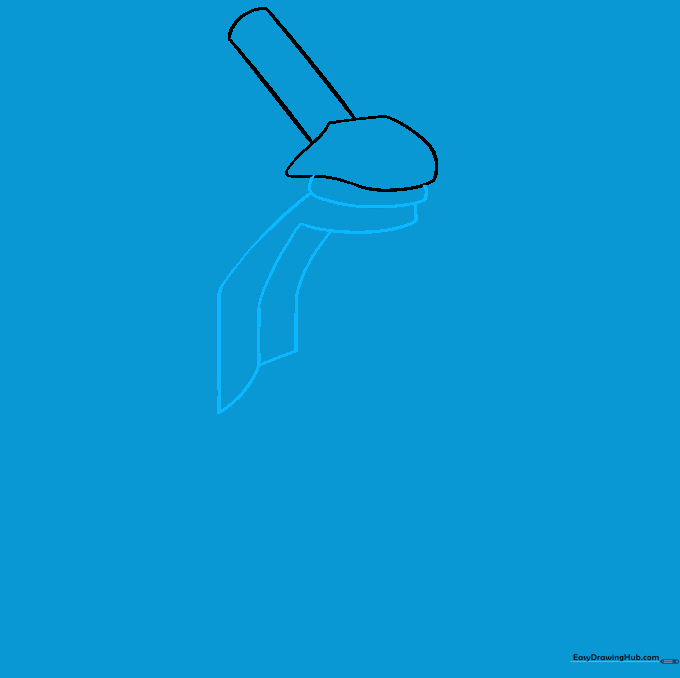
Draw a curved shape beneath the head, then add three parallel lines that bend slightly to create the sturdy arm. Tip: Think of this as the 'backbone' of the microscope—it needs to look strong enough to hold the lenses.
Step 4: Drawing the Lenses
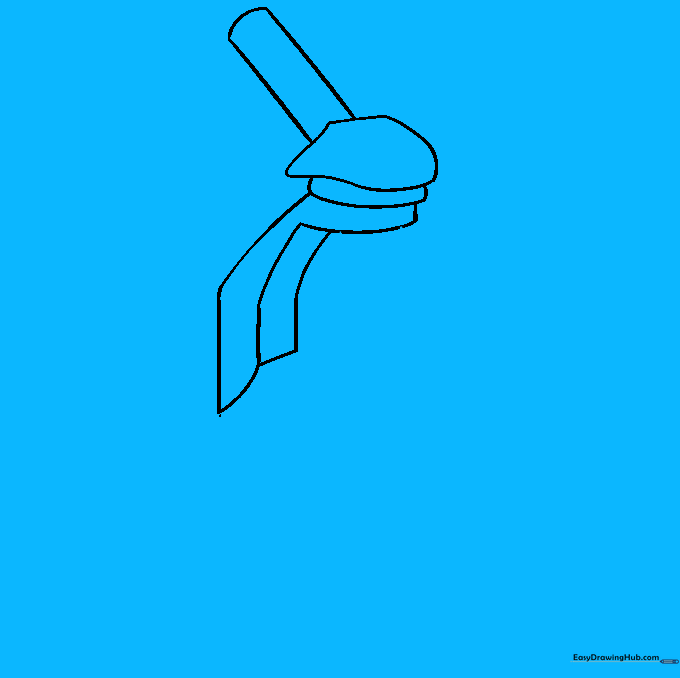
Add the nosepiece and three rounded rectangles below it, each with a small oval at the end. These are your objective lenses. Tip: Make sure they are evenly spaced so your microscope looks balanced.
Step 5: Creating the Stage
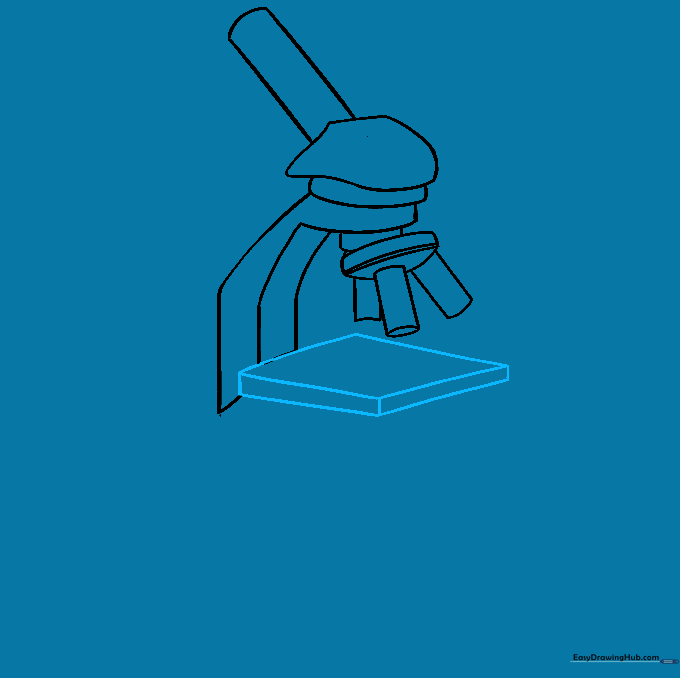
Erase a small section of the arm and draw a rhombus shape to create the stage where slides sit. Tip: Use light, straight lines to give the stage a 3D, boxy appearance.
Step 6: Completing the Frame

Add vertical lines beneath the stage to finish the lower frame. Tip: Keep these lines parallel to the arm to ensure your microscope doesn't look like it's leaning over!
Step 7: Adding Adjustment Knobs
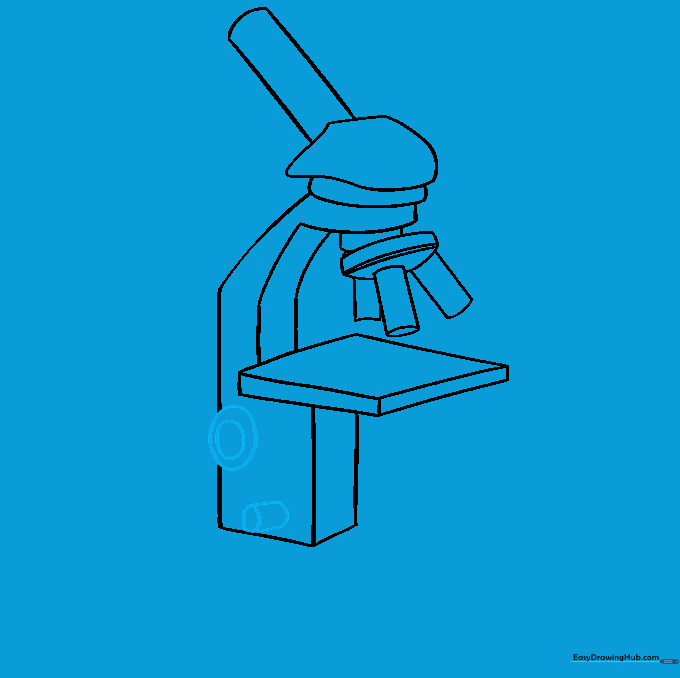
Draw small ovals within ovals on the side of the arm for the focus knobs. Tip: These are what scientists turn to make the image clear, so draw them near the stage area.
Step 8: The Illuminator

Draw a cylinder at the base to represent the light source. Tip: Use curved lines for the top and bottom of the cylinder to make it look round and realistic.
Step 9: Drawing the Base
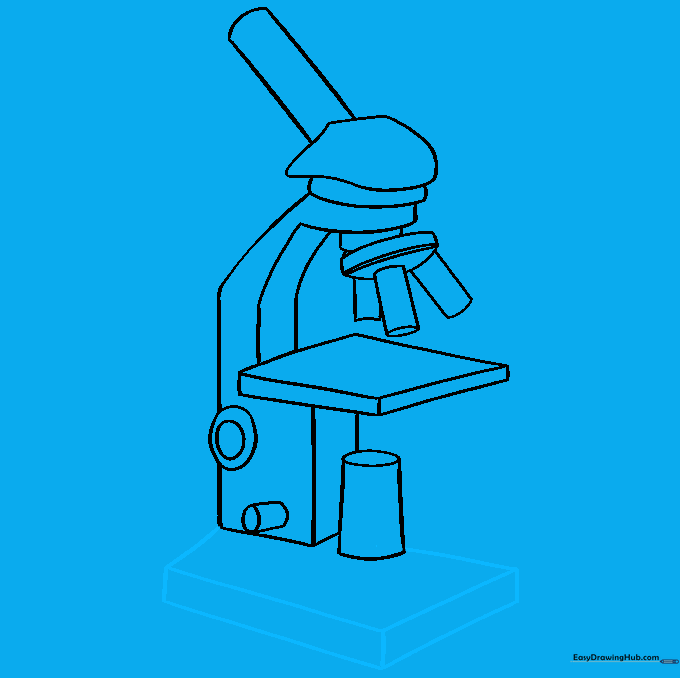
Enclose a rectangular shape at the very bottom to create a stable base. Tip: A wide base makes the microscope look sturdy and professional.
Step 10: Final Touches and Color
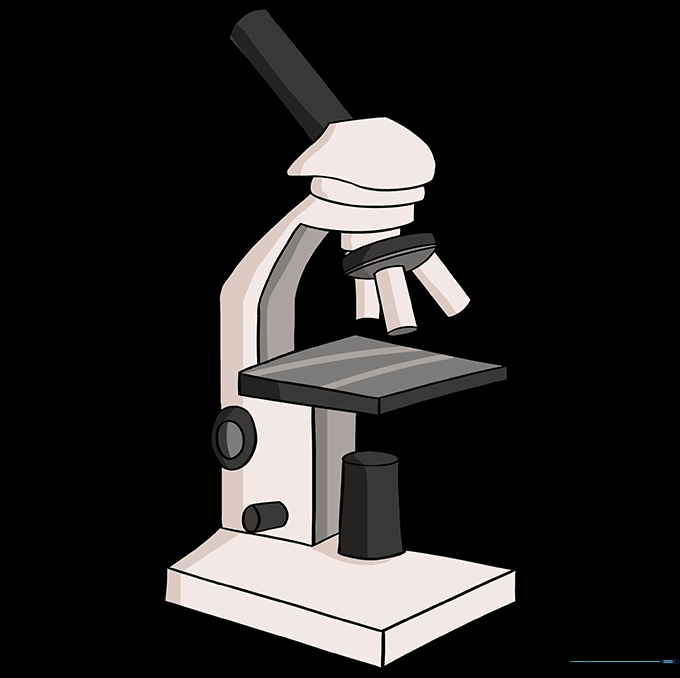
Erase any overlapping lines and add your favorite colors! Tip: Use metallic grays or blacks for a realistic look, or bright colors to make it a fun, stylized cartoon.
More Tutorials


