How to Draw a Microphone: Easy 10-Step Guide for Kids
Ready to rock? This tutorial is perfect for young artists ages 5+ who want to draw their own stage-ready microphone. All you need is a pencil, an eraser, and a piece of paper to get started. Follow these simple steps to build confidence and master basic geometric shapes.
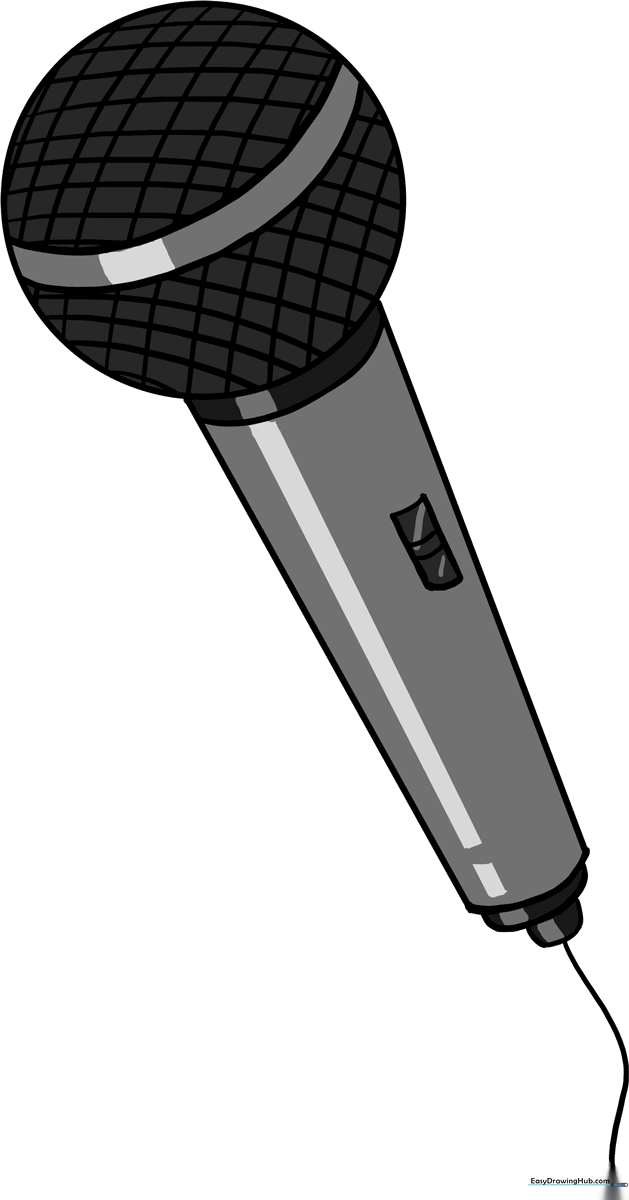
🎯 Final Result
Step-by-Step Instructions
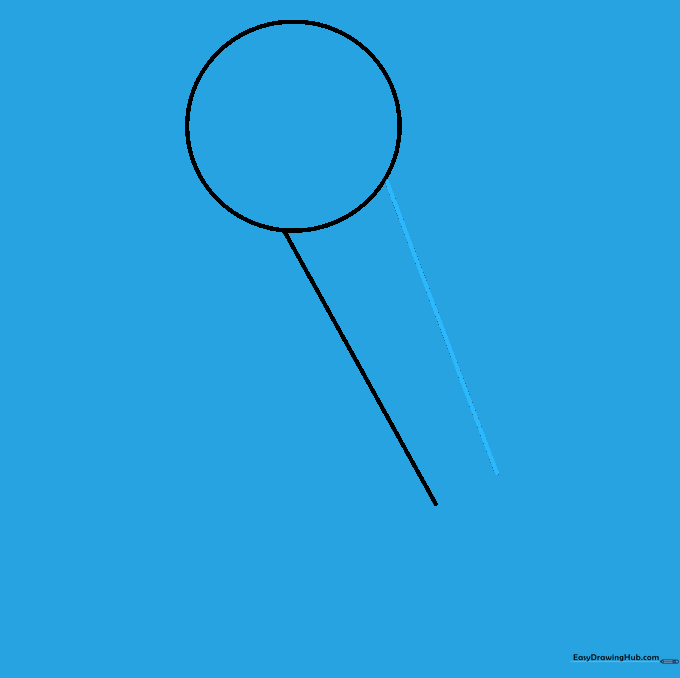
Step 1: Sketching the Microphone Head

Draw a clean circle to represent the microphone's windscreen or 'grill.' Teacher's Tip: Keep this circle about the size of a quarter; it doesn't have to be perfect, just light enough to adjust later.
Step 2: Starting the Handle

Extend a straight, diagonal line downward from the bottom of your circle. This begins the main body of the microphone. Tip: Use a ruler if you want a perfectly straight handle, or go freehand for a more organic look.
Step 3: Defining the Body Width
Draw a second diagonal line parallel to the first, extending from the other side of the circle. This creates the thickness of the microphone handle.
Step 4: Closing the Handle

Connect the bottom ends of your two diagonal lines with a short, curved line. This closes the shape and gives the microphone a rounded, professional base.
Step 5: Adding Structural Details
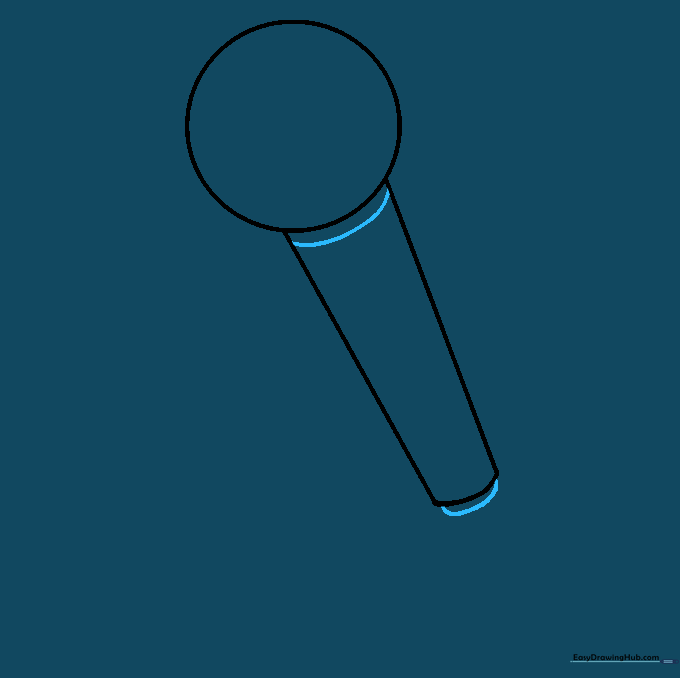
Draw a curved line just below the head to separate the grill from the handle. Add another curved line near the bottom to create a decorative base cap.
Step 6: Drawing the Cord

At the very bottom, draw a small rounded rectangle to represent the cable input. Then, draw a long, flowing curved line trailing off to show the microphone cord.
Step 7: Adding the On/Off Switch
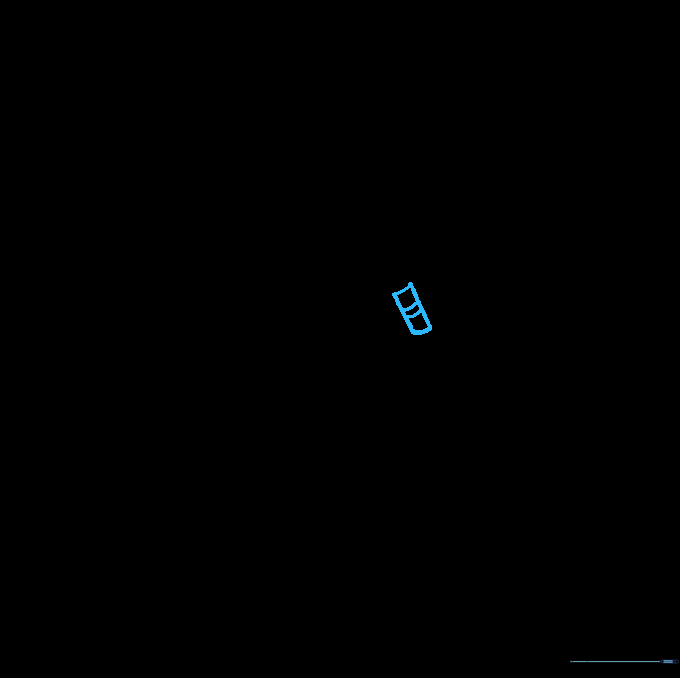
Draw a small rectangle on the side of the handle. Add two short parallel lines inside to create the switch mechanism. Tip: This adds a touch of realism to your drawing!
Step 8: Refining the Grill

Draw two curved, parallel lines across the head. These act as guides for the mesh pattern we will add in the next step.
Step 9: Creating the Mesh Pattern

Fill the head with a cross-hatch pattern. Draw diagonal lines in one direction, then cross them with lines in the opposite direction to create a mesh grill effect.
Step 10: Adding Color
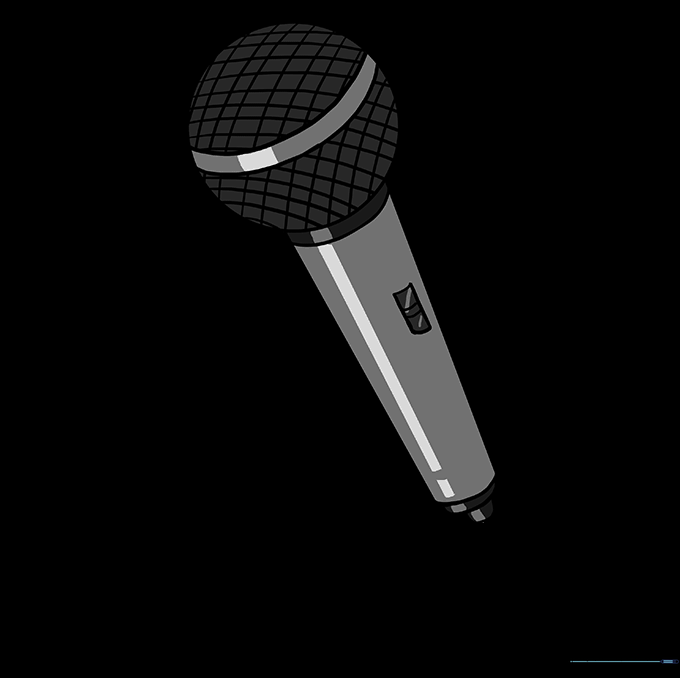
Bring your microphone to life with color! Use silver or black for a classic look, or get creative with bright neon colors for a pop-star vibe. Don't forget to color the mesh grill a lighter shade to make it stand out.
More Tutorials


