How to Draw a Mermaid Tail: Easy 9-Step Guide for Kids
Ready to bring a splash of magic to your sketchbook? This tutorial is perfect for young artists ages 5+ looking to master fantasy creatures. You only need a pencil, an eraser, and your favorite coloring supplies to create a shimmering, professional-looking mermaid tail.
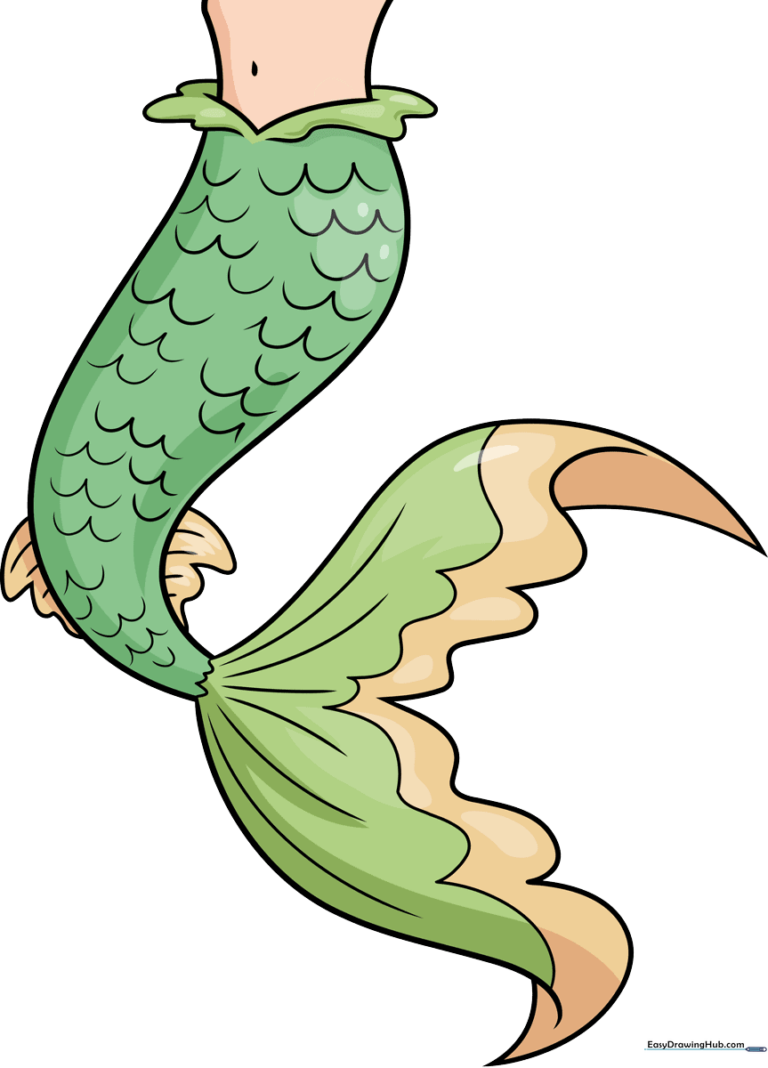
🎯 Final Result
Step-by-Step Instructions
Step 1: Sketching the Torso Base
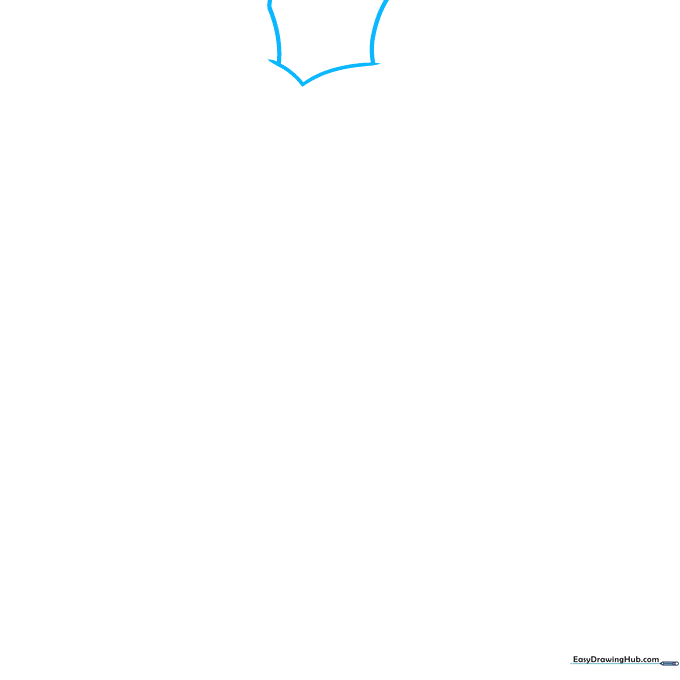
Draw a series of soft, curved lines to create an incomplete pentagon shape. This forms the mermaid's waist and the starting point of her tail. Teacher's Tip: Keep your pencil pressure light so you can easily adjust the shape later if needed.
Step 2: Adding the Waistline
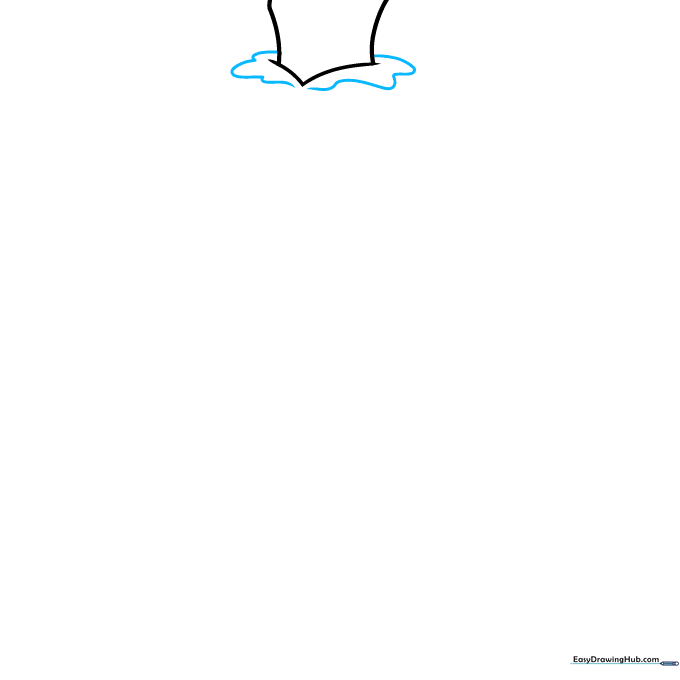
Draw wavy, curved lines around the top of the tail section. These lines create the transition from the human body to the fish tail. Tip: Don't worry about connecting them perfectly at the front; leaving a small gap adds a natural, flowing look.
Step 3: Shaping the Tail Length
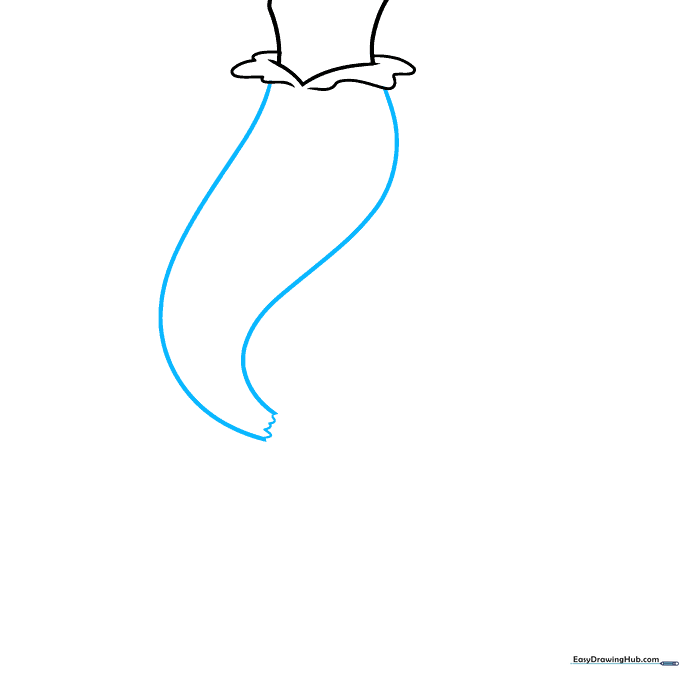
Extend long, graceful curved lines downward to define the sides of the tail. At the bottom, connect them with a sharp, zig-zag line to create the base of the fin. Tip: Use long, fluid arm movements rather than short, choppy strokes for a smoother curve.
Step 4: Creating the Fin Outline
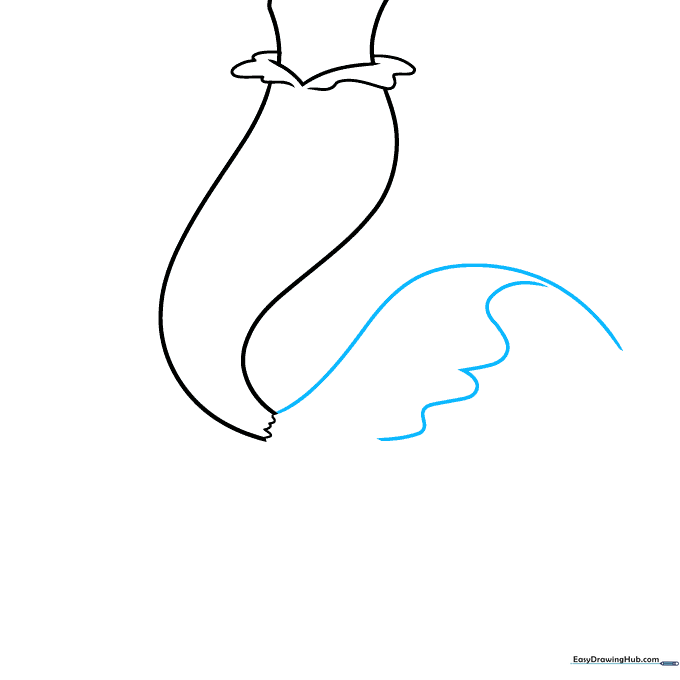
Extend a long, curved line from the end of the tail to start the fin. Add a wavy line that almost meets the first one to create a fan-like shape. Tip: Imagine the fin is underwater and moving with the current to help you decide how wavy to make your lines.
Step 5: Balancing the Tail Fin
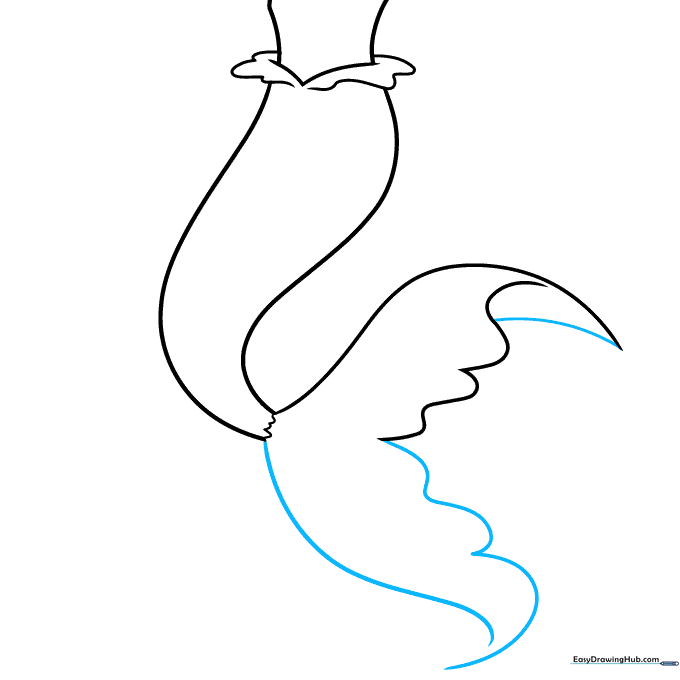
Draw a curved line from the wavy edge back toward the center, then mirror this on the opposite side. Tip: Symmetry can be tricky! If one side looks different, just lightly erase and try to match the curve of the first side.
Step 6: Adding Side Fins
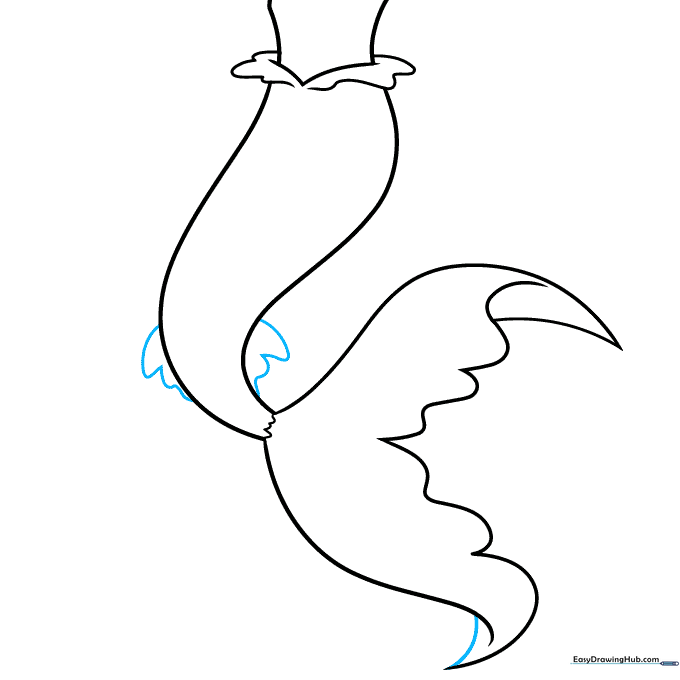
Connect the tip of the tail to the main body with a smooth curve. Then, draw small, delicate fins on the sides using wavy lines. Tip: These small fins act like rudders for the mermaid, so keep them light and airy.
Step 7: Detailing the Fin Rays
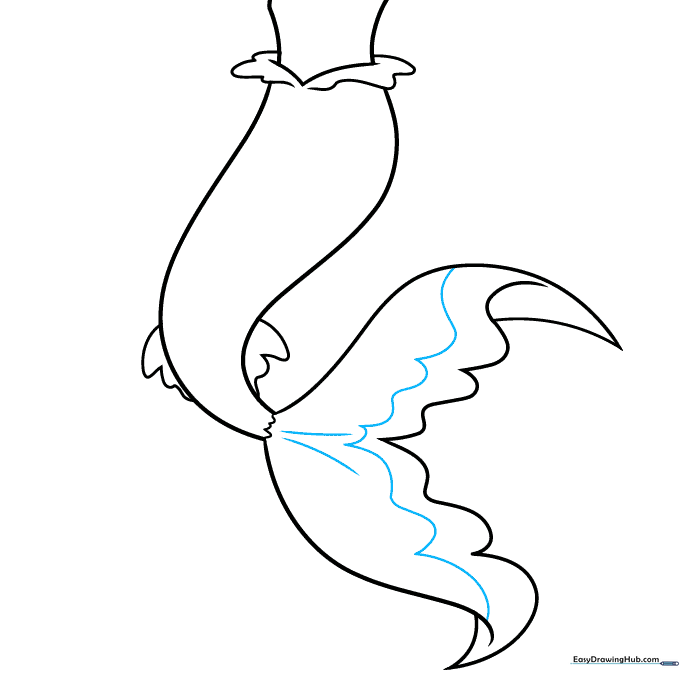
Add texture to the caudal fin by drawing a wavy line across the bottom and two curved lines through the middle. Tip: These lines represent the 'bones' of the fin, so make them look like they are radiating from the center.
Step 8: Adding Scales and Texture
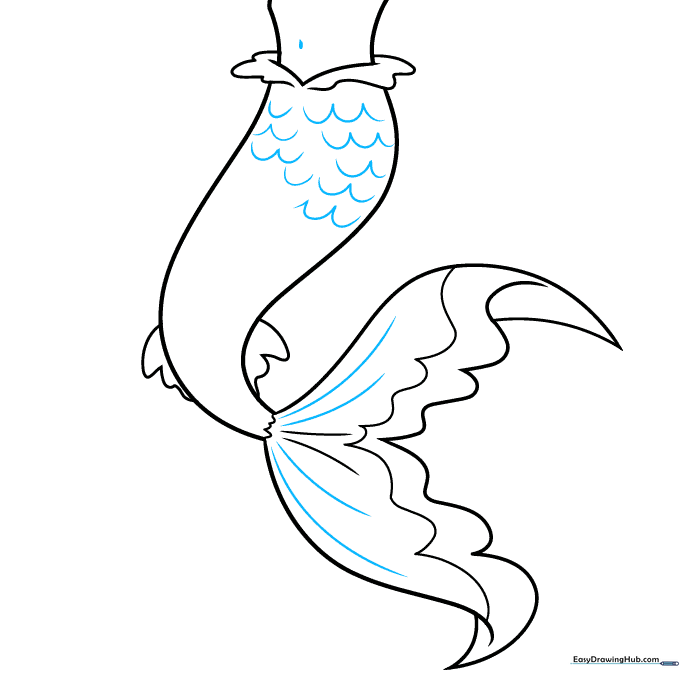
Draw more curved lines across the fin for extra detail. Add a small oval for the belly button, and start creating scales using 'U' shaped lines. Tip: Start your scales from the top and work your way down, overlapping them slightly like a real fish!
Step 9: Finalizing the Details
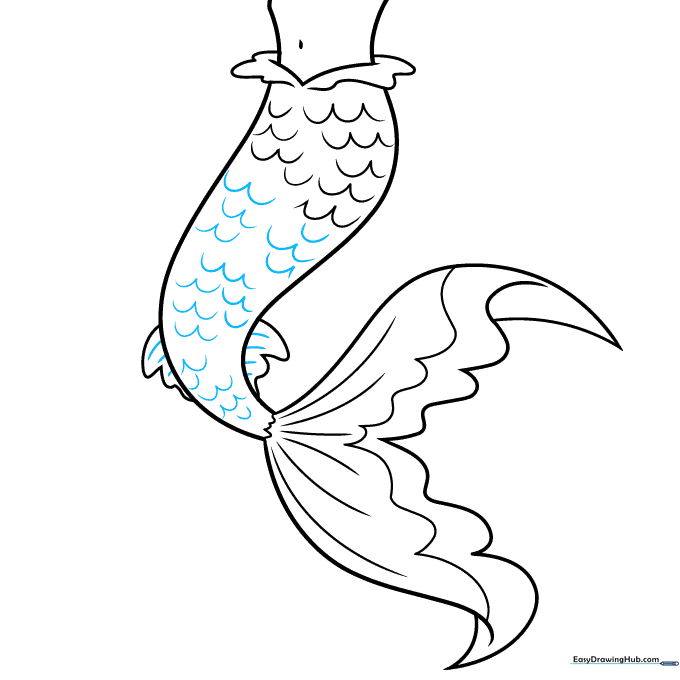
Continue adding 'U' shaped scales down the length of the tail and finish the rays on the side fins. Tip: Take your time with the scales—this is where your drawing really comes to life!
Step 10: Bringing it to Life with Color
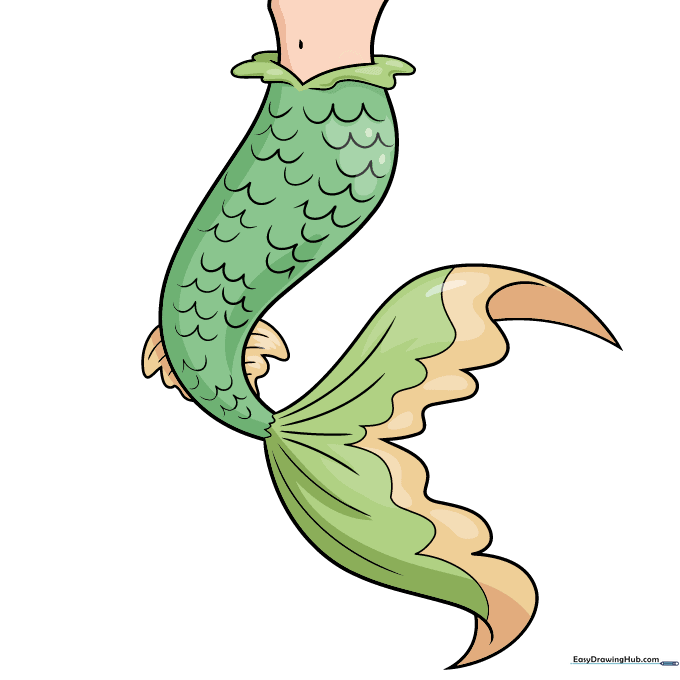
Your outline is complete! Now, choose your favorite colors. While green is a classic choice, try using blues, purples, or even iridescent markers to make your mermaid tail pop. Tip: Use darker shades at the edges of the scales to give your drawing a 3D effect.
More Tutorials


