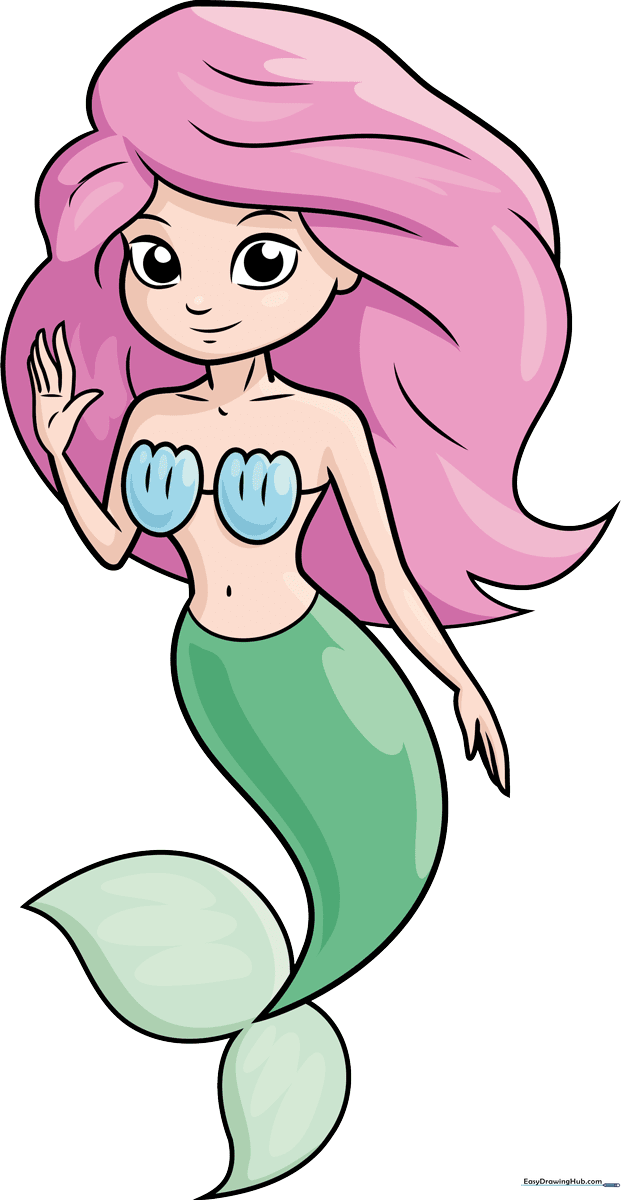
How to Draw a Mermaid: Easy 10-Step Guide for Kids
Bring a magical mermaid to life with this beginner-friendly drawing guide, perfect for artists ages 5 and up. All you need is a pencil, an eraser, and a piece of paper to get started. Follow these simple steps to build confidence and develop your character design skills.
🎯 Final Result
Step-by-Step Instructions
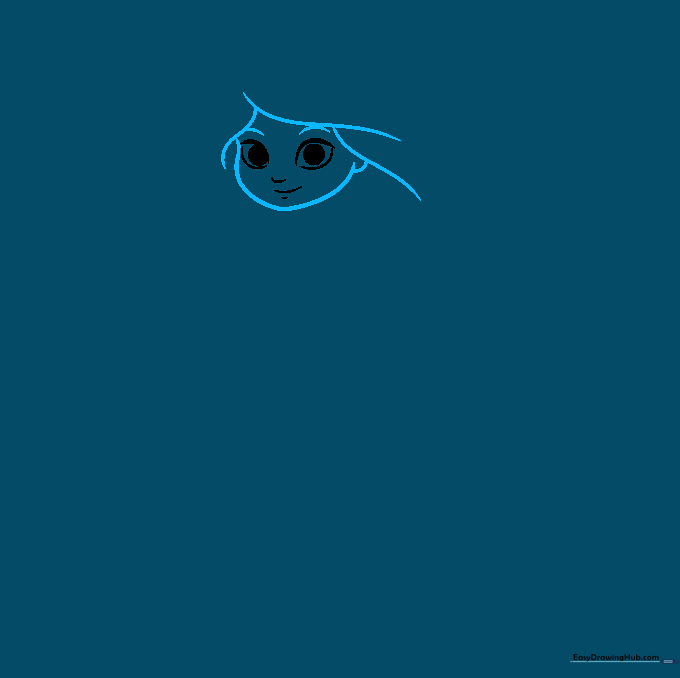
Step 1: Sketching the Face

Draw two almond-shaped eyes with curved lines, adding a large circle inside each for pupils. Add a small curve for the nose and a gentle line for the mouth. Teacher's Tip: Keep your pencil pressure light so you can easily adjust the expression if you want a happier or more curious look.
Step 2: Framing the Face
Outline the chin and add the ears using soft, curved lines. Sketch two small arches above the eyes for eyebrows. Teacher's Tip: Use short, light strokes to make the hair look natural as it frames the face.
Step 3: Drawing Flowing Hair
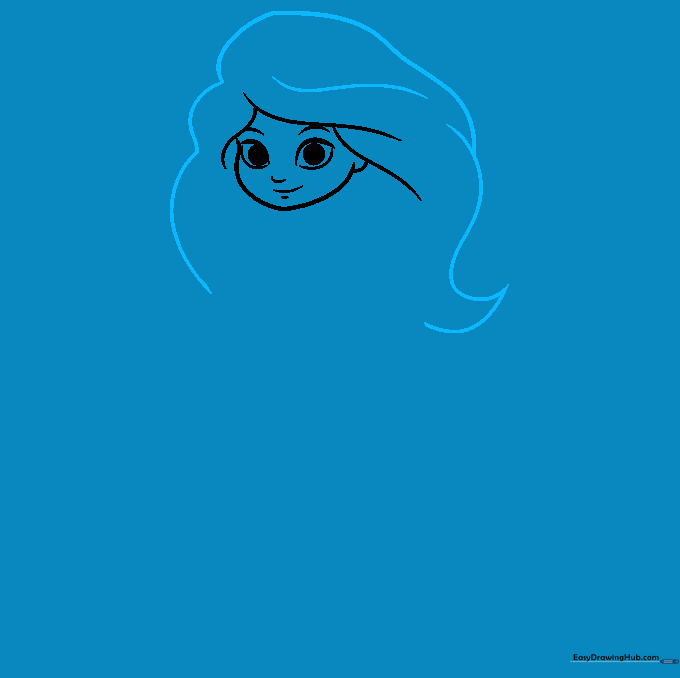
Add long, sweeping lines to create the mermaid's hair. Let the lines overlap to give it volume. Teacher's Tip: Don't worry about making the lines perfect; hair is naturally wavy and messy, so let your hand move fluidly.
Step 4: Neck and Shoulders
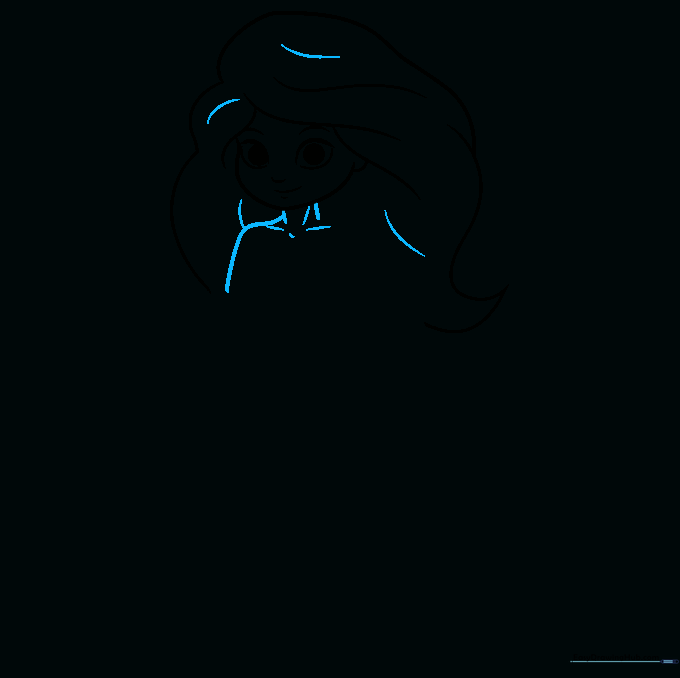
Draw two lines for the neck and a gentle curve for the shoulders. Add a small line for the collarbone. Teacher's Tip: Keep the neck lines parallel to ensure the head looks centered on the body.
Step 5: The First Arm
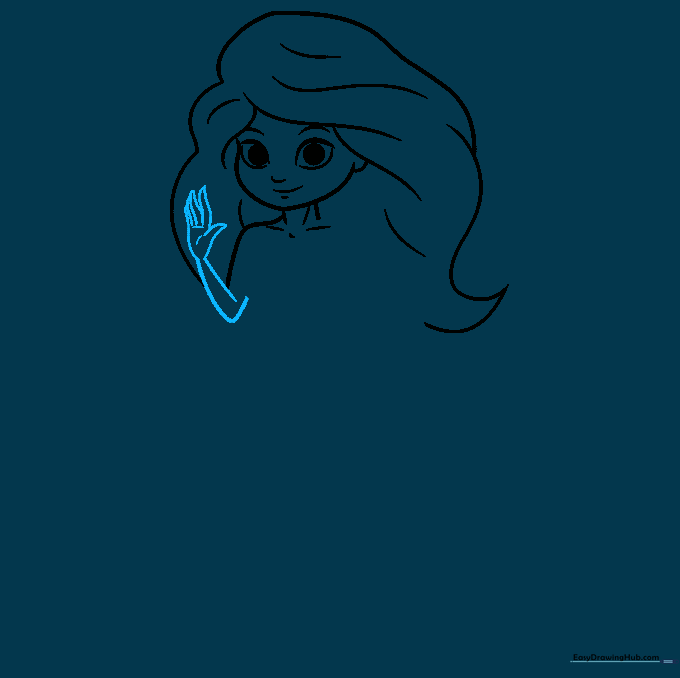
Sketch the arm with a slight bend at the elbow, ending in a hand with simple fingers. Teacher's Tip: If drawing fingers is tricky, start with a mitten shape and add small lines to suggest the fingers later.
Step 6: The Second Arm
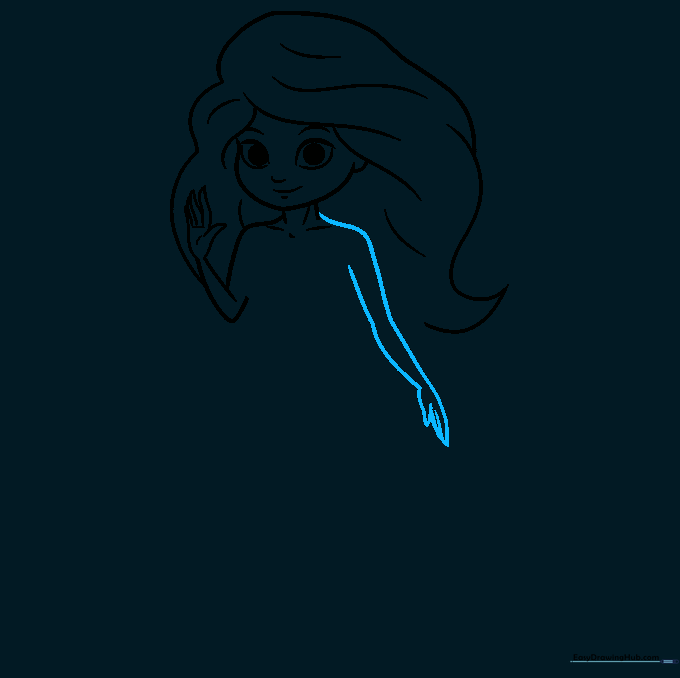
Mirror the first arm on the other side to complete the shoulder and hand. Teacher's Tip: Check that both shoulders are at the same height to keep your mermaid looking balanced.
Step 7: Seashell Top
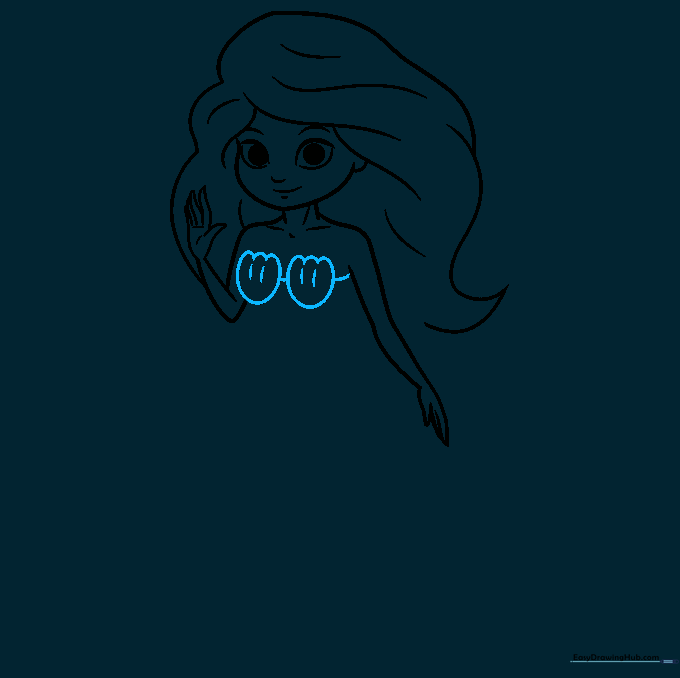
Draw two 'U' shapes on the chest to create the seashell top. Connect them with a line around the back. Teacher's Tip: Add small, radiating lines inside the shells to give them a textured, realistic look.
Step 8: Torso and Waist
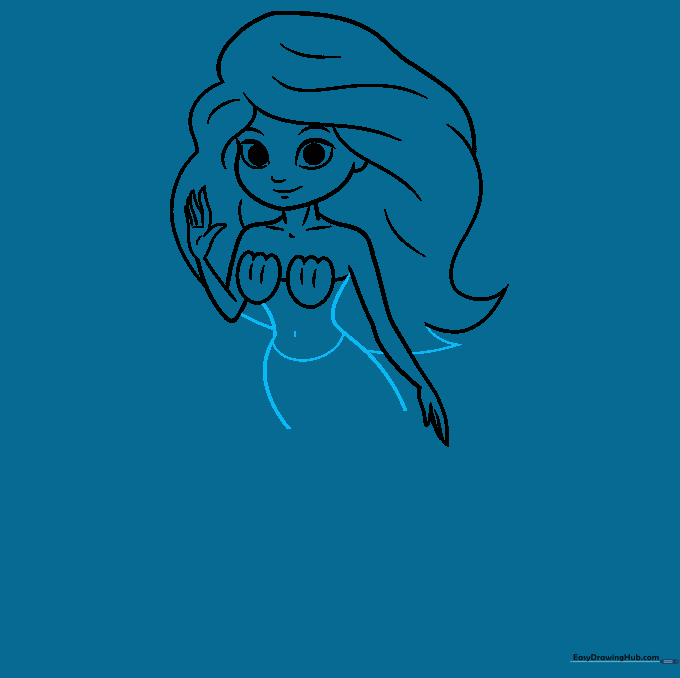
Draw two long, inward-curving lines to form the torso, meeting at the waist. Add a small oval for the belly button. Teacher's Tip: The curve of the waist helps define where the human part ends and the fish tail begins.
Step 9: The Tail and Fins
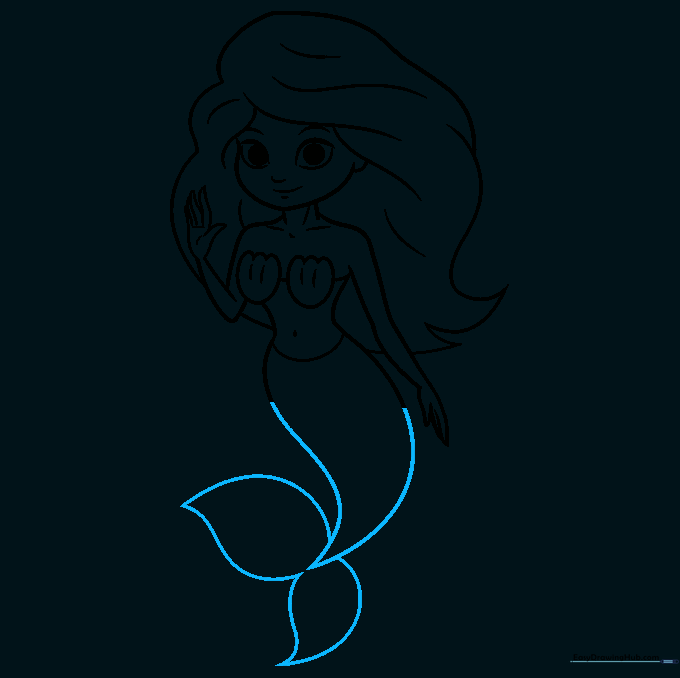
Extend the lines downward to form a long, tapering tail, ending in two large, fan-like fins. Teacher's Tip: Make the fins wide and pointy to give your mermaid a graceful, swimming appearance.
Step 10: Coloring Time
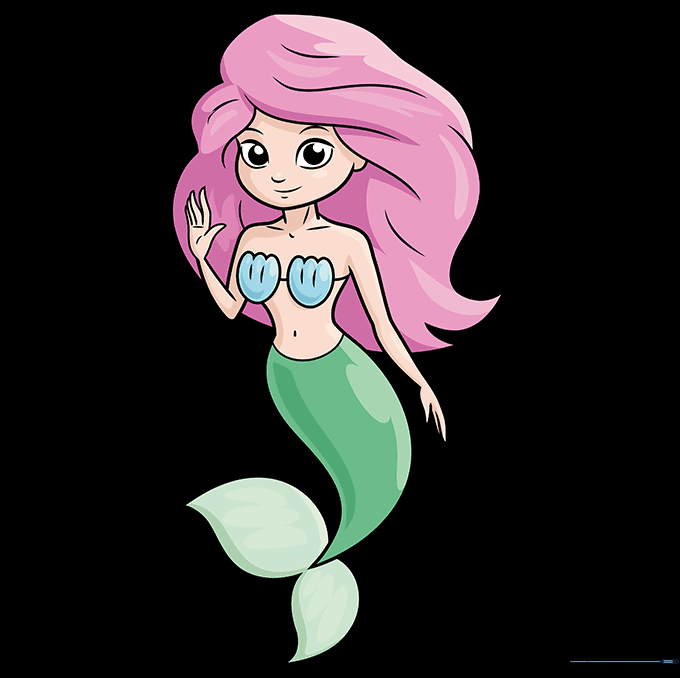
Bring your mermaid to life with vibrant colors! Use blues and greens for the tail and your favorite colors for the hair. Teacher's Tip: Try using light and dark shades of the same color to create depth and shadows on the tail scales.
More Tutorials


