How to Draw a Menorah: Easy 10-Step Guide for Kids
Celebrate the Festival of Lights by creating your own beautiful Menorah drawing. This project is perfect for children ages 6 and up, requiring only a pencil, eraser, and paper to build fine motor skills and holiday spirit. Follow along to master the symmetry of this classic symbol.
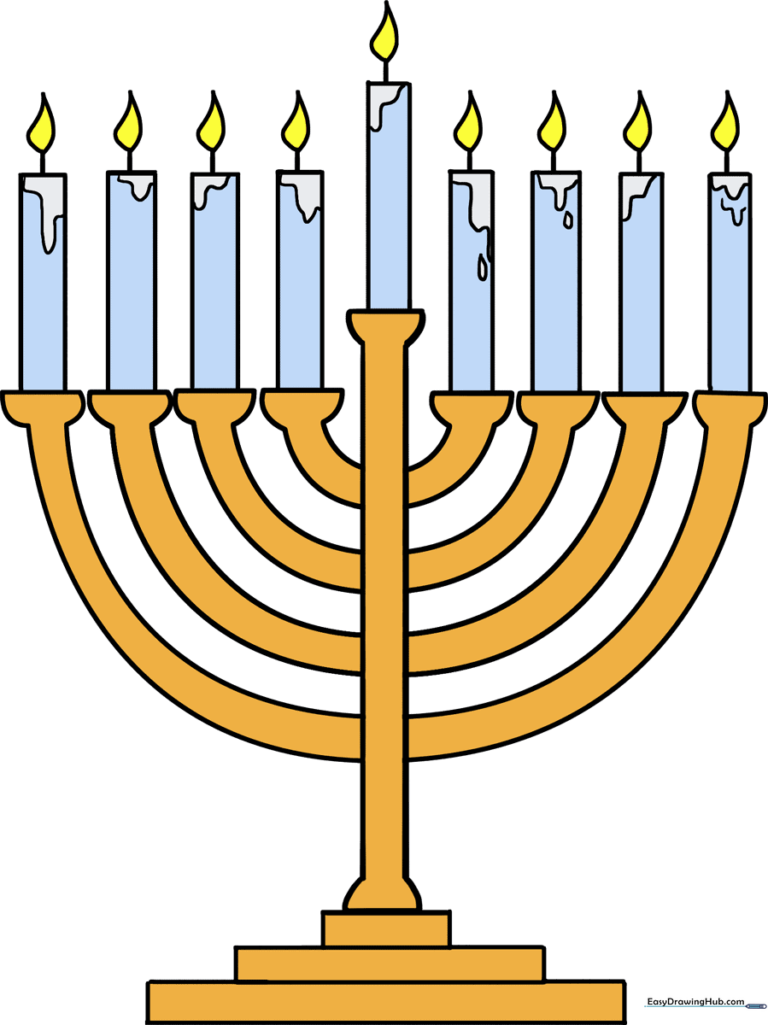
🎯 Final Result
Step-by-Step Instructions
Step 1: Sketching the Central Support

Draw two vertical parallel lines to create the central stem. Add short diagonal lines at the top and bottom, then connect them to create a sturdy base. Teacher's Tip: Use a ruler if you want perfectly straight lines, or keep it freehand for a more organic, artistic look.
Step 2: Adding the Inner Candle Holders

Draw two 'U' shaped lines crossing the central support, with the lower set wider than the upper. Add diagonal lines at the ends and connect them to form the first pair of candle holders. Tip: Keep your 'U' shapes rounded to give the menorah a graceful, balanced appearance.
Step 3: Expanding the Arms

Add another pair of parallel 'U' lines extending outward. Connect the tops with small horizontal lines to create two more candle holders. Tip: Check that the height of these holders matches the first pair to keep your drawing symmetrical.
Step 4: Completing the Outer Arms
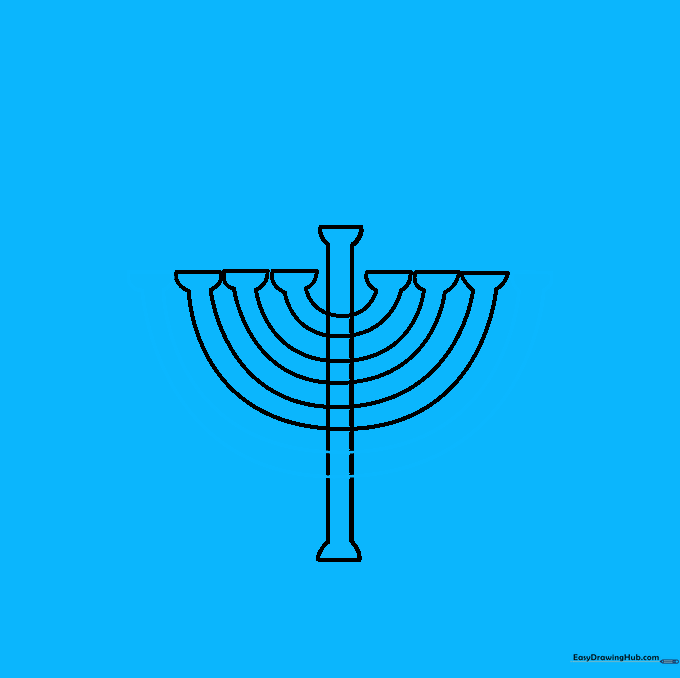
Draw the final, largest pair of 'U' lines to complete the arms. Connect the ends as before. Tip: If your lines aren't perfectly even, don't worry—art is about practice, and you can always adjust with your eraser.
Step 5: Cleaning Up Your Sketch

Gently erase the overlapping guide lines inside the central support. This makes your drawing look clean and professional. Tip: Use a soft, white eraser to avoid smudging your graphite.
Step 6: Drawing the Base
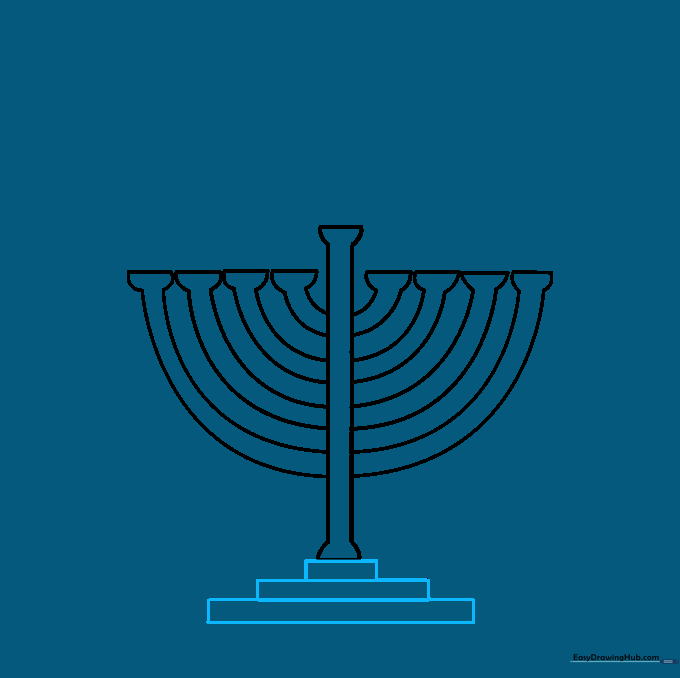
Draw three stacked rectangles at the bottom to create the stand. Start with a small one, then add two progressively wider rectangles below it. Tip: Make sure the stand is centered so your menorah looks like it won't tip over!
Step 7: Adding the Candles
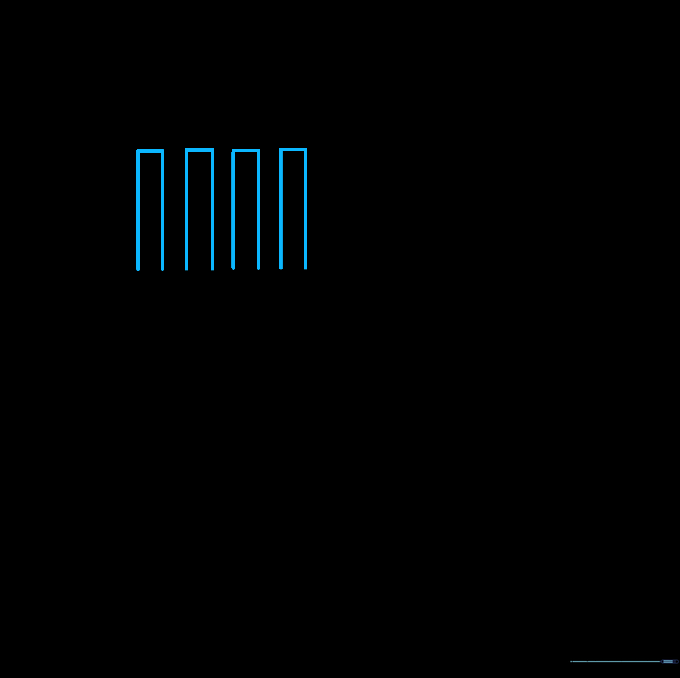
Draw vertical rectangles on top of each holder to represent the candles. Tip: Keep them uniform in width so they look like a matching set.
Step 8: Filling the Holders
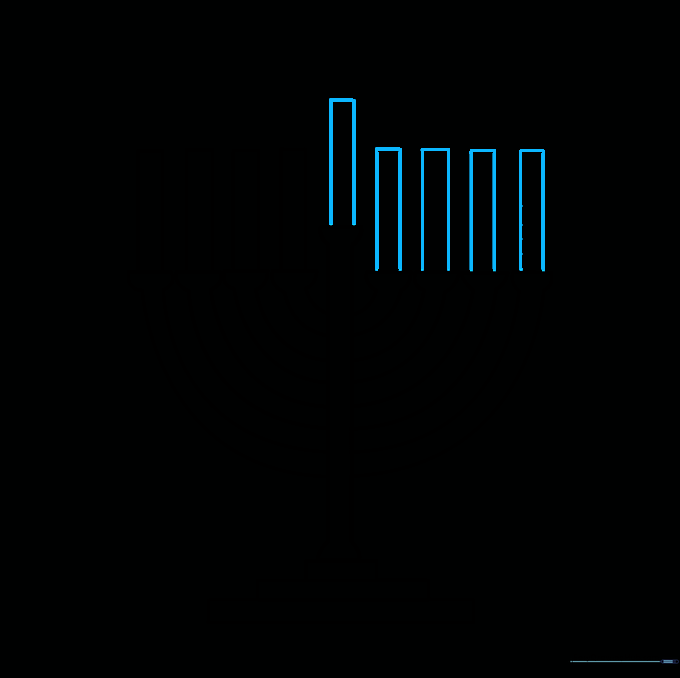
Continue drawing candles until every holder is filled. Tip: Ensure the candles are spaced evenly so the menorah looks balanced.
Step 9: Adding Flames and Wax
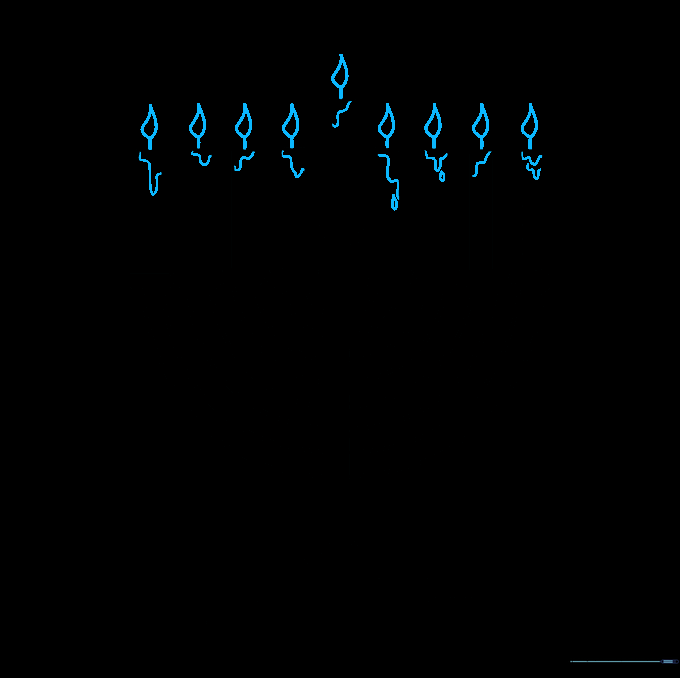
Draw a small line for the wick, then a teardrop shape for the flame. Add irregular, wavy lines at the top of the candles to represent melted wax. Tip: Vary the size of the flames slightly to make them look natural and flickering.
Step 10: Bringing It to Life with Color
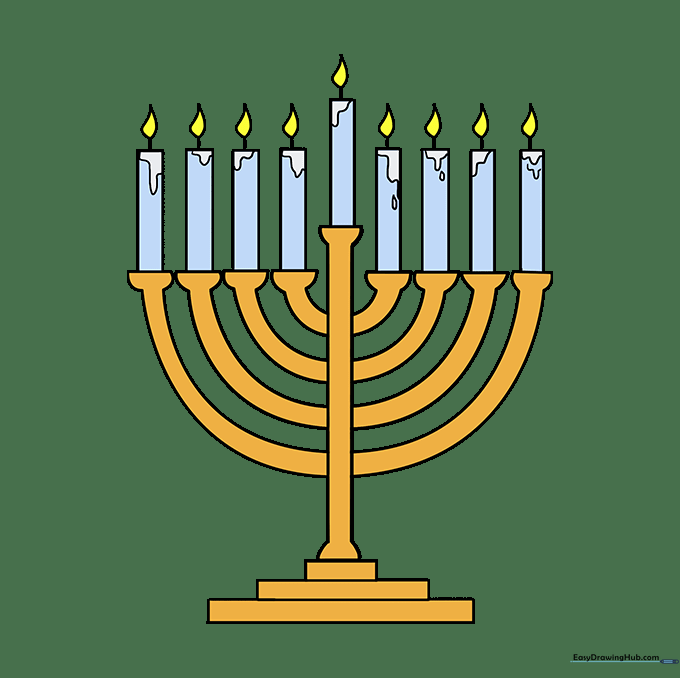
Time to color! Use gold or bronze for the menorah base and bright yellow or orange for the flames. Tip: Use a white gel pen to add a tiny 'sparkle' to the flames for a magical effect.
More Tutorials


