How to Draw a Megalodon Shark: Easy 10-Step Guide
Bring the king of the prehistoric oceans to life with this fun, step-by-step drawing tutorial! Designed for young artists ages 5 and up, this project requires only a pencil, paper, and an eraser. Follow along to master basic shapes and build confidence in your sketching skills.
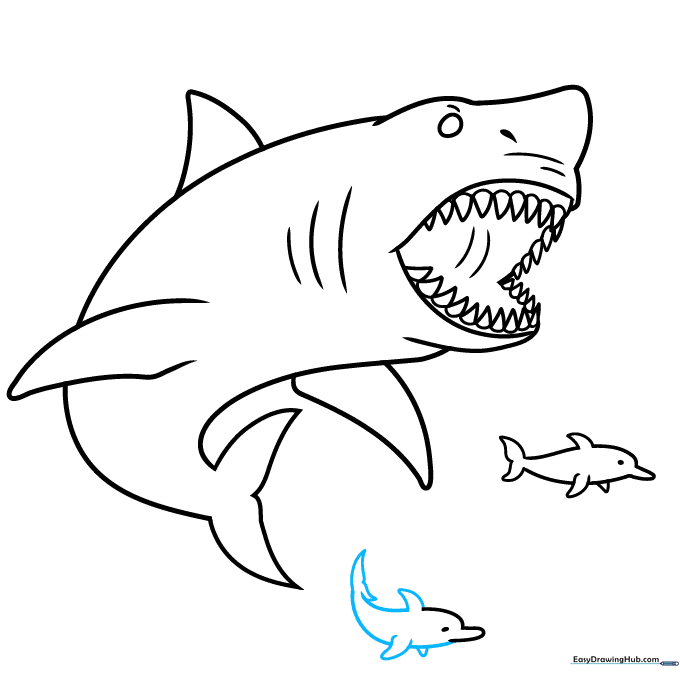
🎯 Final Result

Step-by-Step Instructions
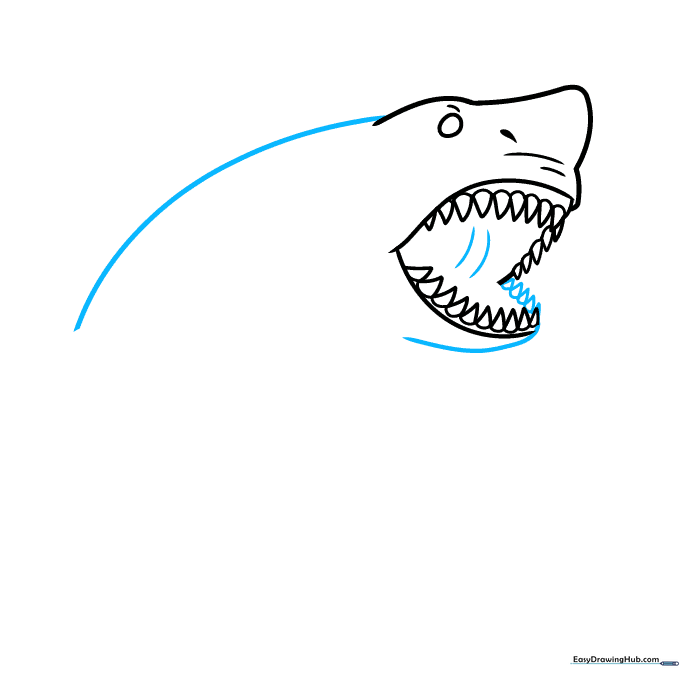
Sketching the Head and Eye
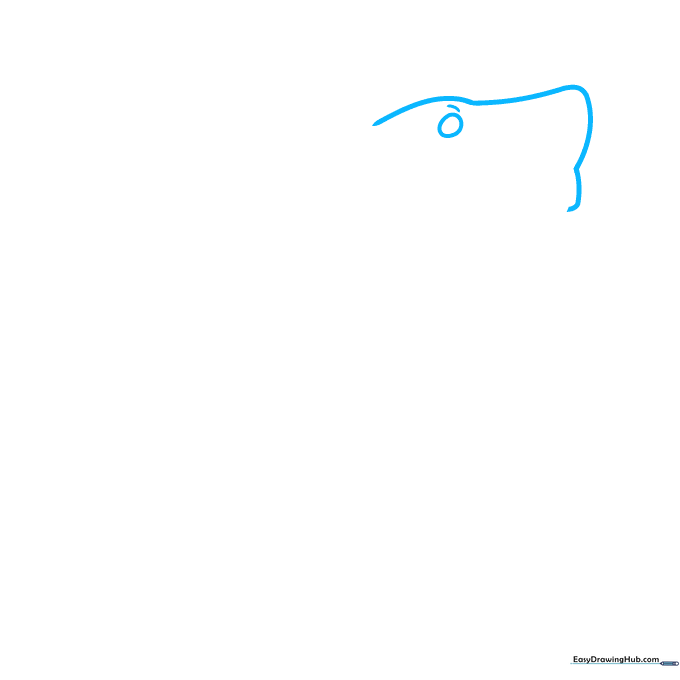
Draw a rounded triangle near the top of your page for the head, then add an uneven horizontal line to the left and a vertical line underneath. Add a circle and a small dash for the eye. Teacher's Tip: Keep your pencil pressure light so you can easily refine these shapes later.
Defining the Massive Jaw
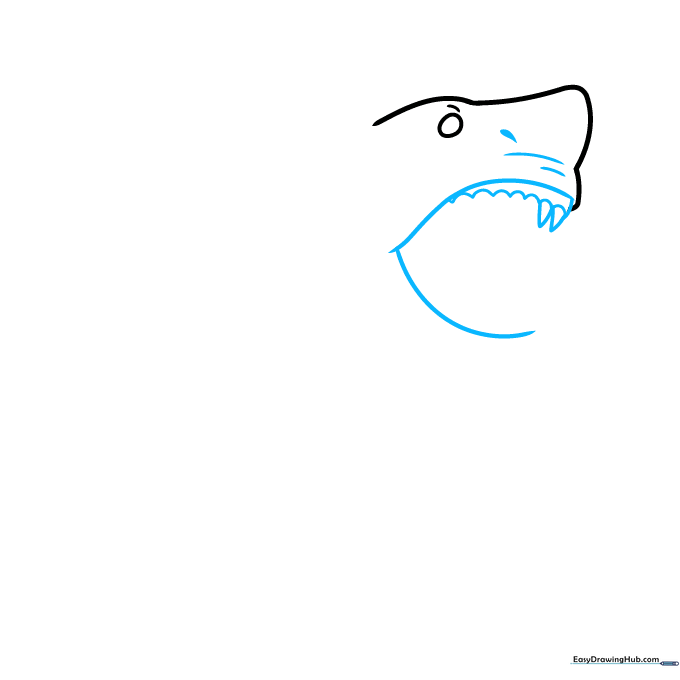
Outline the mouth using two sweeping curves. Add small loops inside to represent the gum line and sketch two triangles for the teeth. Add a teardrop shape above the mouth for the snout. Tip: Think of the mouth as a wide, gentle 'U' shape.
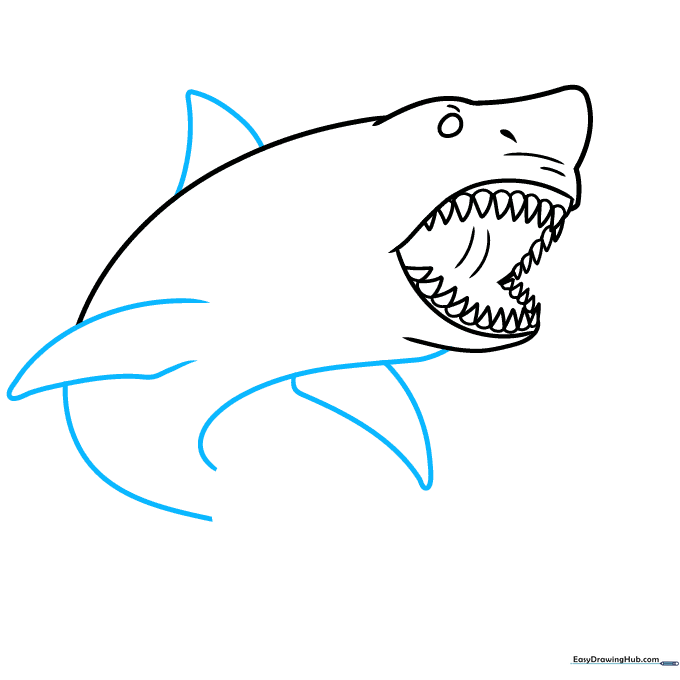
Adding Upper Teeth
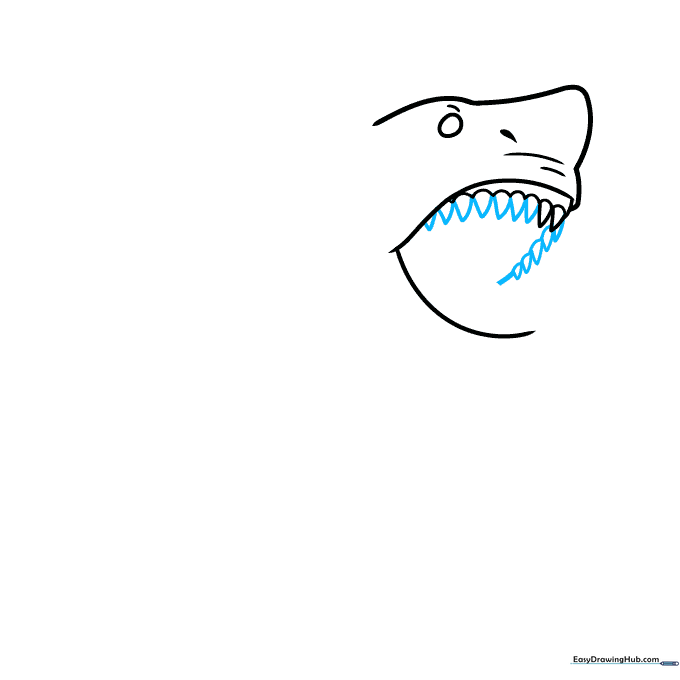
Fill the top of the mouth with triangles of varying sizes. Tip: Angle the triangles slightly toward the back of the throat to make the shark look more realistic and fierce.
Adding Lower Teeth
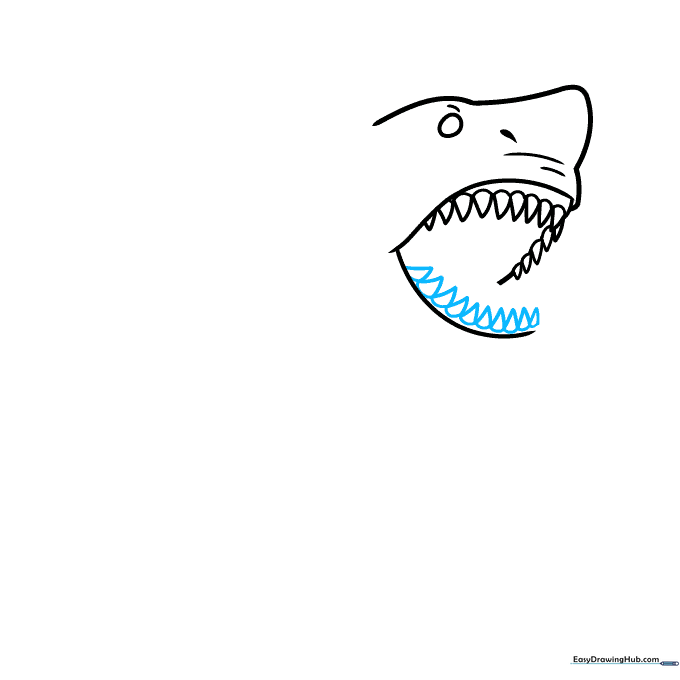
Repeat the process for the bottom row of teeth. Ensure they are spaced evenly. Tip: Don't worry if they aren't perfect; sharks have many rows of teeth, so a little variation adds character!
Shaping the Body
Sketch a long, sweeping curve for the shark's back. Add a curve beneath the mouth to connect the head to the body. Tip: Use a fluid motion with your wrist to get a smooth, natural-looking curve.
Adding Fins and Tail Base
Outline the underside with a wavy line. Add a large, rounded triangle for the dorsal fin and smaller oblong triangles for the side fins. Start the tail with a gentle curve. Tip: The dorsal fin should be slightly pointed to look like a real shark.
Completing the Tail
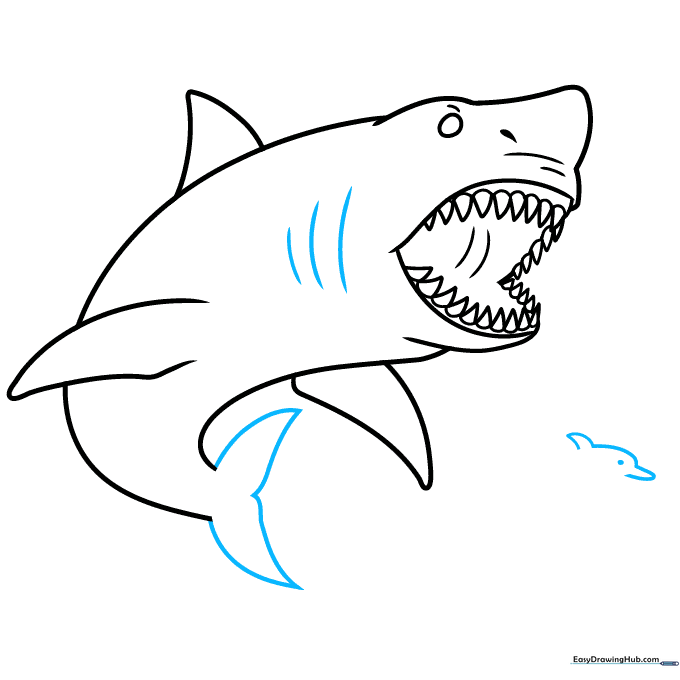
Sketch two triangles to form the tail fin and add three dashes on the side for the gills. To the right, draw a small fish shape to show scale. Tip: Make the tail triangles slightly different sizes for a dynamic look.
Adding Detail to the Scene
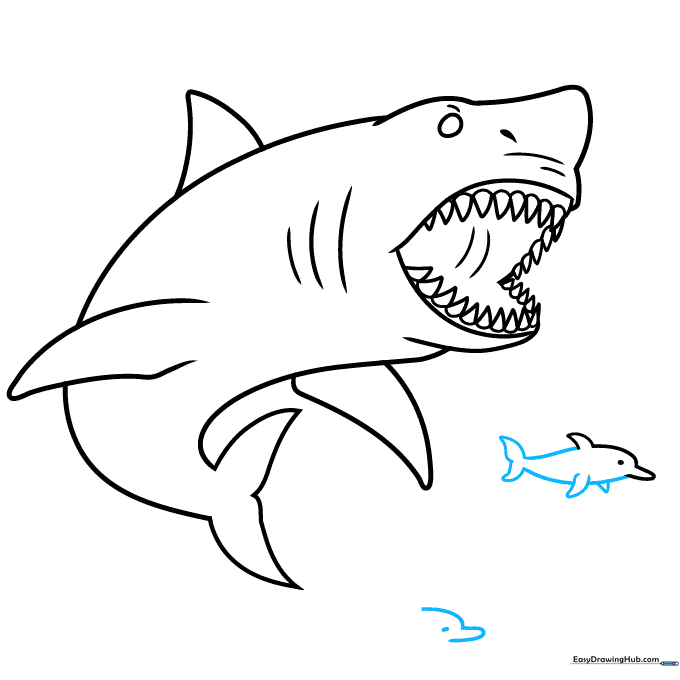
Use curves and triangles to add more small fish around your Megalodon. Tip: Vary the sizes of the smaller fish to create depth in your drawing.
Finalizing the Outline
Refine your lines and angle the tail upward to give the shark a swimming motion. Tip: Darken your final lines with a firm pencil stroke to make the drawing pop.
Adding Color

Outline your shark in black. Use shades of bluish-grey for the shark's body and the smaller fish. Use dark pink for the gums and inside the mouth. Tip: Use a circular motion when coloring to keep the texture smooth and even.
More Tutorials


