How to Draw a Medieval Castle: Easy 10-Step Guide
Ready to build your own fortress? This tutorial is perfect for young artists and beginners looking to master architectural drawing. You will only need a pencil, an eraser, and a sheet of paper to bring this majestic medieval structure to life.
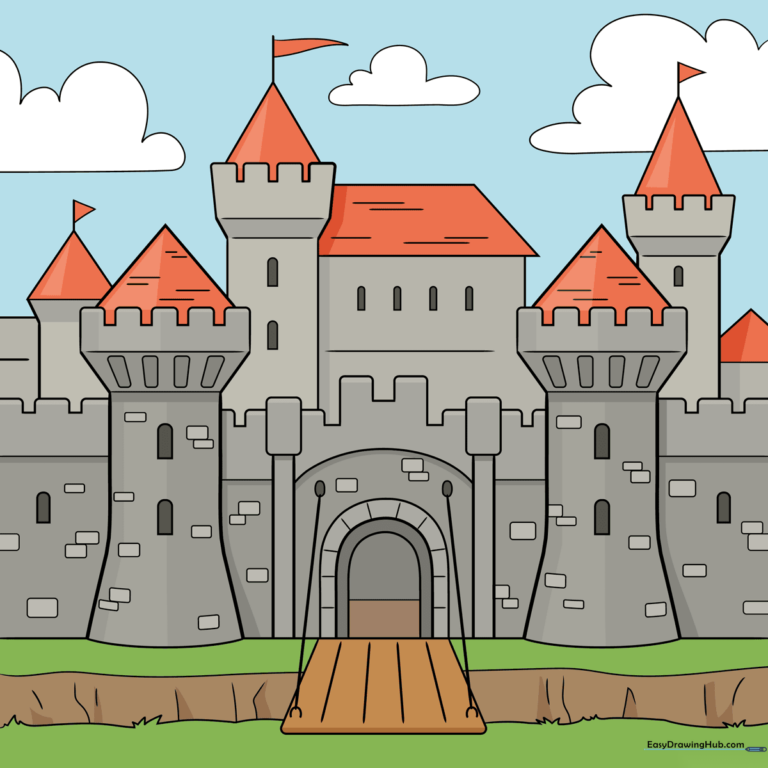
🎯 Final Result
Step-by-Step Instructions
Step 1: Sketching the Main Gate

Start by drawing the castle gate using a three-sided, open rectangle. Add two 'U' shaped arches inside for the entrance. Tip: Keep your lines straight by using a ruler if you're a perfectionist, or embrace the hand-drawn look for a more organic feel.
Step 2: Building the Side Towers
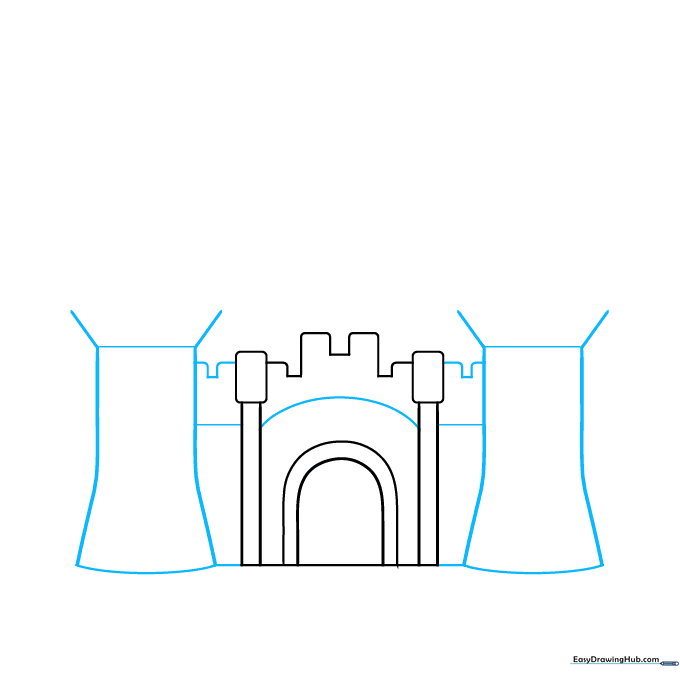
Draw a curved line above the arches to define the wall. Add two trapezoid shapes on either side of the gate to serve as the base for your towers. Tip: Make the bases wider than the tops to give your castle a sturdy, realistic foundation.
Step 3: Adding Tower Roofs
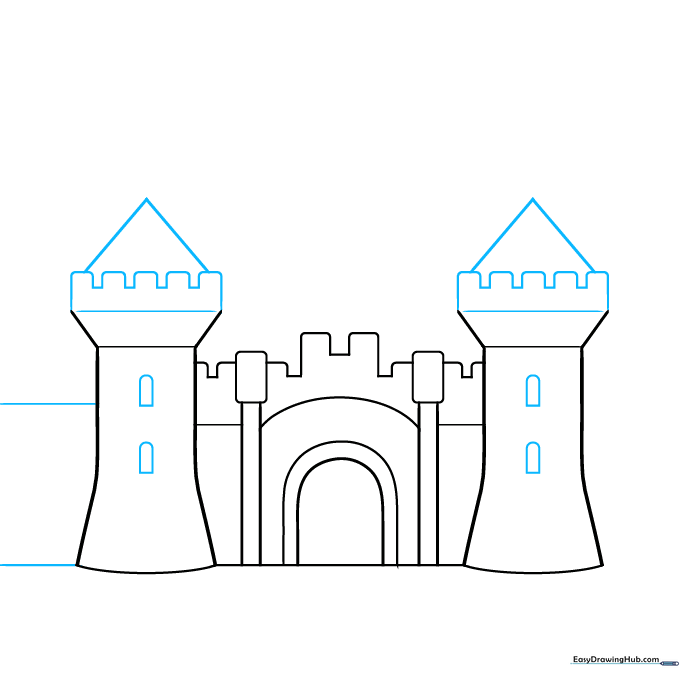
Add small arch-shaped windows to your towers. On top of each tower, draw a triangle to create a pointed roof. Tip: Use light, quick strokes for the triangles so they look sharp and symmetrical.
Step 4: Creating the Wall Battlements
Draw the 'blocky' zigzag tops (battlements) on your walls. Add a small arched window in the center of the wall. Tip: The zigzag pattern is called a crenellation—try to keep the blocks even in size for a professional look.
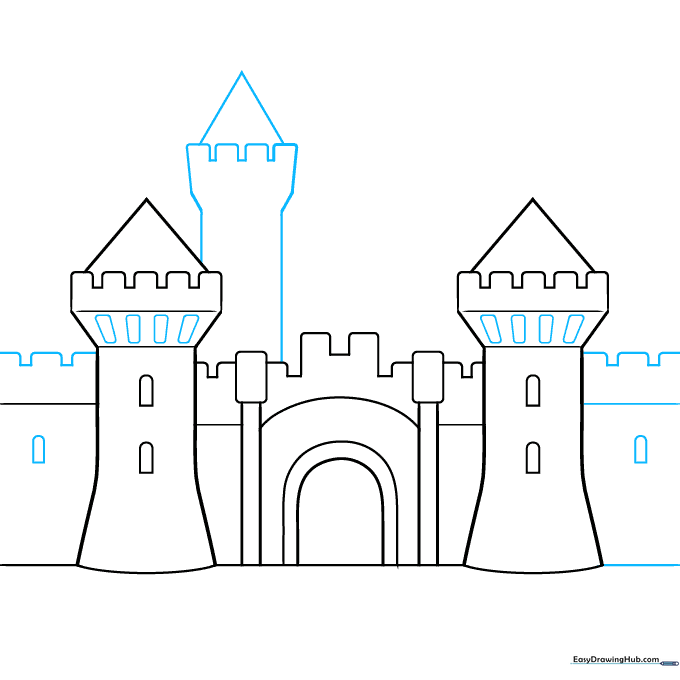
Step 5: Adding the Main Keep
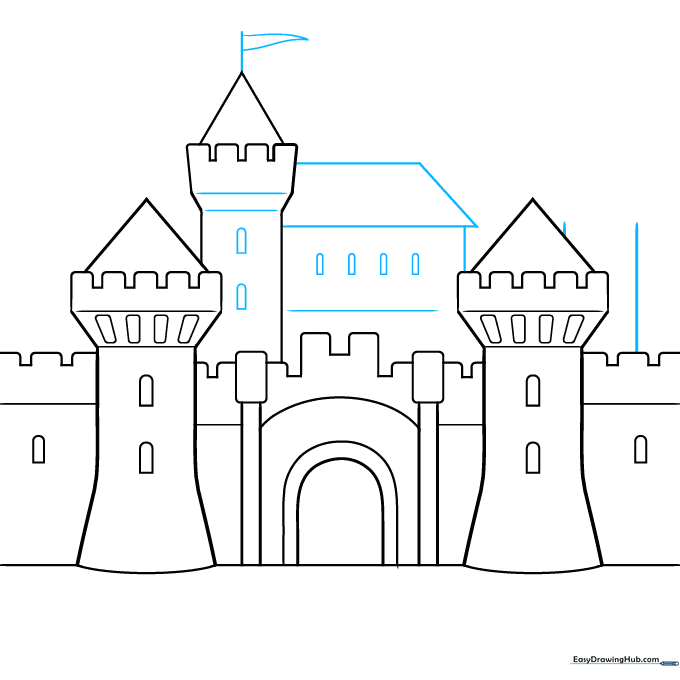
Draw a larger building in the background with a trapezoid roof. Add a flagpole with a triangular pennant on top. Tip: Adding a flag adds movement to your drawing—imagine which way the wind is blowing!
Step 6: Background Towers
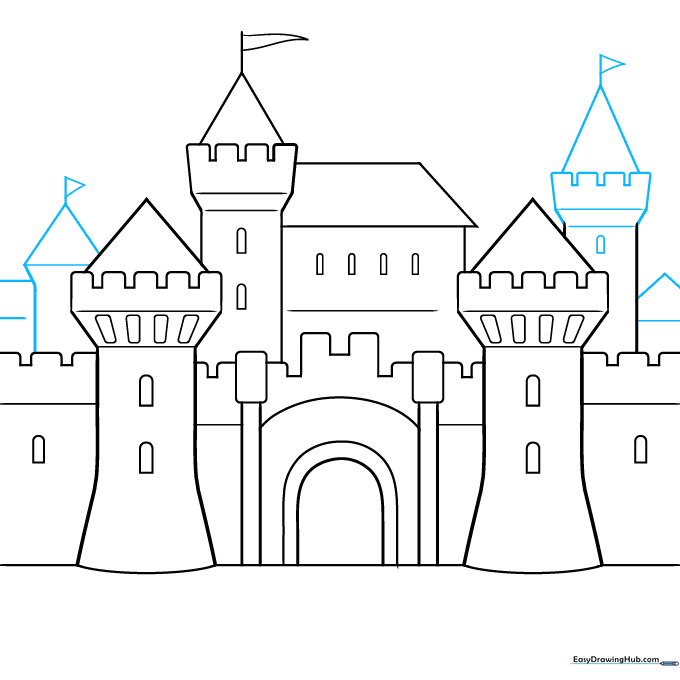
Add more towers in the background to give your castle depth. Vary the heights of these towers so the castle looks grand and layered. Tip: Draw these slightly smaller to create the illusion of distance.
Step 7: The Drawbridge

Draw a triangular drawbridge extending from the main gate. Add stone texture by sketching small, rounded rectangles across the walls. Tip: Don't worry about making every stone perfect; a little variation makes the castle look aged and authentic.
Step 8: Adding Texture and Grass
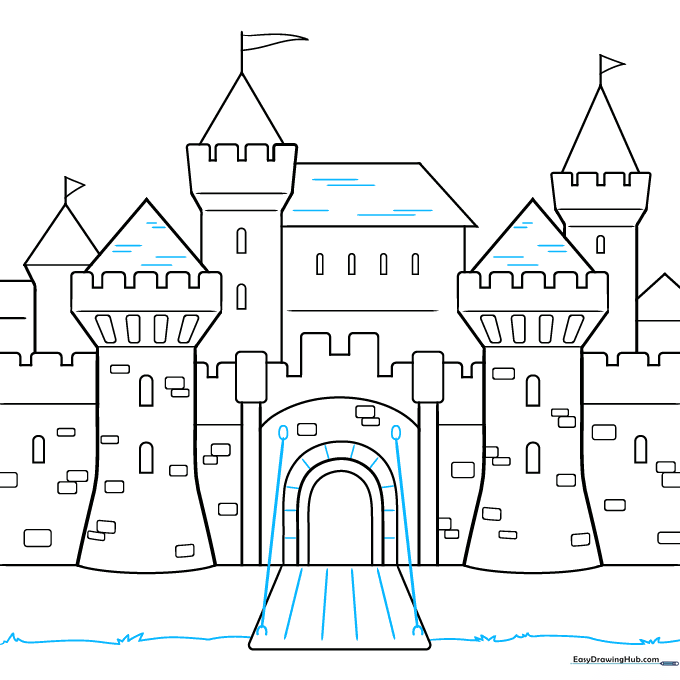
Add lines to the drawbridge and roof for texture. Draw the grass at the base using jagged, upward-curving lines. Tip: Use short, quick strokes for the grass to make it look lush and natural.
Step 9: The Moat and Sky
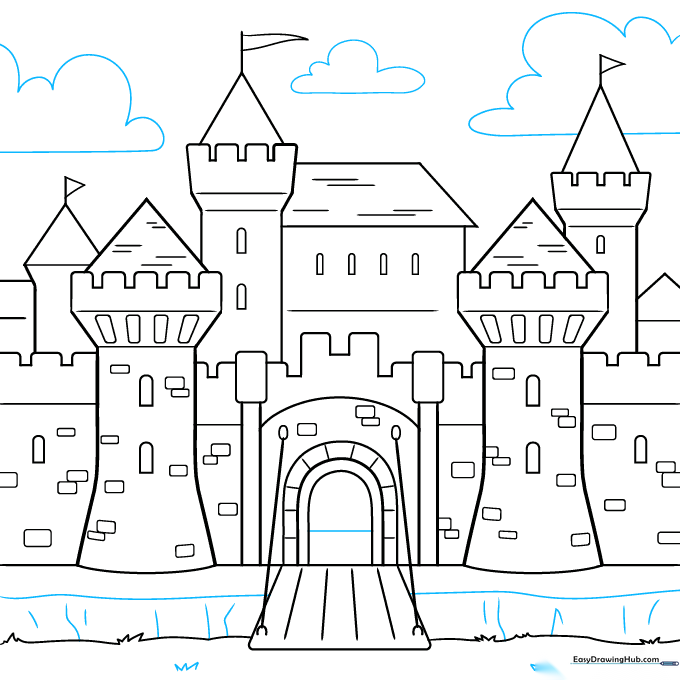
Draw a curved line for the moat banks and add a few fluffy clouds in the sky. Tip: Clouds should be soft and rounded—don't use sharp corners here!
Step 10: Color Your Masterpiece
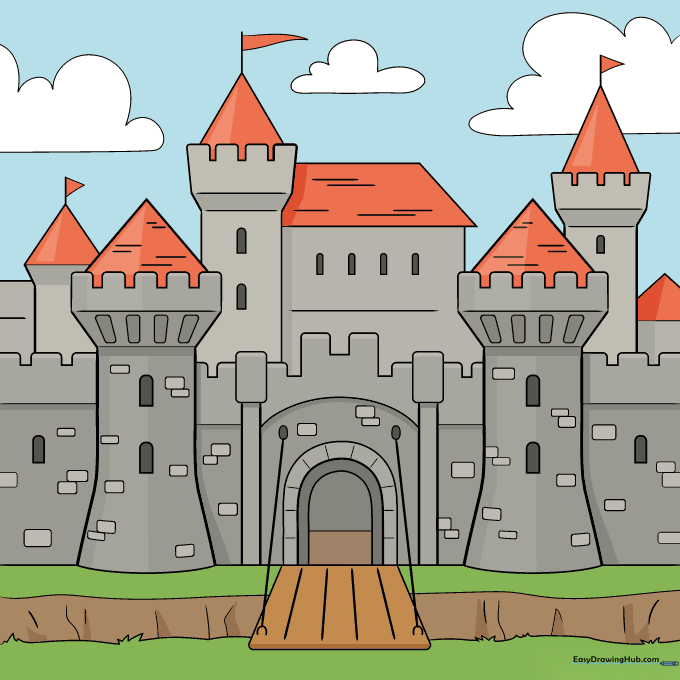
Time to bring your castle to life! Use shades of grey, brown, or tan for the stone walls. Tip: Use a darker shade of grey in the crevices to create shadows and make your castle look 3D.
More Tutorials


