How to Draw a Mecha: Easy 10-Step Anime Robot Guide
Ready to design your own giant fighting robot? This tutorial is perfect for young artists ages 8+ who love anime and sci-fi. Grab a pencil, an eraser, and a piece of paper to start building your mecha from the ground up using simple geometric shapes.
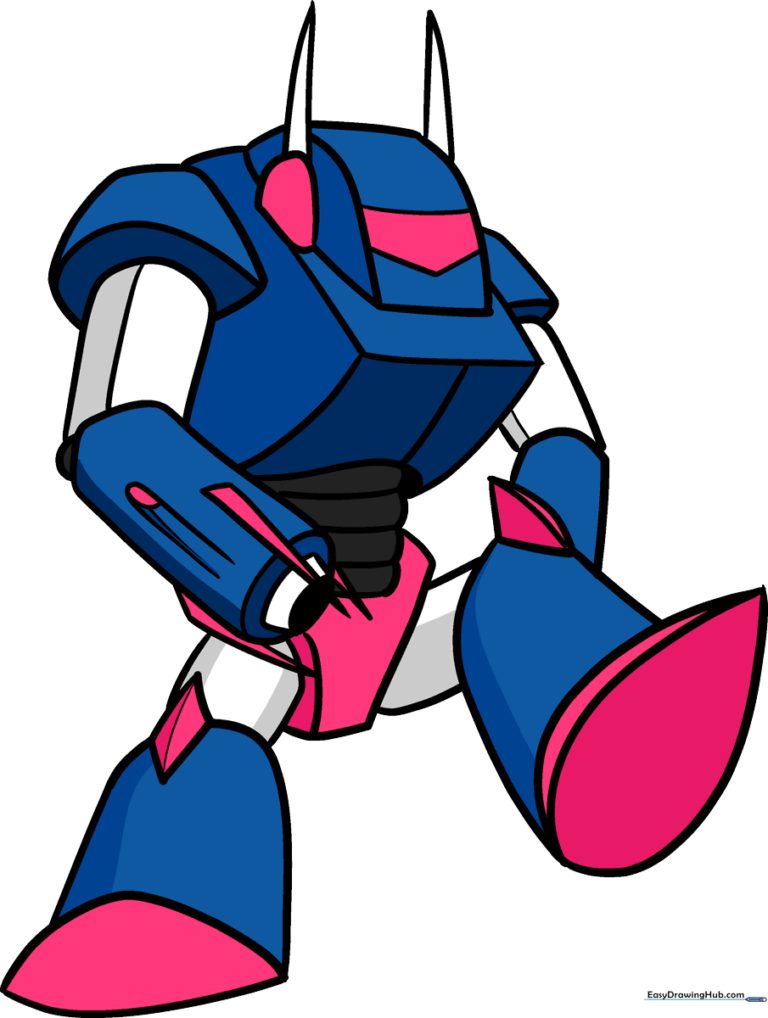
🎯 Final Result
Step-by-Step Instructions
Step 1: Sketching the Head Base

Draw an inverted teardrop shape for the main head. Add horizontal curved lines at the top and bottom to give it a mechanical feel. Teacher's Tip: Keep your pencil pressure light here; these are just guidelines for the faceplate.
Step 2: Adding Mechanical Horns
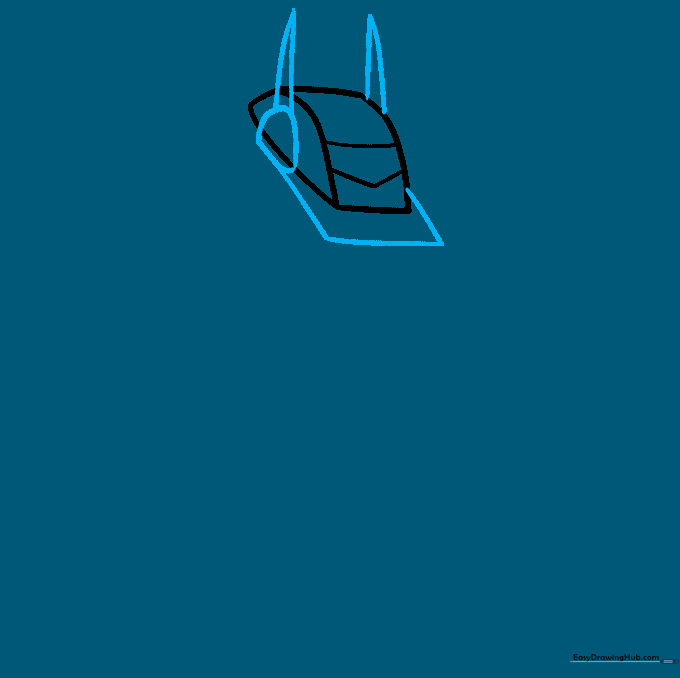
Add irregular rounded shapes to the sides of the head and top them with sharp, triangular horns. Use straight lines to box in the faceplate area. Tip: Symmetry is key for robots, so try to make your horns match in size.
Step 3: Constructing the Shoulders
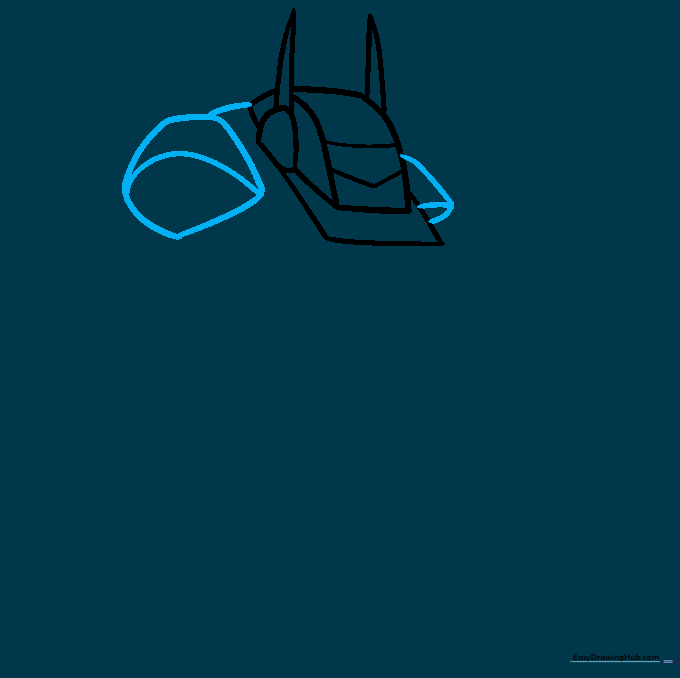
Outline the shoulders using curved shapes that connect to the back of the head. Add a curved line across each shoulder to suggest armor plating. Tip: Think of these as rounded shoulder pads.
Step 4: Designing the Arms
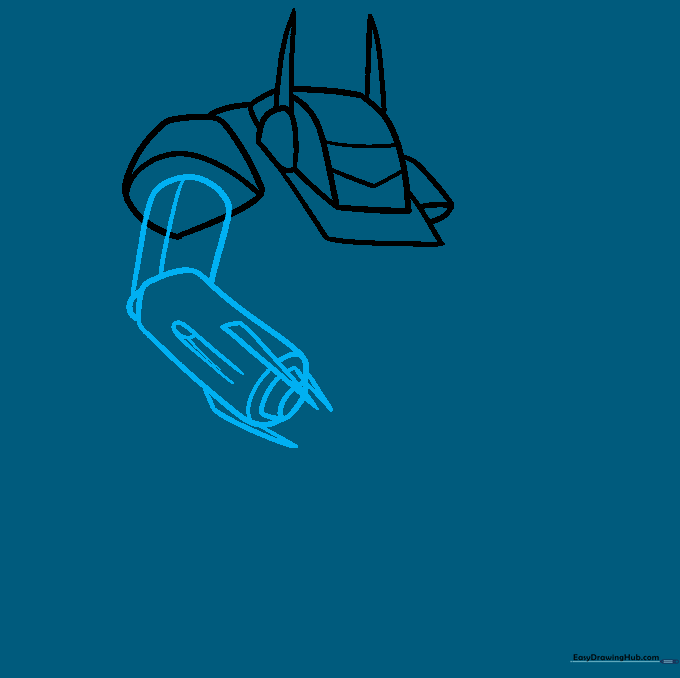
Draw the upper and lower arms using cylinder shapes. Add smaller ovals at the wrist for the hands. Tip: Use slightly curved lines for the cylinders to make the robot look more dynamic and less like a stiff block.
Step 5: Building the Torso
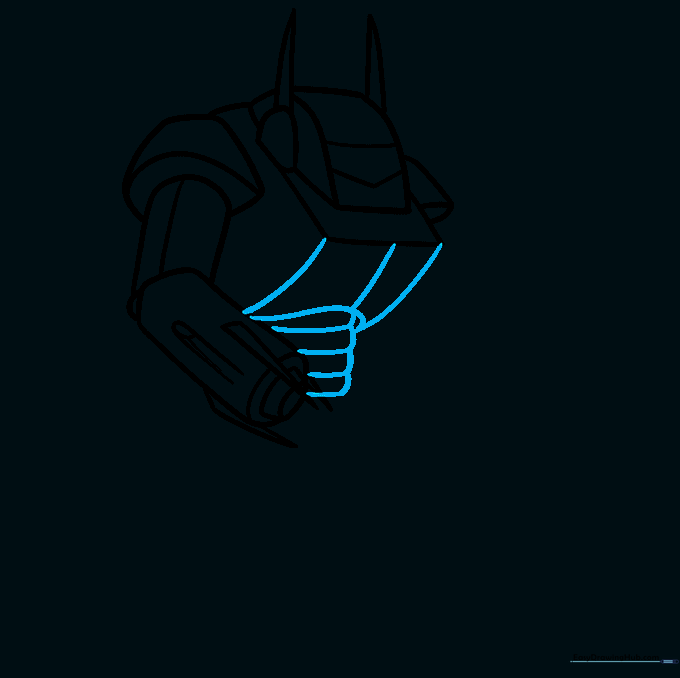
Form the belly area by doubling your curved lines. Connect the torso to the head with three vertical lines to represent the neck structure. Tip: Keep the torso compact to make your mecha look agile.
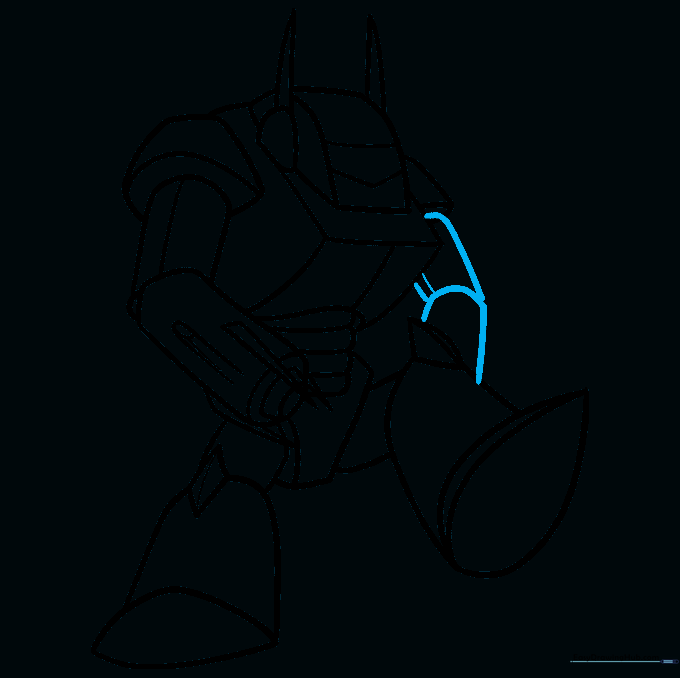
Step 6: Adding the Hips
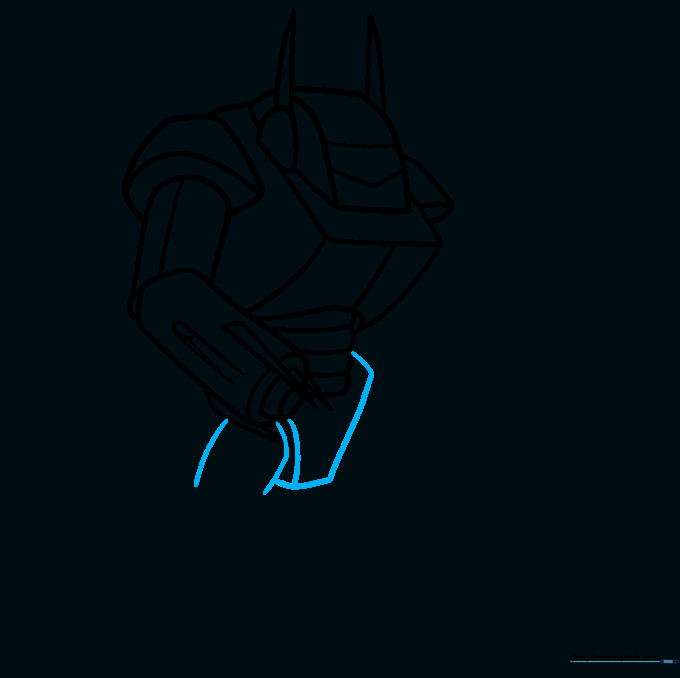
Draw the hip structure using curved lines and start the upper leg. Tip: Think of the hips as the anchor for the robot's movement; keep them sturdy and centered.
Step 7: Lower Legs and Feet
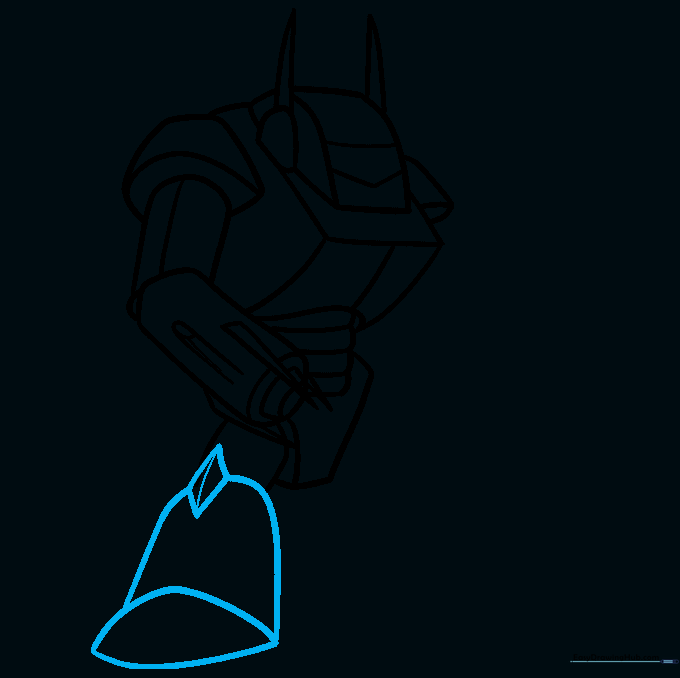
Add a small diamond at the knee for detail, then draw the lower leg and foot. Tip: Use a wide base for the foot to help the robot look like it can stand firmly.
Step 8: Completing the Legs
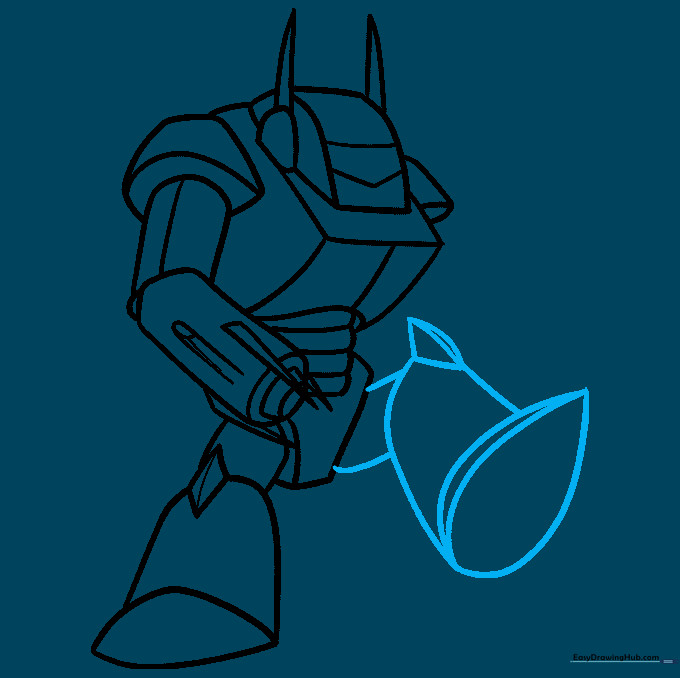
Draw the second leg, using a large teardrop shape for the foot. Add the knee diamond to match the first leg. Tip: Since this leg is raised, make sure the foot is angled to show movement.
Step 9: Finalizing the Outline
Draw the remaining arm, tucking it behind the raised leg. Use clean, confident lines to finalize the silhouette. Tip: Erase your construction lines now to see your clean robot outline.
Step 10: Adding Color
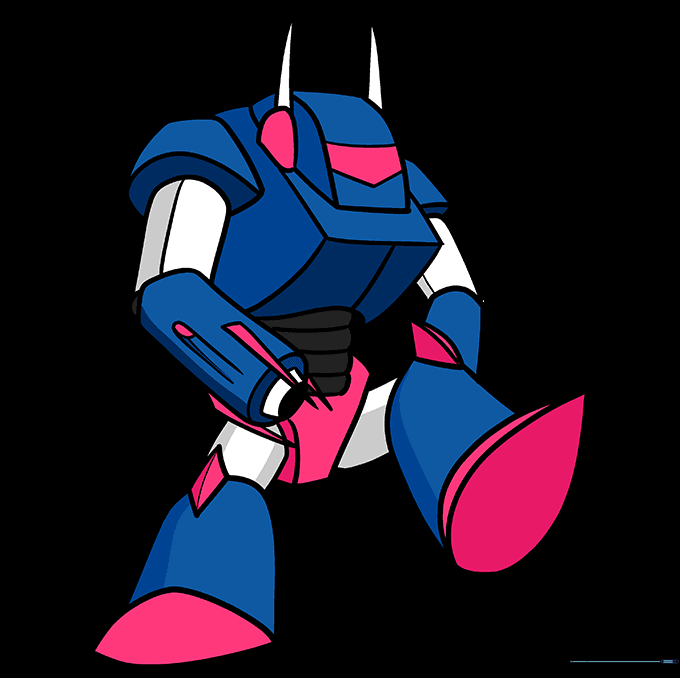
Bring your mecha to life with vibrant colors! Use metallic shades like silver or blue for the armor. Tip: Use darker colors for the joints to create a sense of depth and shadow.
More Tutorials


