How to Draw a Mayan Temple: Easy 9-Step History Lesson
Bring ancient history to life with this step-by-step Mayan temple drawing guide, perfect for artists ages 6 and up. You will only need a pencil, an eraser, and a sheet of paper to build this architectural wonder. Follow along to master geometric shapes and perspective while learning about one of history's most fascinating civilizations.
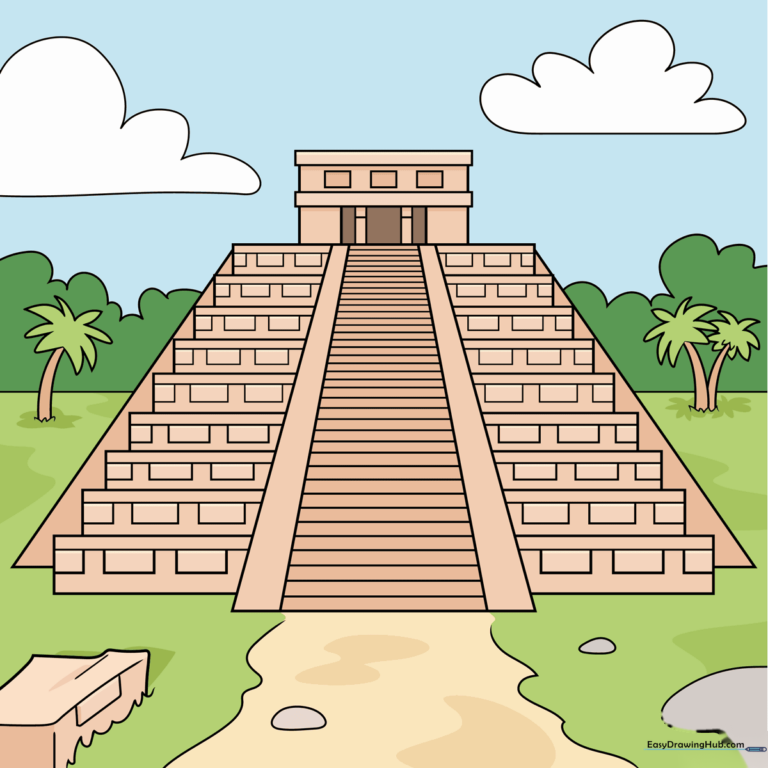
🎯 Final Result
Step-by-Step Instructions
Step 1: Establishing the Foundation
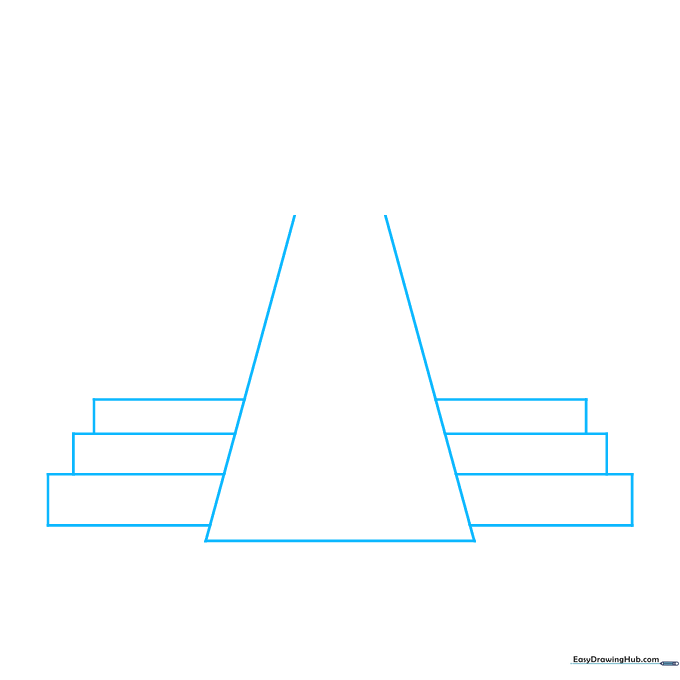
Draw a straight vertical line for the center, then add two diagonal lines pointing upward to create the base. Sketch three rectangles behind this shape, making the top one the narrowest. Teacher's Tip: Keep your pencil pressure light so you can easily adjust the proportions if the temple looks a bit lopsided.
Step 2: Building the Tiers
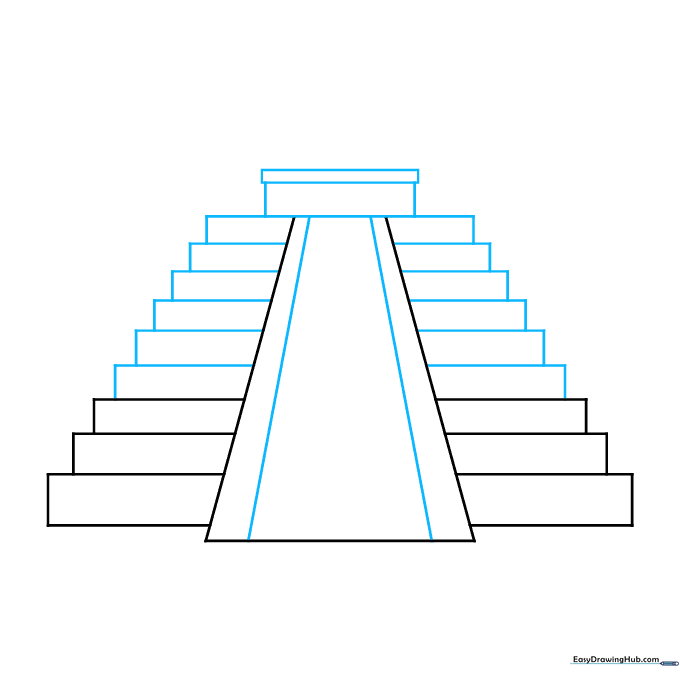
Sketch six more rectangles behind the front structure, then add two diagonal lines inside the center shape to show depth. Top it off with a shorter rectangle and a thin capstone. Teacher's Tip: Use a ruler if you want perfectly straight edges, or embrace the 'hand-drawn' look for a more organic feel.
Step 3: Adding Architectural Detail
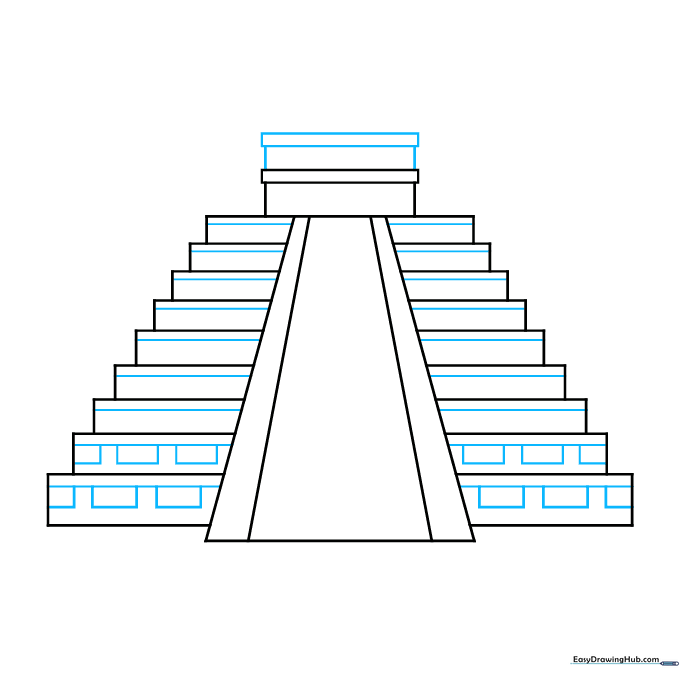
Add two more rectangles to the top level. Sketch horizontal lines across the steps to represent the stone blocks. Draw six rectangles on each of the bottom two rows. Teacher's Tip: Focus on keeping the rectangles uniform in size to make the temple look sturdy and realistic.
Step 4: Refining the Levels
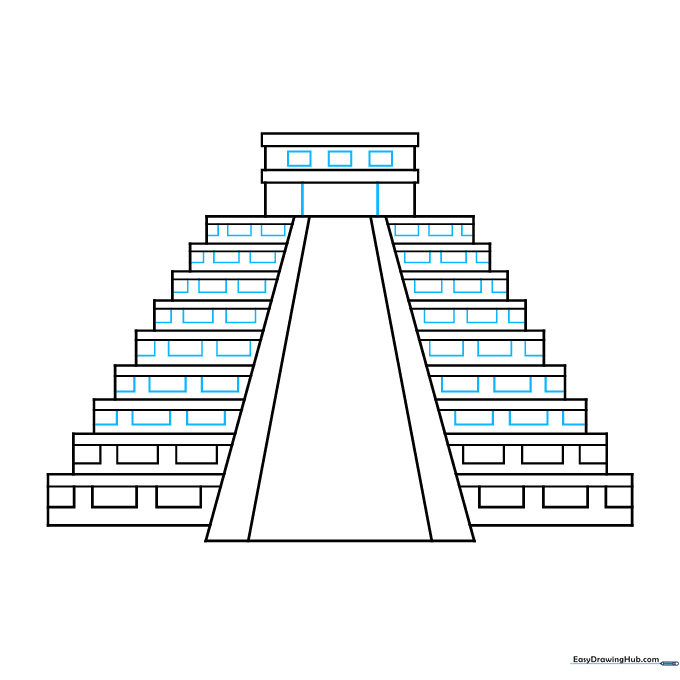
Outline more rectangles across the remaining steps to create a textured stone effect. On the top level, add three small rectangles and two vertical lines for the temple entrance. Teacher's Tip: Use a sharp pencil point here to keep your lines clean and crisp.
Step 5: Adding Texture and Surroundings
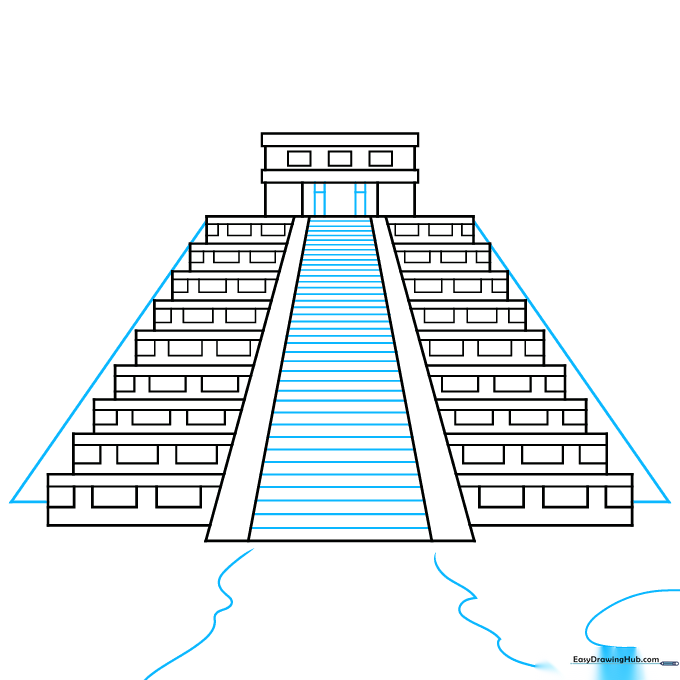
Sketch four vertical lines inside the entrance, then add two short horizontal lines. Draw a long L-shape on each side of the temple. In the middle, draw horizontal rectangles that get narrower toward the top. Add three wavy lines in front to suggest a puddle or uneven ground. Teacher's Tip: Wavy lines help break up the rigid geometry of the building, making the scene feel more natural.
Step 6: Sketching the Landscape
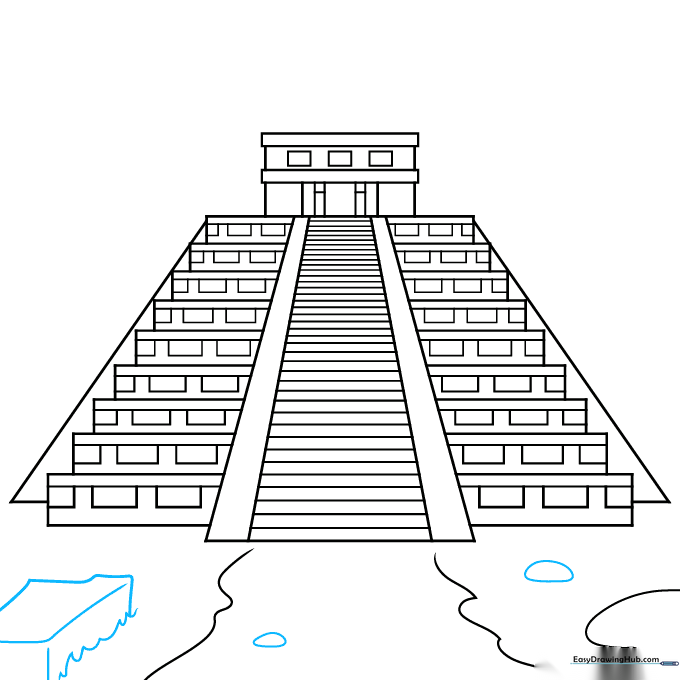
Sketch two uneven ovals for trees. On the left, draw a backwards L-shape and a vertical line, then surround them with an uneven line to form a box. Add a loose, sketchy line at the bottom for the ground. Teacher's Tip: Don't worry about making the trees perfect; nature is full of irregular shapes!
Step 7: Adding Foliage
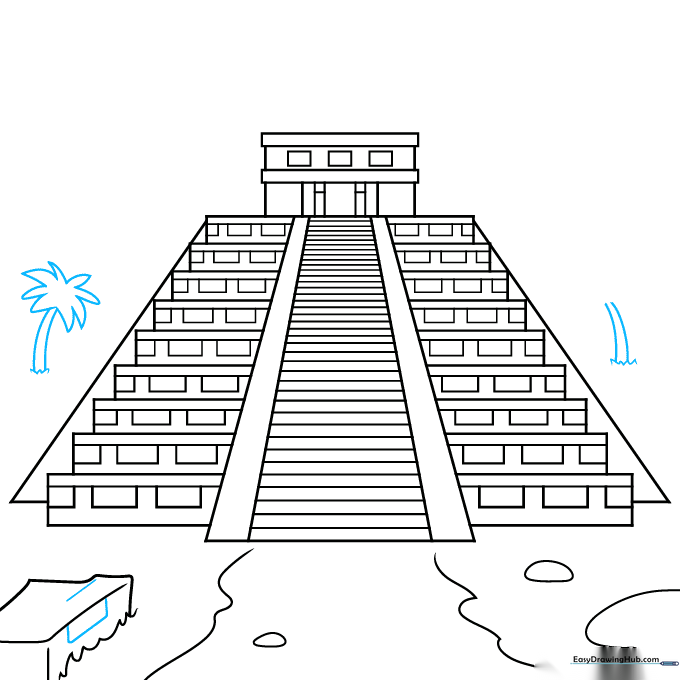
Draw a line and rectangle inside the side structure. Add two curved lines with small triangles at the bottom on either side of the temple. On the left, sketch the tree leaves using rounded, uneven triangles. Teacher's Tip: Varying the size of your triangles makes the foliage look more realistic and dense.
Step 8: Finalizing the Environment
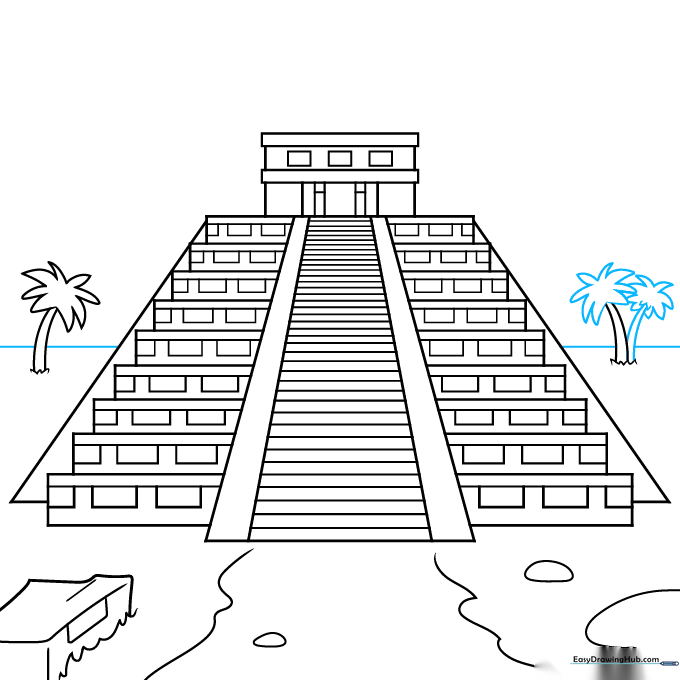
Repeat the leaf-drawing process for the other tree, then draw another tree behind it to add depth. Outline the horizon with a straight line. Teacher's Tip: Drawing objects behind others creates 'overlap,' which is a simple trick to make your drawing look 3D.
Step 9: Final Touches
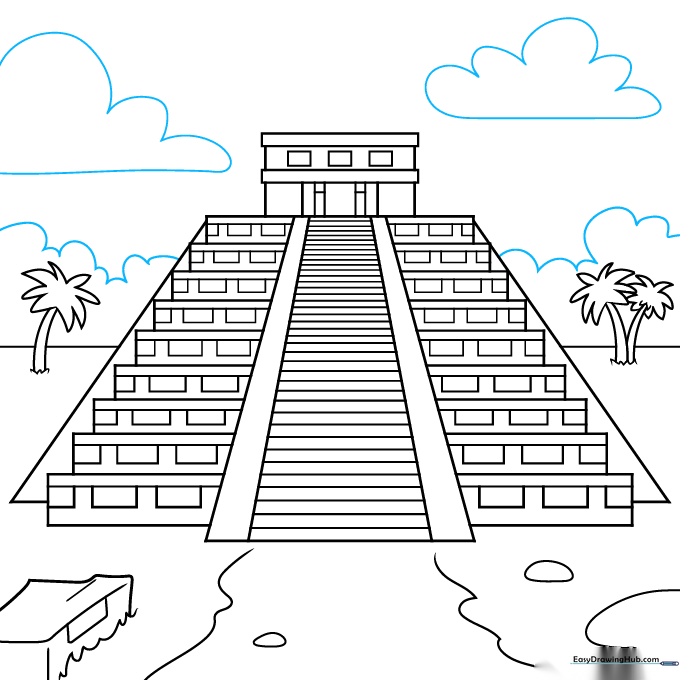
Use loops to decorate the background with clouds and shrubs. The clouds should have flat bottoms. Finally, go over your pencil lines with a black ink pen to make the drawing pop. Teacher's Tip: Erase any stray pencil marks after the ink is completely dry to keep your artwork looking professional.
Color Your Mayan Temple

Bring your temple to life! Use different shades of light brown for the stone structure to show texture. Use brown for the tree trunks and vibrant greens for the grass and leaves. Color the sky a soft light blue. Teacher's Tip: Try using a darker brown for the shaded sides of the temple to give it a realistic sense of light and shadow.
More Tutorials


