How to Draw a Mario Mushroom: Easy 10-Step Guide
Bring the world of Super Mario to life with this fun, beginner-friendly drawing guide. Designed for artists ages 5 and up, this activity requires only a pencil, paper, and an eraser to master. Follow along to build confidence and improve your hand-eye coordination while creating your very own power-up mushroom.
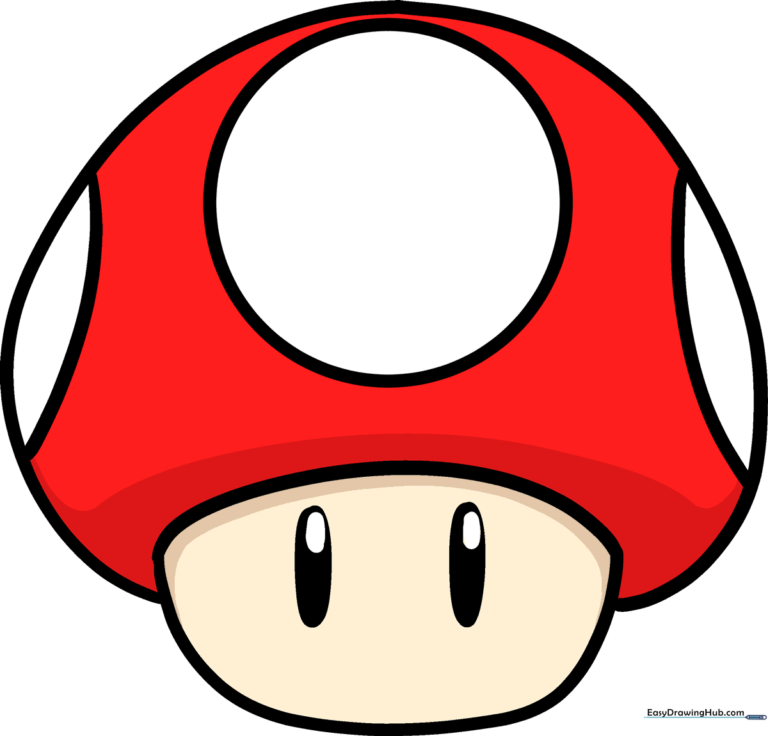
🎯 Final Result
Step-by-Step Instructions
Step 1: Sketching the Stem Base

Draw a curved line that looks like a sideways letter 'C'. This forms the main body of the stem. Teacher's Tip: Keep your pencil pressure light so you can easily adjust the shape if it feels a bit lopsided.
Step 2: Closing the Stem
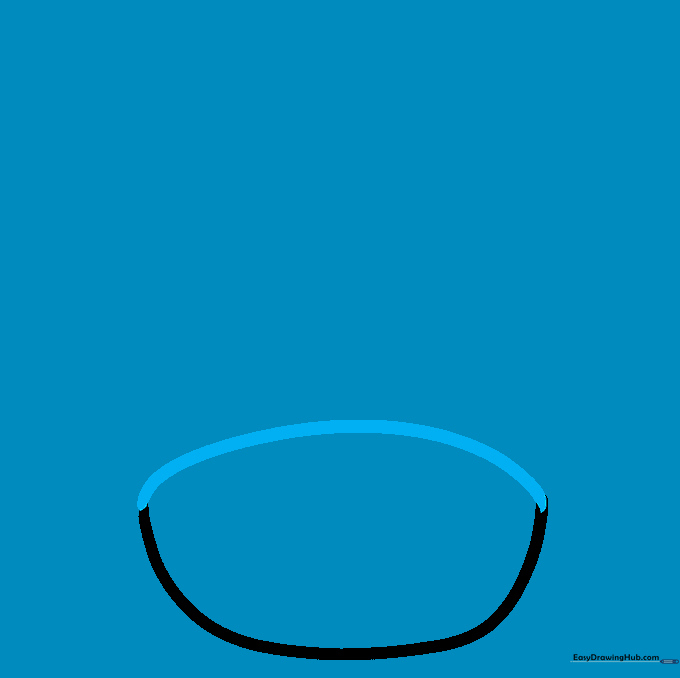
Draw a second curved line to connect the ends of your first line, creating a rounded, bean-like shape. Tip: Try to make the curves smooth and symmetrical to give your mushroom a professional, cartoon look.
Step 3: Drawing the First Eye
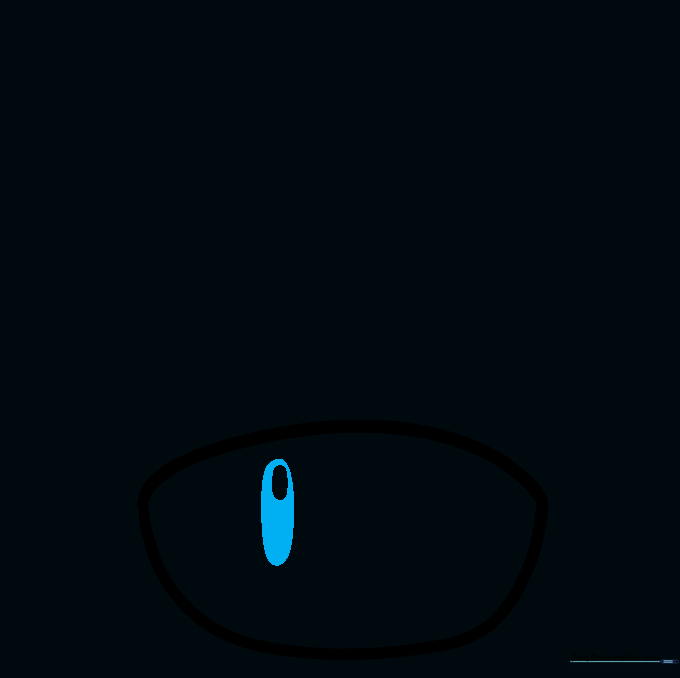
Draw a narrow vertical oval inside the stem, then add a smaller oval inside that one. Shade the space between the two ovals. Tip: This creates a 'glint' effect, making the eye look shiny and alive!
Step 4: Adding the Second Eye

Repeat the process from Step 3 to draw the second eye next to the first. Tip: Keep them close together to give your mushroom a cute, focused expression.
Step 5: Starting the Mushroom Cap
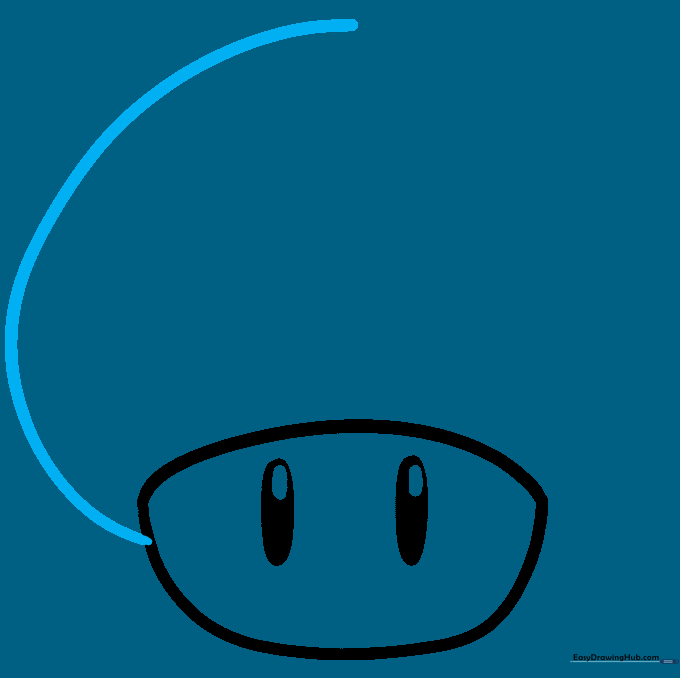
Extend a long, sweeping curved line from one side of the stem. This will form the top of the mushroom cap. Tip: Use a fluid motion with your wrist to get a nice, smooth curve.
Step 6: Completing the Cap Outline
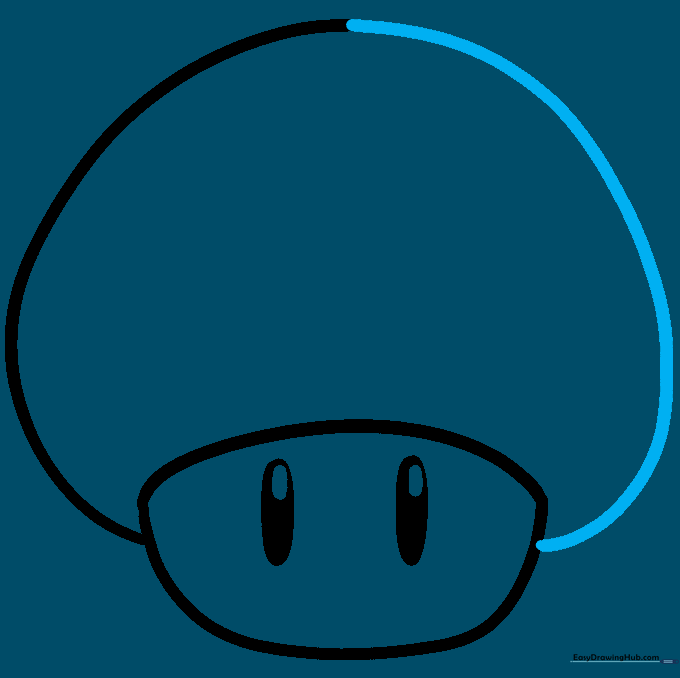
Continue the line until it reaches the other side of the stem, creating a large, dome-like shape. Tip: Ensure the cap looks balanced on top of the stem.
Step 7: Drawing the Center Spot

Draw a large, perfect circle in the center of the cap. Tip: If you struggle with circles, try tracing a small coin or bottle cap to get a clean shape.
Step 8: Adding Side Spots
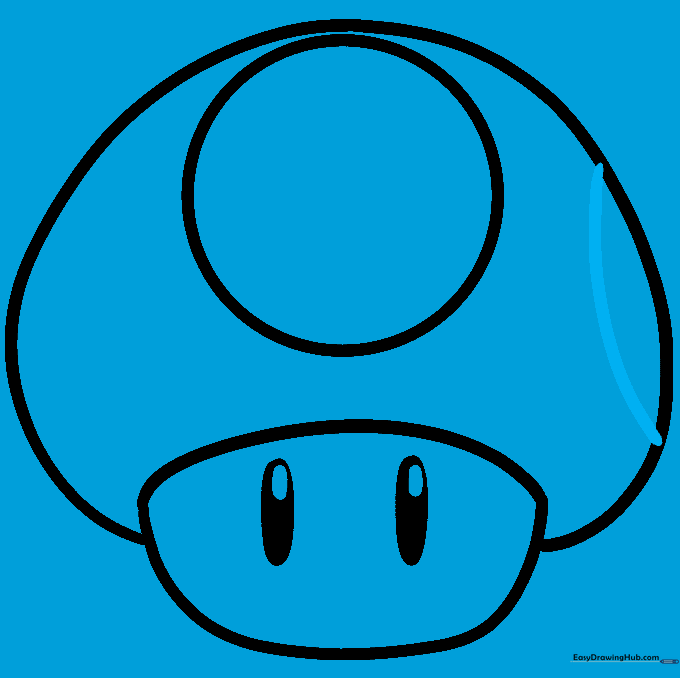
Draw a curved line on the side of the cap, connecting it to the edge to create a partial spot. Tip: Varying the size of the spots adds character to your drawing.
Step 9: Finalizing the Spots
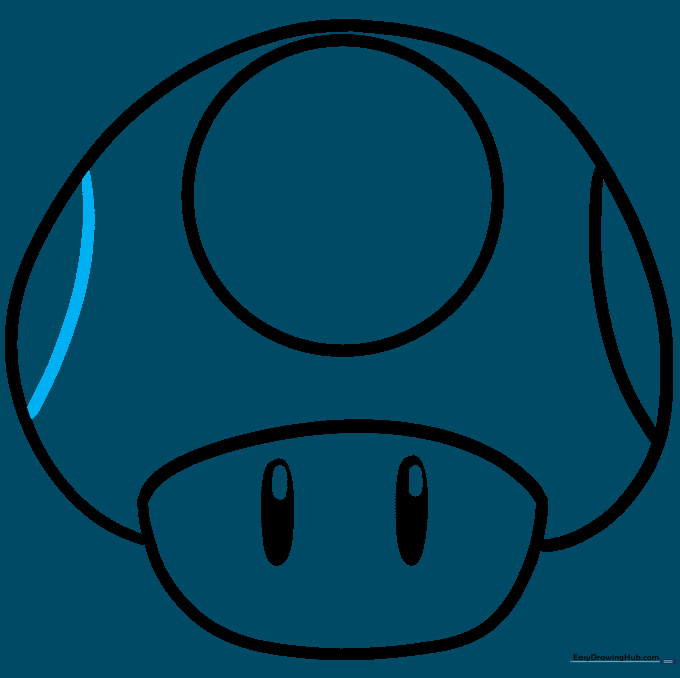
Repeat the previous step on the opposite side to balance your mushroom. Tip: Check that your lines touch the outer edge of the cap to make the spots look like they are wrapping around.
Step 10: Bringing it to Life with Color

Time to color! Use bright red for the cap and spots, and a soft tan or cream for the stem. Tip: Use colored pencils or markers to fill in the areas solidly for that authentic video game aesthetic.
More Tutorials


