How to Draw Mario Kart: Easy 10-Step Guide for Kids
Ready to hit the track? This tutorial is perfect for young gamers and artists ages 6+ who want to bring their favorite racing kart to life. You only need a pencil, an eraser, and some markers to get started. Follow these simple steps to master the shapes that make up Mario's iconic ride.
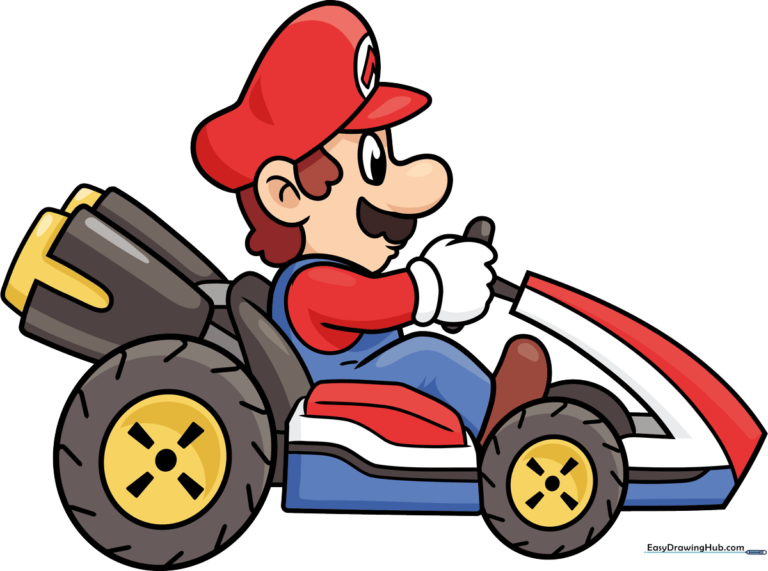
🎯 Final Result
Step-by-Step Instructions
Step 1: Sketching the Wheels
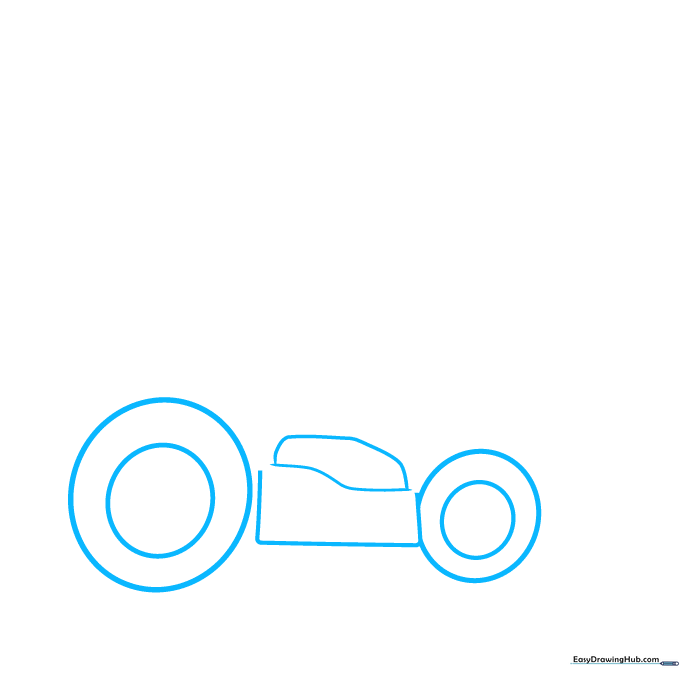
Start by drawing two circles for the wheels, making one slightly larger than the other to show perspective. Tip: Keep your pencil pressure light so you can easily adjust the shapes if the kart looks a bit wobbly!
Step 2: Connecting the Chassis
Connect your wheels using a sturdy rectangular frame. Add a 'J' shape at the front to form the bumper. Tip: Use a ruler if you struggle with straight lines, but freehand lines give the kart more character!
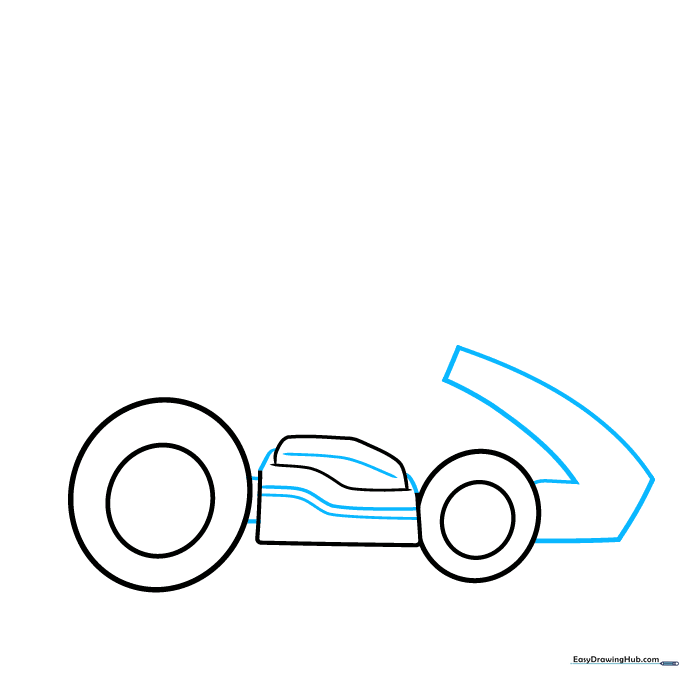
Step 3: Building the Engine
Draw a 'U' shape above the rear wheel and add a rectangle on top for the engine block. Tip: Think of this like building with blocks; keep your shapes simple and geometric.
Step 4: Sketching Mario's Face
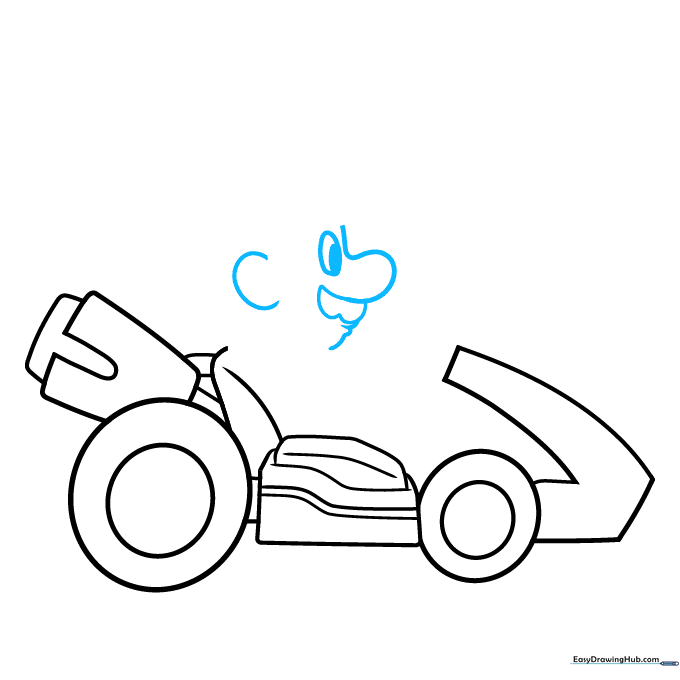
Now, let's add the driver! Sketch Mario's nose, mustache, and eyes. Tip: Focus on the mustache shape first—it’s the most recognizable part of Mario’s face.
Step 5: Adding the Hat
Draw the curved brim and top of Mario's cap. Tip: Make sure the hat sits low on his forehead to get that classic look.
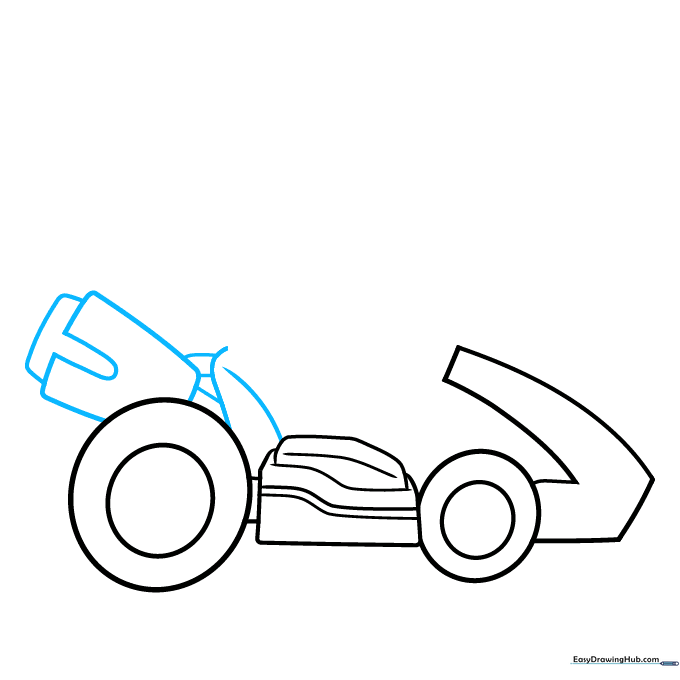
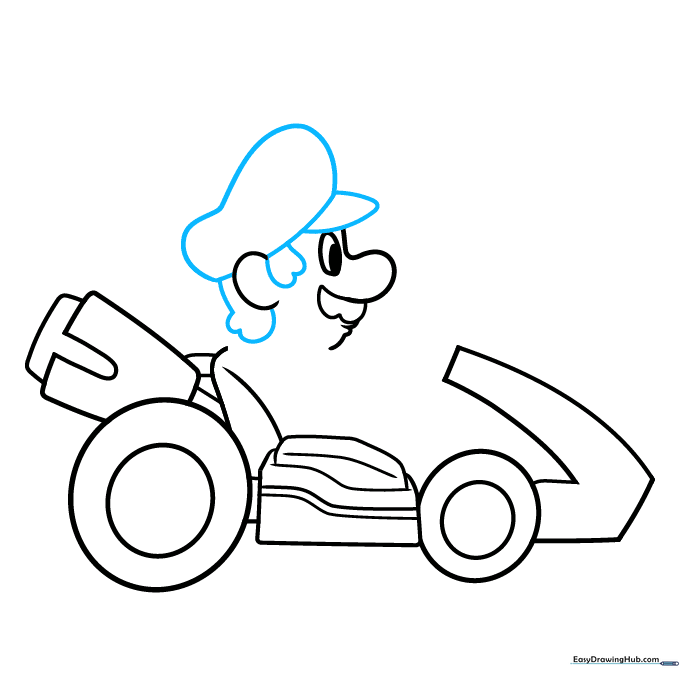
Step 6: The 'M' Logo and Hand
Add the 'M' logo to the hat and sketch his gloved hand reaching for the wheel. Tip: Keep the hand shape rounded to make it look like a cartoon glove.
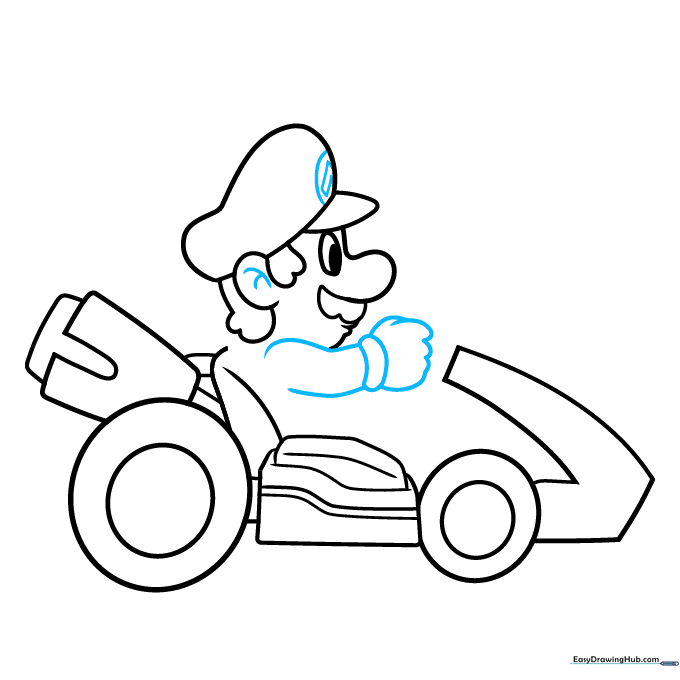
Step 7: Positioning the Driver
Sketch Mario's torso and leg as he sits in the kart. Tip: Don't worry about perfect anatomy; focus on capturing the pose of him leaning into a turn.
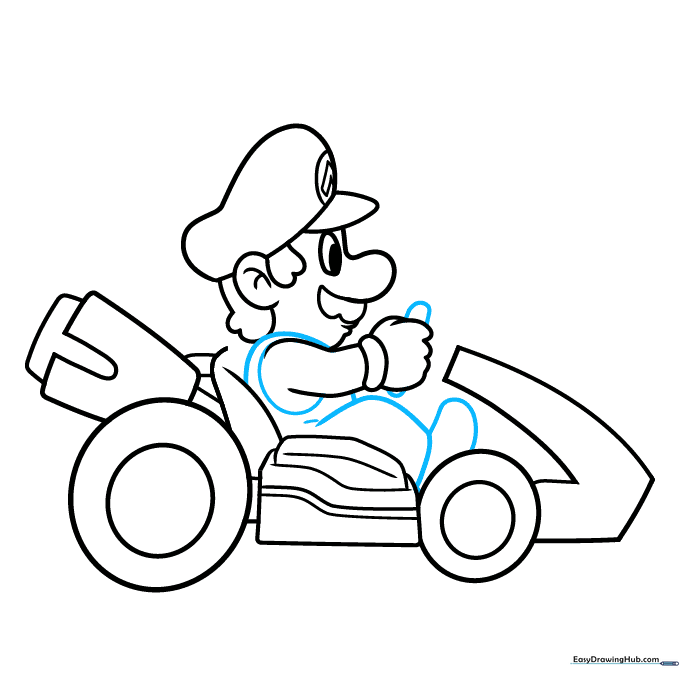
Step 8: Finalizing Kart Details
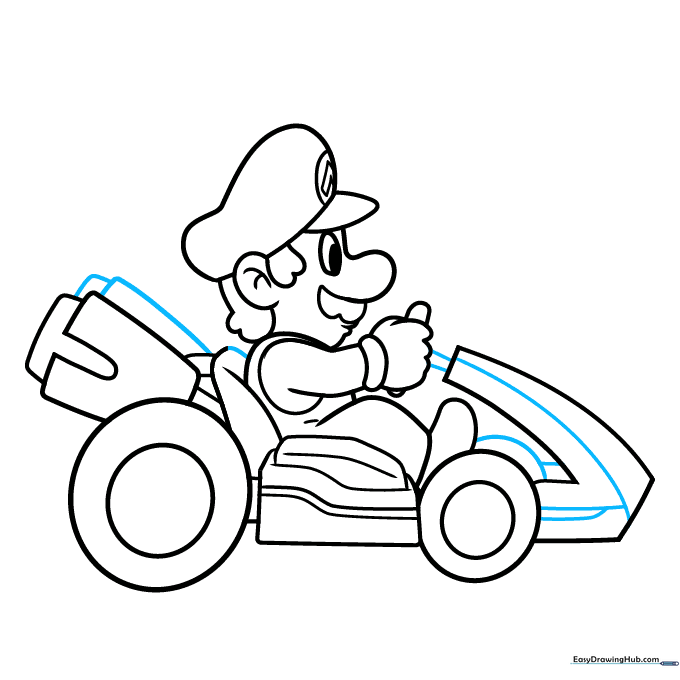
Add the second engine piece and finish the steering wheel assembly. Tip: Use small, clean lines to show the mechanical parts of the kart.
Step 9: Adding Tire Texture
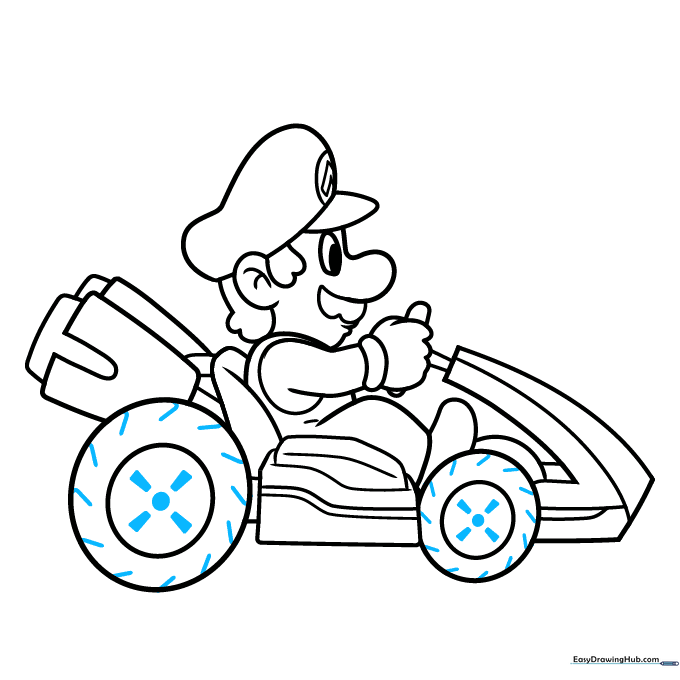
Draw small rectangles on the tires to create tread. Tip: This adds a realistic 'racing' feel to your drawing!
Step 10: Bring it to Life with Color
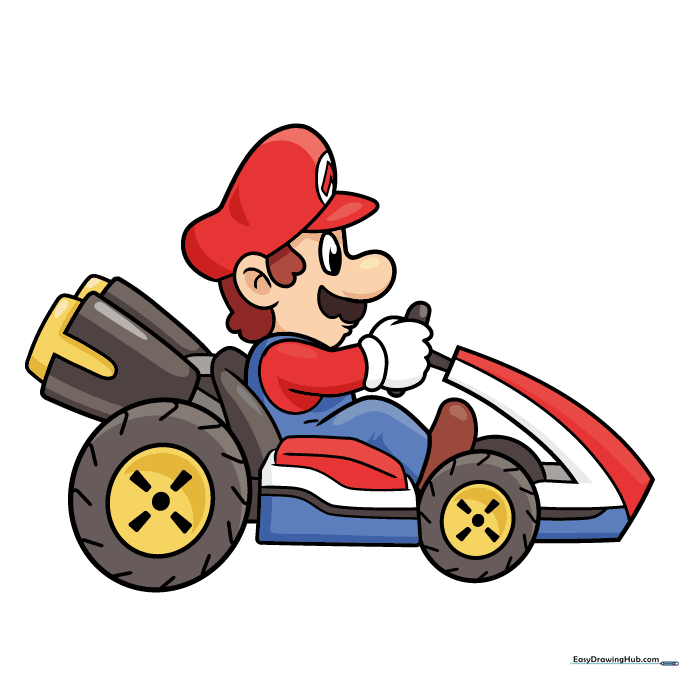
Time to color! Use bright red for Mario's hat and blue for his overalls. You can choose any color for the kart to make it your own. Tip: Use colored pencils for better control over the small details.
More Tutorials


