How to Draw Mario and Luigi: Easy Step-by-Step Guide
Bring the Mushroom Kingdom to life with this fun, step-by-step drawing guide designed for ages 6 and up. You only need a pencil, an eraser, and some paper to get started. By breaking these iconic characters down into simple shapes, you'll build confidence in your drawing skills while creating a masterpiece you can proudly color.
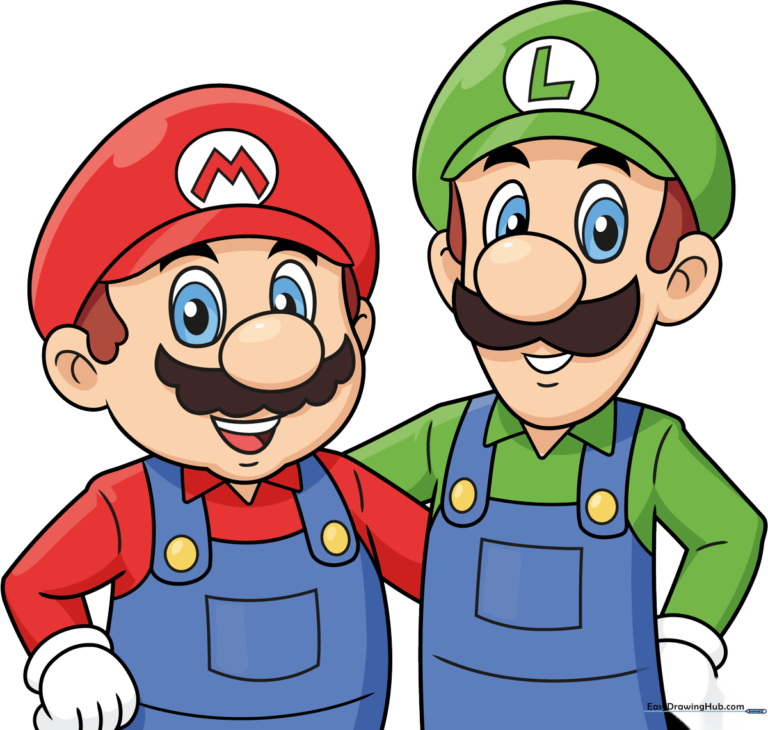
🎯 Final Result
Step-by-Step Instructions
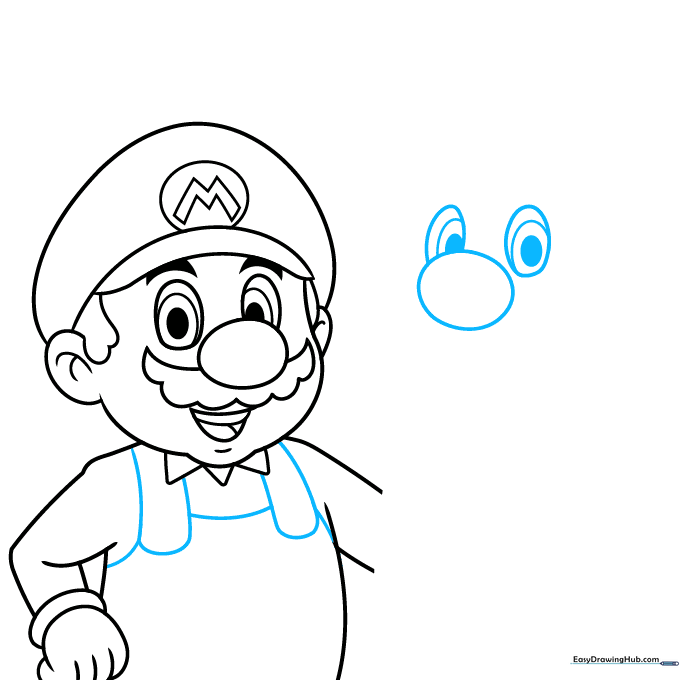
Step 1: Sketching Mario's Face
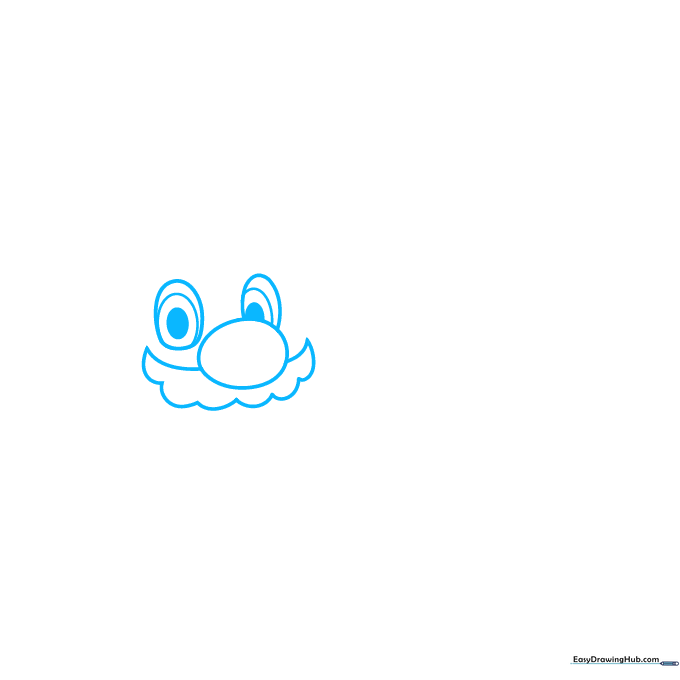
Start by sketching Mario's nose as a simple oval. For the eyes, draw three small, nested ovals and shade the center one. Tip: Keep your pencil pressure light so you can easily adjust the placement of the eyes relative to the nose.
Step 2: Defining the Face and Hat
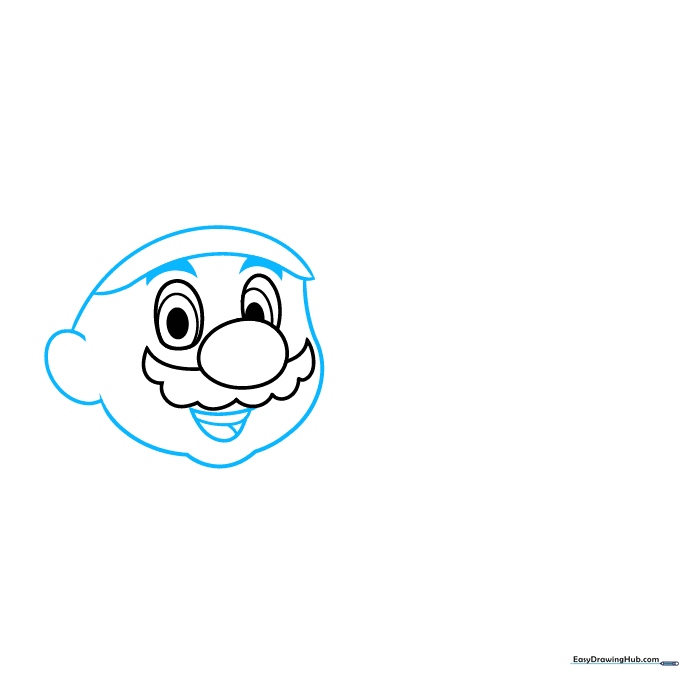
Outline the face with curved lines and add the brim of his cap by doubling back on your top line. Add the eyebrows as small, shaded pointed shapes. Tip: Use a 'scalloped' motion for the mustache to give it that classic Mario texture.
Step 3: Adding Mario's Hat and Collar

Draw the top of the hat as a large curve, adding the iconic 'M' inside a circle. Detail the ears and chin dimple. Add three small triangles below the chin for the shirt collar. Tip: Ensure the 'M' is centered on the hat to keep the character looking balanced.
Step 4: Sketching the Arms and Torso
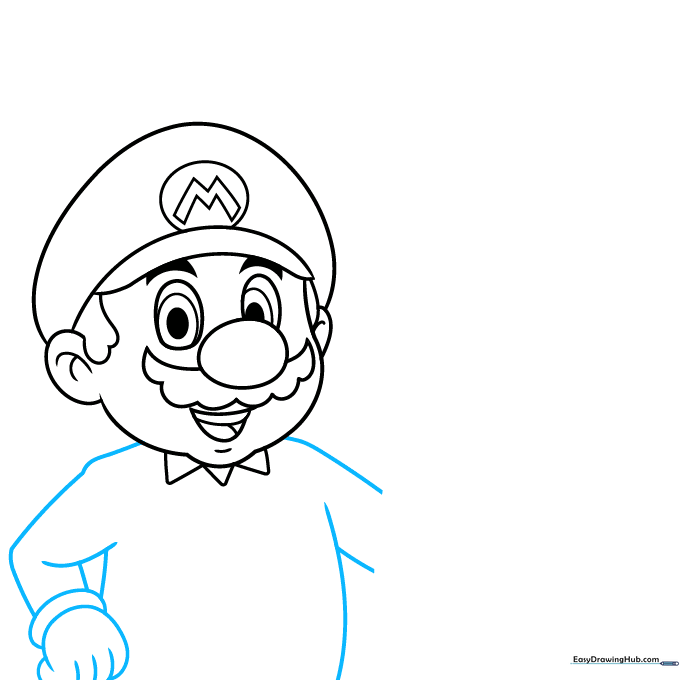
Use overlapping curved lines to build the arms and torso. Keep the lines fluid to suggest movement. Tip: Think of the arm as a tube shape; keep the lines smooth to make the character look natural.
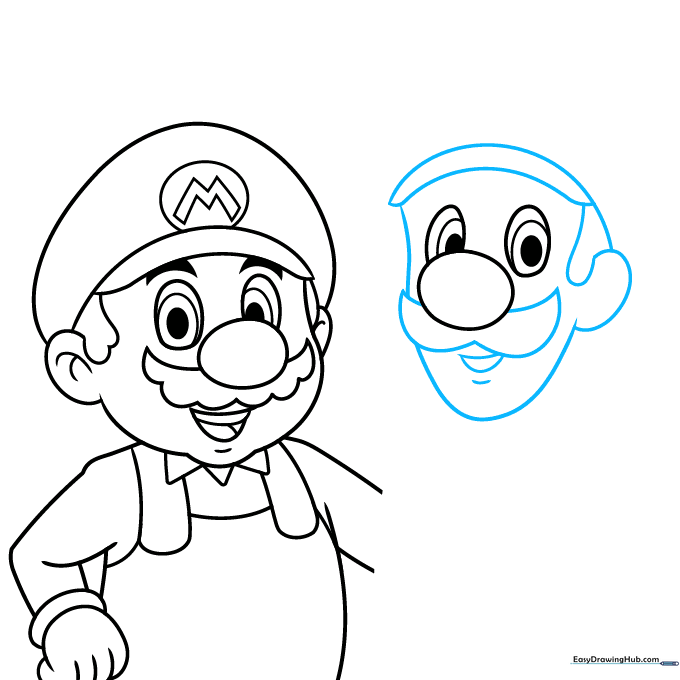
Step 5: Overalls and Starting Luigi
Draw the overall straps and connect them to the torso. Now, begin Luigi's face using the same oval-based method as Mario. Tip: Make Luigi's nose slightly different to distinguish his character design from Mario's.
Step 6: Luigi's Facial Features
Use curved lines to define Luigi's mustache, mouth, and hat brim. Tip: Luigi's mustache is often drawn a bit thinner or differently shaped than Mario's—observe the slight curve to give him his signature look.
Step 7: Luigi's Hat and Details
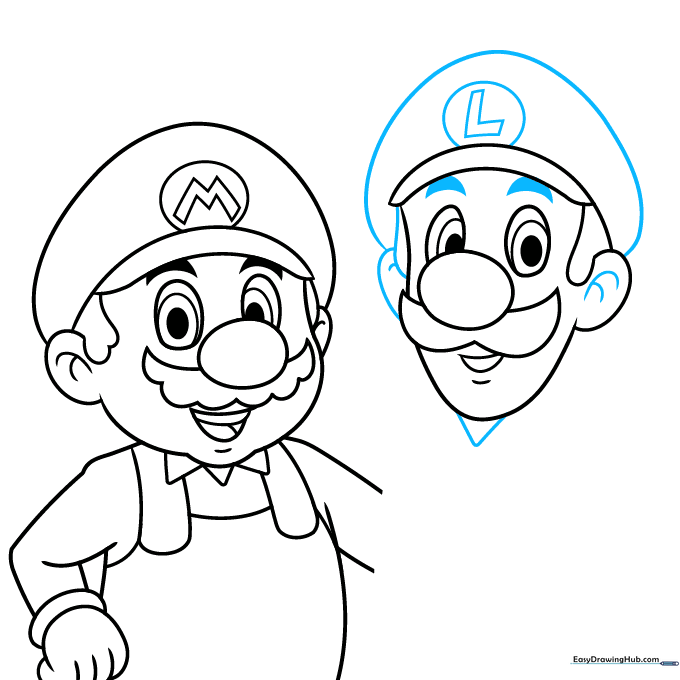
Add the 'L' logo to Luigi's hat and finish his eyebrows and chin. Tip: Use a darker pencil stroke for the 'L' to make it stand out against the hat.
Step 8: Luigi's Body
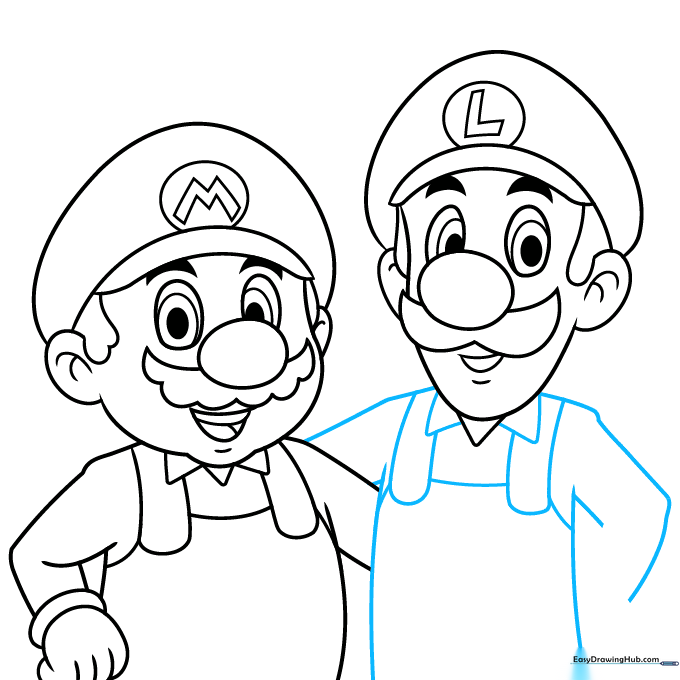
Draw the collar, arms, and overall straps for Luigi. Tip: Keep the proportions similar to Mario so they look like a matching pair.
Step 9: Final Touches
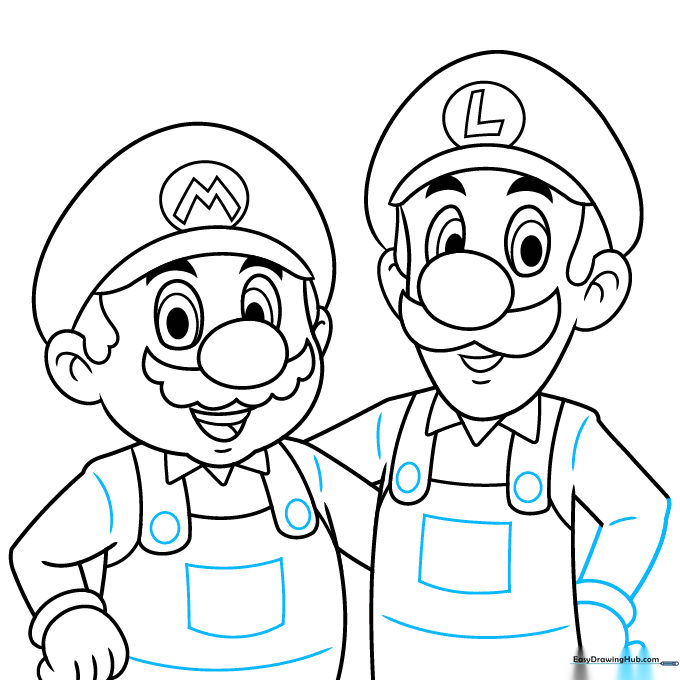
Finish the hands, add square pockets to the overalls, and add contour lines to the fabric. Tip: Use small, light curved lines on the clothing to suggest folds and depth.
Step 10: Bring Them to Life with Color
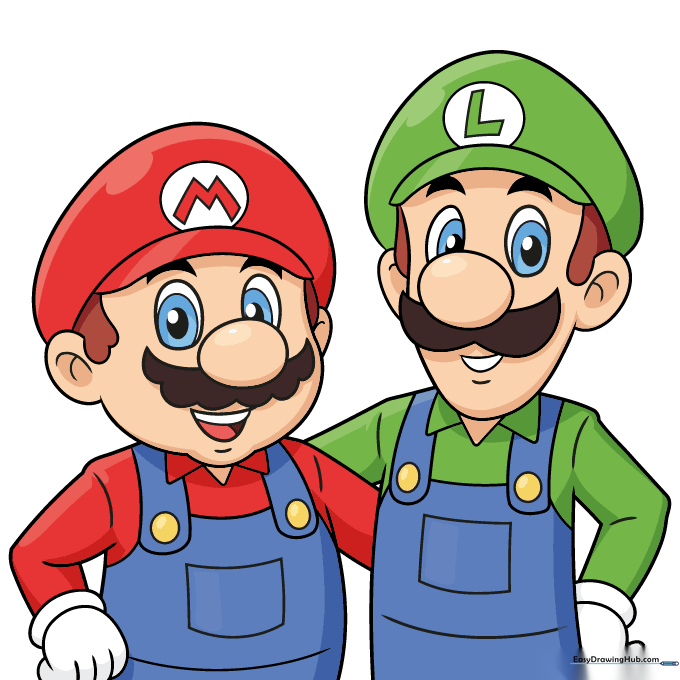
Time to color! Use red for Mario's shirt and hat, and green for Luigi's. Both wear blue overalls. Tip: Use a darker shade of blue in the folds of the overalls to create a 3D effect.
More Tutorials


