How to Draw a Marigold: Easy 9-Step Flower Tutorial
Bring the beauty of the garden to your sketchbook with this marigold drawing tutorial. Designed for artists ages 5 and up, this activity requires only a pencil, eraser, and paper. Follow along to master the art of layering petals and drawing realistic botanical stems.
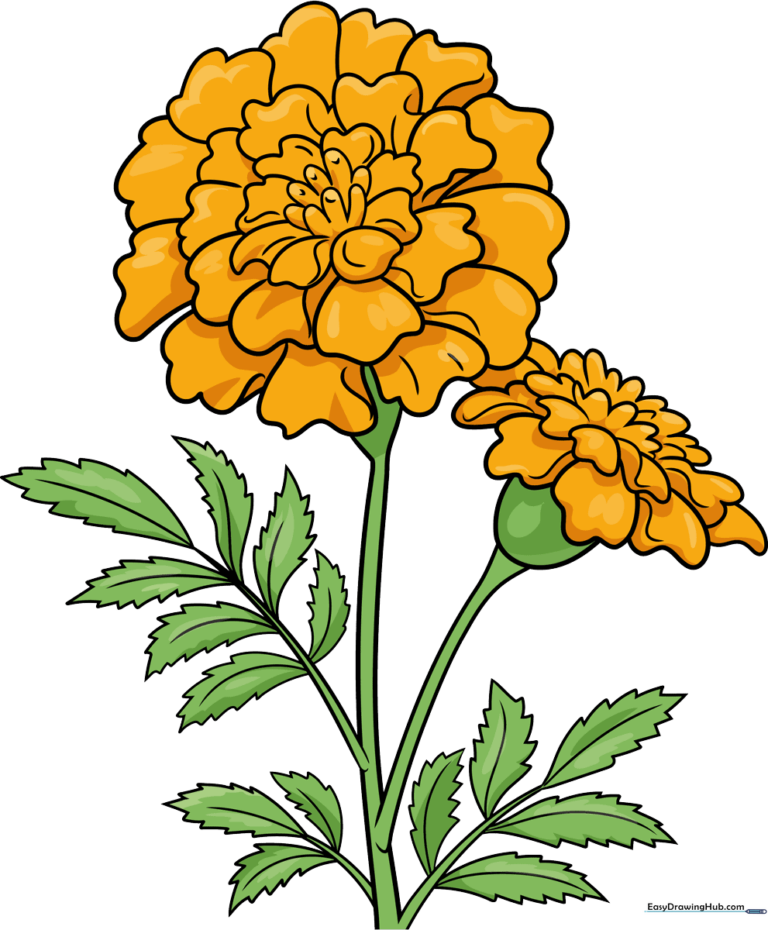
🎯 Final Result
Step-by-Step Instructions
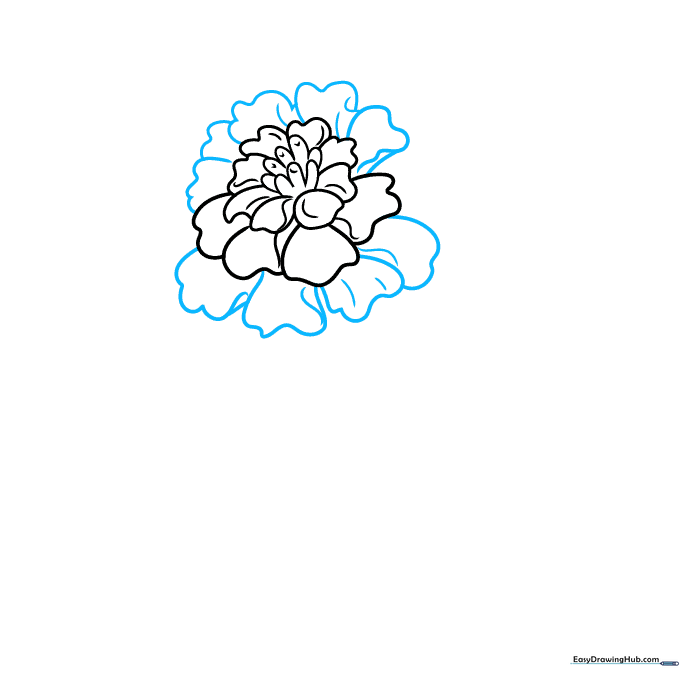
Step 1: Sketching the Center Petals

Start by drawing a series of connected “U” shaped lines to form the heart of the flower. Tip: Keep your pencil pressure light here so you can easily adjust the shape as you build outward.
Step 2: Building Petal Layers

Add a second row of U-shaped petals around the first. Tip: Let these petals overlap slightly to create a sense of volume and natural growth.
Step 3: Expanding the Bloom
Continue adding layers of wavy, curved lines around the edges. Tip: Marigolds are very ruffled; don't worry about making every petal perfect—the more irregular the curves, the more realistic it looks!
Step 4: Introducing a Second Flower
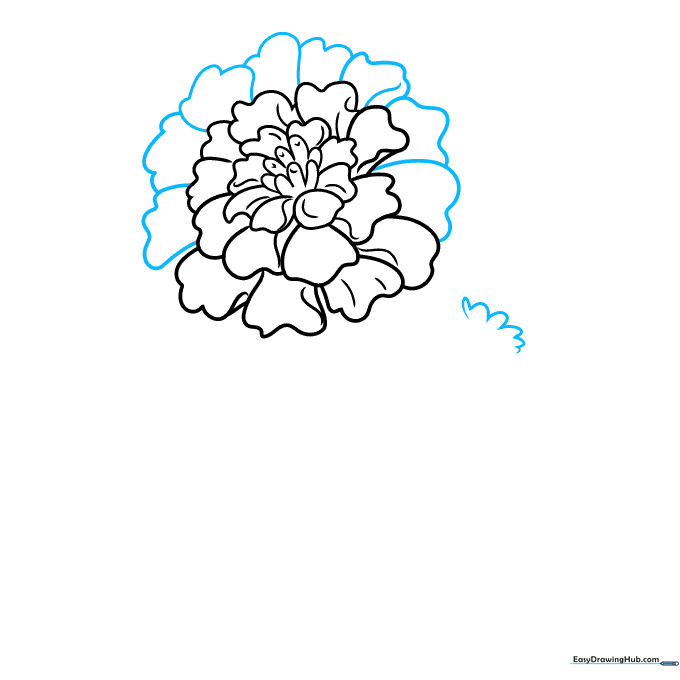
Finish the first flower with a final outer layer, then start a new set of U-shaped lines nearby for a second, smaller bloom. Tip: Placing two flowers at different heights makes your composition look more professional.
Step 5: Side-View Petals
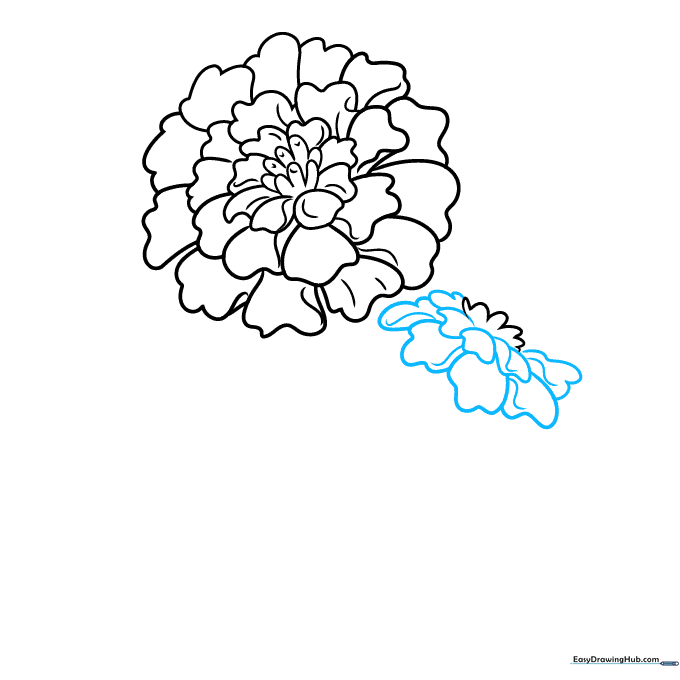
Draw petals for the second flower using wavy lines, keeping in mind that this one is viewed from the side. Tip: Use shorter, tighter curves to show the side profile of the petals.
Step 6: Connecting the Stems
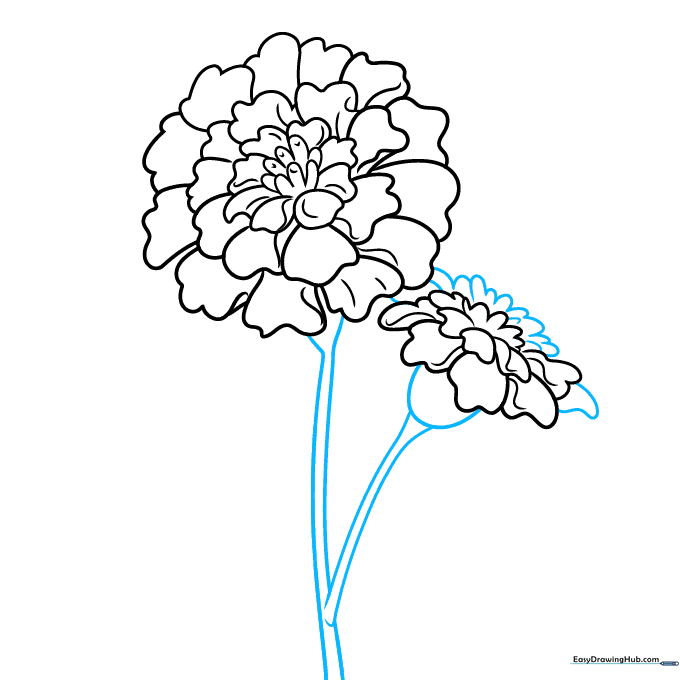
Complete the second flower's base and draw two curved lines extending downward to meet in a 'Y' shape. Tip: Make the stems slightly thicker at the base to show they are supporting the weight of the flowers.
Step 7: Adding Serrated Leaves
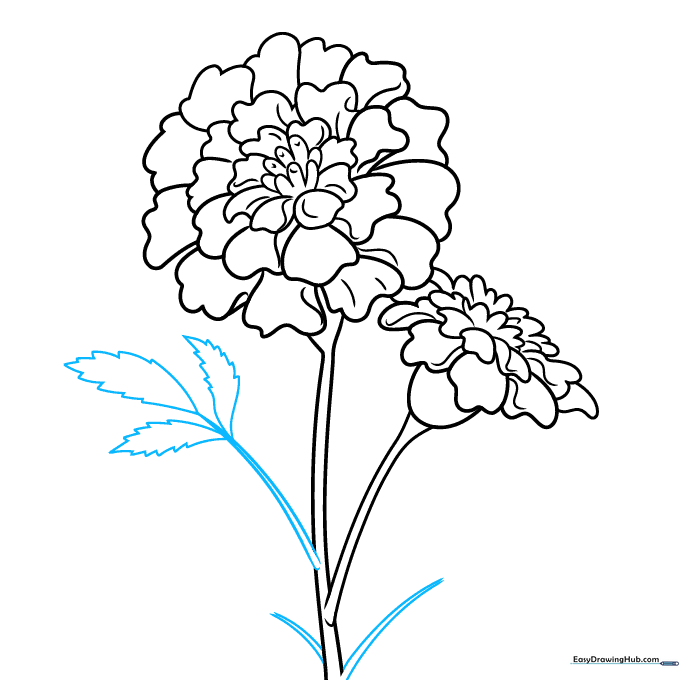
Extend small branches from the stem and draw leaves with jagged, serrated edges. Tip: Use quick, short strokes to create that 'sawtooth' look characteristic of marigold foliage.
Step 8: Filling in Foliage
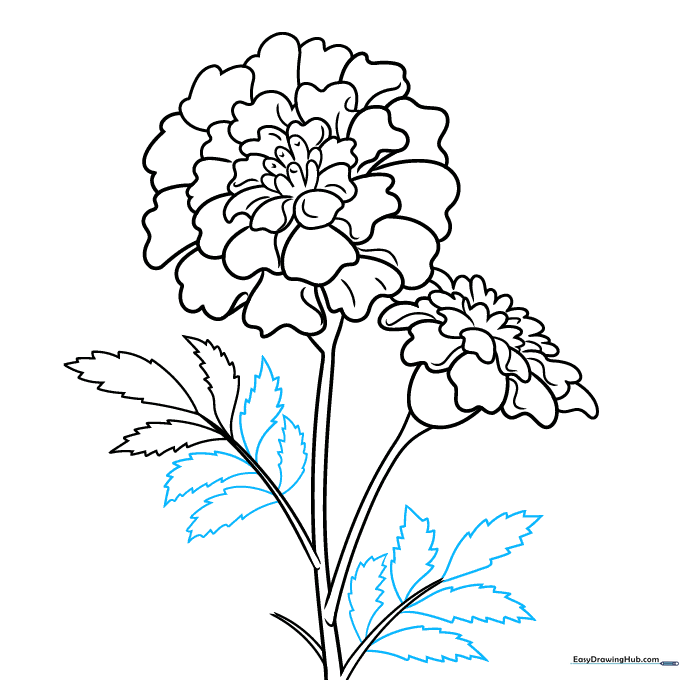
Add more leaves along the main stem. Tip: Vary the size of the leaves—smaller ones near the top and larger ones near the bottom—to create a natural, organic feel.
Step 9: Final Details
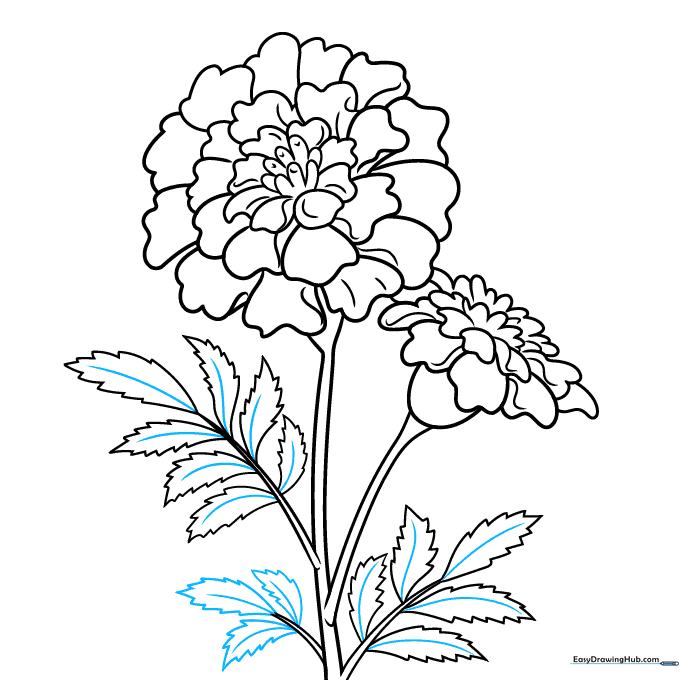
Finish by drawing a thin line down the center of each leaf to represent the veins. Tip: Keep these lines very light so they don't overpower the rest of your drawing.
Step 10: Bring It to Life with Color
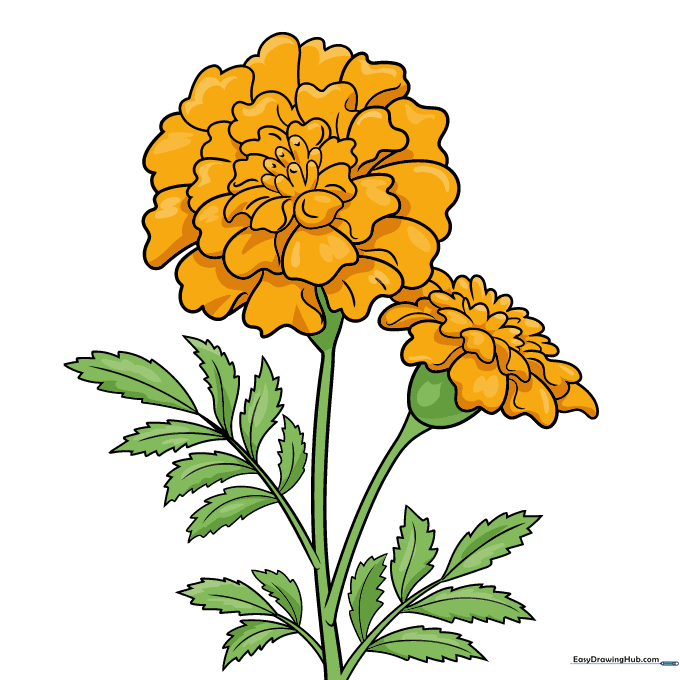
Your outline is complete! Use bright oranges, yellows, or deep reds to color your marigolds. Tip: Try layering light yellow over orange to give the petals a sun-kissed, realistic glow.
More Tutorials


