How to Draw a Mardi Gras Mask: Easy 10-Step Guide
Bring the excitement of Carnival home with this fun, screen-free art project! Designed for ages 5 and up, this tutorial helps young artists master symmetrical shapes and decorative patterns. All you need is a pencil, an eraser, and your favorite markers or crayons to create a vibrant masterpiece.
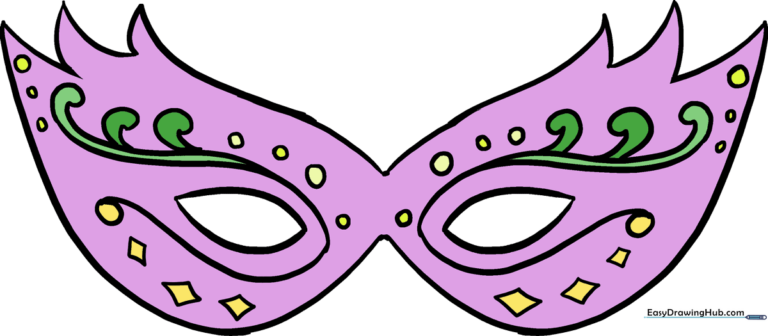
🎯 Final Result
Step-by-Step Instructions
Sketching the Eye Openings
Start by drawing the two eye cut-outs. Use two curved lines for each to form a teardrop shape that tapers to a point at both ends. Teacher's Tip: Keep these shapes identical in size to ensure your mask looks balanced later on.
Outlining the First Eye
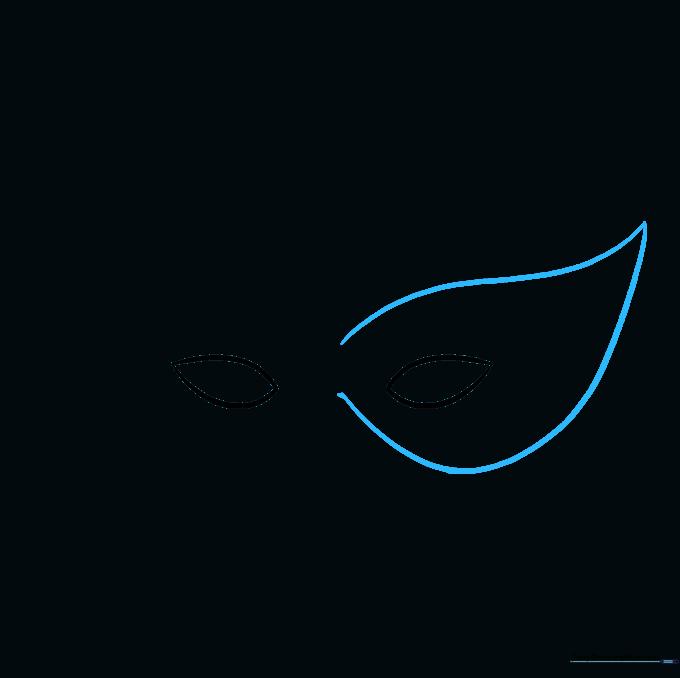
Sketch the mask's base around one eye using two long, sweeping curved lines to create a larger teardrop frame. Leave the space between the eyes open for now. Tip: Press lightly with your pencil so you can easily adjust the curve if needed.
Completing the Mask Base
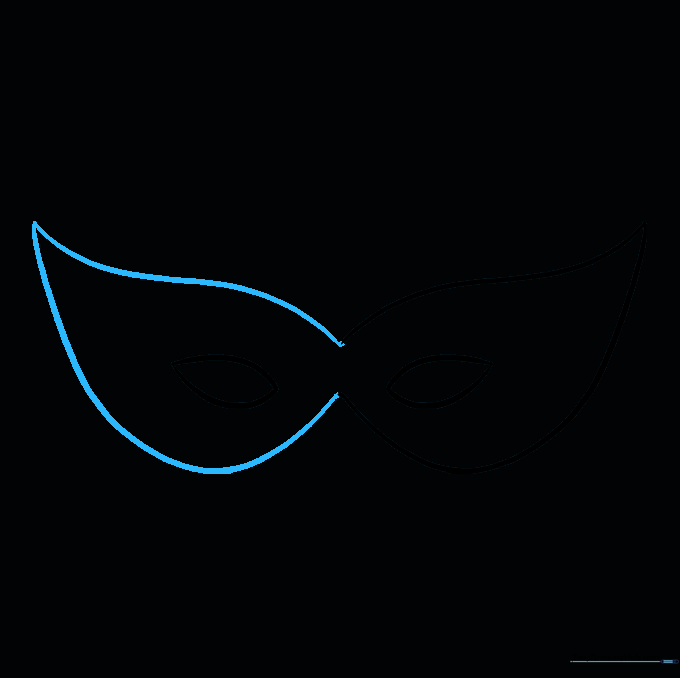
Mirror the first shape on the opposite side to complete the mask's base. Connect the two teardrop frames in the center. Teacher's Tip: Symmetry is key here—take your time to make the left and right sides match.
Adding Decorative Flourishes
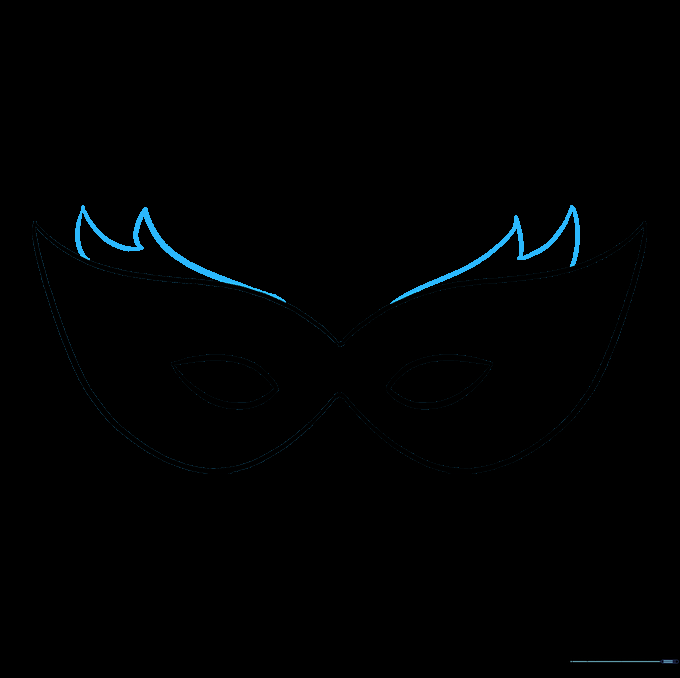
Add flair to the top of your mask by drawing a series of sharp, pointed peaks using curved lines of varying heights. This gives the mask that classic, dramatic Carnival look.
Refining the Outline
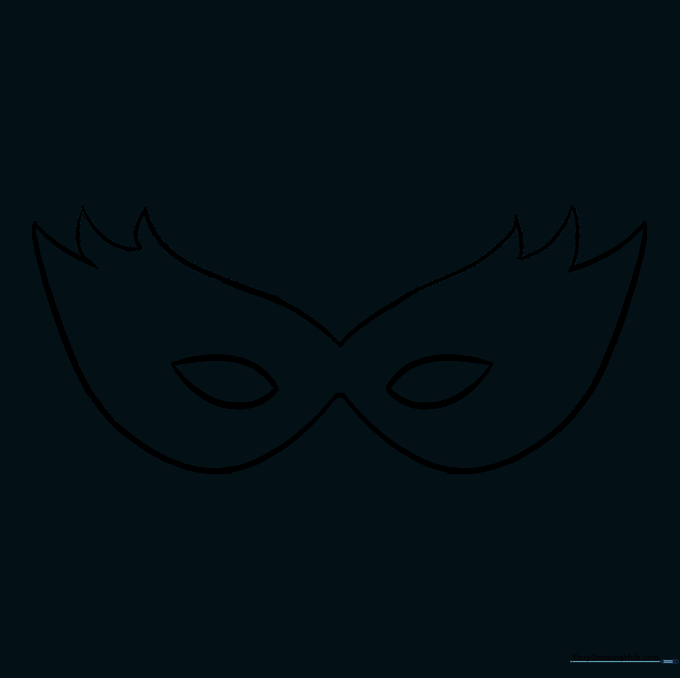
Gently erase any overlapping guide lines beneath your new decorative points. A clean outline makes your drawing look professional and ready for details.
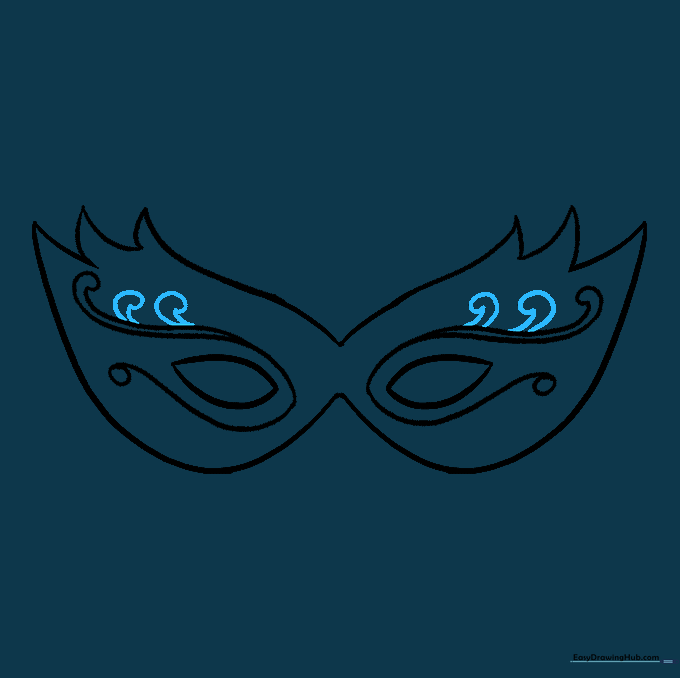
Adding Inner Details
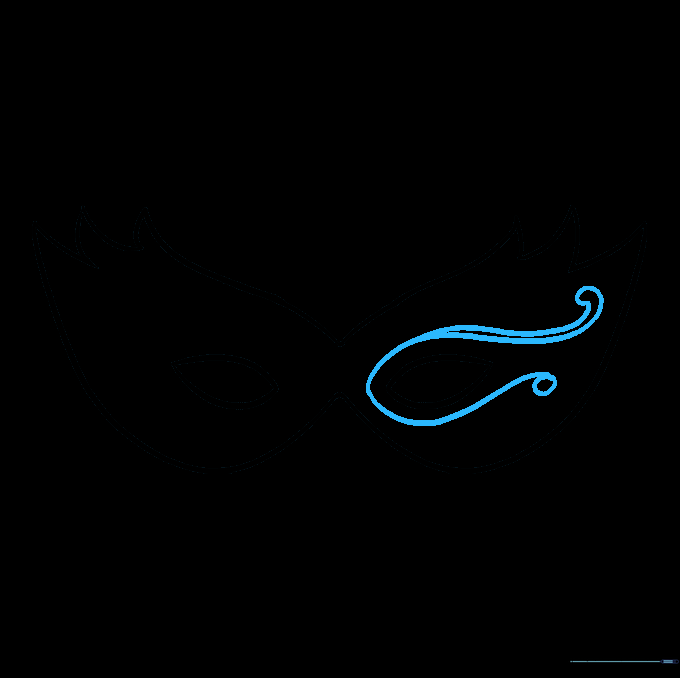
Draw a 'U' shaped line around one eye, ending with a small circle. Add a parallel curved line to create a layered effect. Tip: Think of these as the 'jewel' settings on your mask.
Mirroring the Details
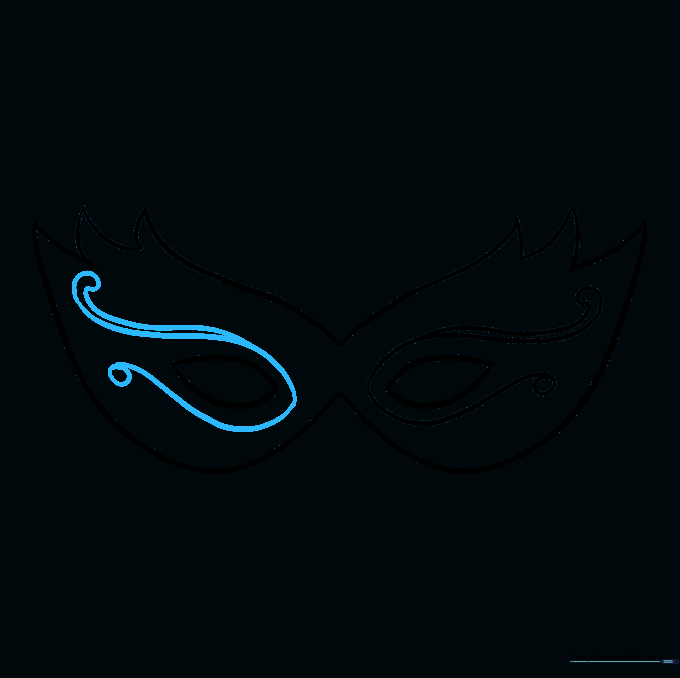
Repeat the 'U' shapes and circles on the opposite side of the mask to maintain symmetry. Consistency here really makes the design pop!
Adding Texture
Use small, curved lines to enclose shapes along the 'U' patterns above the eyes. This adds depth and makes the mask look like it's adorned with fabric or sequins.
Adding Final Bling
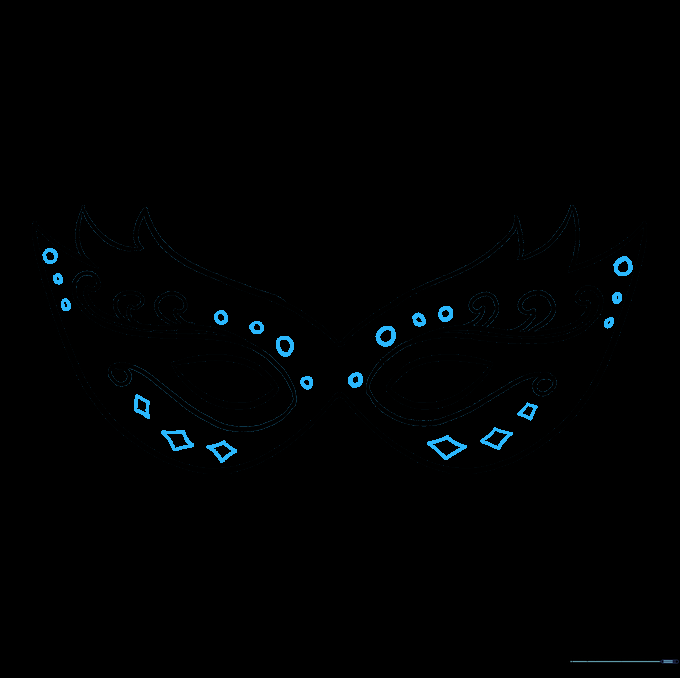
Time for the sparkle! Add small circles along the sides and diamond shapes beneath the eyes to represent gems. Teacher's Tip: Use a fine-liner pen to make these details stand out.
Coloring Your Masterpiece
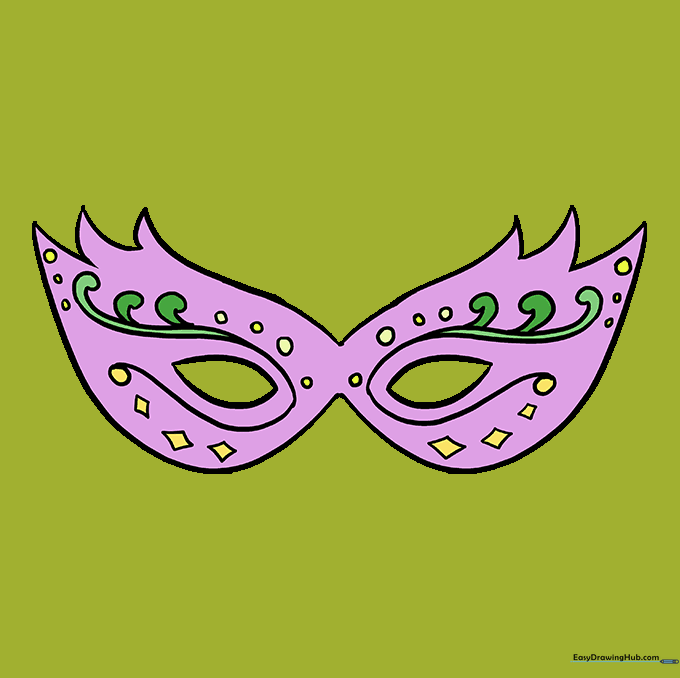
Bring your mask to life with color! Use the traditional Mardi Gras palette of purple, yellow, and green. These colors represent justice, power, and faith.
More Tutorials


