How to Draw a Treasure Map: Easy 9-Step Guide for Kids
Ready to go on an adventure? This tutorial is perfect for young explorers ages 5 and up. All you need is a pencil, paper, and an eraser to create your very own pirate-style treasure map. Follow these steps to build your artistic confidence and design a world of your own.
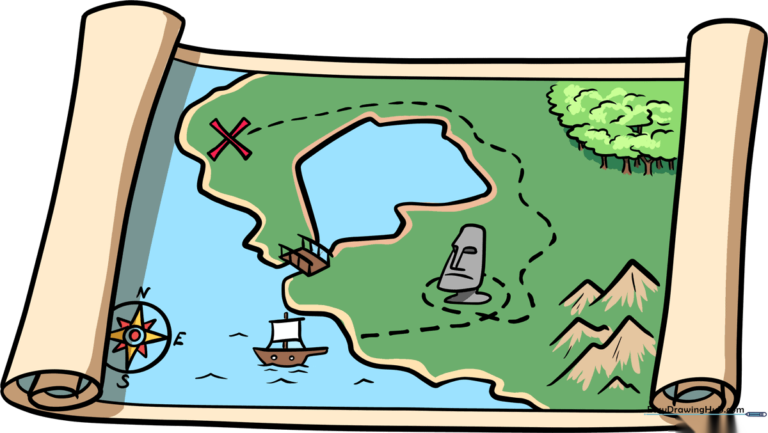
🎯 Final Result
Step-by-Step Instructions
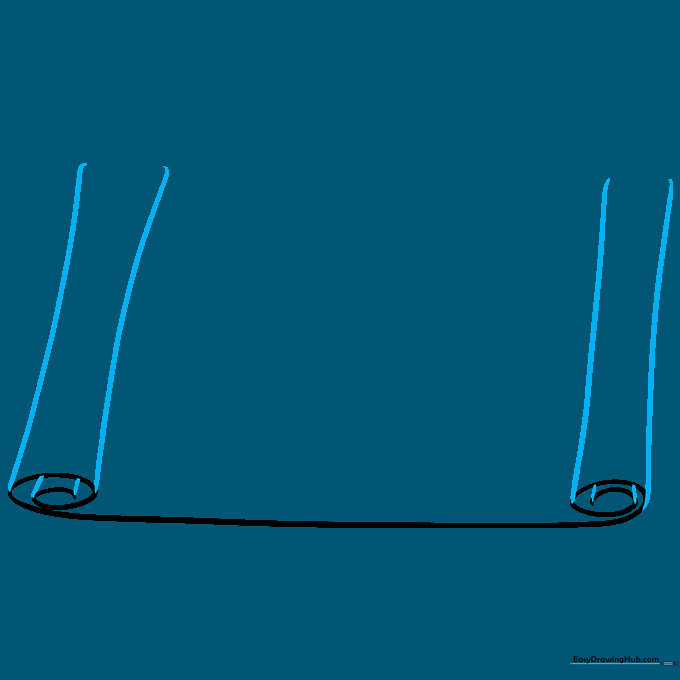
Step 1: Sketching the Rolled Base

Start by drawing a long, slightly curved line with tight spirals at each end. Teacher's Tip: Think of this as the bottom of a scroll; keep the spirals loose and rounded to make the paper look like it's curling up.
Step 2: Defining the Scroll Edges
Draw parallel lines just above and inside each spiral. This creates the depth of the rolled paper. Tip: Make sure the lines follow the curve of the spiral to maintain the 3D effect.
Step 3: Connecting the Top
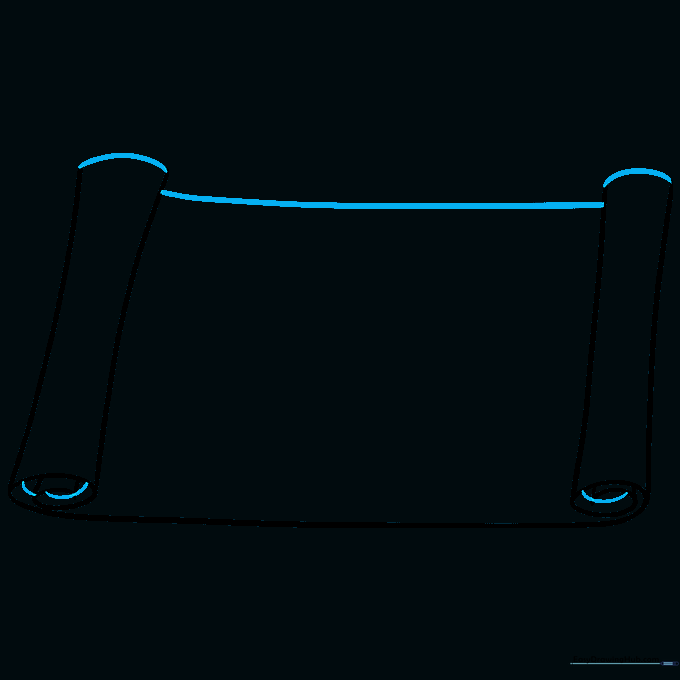
Connect the two sides with a long, slightly curved line at the top. Add a few short, curved lines inside the spirals to show the texture of the paper. Tip: A gentle curve makes the map look more natural and less like a rigid box.
Step 4: Framing and Compass Placement
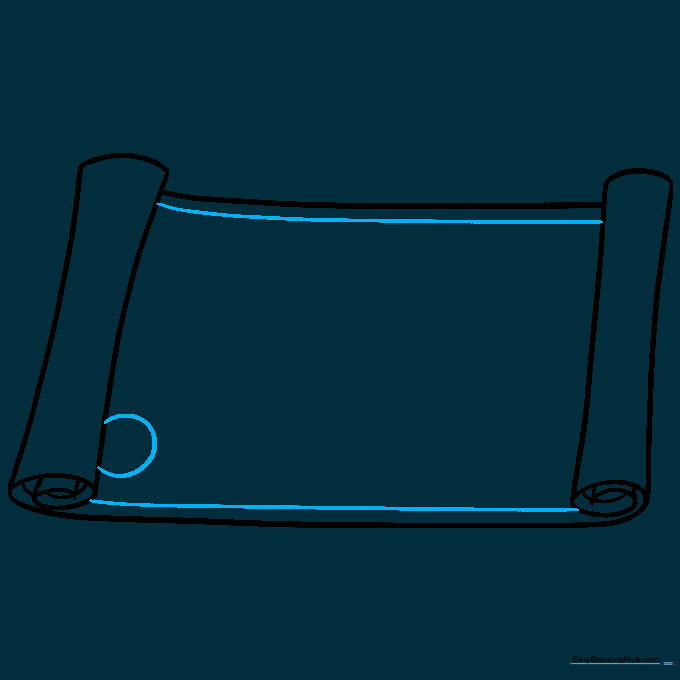
Draw lines parallel to the top and bottom edges to create a border. Near the bottom corner, sketch a partial circle. This is where your compass rose will live! Tip: Use your finger as a guide to keep the border consistent.
Step 5: Designing the Compass Rose
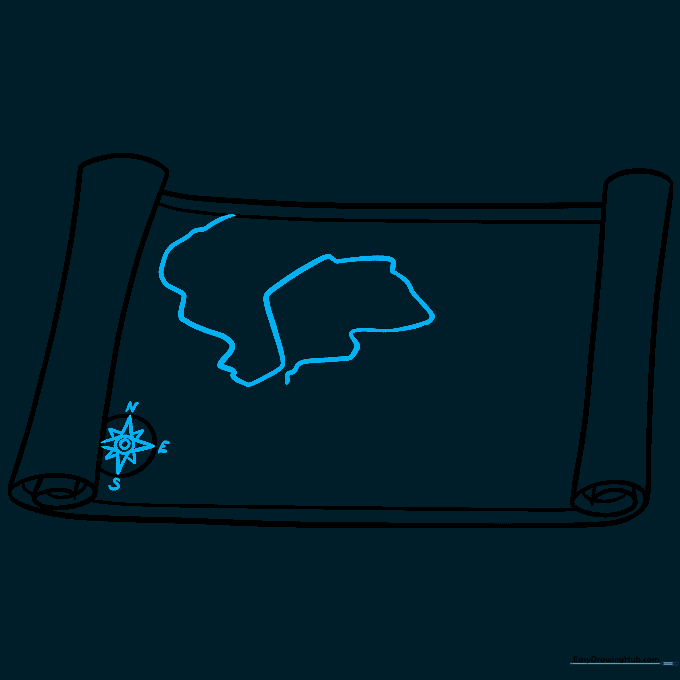
Draw a smaller circle inside your first one, then add four triangles pointing outward. Add smaller triangles in the gaps and label them N, E, and S. Start your landmasses using squiggly lines. Tip: Don't worry about making the land perfect—islands are naturally irregular!
Step 6: Adding Topography

Extend your land to the edges and add mountains using overlapping 'V' shapes. Add short lines to the sides of the mountains to give them a rocky texture. Tip: Vary the height of your 'V's to make the mountain range look realistic.
Step 7: Adding Landmarks and Ships
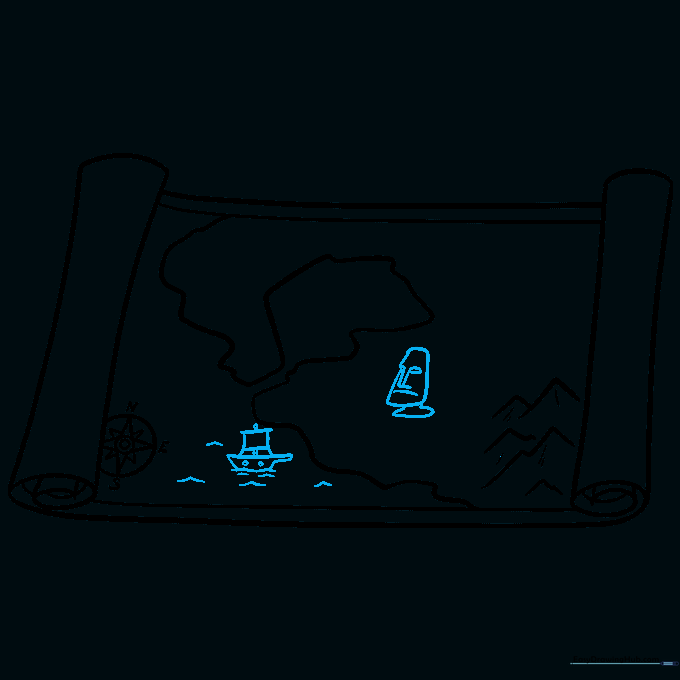
Draw a stone statue head (like a Moai) and a small ship in the water. Use 'V' shapes for waves around the boat. Tip: Keep the ship simple—a basic hull shape and a rectangle for the sail is all you need to tell the story.
Step 8: Forests and Bridges
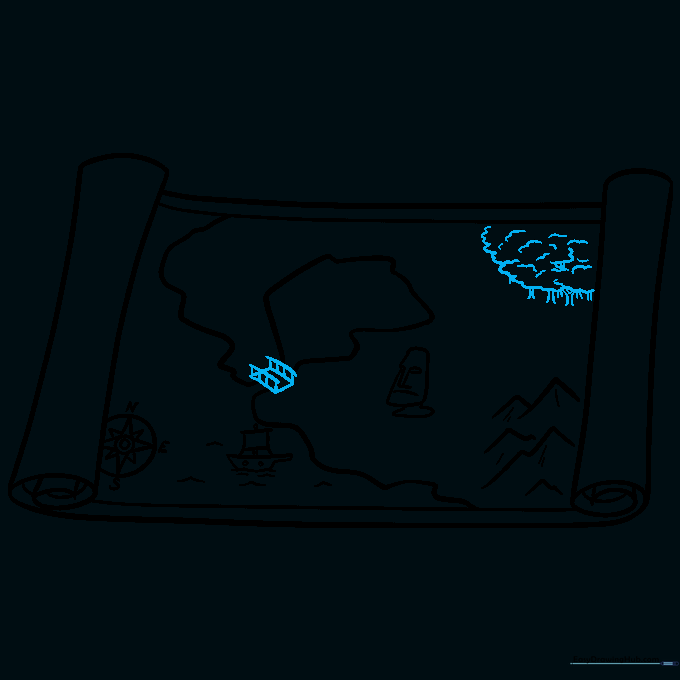
Add a forest using rounded, cloud-like shapes for the canopy and simple lines for trunks. Connect two land areas with a small bridge. Tip: Use short, vertical lines on the bridge to create a railing effect.
Step 9: The Treasure Path
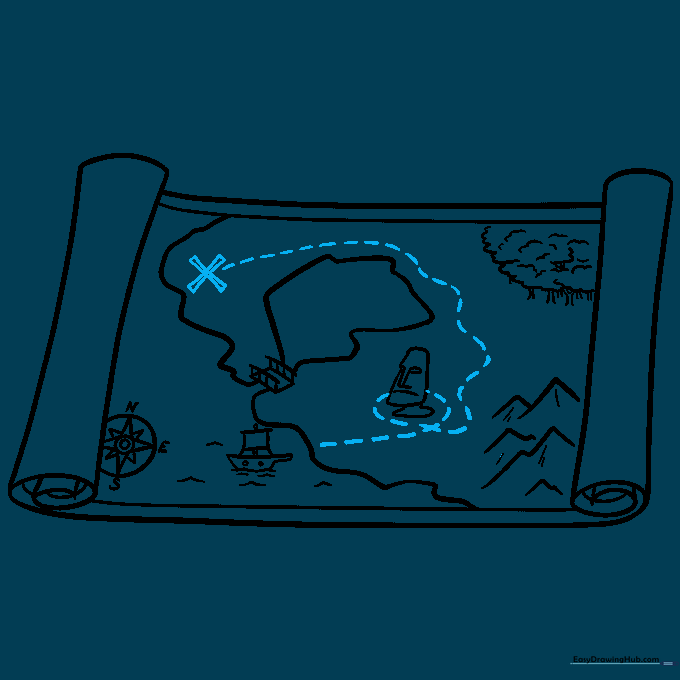
Draw a dotted line showing the journey across your map, ending with a big 'X' to mark the treasure spot. Tip: Make the dots slightly uneven to give it an authentic, hand-drawn feel.
Step 10: Bringing it to Life with Color
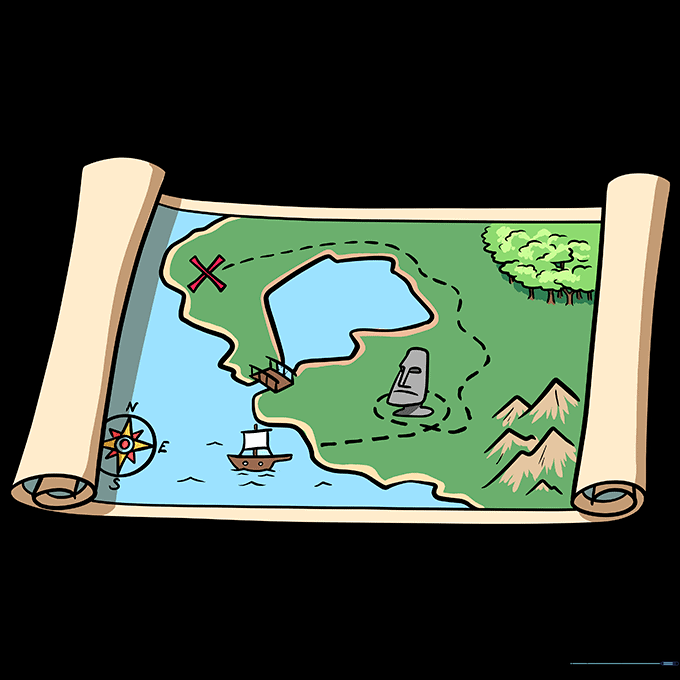
Time to color! Use browns and tans for the parchment, blues for the water, and greens for the forest. Tip: Use light pressure with your colored pencils to create a vintage, weathered look.
More Tutorials


