How to Draw a Man’s Face: Easy 10-Step Guide for Beginners
Ready to master portrait drawing? This step-by-step guide is perfect for artists ages 7 and up. Grab a pencil, an eraser, and a sheet of paper to learn how to construct a balanced, expressive face using simple geometric shapes.
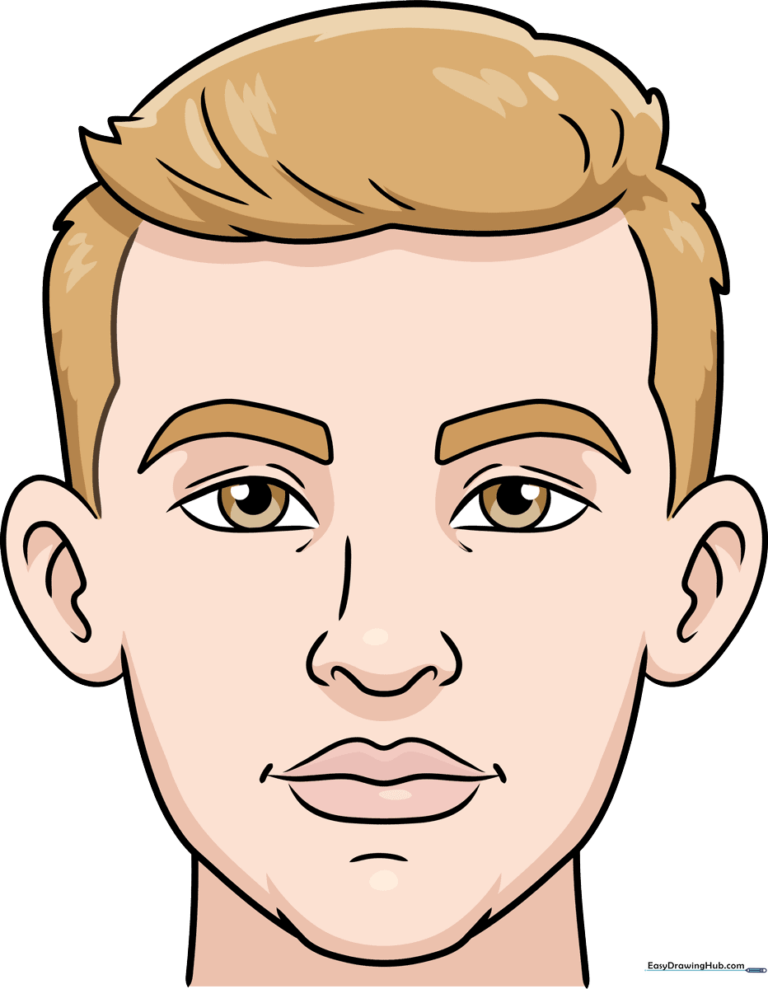
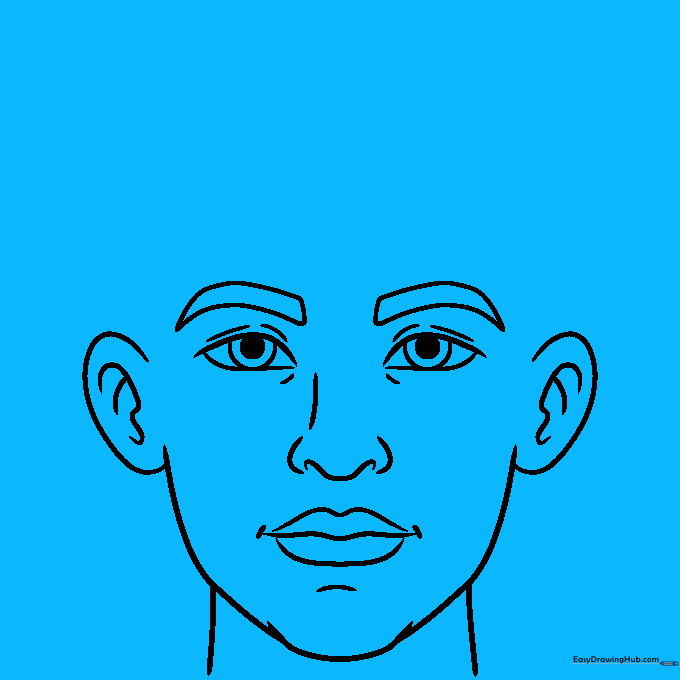
🎯 Final Result
Step-by-Step Instructions
Step 1: Sketching the Eyes
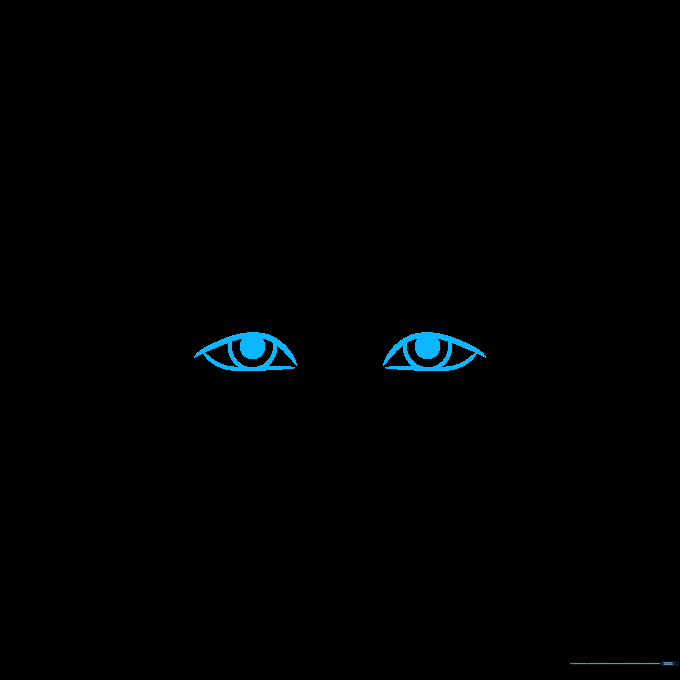
Draw two almond-shaped outlines for the eyes. Add a circle inside each for the iris and a smaller, shaded circle for the pupil. Teacher's Tip: Keep your pencil pressure light here so you can easily adjust the symmetry if one eye looks a bit lopsided.
Step 2: Defining Eyelids and Brows
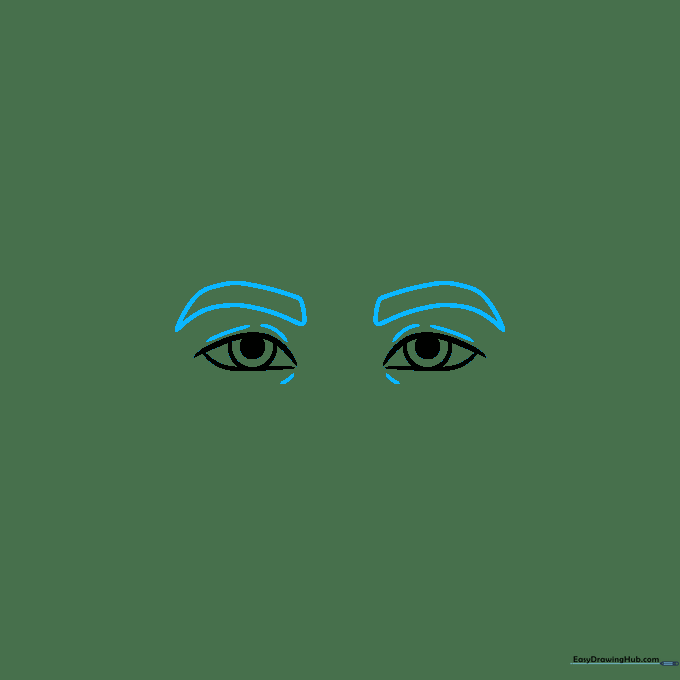
Add a curved line above each eye to represent the upper lid. Then, draw thick, slightly angled eyebrows above them. Teacher's Tip: The angle of the eyebrows is what gives your character personality—try a flatter angle for a calm look or a steeper one for a serious expression.
Step 3: Constructing the Nose

Sketch the bridge of the nose using two soft, parallel curved lines, ending in a rounded tip with small nostrils. Teacher's Tip: Don't draw the whole nose! Just suggesting the bottom curve and the bridge is enough to make it look realistic.
Step 4: Drawing the Mouth
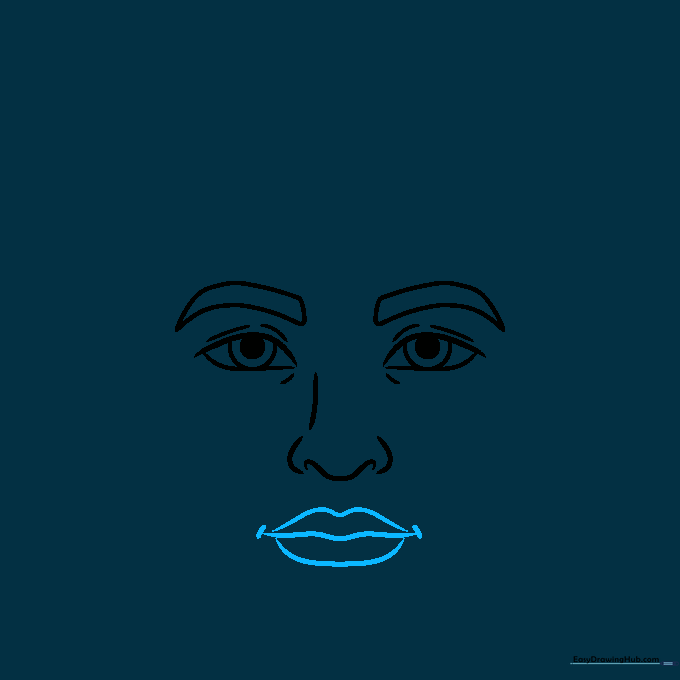
Draw a long, horizontal curved line for the mouth opening, with softer curves above and below for the lips. Add tiny lines at the corners. Teacher's Tip: Keep the mouth line centered between the nose and the chin for the best proportions.
Step 5: Shaping the Jawline
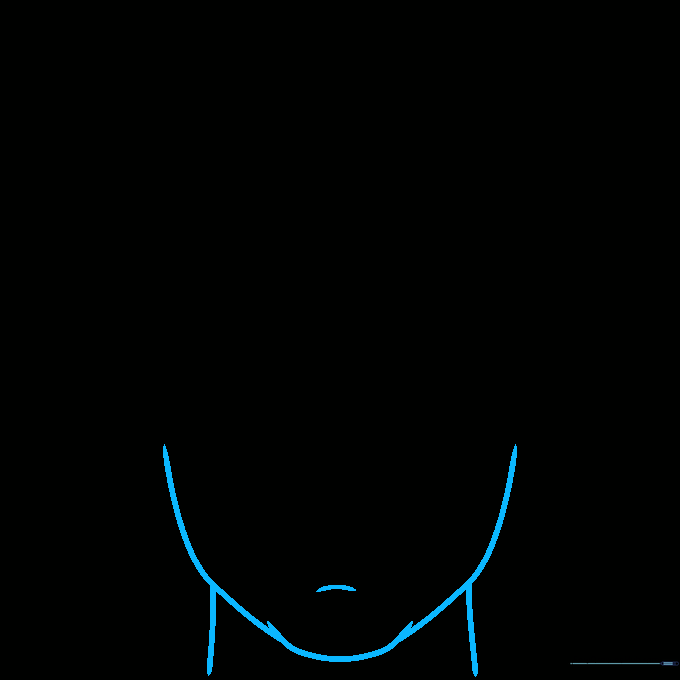
Connect the face by drawing a strong, curved jawline and the neck. Notice how the chin line slightly overlaps the cheek area. Teacher's Tip: A wider jawline often makes a face look more masculine, so don't be afraid to make those curves bold.
Step 6: Adding the Ears

Draw a 'C' shape on each side of the head for the ears, adding inner curves for detail. Teacher's Tip: Ears usually align with the top of the eyes and the bottom of the nose—use these landmarks to keep your drawing accurate.
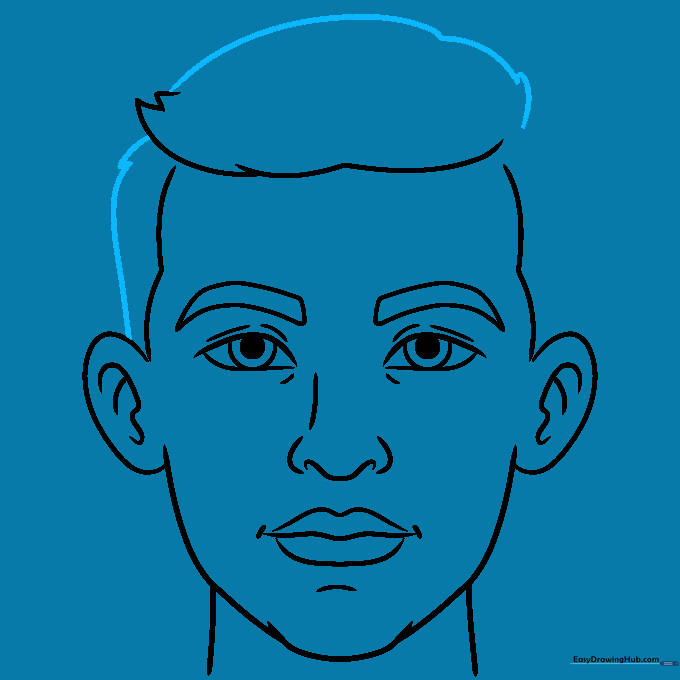
Step 7: Sketching the Hairline
Use overlapping, jagged lines to create the hair on top of the head and sideburns. Teacher's Tip: Hair isn't a solid block; draw it in clumps or 'waves' to make it look natural and textured.
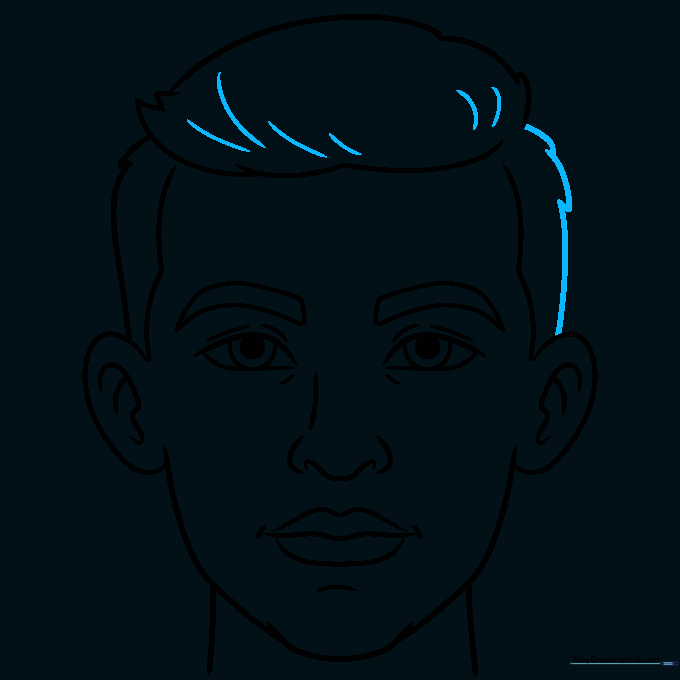
Step 8: Building Hair Volume
Continue adding layers of hair around the sides and top. Teacher's Tip: Vary the length of your strokes to give the hair more volume and a realistic, messy look.
Step 9: Finalizing the Hair Texture
Close off the hair shape above the ears and add short, flicking lines throughout the hair for texture. Teacher's Tip: Use quick, confident strokes to make the hair look like it has movement.
Step 10: Adding Color

Bring your drawing to life with color! Use skin tones for the face and your favorite hair color. Teacher's Tip: Try using a darker shade of your skin color to add a little shadow under the chin and nose for a 3D effect.
More Tutorials


