How to Draw a Mangrove Tree: Easy 9-Step Nature Guide
Bring the beauty of the coast to your sketchbook with this mangrove tree tutorial, designed for young artists ages 6 and up. You will only need a pencil, an eraser, and your favorite coloring markers to complete this scene. Follow along to master drawing those iconic, tangled prop roots and lush canopy leaves.
🎯 Final Result

Step-by-Step Instructions
Step 1: Sketching the Primary Roots
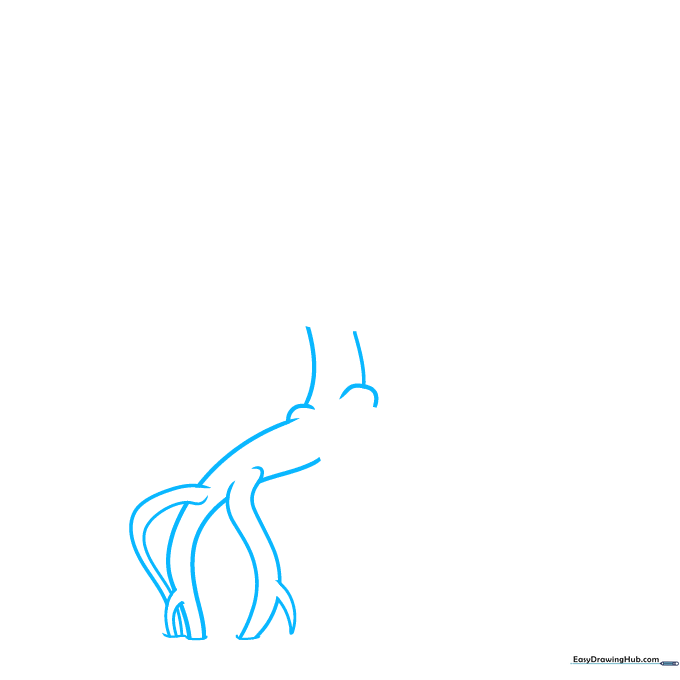
Start by drawing the main trunk and the primary prop roots using pairs of curved lines. Tip: Keep your pencil pressure light here so you can easily adjust the root shapes to look more natural and organic.
Step 2: Adding Branching Roots

Extend the roots by drawing smaller, overlapping lines that branch out toward the water. Tip: Think of these like fingers; they should get thinner and more delicate as they move away from the main trunk.
Step 3: Creating Tangled Root Systems
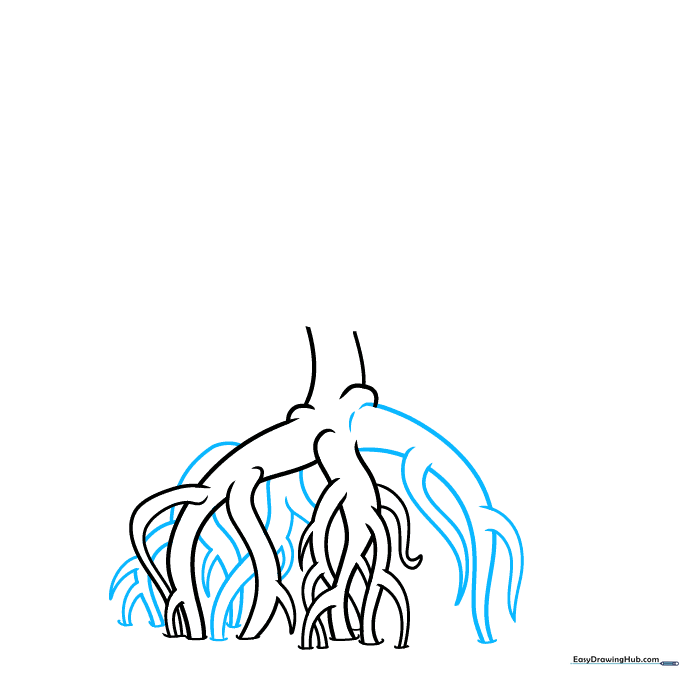
Add more twisting roots around the sides and back of the trunk to create depth. Tip: Don't worry about making them perfectly symmetrical; mangrove roots are naturally messy and tangled!
Step 4: Layering Background Roots
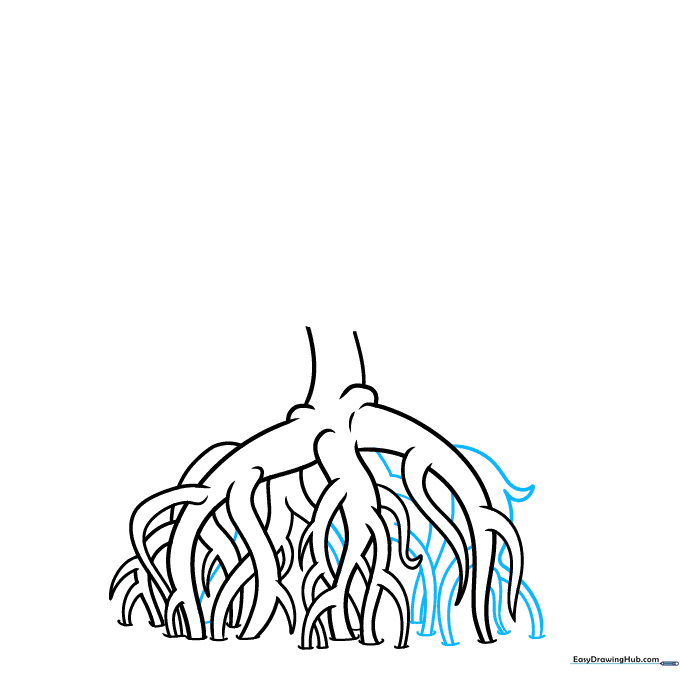
Draw a few more root segments behind the ones you've already created. Tip: Use slightly lighter lines for these background roots to create a sense of distance and perspective.
Step 5: Sketching Branches and Leaves
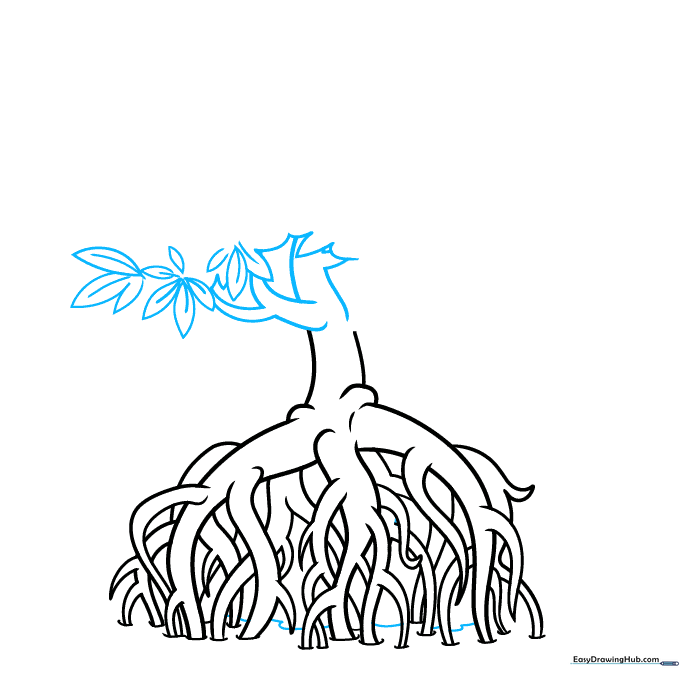
Draw the main branches reaching upward, then add simple leaf shapes. Tip: For each leaf, draw two curved lines meeting at a point, then add a center vein to give it a realistic look.
Step 6: Building the Canopy
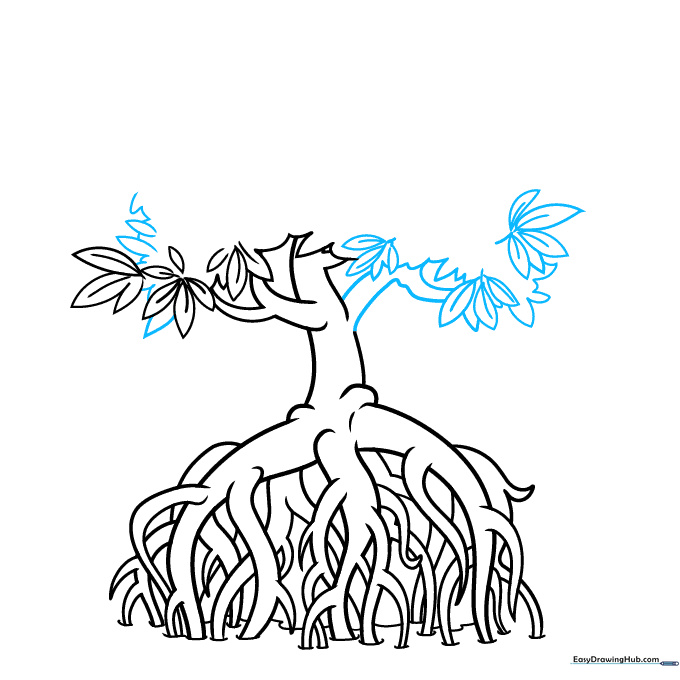
Continue adding branches and clusters of leaves. Tip: Use jagged, uneven lines for the outer edge of the canopy to mimic the natural, bushy appearance of mangrove foliage.
Step 7: Filling the Canopy
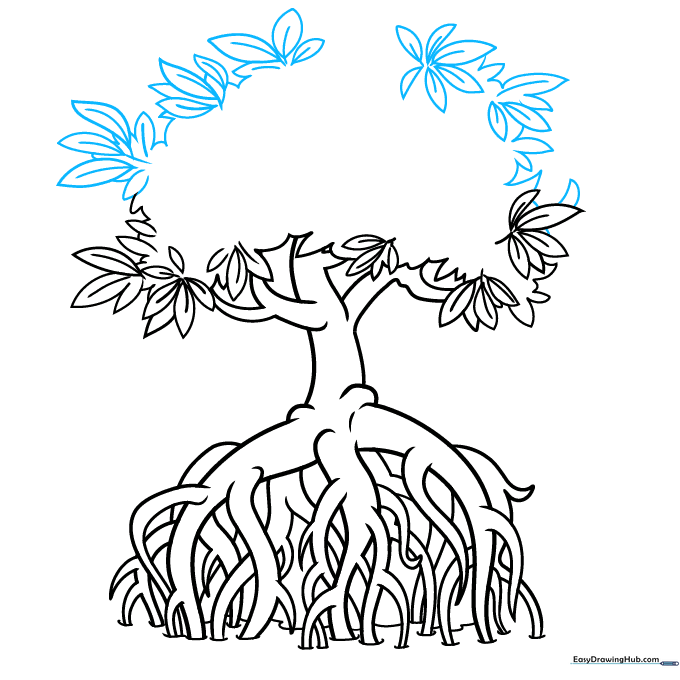
Keep adding more leaf clusters until the canopy looks full. Tip: Vary the size of your leaves—some large and detailed in the front, some smaller and simpler in the back.
Step 8: Finalizing Foliage

Close off the canopy edges and add a few final leaves to fill in any empty gaps. Tip: Check your drawing for balance—if one side looks too empty, add a few more leaf shapes there.
Step 9: Adding the Environment
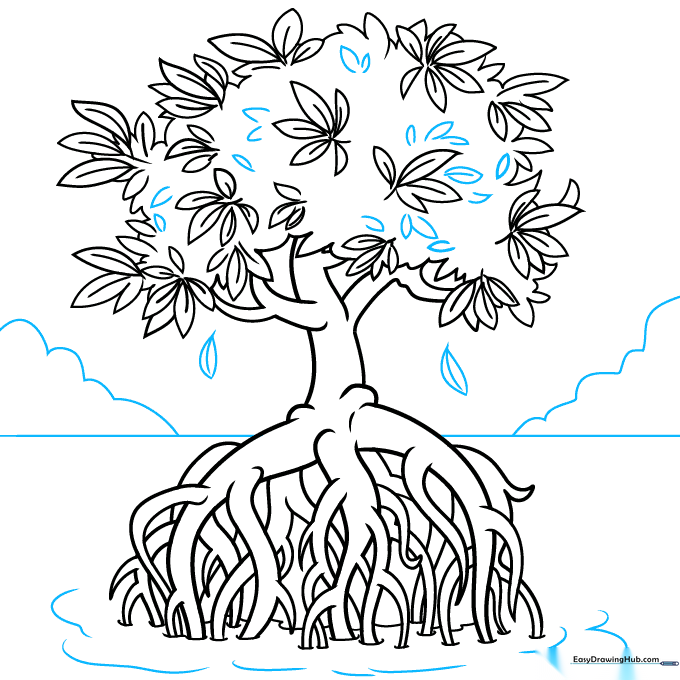
Draw a horizon line and soft, cloud-like shapes for the distant shore. Add small, wavy lines around the roots to represent water ripples. Tip: Adding a few 'falling' leaves near the water adds a lovely, peaceful touch to your drawing.
Step 10: Bringing It to Life with Color
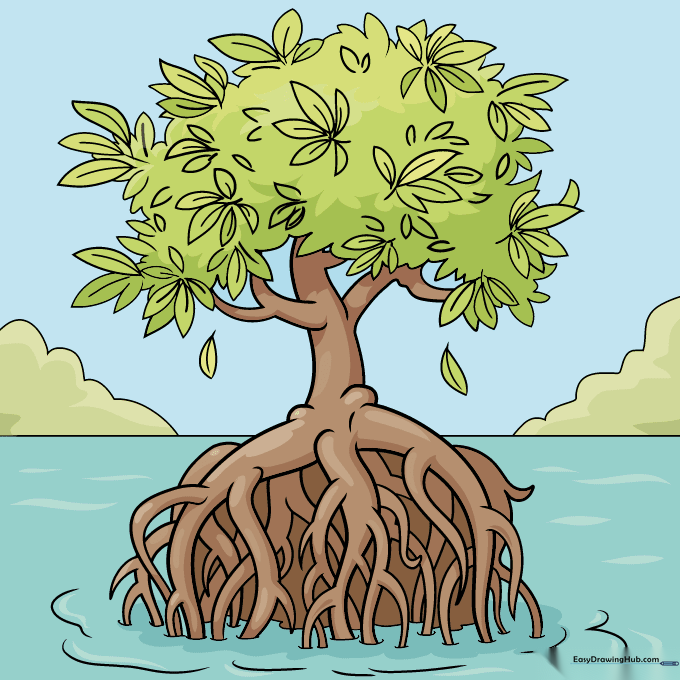
Time to color! Use earthy browns for the trunk and roots, and vibrant greens for the leaves. Tip: Try using two shades of green—a light one for the sunlit leaves and a darker one for the shadows—to make your tree pop!
More Tutorials


