How to Draw a Mango: Easy 10-Step Guide for Kids
Bring a taste of the tropics to your sketchbook! This lesson is perfect for young artists ages 5 and up. You will only need a pencil, an eraser, and your favorite coloring markers to master this juicy fruit.
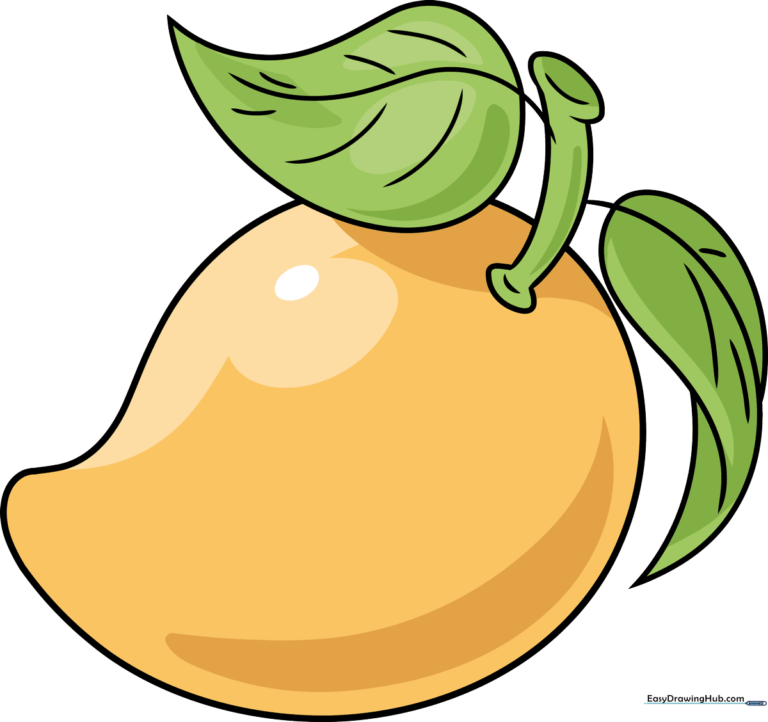
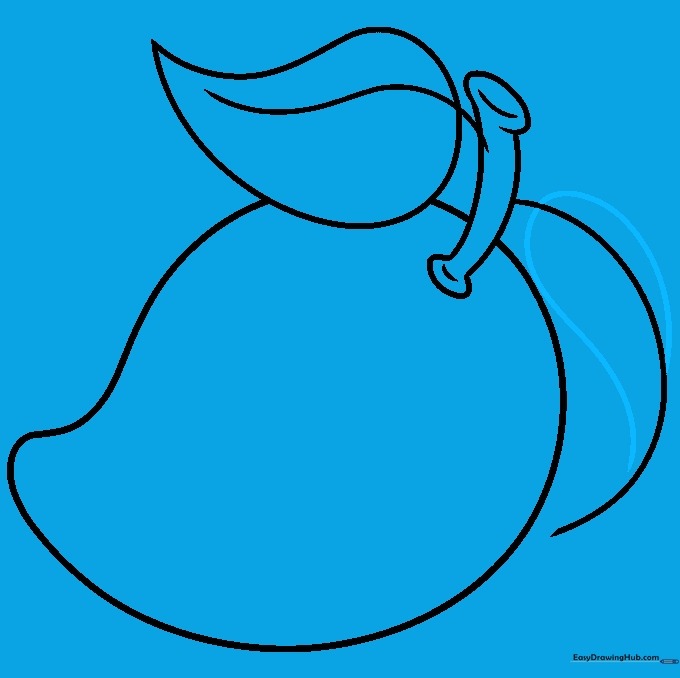
🎯 Final Result
Step-by-Step Instructions
Step 1: Sketching the Main Body

Draw a long, slightly curved line to create the side of the mango. Teacher's Tip: Keep your pencil pressure light so you can easily adjust the shape if it looks a bit lopsided.
Step 2: Defining the Shape and Stem
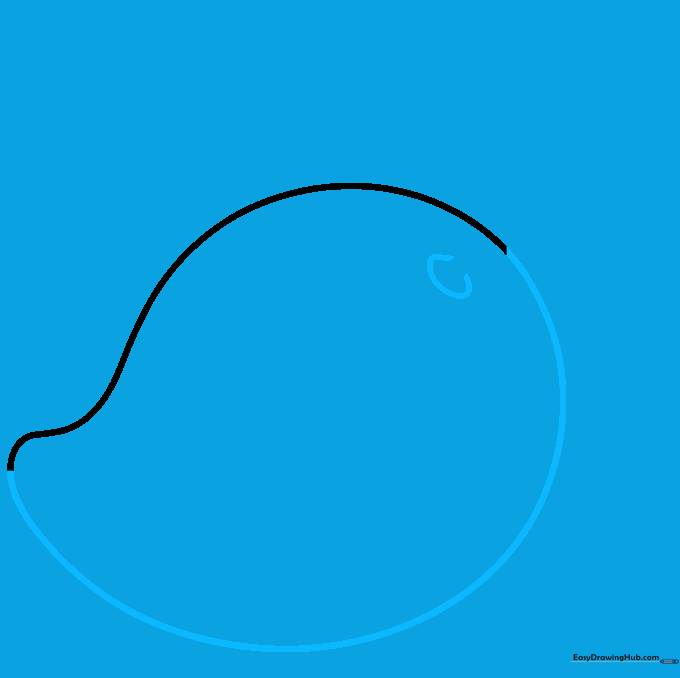
Complete the teardrop-shaped outline of the fruit. At the wider end, draw a small 'C' shape to mark where the stem connects. Tip: Think of this as the 'belly' of the mango—keep it rounded and plump!
Step 3: Creating the Stem

Draw two parallel curved lines extending from the 'C' shape to form the stem. If the lines overlap the fruit, gently erase the extra marks inside. Tip: Use short, confident strokes for a cleaner look.
Step 4: Detailing the Stem

Close the end of the stem with a small 'C' curve and add tiny lines at the top and bottom to show texture. Tip: These small details make your drawing look much more professional!
Step 5: Starting the Leaf
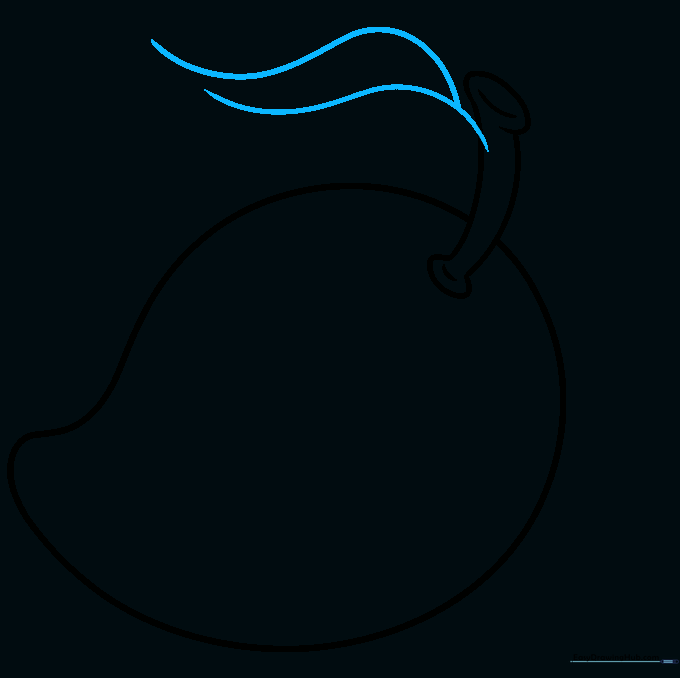
Extend two long, graceful curved lines from the stem to begin the first leaf. Tip: Imagine the leaf is waving in the breeze—keep your lines flowy rather than stiff.
Step 6: Adding a Second Leaf
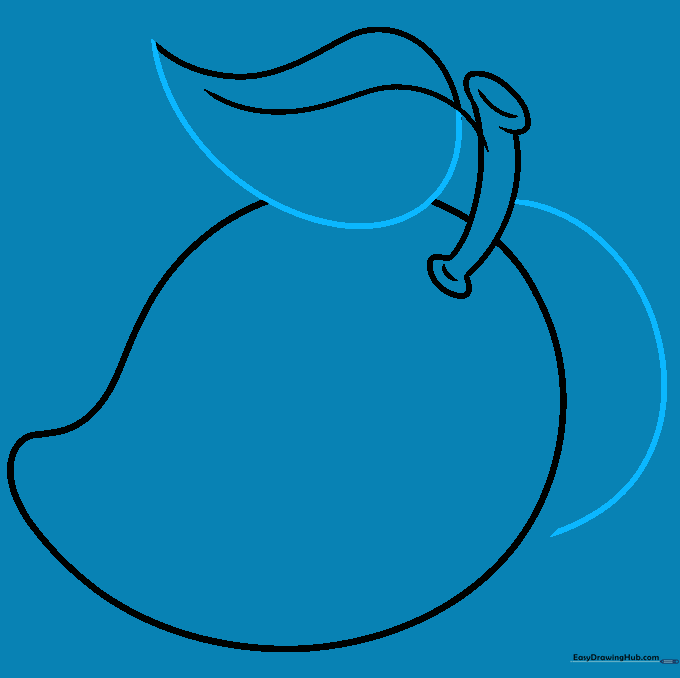
Complete the first leaf and erase any overlapping lines. Then, draw a second leaf extending from the opposite side of the stem. Tip: Overlapping shapes add depth to your drawing.
Step 7: Shaping the Leaves
Draw a curved line across the leaf stem to connect the edges. Tip: Make sure the leaf tapers to a point at the end to make it look realistic.
Step 8: Adding Leaf Texture
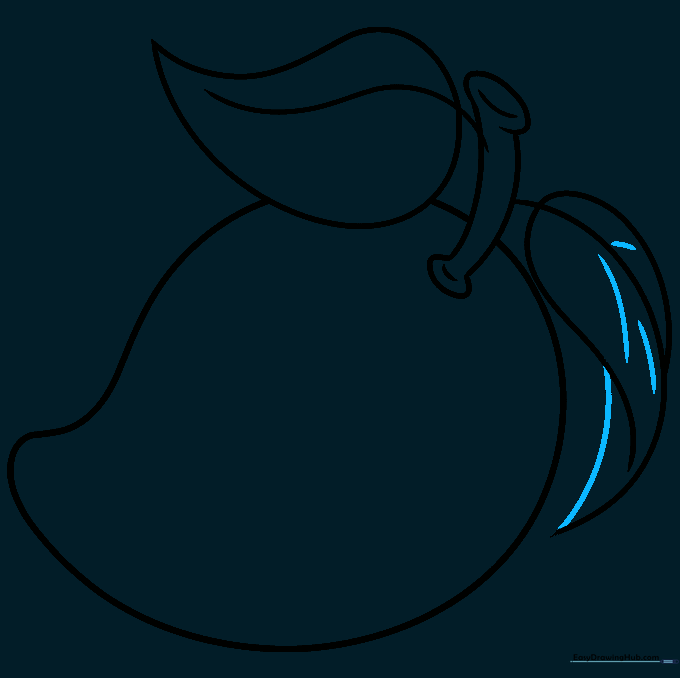
Complete the leaf tip and add small, delicate lines to represent the veins. Tip: Draw the veins at a slight angle to follow the natural curve of the leaf.
Step 9: Finalizing Details

Add veins to the remaining leaf to complete the structure. Tip: Keep these lines very thin so they don't overpower the main shape of your mango.
Step 10: Bringing Your Mango to Life

Time to color! Use bright yellows, oranges, and reds to show your mango is ripe. Tip: Blend your colors near the edges to create a smooth, juicy gradient.
More Tutorials


