How to Draw a Mandrill: Easy 10-Step Guide for Kids
Ready to bring a vibrant mandrill to life? This tutorial is designed for young artists ages 7+ to practice character design using basic shapes. Grab your favorite pencil, an eraser, and some markers to capture this primate's unique, colorful features.
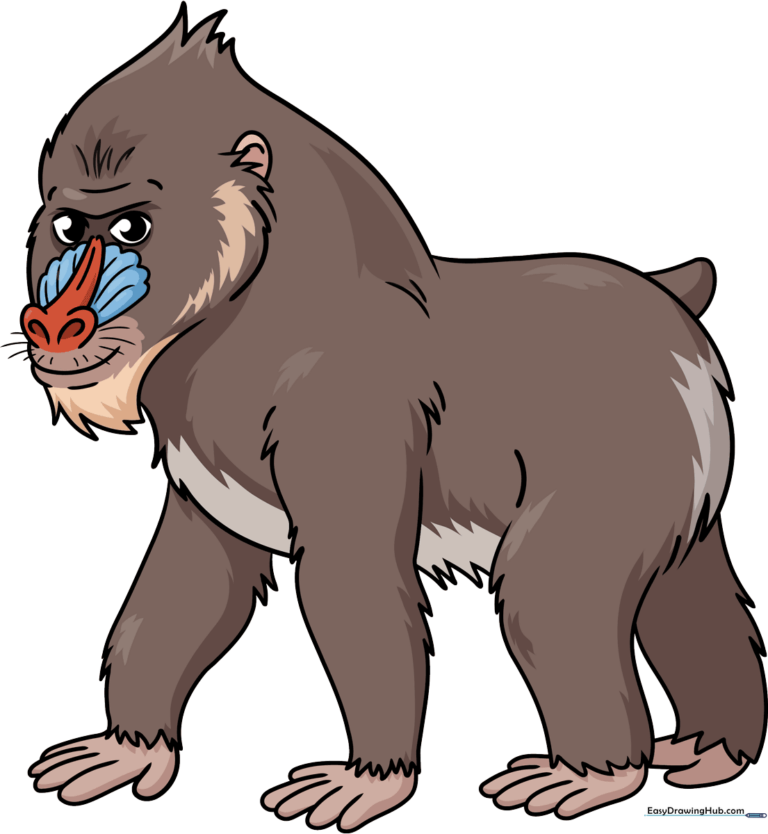
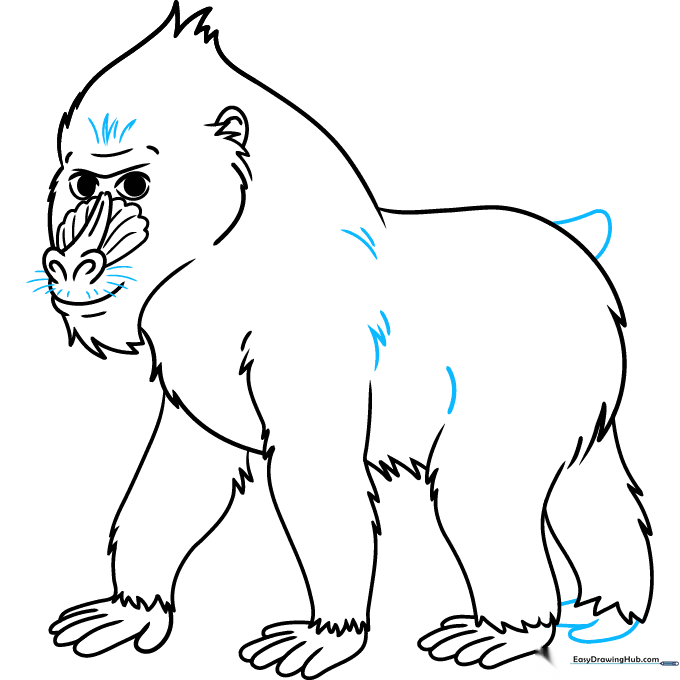
🎯 Final Result
Step-by-Step Instructions
Step 1: Sketching the Eyes and Nose
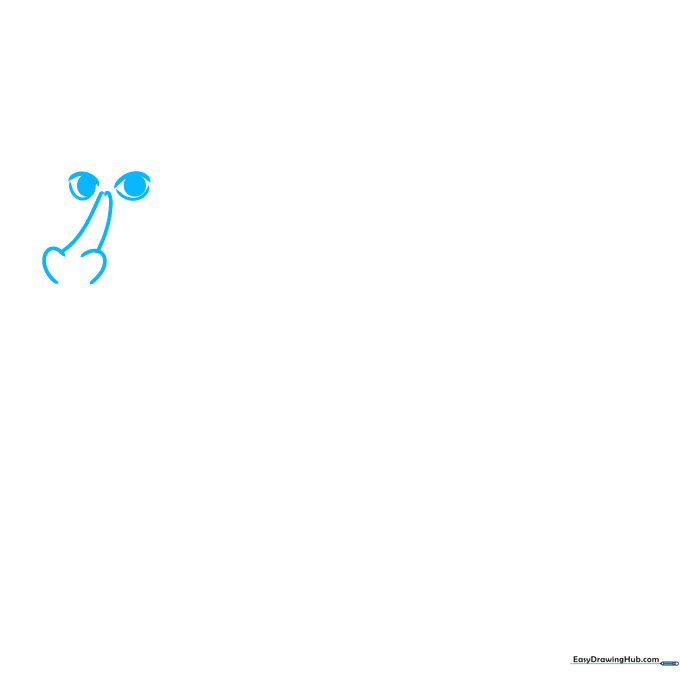
Start by drawing the nose with a heart-shaped tip and curved side lines. Add two almond-shaped eyes above it, leaving the corners open for a stylized look. Teacher's Tip: Keep the pupils round and dark to give your mandrill a friendly, alert expression.
Step 2: Defining the Face and Mouth
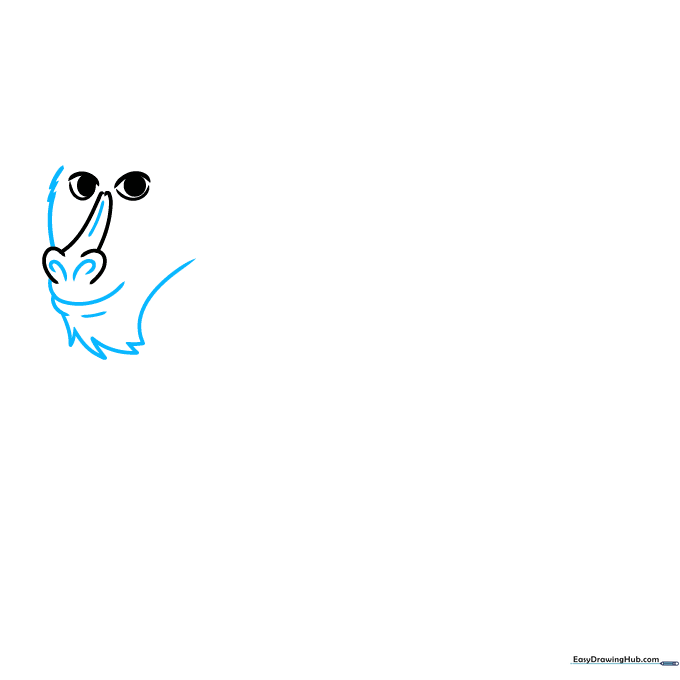
Draw a vertical line down the center of the nose and add two small teardrop shapes for nostrils. Sketch a gentle, smiling mouth and use jagged, short strokes to outline the fuzzy chin and cheeks. Tip: Use quick, flicking motions with your pencil to make the fur look soft and realistic.
Step 3: Shaping the Head
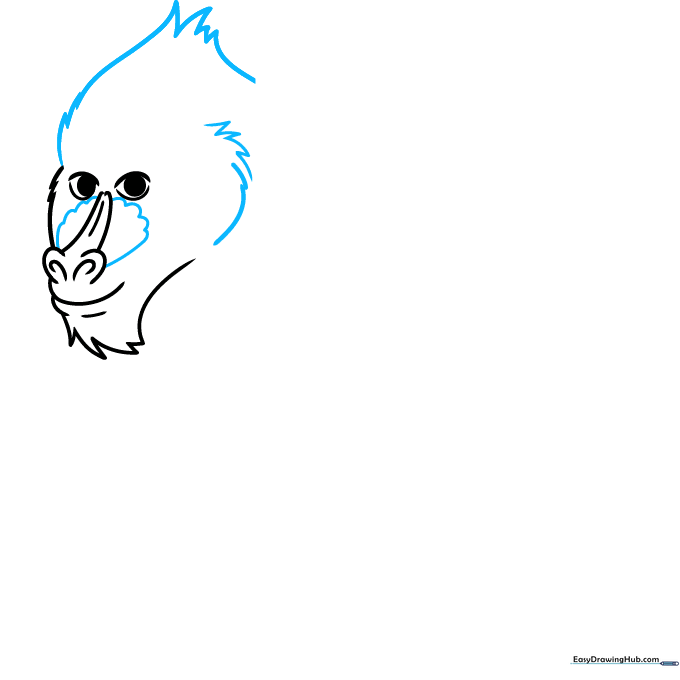
Add scalloped lines to define the cheeks on either side of the nose. Use jagged, uneven lines to create the top and sides of the head. Teacher's Tip: Don't worry about making the fur perfectly symmetrical; nature is rarely perfectly straight!
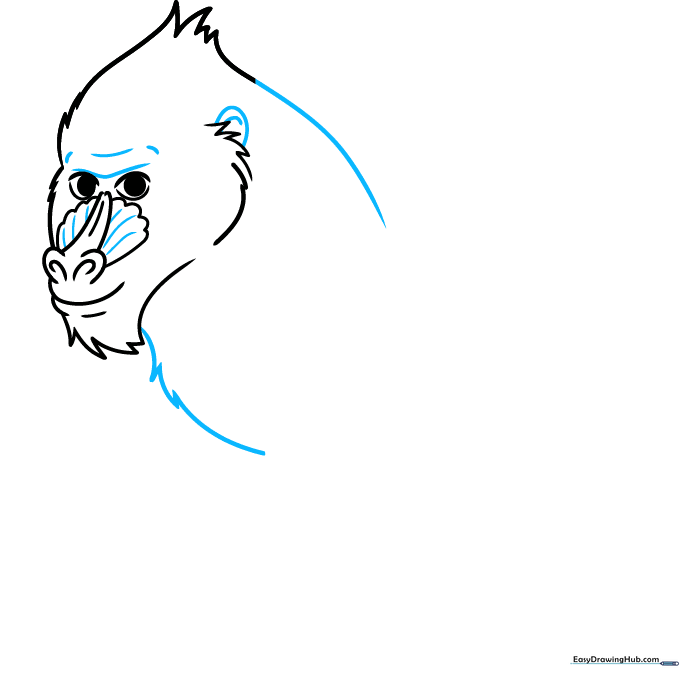
Step 4: Ears and Chest Details

Extend the back of the head with a long curve and sketch the chest using jagged lines. Add a 'C' shaped ear on the side and contour the forehead with subtle curves. Tip: The ear should sit roughly level with the eyes.
Step 5: Sketching the First Arm
Draw the arm using curved lines that meet at jagged points to suggest fur. Use 'U' shaped lines to create the fingers. Tip: Keep the fingers slightly rounded so they look natural rather than stiff.
Step 6: Adding the Second Arm
Complete the first hand and draw the second arm using the same jagged-line technique for the fur. Add 'U' shapes for the second set of fingers. Teacher's Tip: Ensure the arms look proportional to the head size you drew earlier.
Step 7: Drawing the Back and Legs
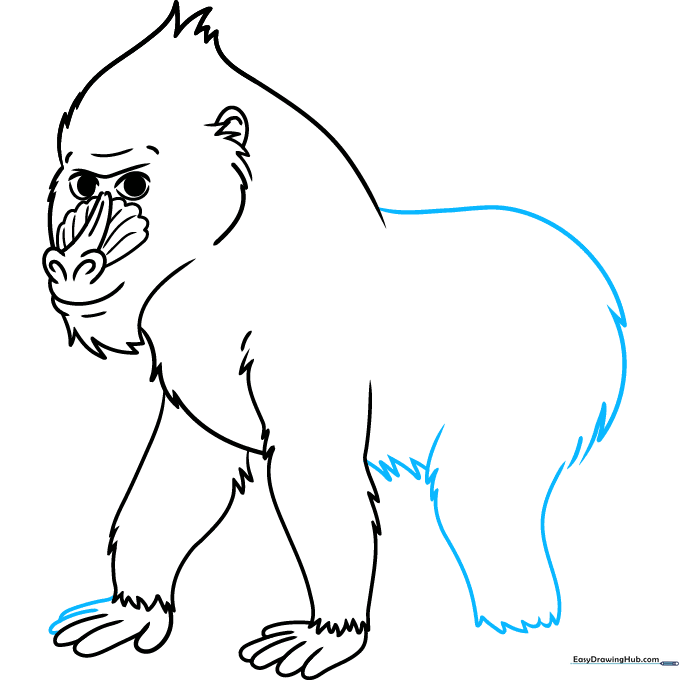
Use a long, sweeping curved line to draw the back. Transition into jagged lines to form the hip and upper leg. Tip: A long, smooth curve here helps show the mandrill's posture.
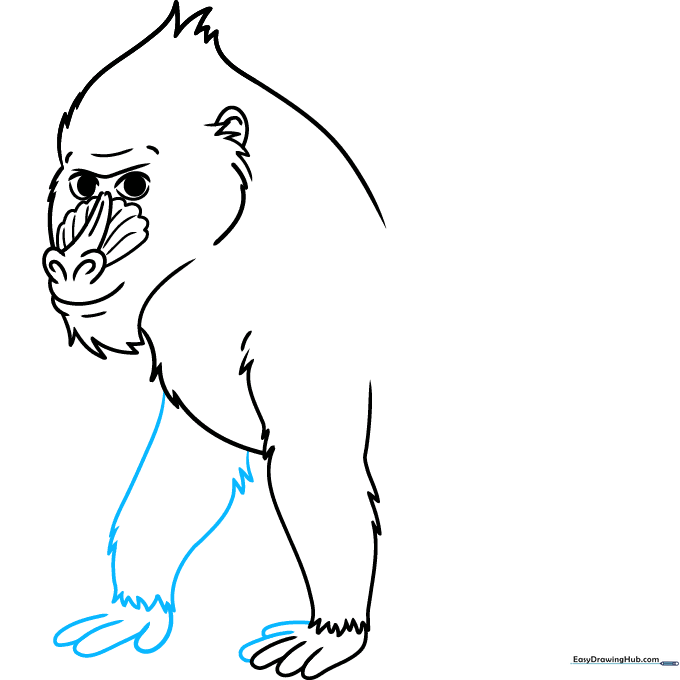
Step 8: Adding Feet and Toes
Draw the toes and feet using overlapping curved lines. Sketch the final leg with jagged lines to match the fur texture of the arms. Tip: Overlapping lines create a sense of depth in the foot.
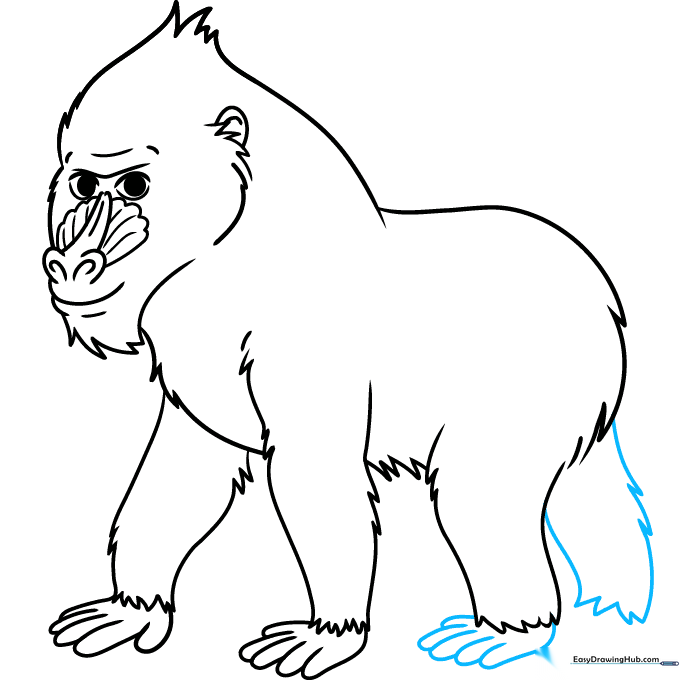
Step 9: Final Details and Whiskers
Enclose the final foot and add a small, stubby tail. Add whiskers around the nose with lines of varying lengths. Add extra curved lines on the face and shoulders to enhance the fur texture. Teacher's Tip: Whiskers should be drawn with quick, light strokes.
Step 10: Bringing Your Mandrill to Life with Color

Now for the fun part! Use brown for the fur, and don't forget the mandrill's signature bright red nose and blue-to-purple cheeks. Tip: Use light pressure for the blue areas to create a soft, blended look.
More Tutorials


