How to Draw a Man in a Suit: Easy 10-Step Guide
Ready to bring a dapper character to life? This tutorial is perfect for young artists ages 8+ looking to master proportions and clothing folds. Grab a pencil, eraser, and paper to follow along as we build this character from the face down to the shoes.
🎯 Final Result

Step-by-Step Instructions
Step 1: Sketching the Facial Features

Start by drawing the eyes using two curved lines, then add small circles for pupils. Sketch the eyebrows, nose, and mouth with soft, curved lines. Teacher's Tip: Keep your pencil pressure light here so you can easily adjust the expression later if it looks too serious!
Step 2: Defining the Head and Ears

Outline the face with a smooth, curved line and add a 'C' shape for the ear. Add a smaller 'C' inside for detail. Teacher's Tip: Use the top of the ear as a guide for where the hairline should start.
Step 3: Adding the Neck and Collar

Enclose the top of the head and draw two vertical lines for the neck. Add a 'V' shape at the base to represent the suit opening. Teacher's Tip: Make sure the neck isn't too thin, or the head will look like it's floating!
Step 4: Drawing the Lapels

Draw small triangles on each side of the 'V' opening, topped with pentagon shapes to create the lapels. Teacher's Tip: Keep these shapes symmetrical to make the suit look tailored and professional.
Step 5: Outlining the Torso and Pocket
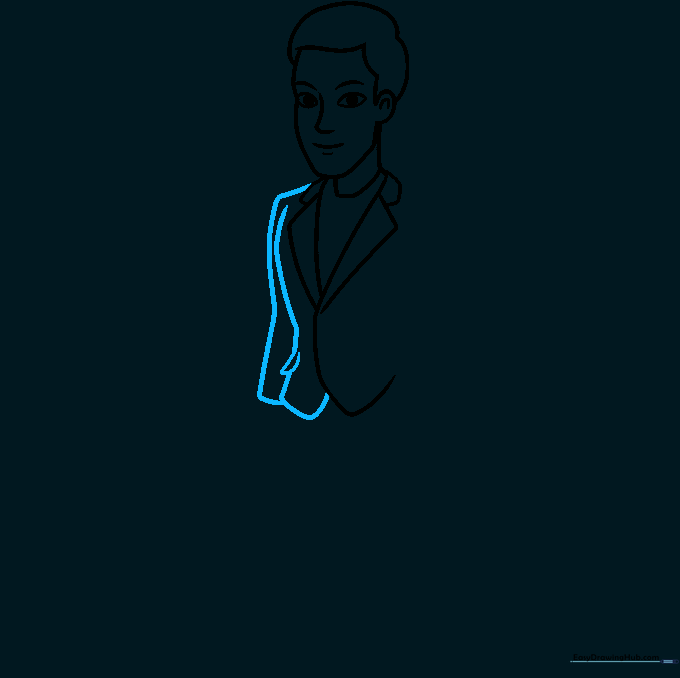
Draw a curved line from the lapel downward to form the arm and torso. Add a small pocket detail on the side. Teacher's Tip: Use a light touch for the pocket so it doesn't look like a heavy black mark.
Step 6: Adding the Second Arm
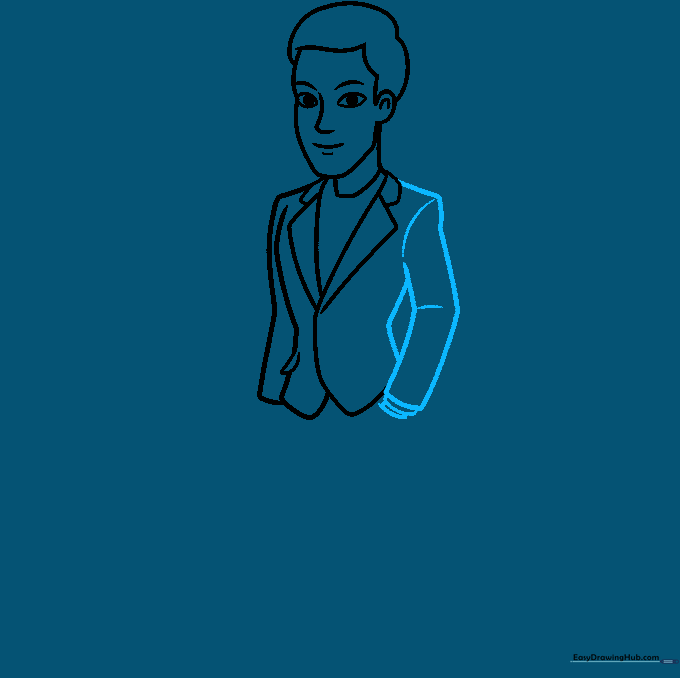
Outline the second arm with curved lines, adding a shoulder seam and elbow bend. Teacher's Tip: Think about where the arm naturally bends at the side of the body to keep the pose looking realistic.
Step 7: Tie and Button Details
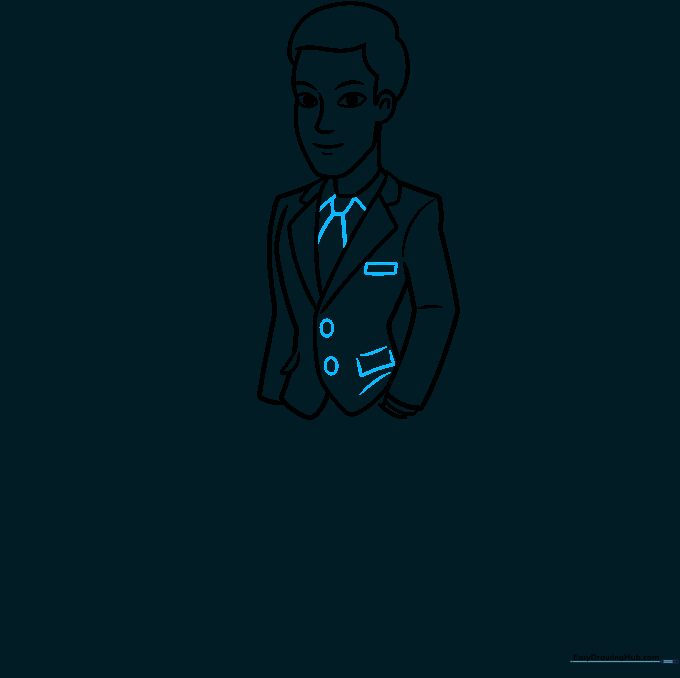
Draw the shirt collar, necktie knot, and two small circles for buttons. Teacher's Tip: Adding the tie adds a pop of personality—try drawing a patterned tie if you're feeling creative!
Step 8: Drawing the First Leg
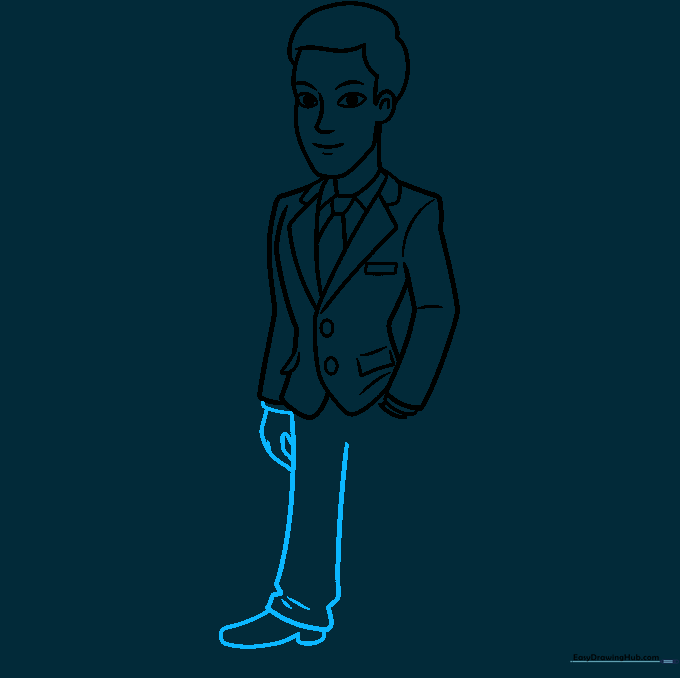
Extend lines downward to form the pant leg, adding small 'V' shapes for folds. Sketch the hand and shoe. Teacher's Tip: Fabric folds are just simple 'V' or 'U' shapes—don't overcomplicate them!
Step 9: Completing the Legs
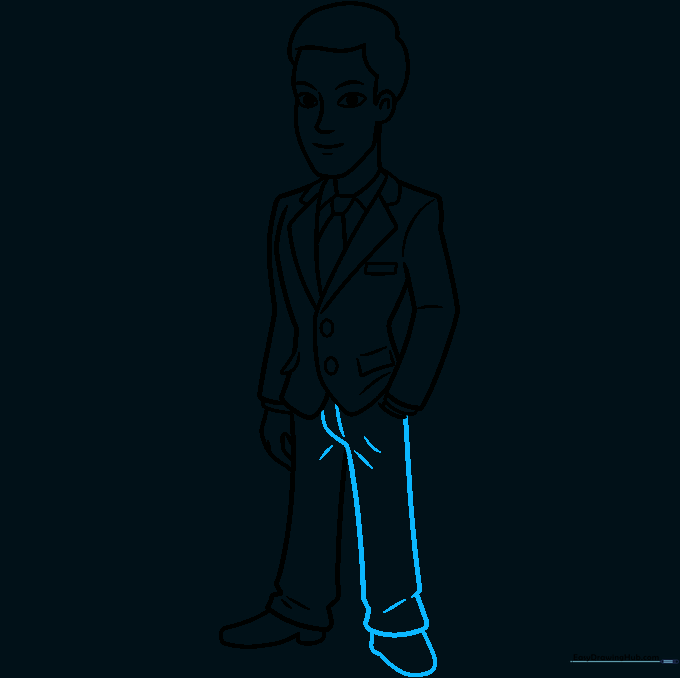
Outline the second pant leg and boot. Add a few more curved lines to indicate fabric movement. Teacher's Tip: Ensure the length of the legs matches the first one to keep your character balanced.
Step 10: Adding Color

Bring your character to life with color! Use dark blues, greys, or blacks for the suit. Teacher's Tip: Use a lighter shade for the shirt to create contrast against the dark suit jacket.
More Tutorials


