How to Draw a Cartoon Man: Easy 9-Step Guide for Kids
Ready to bring a character to life? This tutorial is perfect for young artists ages 6 and up who want to master drawing people. Grab a pencil, an eraser, and a piece of paper to follow along as we build a friendly cartoon man from the ground up.
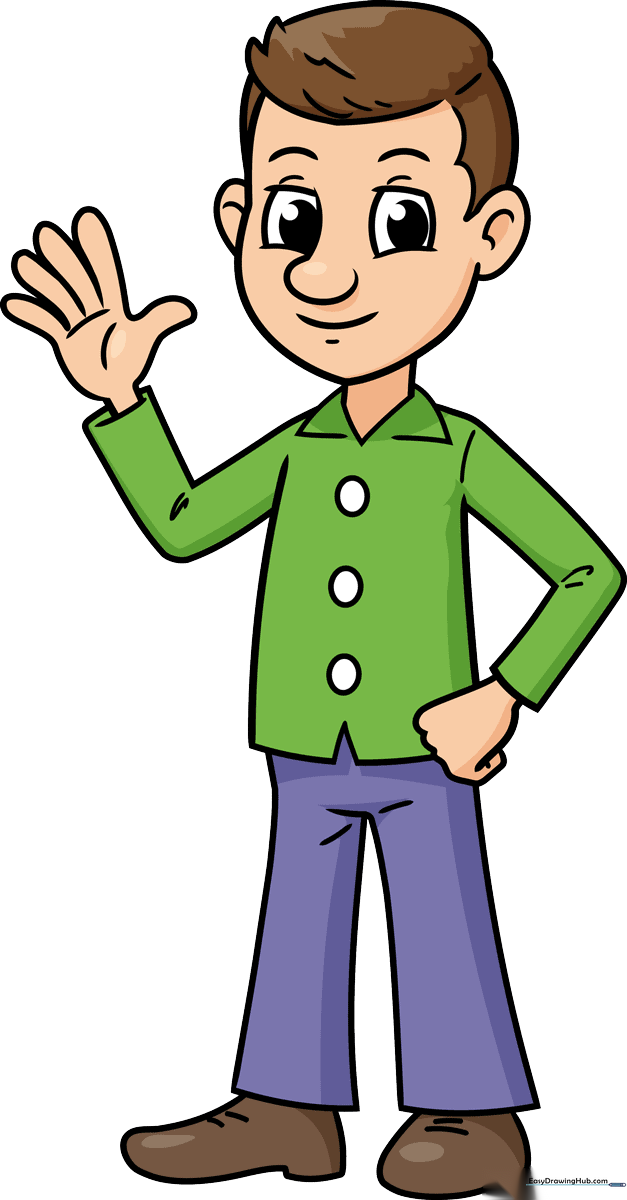
🎯 Final Result
Step-by-Step Instructions
Step 1: Sketching the Nose and Eye
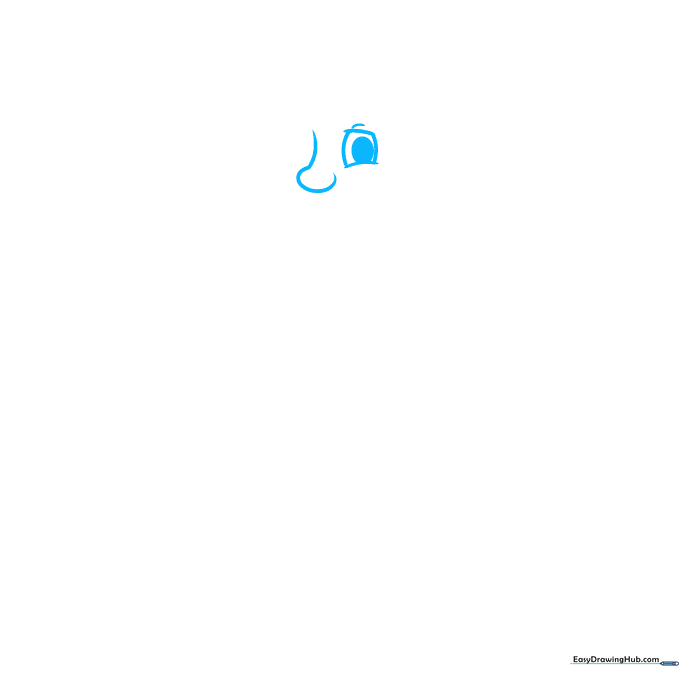
Start by drawing a long, curved line that loops back on itself to form the nose. For the eye, draw two small lines for the lids with a partial oval between them. Teacher's Tip: Keep the eye small; it helps the rest of the face look more proportional later!
Step 2: Adding Facial Features
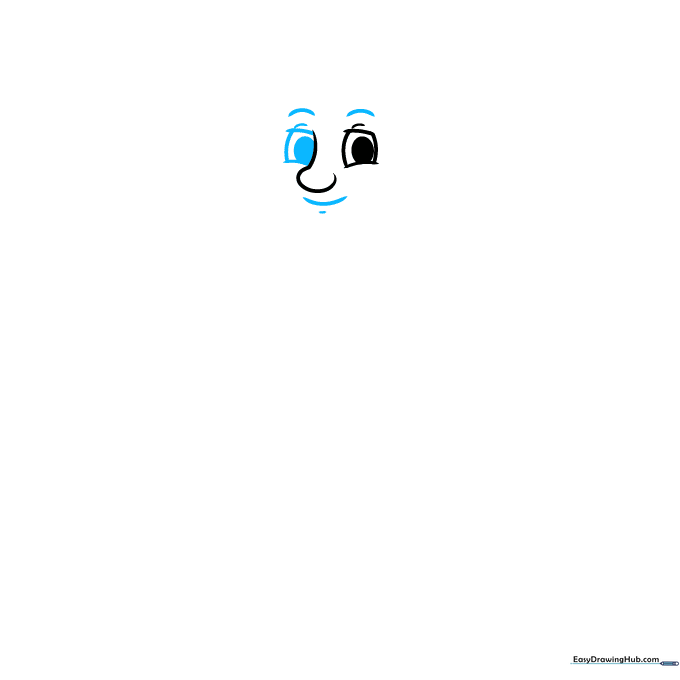
Draw the second eye to match the first, then add the eyebrows, a smiling mouth, and a small dimple on the chin. Tip: Use light, quick strokes for the smile to keep the expression looking friendly and relaxed.
Step 3: Shaping the Face and Hair
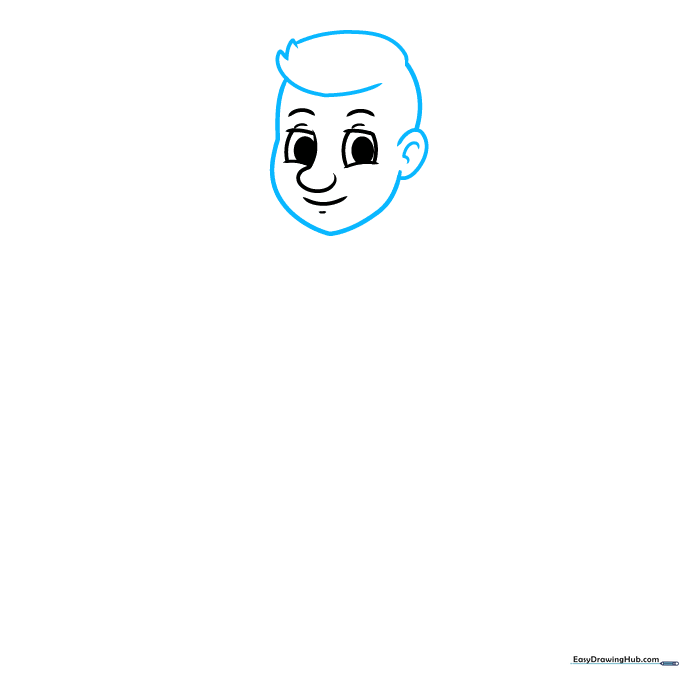
Outline the face and ear using smooth, curved lines. Add the hair with jagged, overlapping strokes at the front. Tip: Think of the ear as a 'C' shape; it doesn't need to be perfectly round!
Step 4: Drawing the Neck and Collar
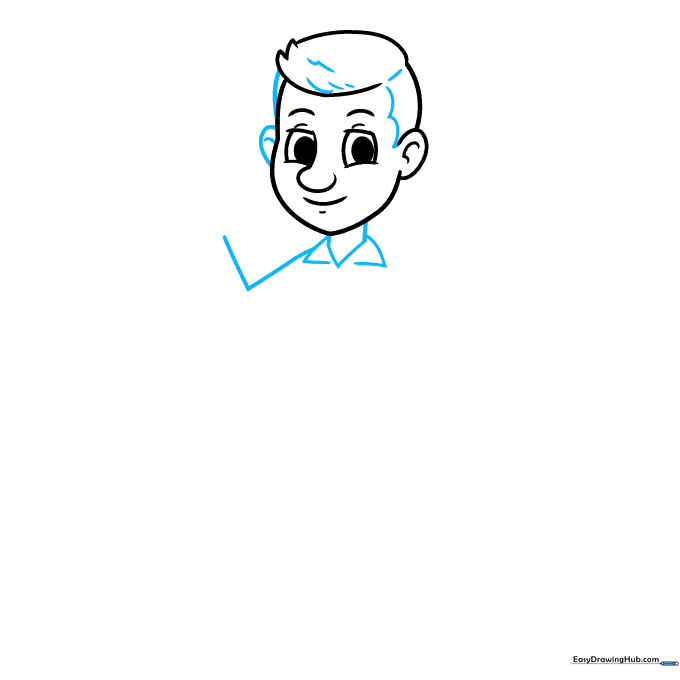
Add the second ear and sideburns, then draw two lines down for the neck. Connect them with a 'V' shape for the shirt collar. Tip: Make sure the collar is wide enough to look like a real shirt.
Step 5: Forming the Waving Arm
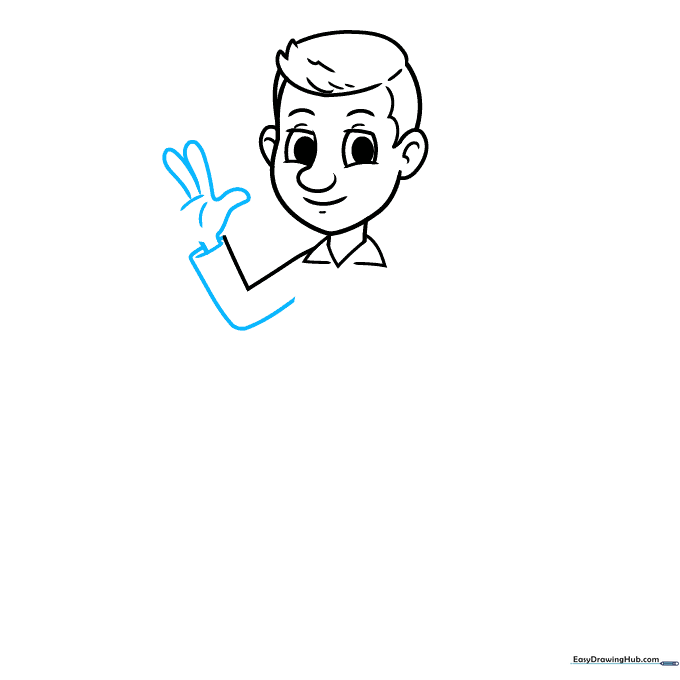
Extend an 'L' shaped line from the collar to create the arm. Use curved lines to define the sleeve opening and the hand. Tip: If the hand is tricky, start with a simple mitten shape and add fingers later.
Step 6: Adding the Second Arm
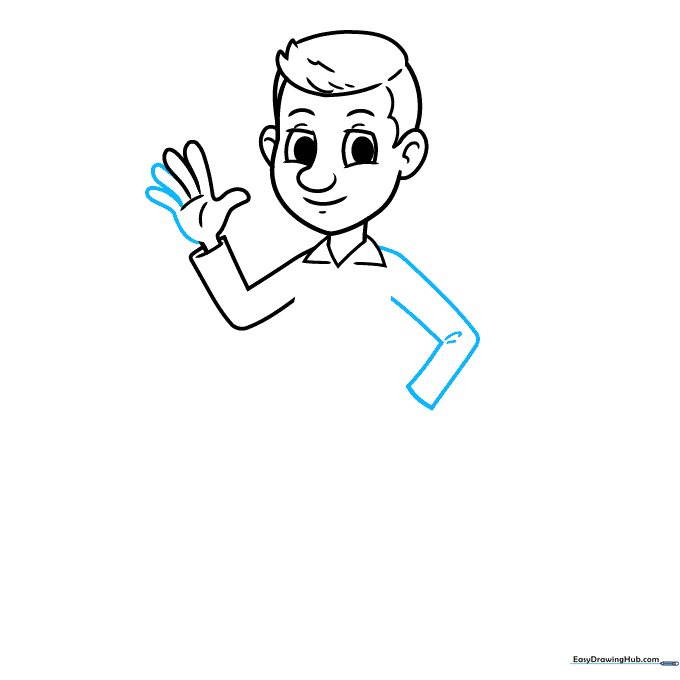
Draw the second arm bent at the elbow with the hand resting on the hip. Tip: Use a small curved line at the elbow to show where the arm bends.
Step 7: Sketching the Torso
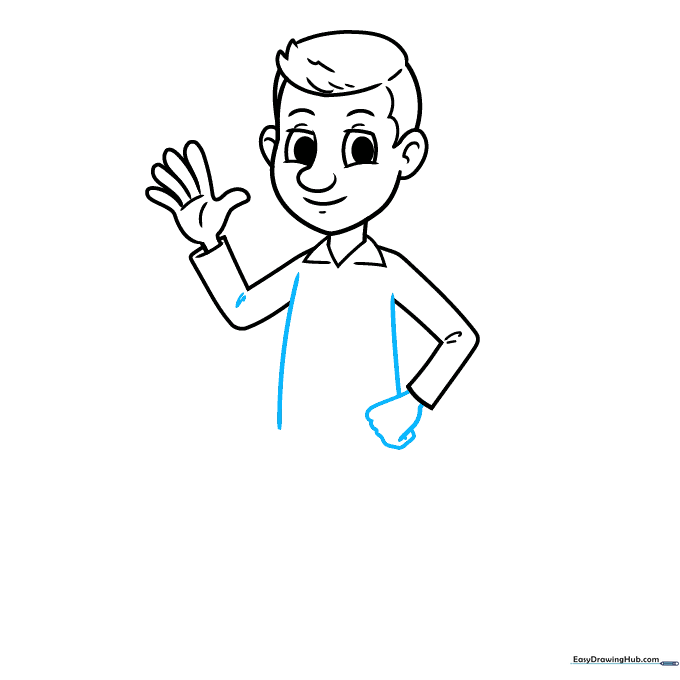
Draw long, slightly curved lines for the sides of the torso, connecting the underarms to the hips. Tip: Keep these lines smooth to give your character a natural posture.
Step 8: Adding Legs and Shoes
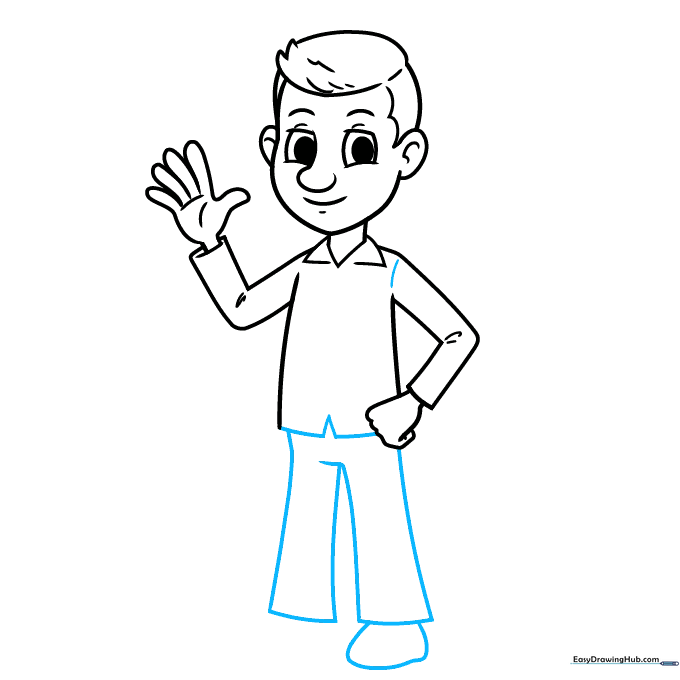
Draw the pants legs using long, parallel lines and add the irregular shapes for the shoes at the bottom. Tip: Make the shoes slightly wider than the pant legs to look like real footwear.
Step 9: Final Details
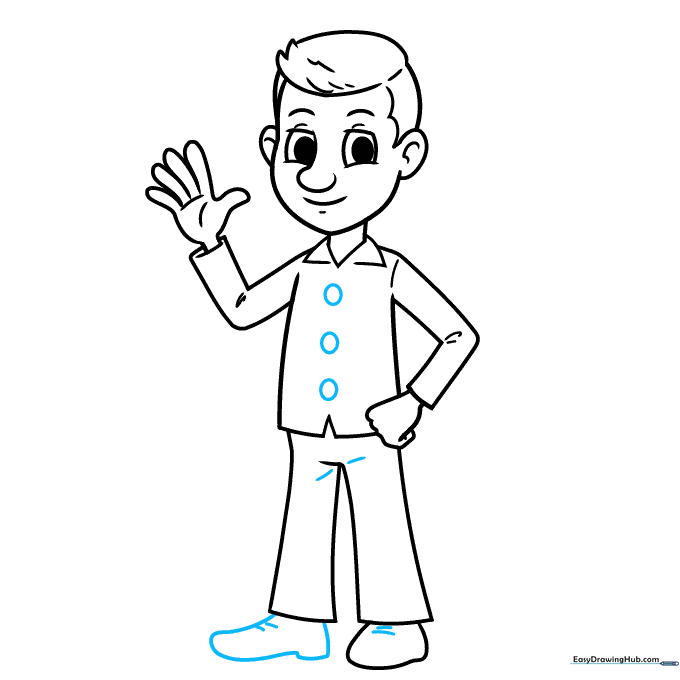
Finish the shoes with small lines for laces and add circular buttons down the middle of the shirt. Tip: Don't press too hard with your pencil; you want these details to be neat and clean.
Step 10: Bring Him to Life with Color
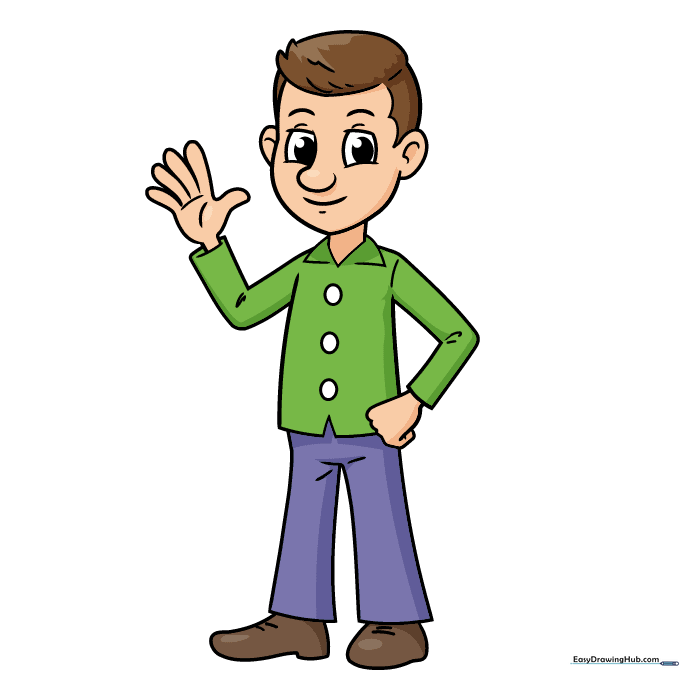
Your outline is complete! Now, use your favorite colors to fill in his hair, shirt, and pants. Tip: Try using different shades to create shadows and make your character pop off the page.
More Tutorials


