How to Draw a Man Fishing: Easy 10-Step Guide
Ready to head to the lake? This tutorial is perfect for young artists ages 5+ looking to capture a relaxing day of fishing. Grab your pencil, eraser, and paper, and follow these simple steps to build your character from the hat down to the ripples in the water.
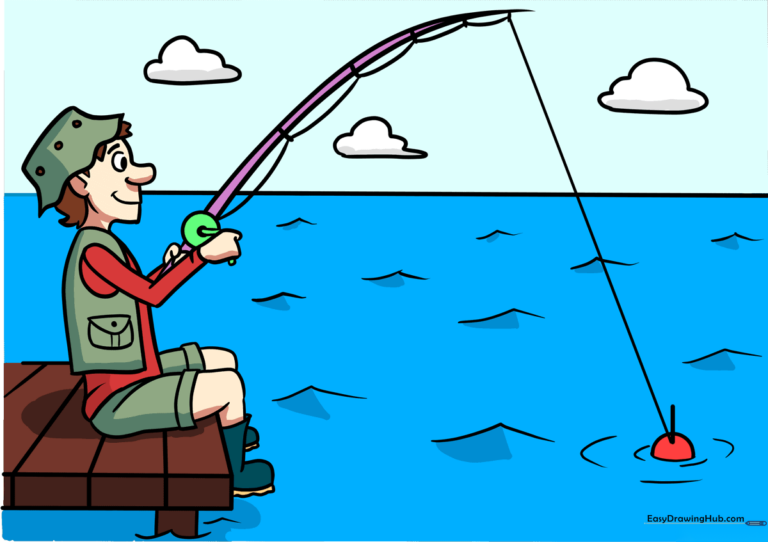
🎯 Final Result
Step-by-Step Instructions
Step 1: Sketching the Fishing Hat

Start with the brim of the bucket hat using a wide, curved line. Connect the ends with a wavy line to show the fabric's drape. Tip: Add tiny circles on top for ventilation holes—it makes the hat look much more realistic!
Step 2: Defining the Facial Features

Draw the profile of the face using curved lines for the nose and chin. Add a small oval for the eye and a simple curve for a happy smile. Tip: Keep your pencil lines light here so you can easily erase any overlapping lines later.
Step 3: Outlining the Fishing Vest

Draw a 'gumdrop' shape for the torso and add a pocket with a flap. Don't forget the button! Tip: Adding these small details like pockets makes your character look like a pro angler.
Step 4: Sketching the Arms
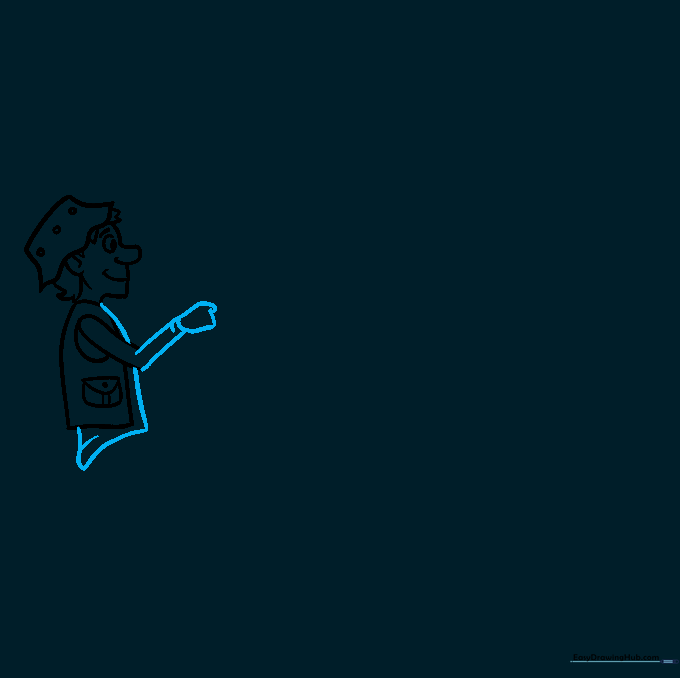
Draw the arms using simple, overlapping curved lines. Keep the hand shape loose—it just needs to look like it's gripping something. Tip: If the hand looks tricky, think of it as a small, rounded mitten shape.
Step 5: Adding the Fishing Rod
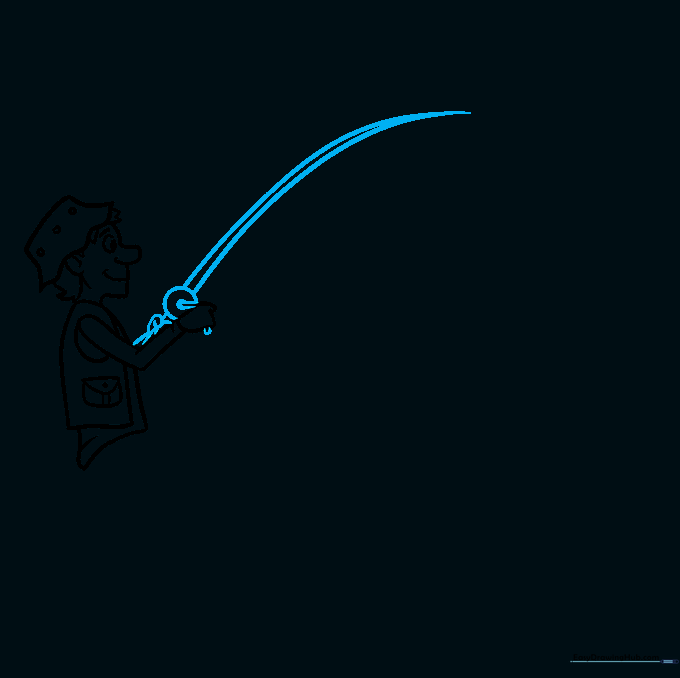
Draw the reel as a small circle and extend a long, tapered line for the rod. Tip: Use a ruler if you want the rod to be perfectly straight, or keep it freehand for a more natural, cartoon look.
Step 6: The Fishing Line and Bobber
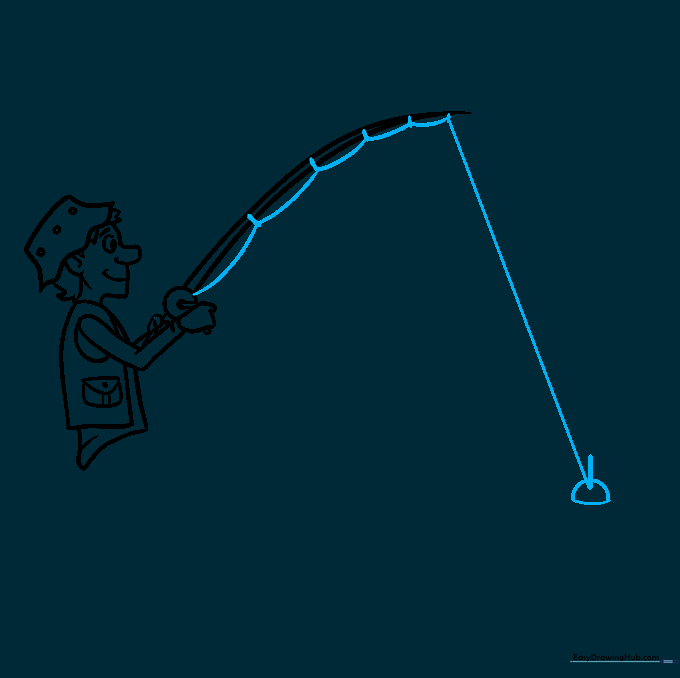
Add small loops to the rod for the line to pass through. Draw a long, thin line leading down to a half-circle bobber. Tip: The bobber is the most colorful part, so make it stand out!
Step 7: Drawing the Dock
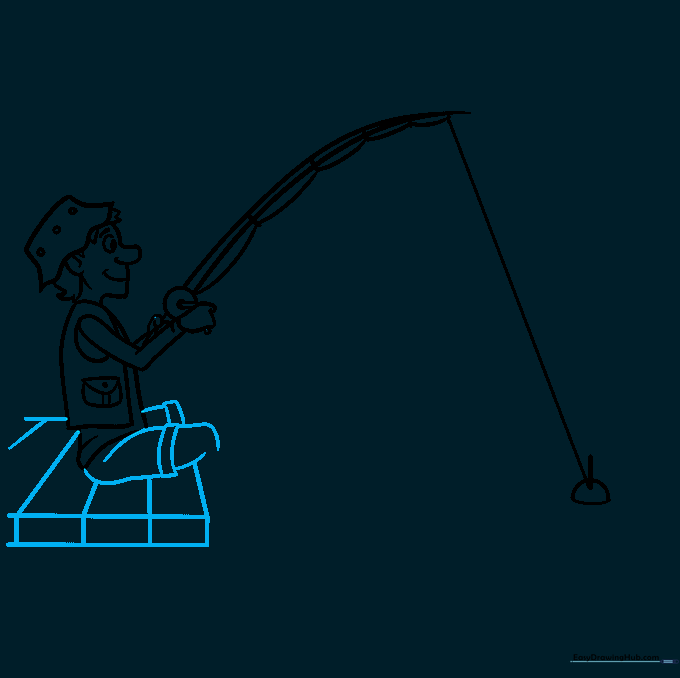
Draw the legs and shorts, then sketch a rectangular dock beneath him. Use diagonal lines to show the wooden planks. Tip: Varying the length of your lines helps create the perspective of a wooden dock.
Step 8: Adding Water Ripples
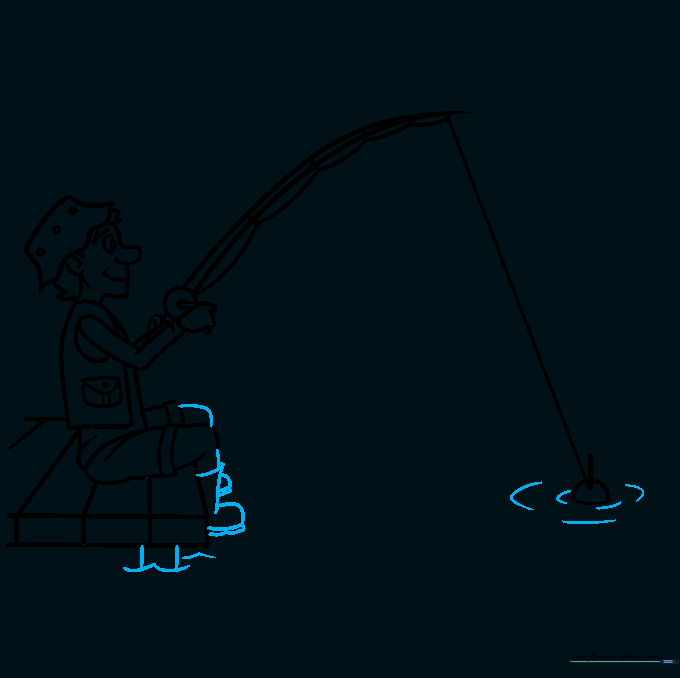
Draw the boots and add wavy lines around the bobber to show movement in the water. Tip: Small, concentric circles around the bobber make it look like it's actually floating on the surface.
Step 9: Completing the Background

Draw a horizon line and some fluffy clouds in the sky. Add a few more waves to the water to fill the scene. Tip: Keep the clouds rounded and soft to contrast with the straight lines of the dock.
Step 10: Bringing it to Life with Color
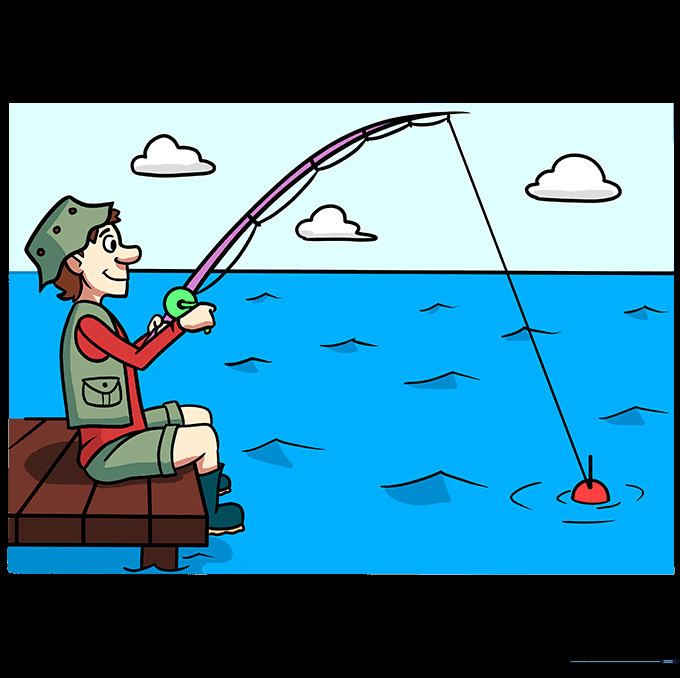
Time to color! Use bright blues for the water and earthy tones for the dock. Tip: Try coloring the bobber bright red and white—it's a classic look that really pops against the blue water.
More Tutorials


