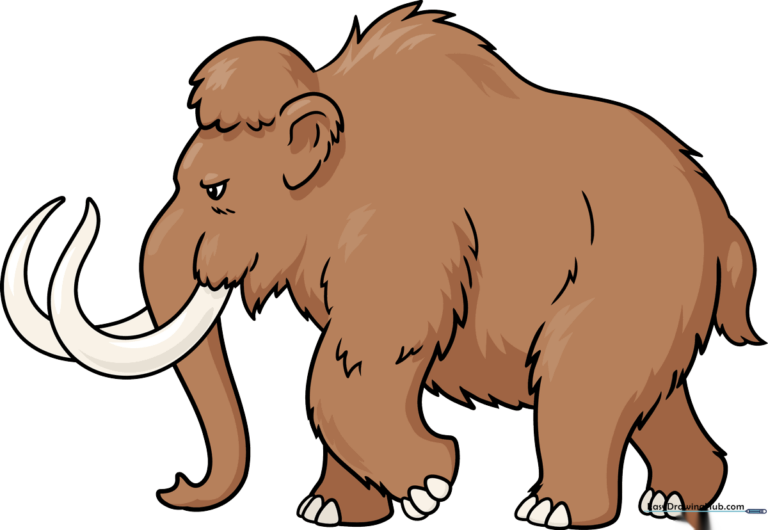
How to Draw a Mammoth: Easy 10-Step Guide for Kids
Travel back to the Ice Age! This tutorial is designed for young artists ages 5 and up to build confidence with basic shapes. All you need is a pencil, an eraser, and a piece of paper to bring this prehistoric giant to life.
🎯 Final Result
Step-by-Step Instructions
Step 1: Sketching the Eye and Tusk Base
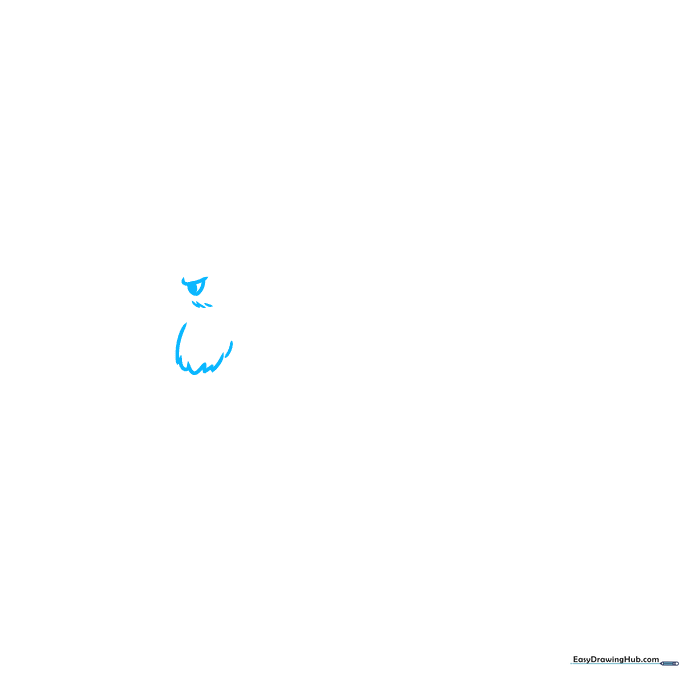
Start by drawing a small, expressive eye with a dark pupil. Below the eye, sketch a series of short, choppy lines to represent the base of the tusk. Teacher's Tip: Keep the eye simple—a small circle with a dot inside works best for a cartoon style.
Step 2: Defining the Tusk and Trunk
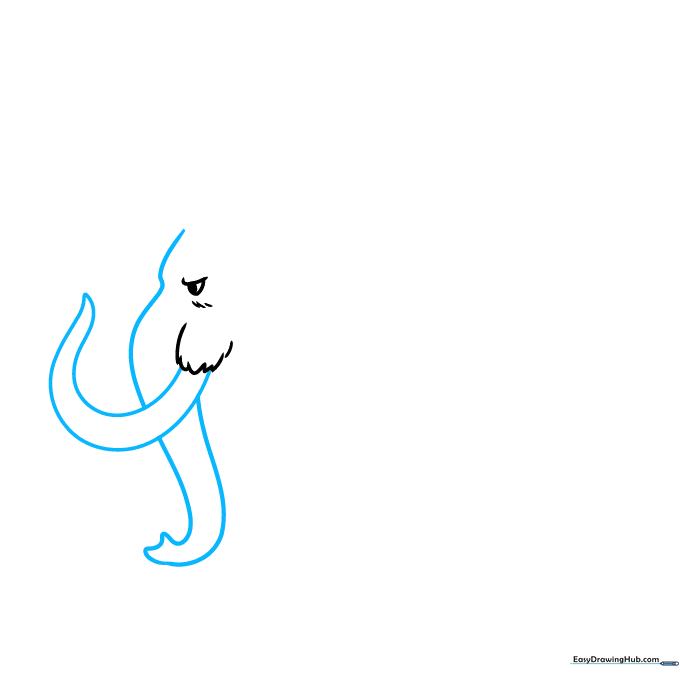
Extend two long, curved lines from the base to form the tusk, meeting at a point. Then, draw the long, hanging trunk below. Teacher's Tip: Make the trunk slightly wider at the top than the bottom to give it a natural, organic look.
Step 3: Adding the Ear and Jaw
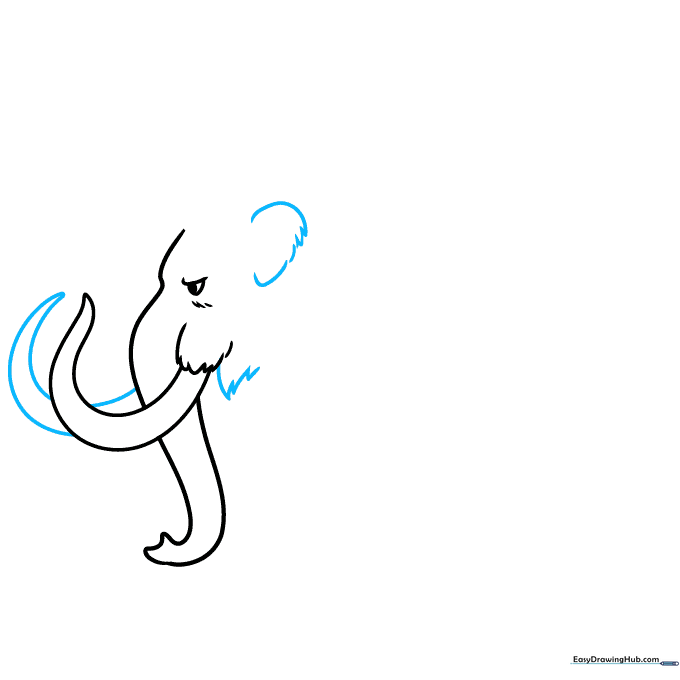
Draw a second tusk peeking out from behind the first. Use a series of connected, bumpy lines to create the ear and the lower jaw. Teacher's Tip: Use 'bumpy' lines instead of straight ones to suggest the thick, shaggy hair of the mammoth.
Step 4: Shaping the Head and Neck
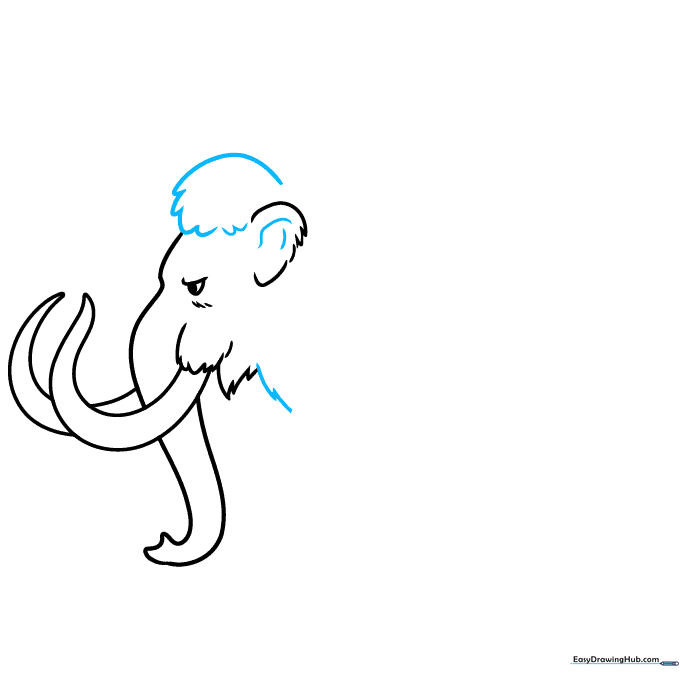
Draw a furry, rounded knob on top of the head and connect it down to the neck. Add a few curved lines inside the ear for detail. Teacher's Tip: Don't worry about making these lines perfect; the hairier they look, the better!
Step 5: Drawing the Front Leg
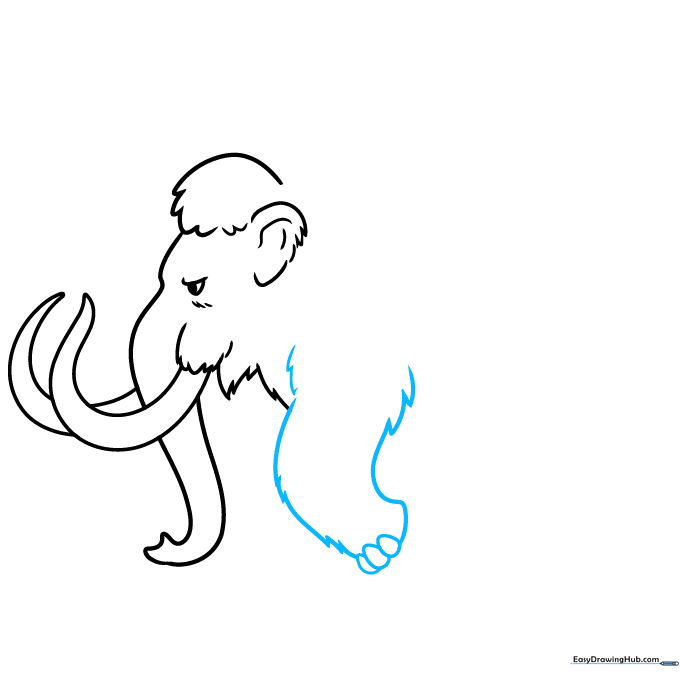
Create the front leg using jagged lines to mimic thick fur. At the base, draw overlapping oval shapes for the toenails. Teacher's Tip: Think of the toenails as small, rounded pebbles at the base of the foot.
Step 6: Adding the Rear Leg and Belly
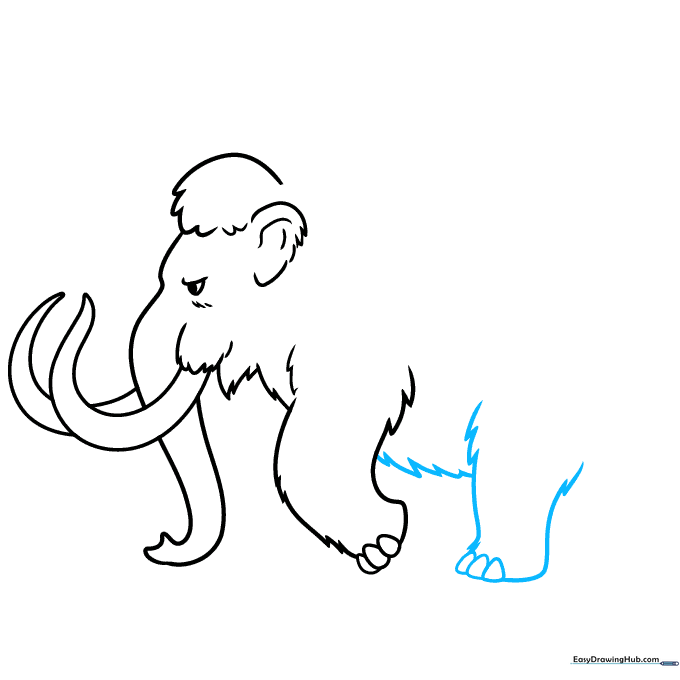
Draw the rear leg using the same jagged technique as the front. Connect the two legs with a slightly sagging belly line. Teacher's Tip: A slight sag in the belly helps show the massive weight of the animal.
Step 7: The Shoulders and Back
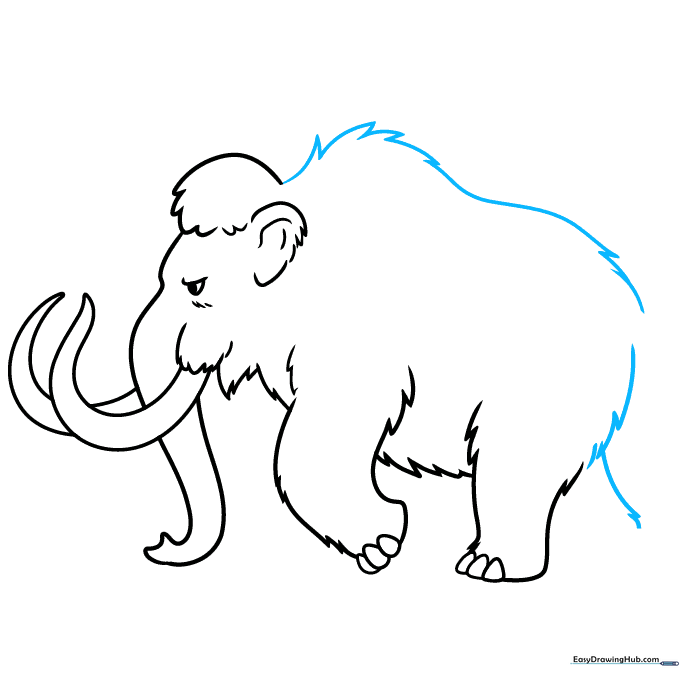
Draw the high, humped back and shoulders using jagged lines. This gives the mammoth its iconic silhouette. Teacher's Tip: Make the hump quite tall to distinguish it from a modern elephant.
Step 8: Completing the Legs
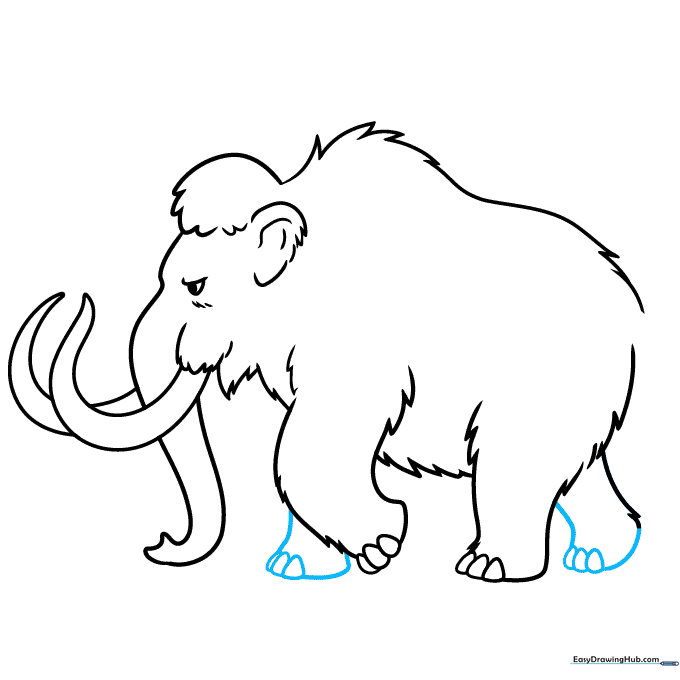
Finish the remaining legs using the same overlapping oval method for the feet. Teacher's Tip: Ensure the legs look sturdy and thick to support the mammoth's large frame.
Step 9: Adding the Tail and Fur Texture
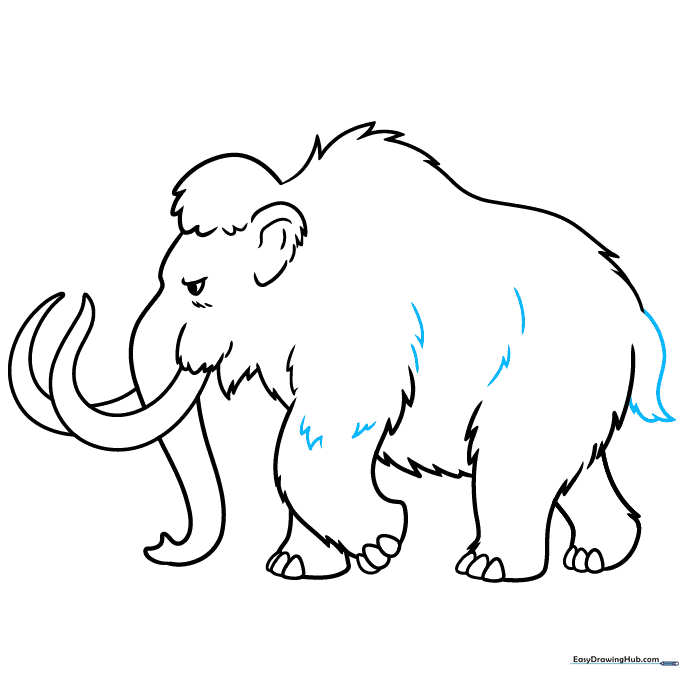
Draw a small, tufted tail. Add extra jagged lines across the body to emphasize the shaggy fur. Teacher's Tip: Vary the length of your 'fur' lines to make the coat look more realistic.
Step 10: Coloring Your Mammoth
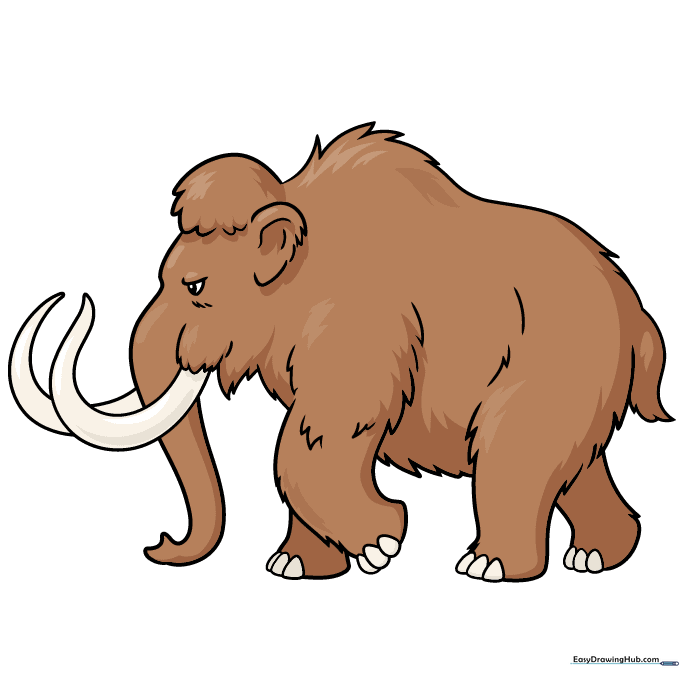
Bring your mammoth to life with color! Use shades of brown, tan, or gray. Teacher's Tip: Use a darker brown for the shaded areas under the belly and legs to give your drawing depth.
More Tutorials


