How to Draw a Magnifying Glass: Easy 10-Step Guide
Perfect for young scientists and budding artists, this magnifying glass tutorial helps children practice clean, geometric shapes. You only need a pencil, eraser, and paper to get started. By the end, you will have a fun, stylized illustration ready for your next science-themed art project.
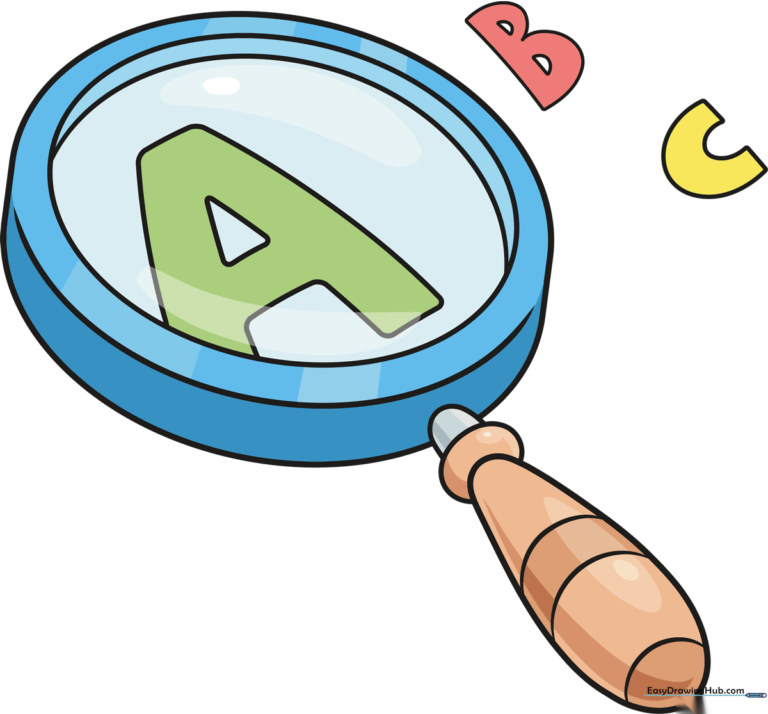
🎯 Final Result
Step-by-Step Instructions
Step 1: Sketching the Lens
Begin by drawing a large oval to form the glass lens. Add a curved line along one side to create a crescent shape, which suggests the glass's thickness. Teacher's Tip: Keep your pencil lines very light here so you can easily clean up the edges later.
Step 2: Defining the Rim
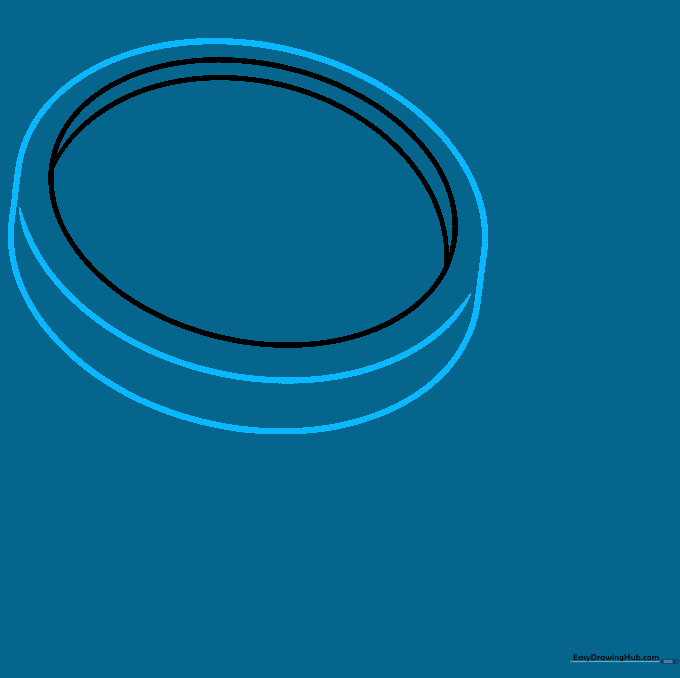
Draw a larger oval surrounding the first to create the metal rim. Add a matching curved line on the side to give the rim a 3D look. Teacher's Tip: Try to keep the space between the two ovals consistent for a professional, polished look.
Step 3: Connecting the Handle
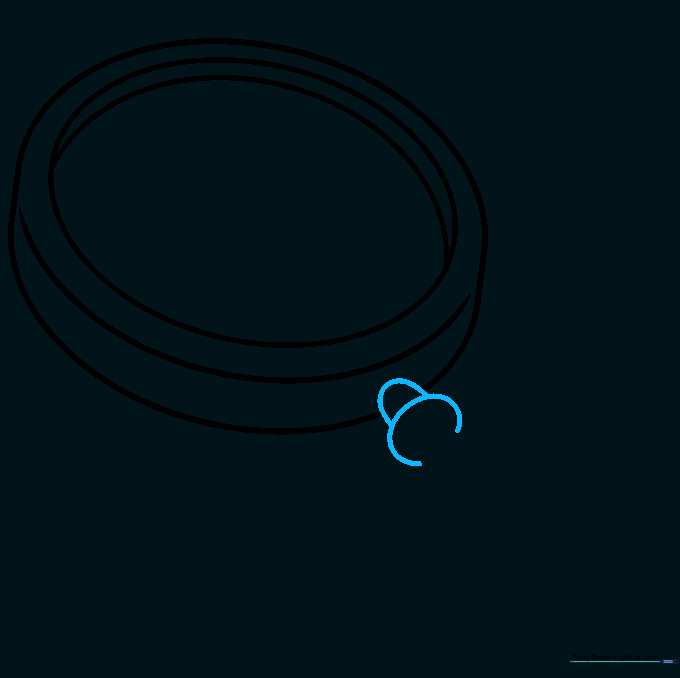
Draw a 'U' shaped line at the base of the rim, erasing the overlapping lines inside. Close the 'U' with a 'C' shaped curve. Teacher's Tip: Make sure your 'U' shape is centered at the bottom so the magnifying glass looks balanced.
Step 4: Forming the Handle
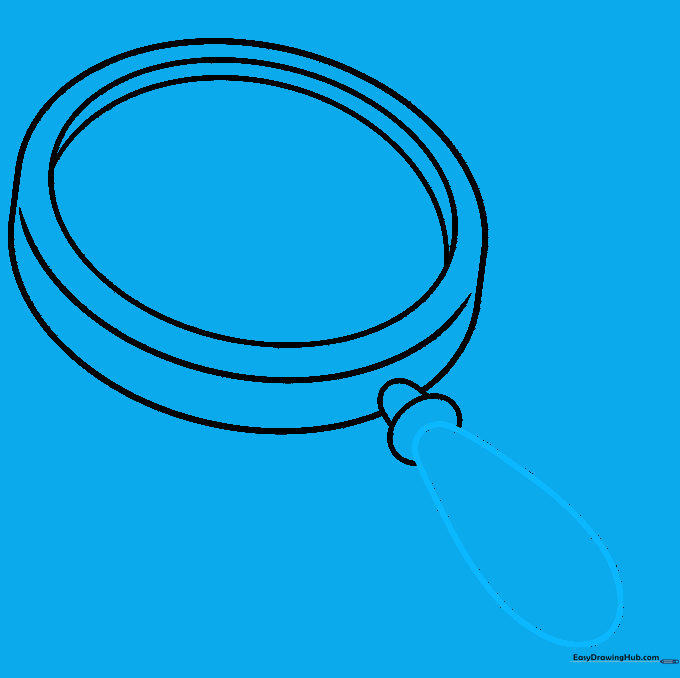
Use a long, curved line to enclose an elongated shape for the handle. Teacher's Tip: If the handle looks too thin, don't worry—you can thicken it up with a second pass of your pencil.
Step 5: Adding Texture to the Handle
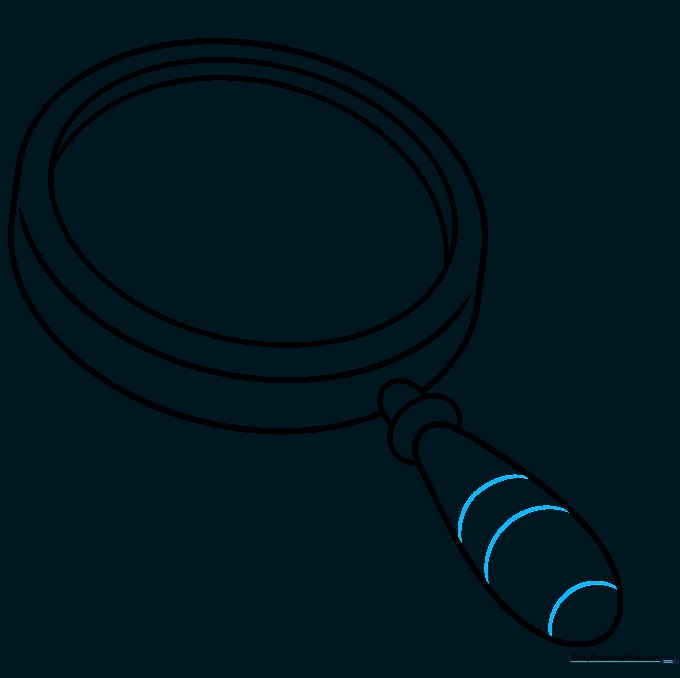
Draw a series of curved lines across the handle to create a grip texture. Teacher's Tip: Space these lines evenly to make the handle look like it has a comfortable rubber or wood grip.
Step 6: Drawing the Letter A
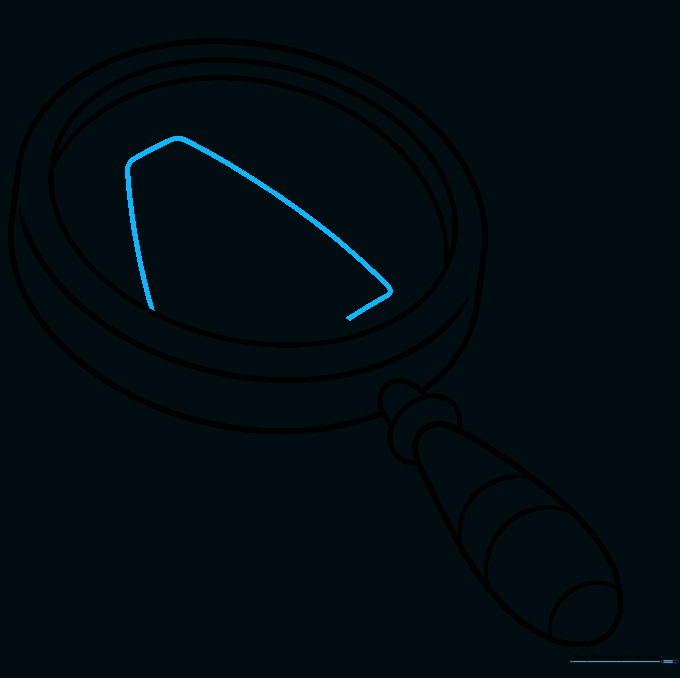
Sketch a tall, incomplete trapezoid inside the lens area to form the letter 'A'. Teacher's Tip: Use a ruler if you want the lines of the letter to be perfectly straight.
Step 7: Refining the Letter A
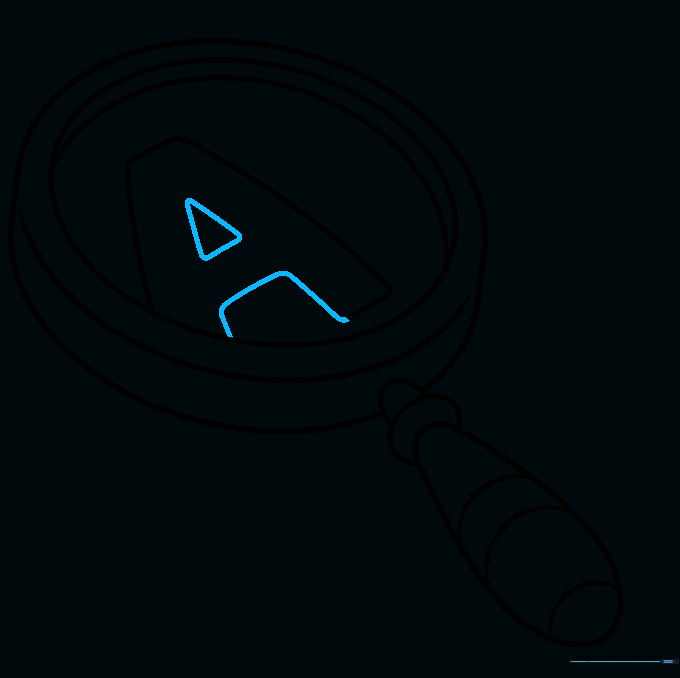
Complete the outline of the letter 'A' and add a small triangle in the center. Teacher's Tip: This creates a 'block letter' style that is easy to color in later.
Step 8: Drawing the Letter B
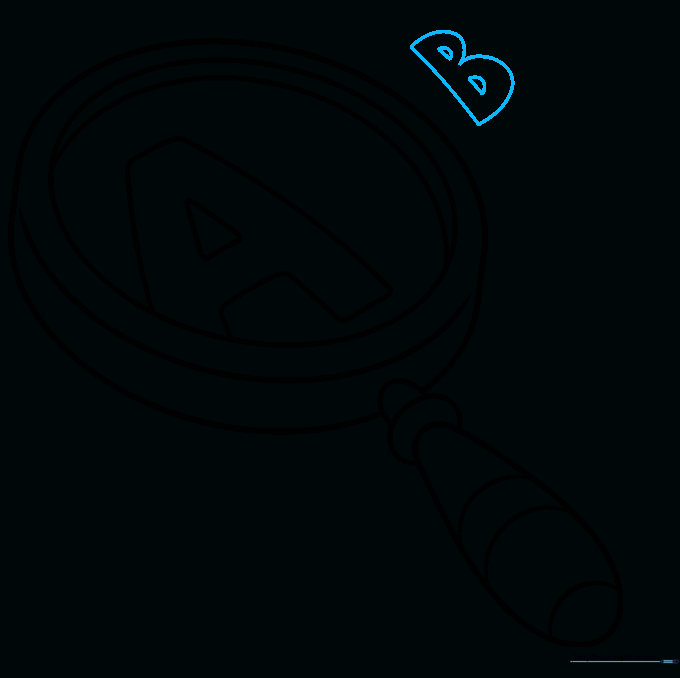
Outline the letter 'B' next to the 'A', using half-circles for the loops. Teacher's Tip: Keep the loops rounded to contrast with the straight lines of the 'A'.
Step 9: Drawing the Letter C
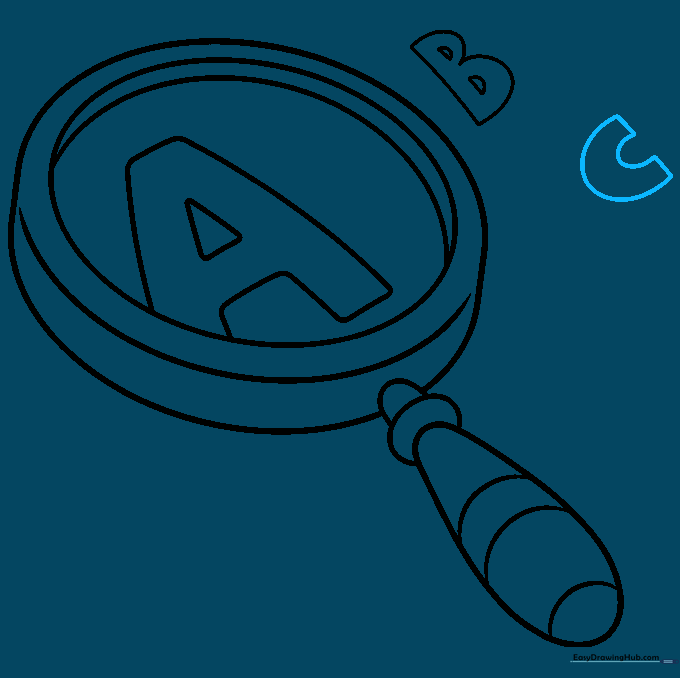
Finish your design by outlining the letter 'C' with a smooth, curved line. Teacher's Tip: Ensure the 'C' is the same height as your 'A' and 'B' for a balanced composition.
Step 10: Adding Color
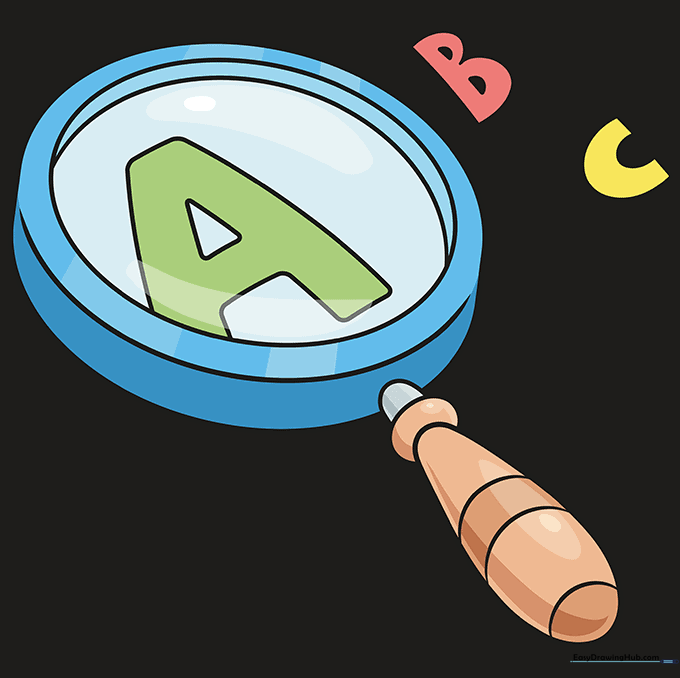
Bring your drawing to life with color! Use metallic greys for the rim, warm browns for a wooden handle, or bright colors for a fun, cartoonish look. Teacher's Tip: Use a light blue or grey for the lens area to give it a 'glass' effect.
More Tutorials


