How to Draw a Magic Carpet Ride: Easy 10-Step Guide
Ready for a creative adventure? This tutorial is perfect for young artists ages 6+ who want to bring a fantasy scene to life. All you need is a pencil, an eraser, and some paper to start building your magical character and their flying carpet. Follow these simple steps to master cartoon proportions and perspective.
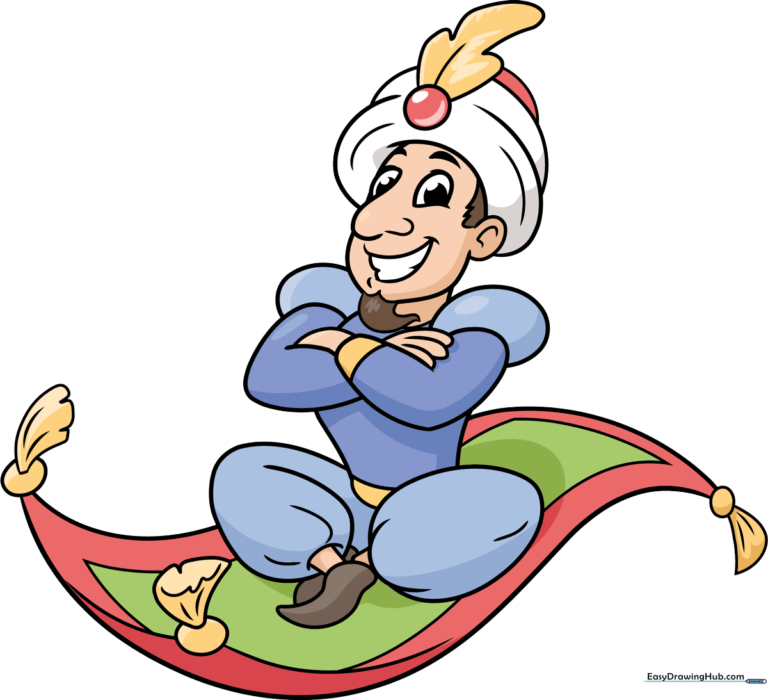
🎯 Final Result
Step-by-Step Instructions
Step 1: Sketching the Face
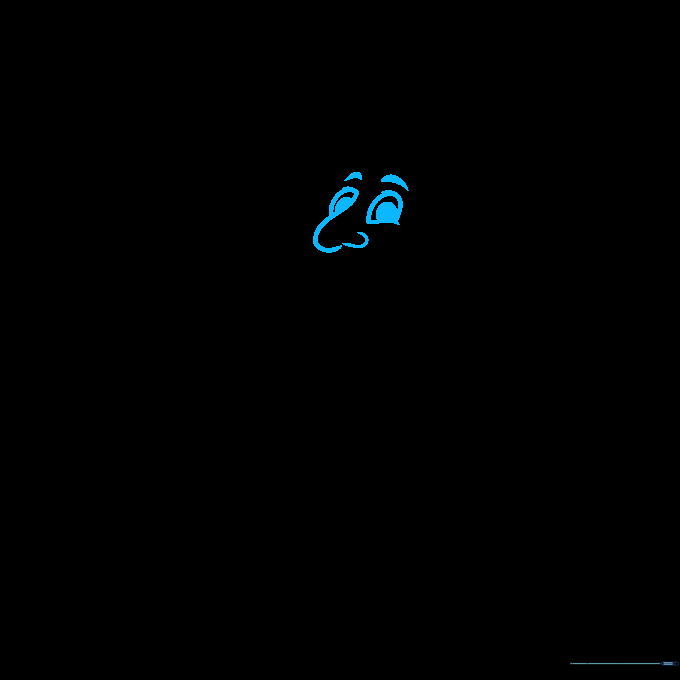
Start with a small hook shape for the nose. Add two curves to the left, filling in the second one, then create an upside-down U shape to the right. Draw a line underneath for the mouth and add a small circle for the pupil. Teacher's Tip: Keep your pencil lines very light so you can easily erase any mistakes later.
Step 2: Defining the Beard and Smile

Underneath the nose, draw two curves that meet at an angle. Add short dashes for the teeth to give him a friendly expression. Sketch the chin and a wide, flowing curve for the beard. Teacher's Tip: Use short, quick strokes for the beard to give it a textured, fluffy look.
Step 3: Adding the Turban

Draw a loop with a small hook inside for the ear. Sketch a circle over the top of the head to act as a guide for the turban, then use curved lines to wrap around it. Teacher's Tip: Don't worry about making the turban perfectly symmetrical; fabric folds are naturally irregular!
Step 4: The Feather and Shoulder
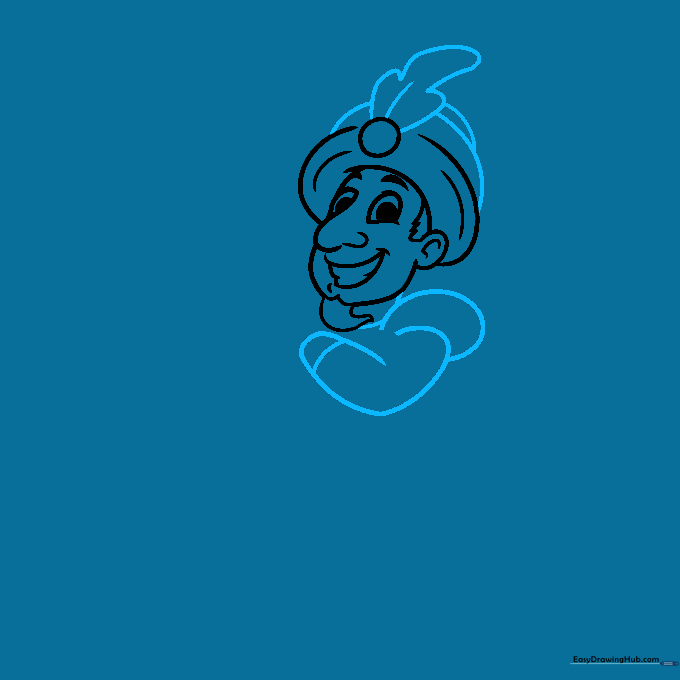
Draw a vertical line sticking out of the turban and add tall curves to form a feather. For the arm, draw a loose heart shape with an oval behind the shoulder. Teacher's Tip: The heart shape helps simplify the complex curve of a bent elbow.
Step 5: Drawing the Hands
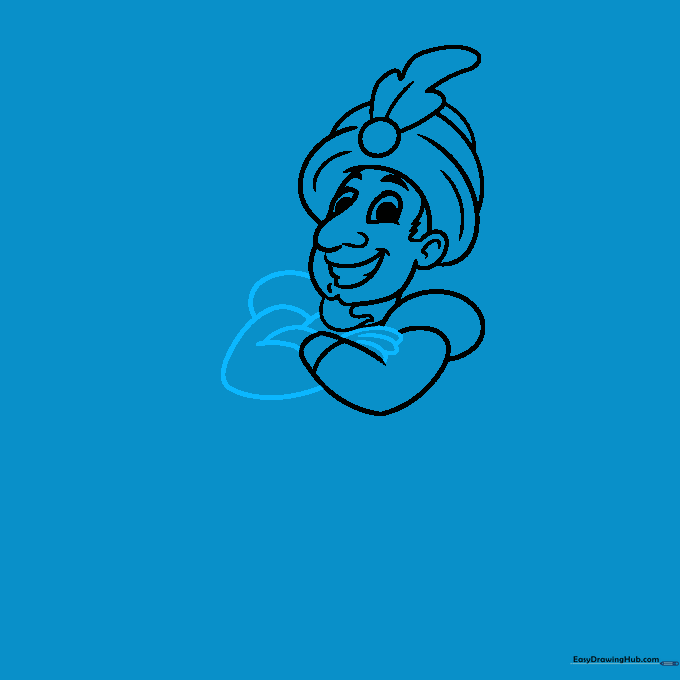
To the right, repeat the heart shape for the second arm. Use simple sausage-like ovals to sketch the fingers. Teacher's Tip: Keep the fingers slightly curved to make the hand look relaxed rather than stiff.
Step 6: Sketching the Pants
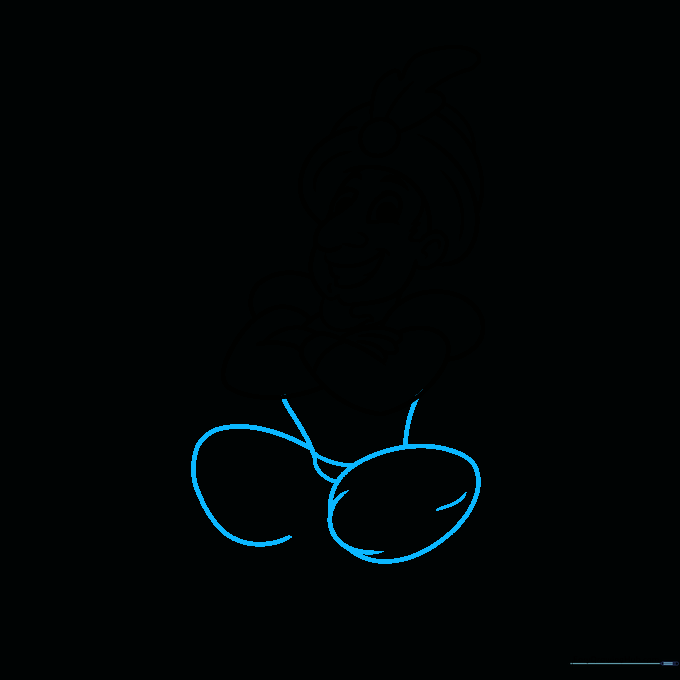
Draw two oblong ovals to represent the baggy pants. Connect these to the body using curved lines. Teacher's Tip: Think of these as 'misshapen eggs'—the more rounded they are, the puffier the pants will look.
Step 7: Adding the Carpet Base
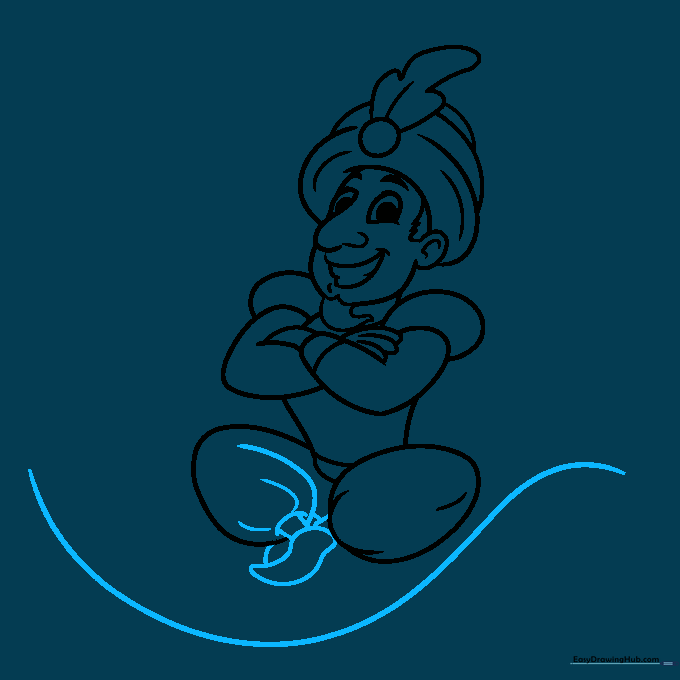
Complete the left leg with a curve for the shoe, then draw a long, sweeping curved line underneath the body to represent the magic carpet. Teacher's Tip: Draw this line like a gentle wave to show the carpet is in motion.
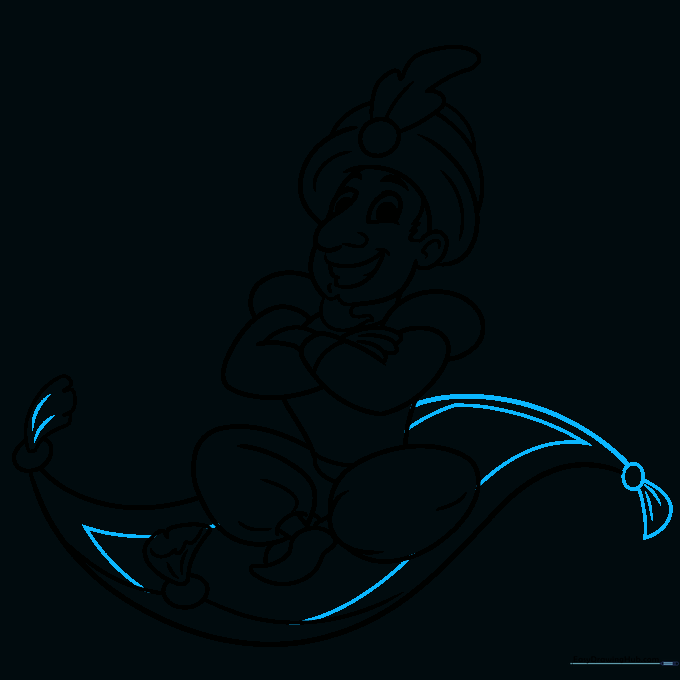
Step 8: Adding Carpet Details
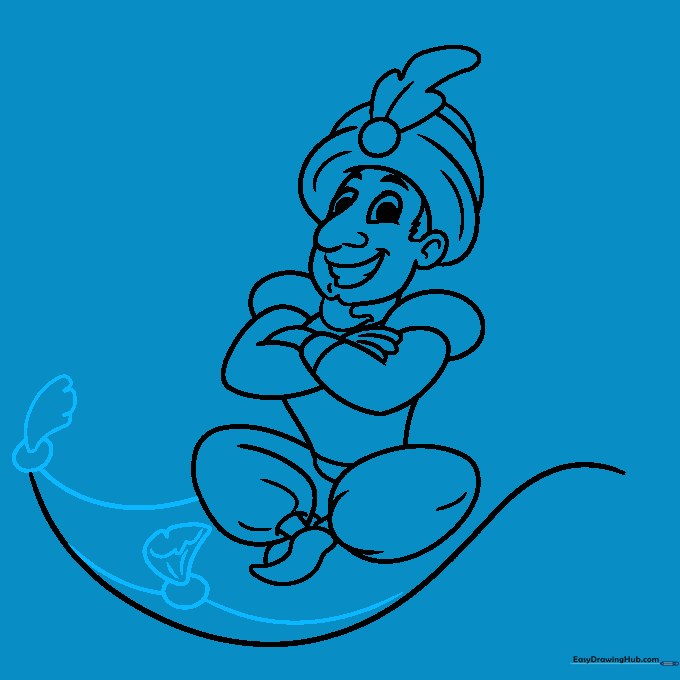
Sketch two more curves with ovals at the ends for the carpet corners. Add a loose triangle on the left and a rounded triangle on the right. Teacher's Tip: Add small notches to the triangles to make them look like decorative tassels.
Step 9: Finalizing the Outline
Draw a final curved line to complete the carpet's edge, then sketch a square pattern inside the carpet that follows the outer lines. Teacher's Tip: Use a ruler if you want the square to be perfectly straight, or keep it freehand for a more organic, 'magical' look.
Step 10: Color Your Masterpiece
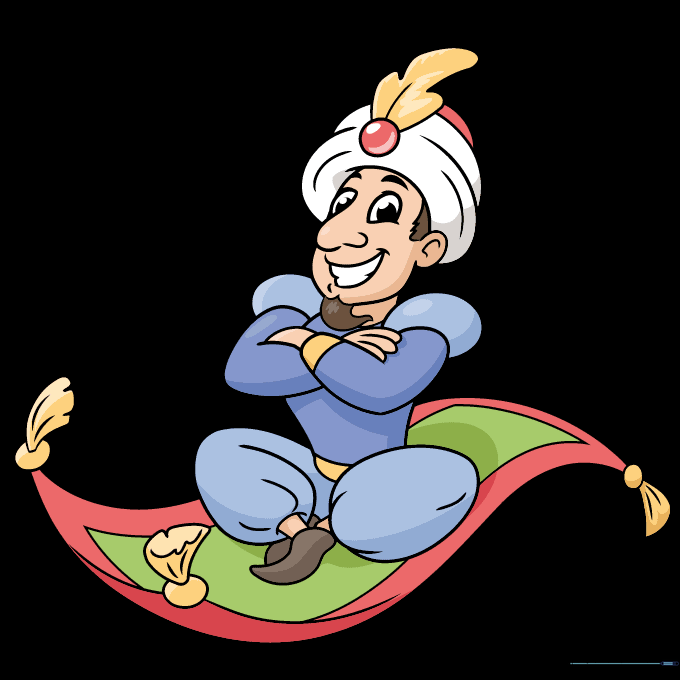
Trace your final lines with a black marker to make them pop. Color the carpet in vibrant reds, greens, and yellows. Use blue for the magician's outfit and add your favorite colors for his skin and hair. Teacher's Tip: Use light pressure with your colored pencils to create smooth gradients on the carpet.
More Tutorials


