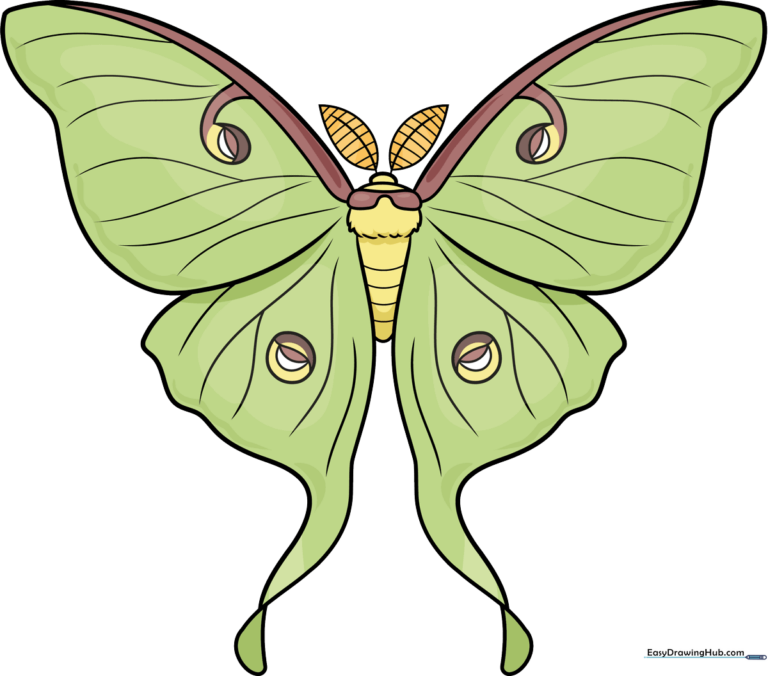
How to Draw a Luna Moth: Easy 10-Step Guide for Kids
Capture the magic of nature with this beginner-friendly Luna Moth drawing guide, perfect for artists ages 5 and up. You will only need a pencil, eraser, and paper to bring this iconic insect to life. Follow along to practice symmetry and delicate wing shapes while creating a stunning piece of art.
🎯 Final Result
Step-by-Step Instructions
Sketching the Head and Body
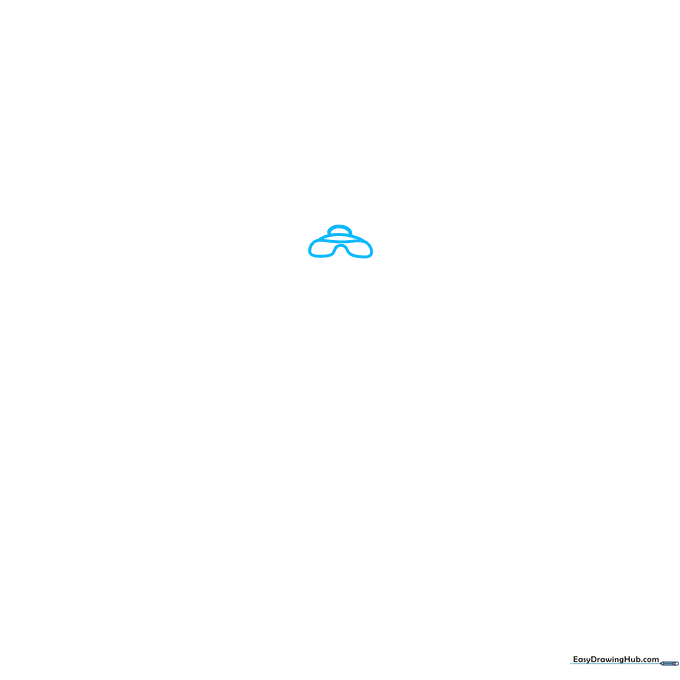
Draw an upside-down U-shape to form the head. Add a small line inside for detail, then sketch a semi-oval on top. Teacher's Tip: Keep your pencil pressure light so you can easily erase any overlapping lines later.
Defining the Fuzzy Thorax
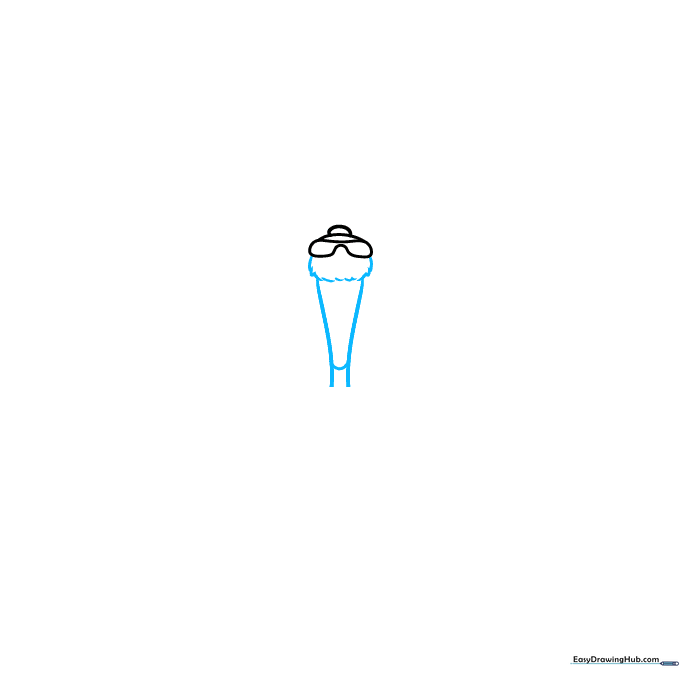
Below the head, draw another semi-oval using short, quick strokes to create a 'fuzzy' texture. Add two curved vertical lines and connect them at the bottom. Teacher's Tip: Short, jagged lines are the secret to making insects look soft and realistic!
Outlining the Upper Wings
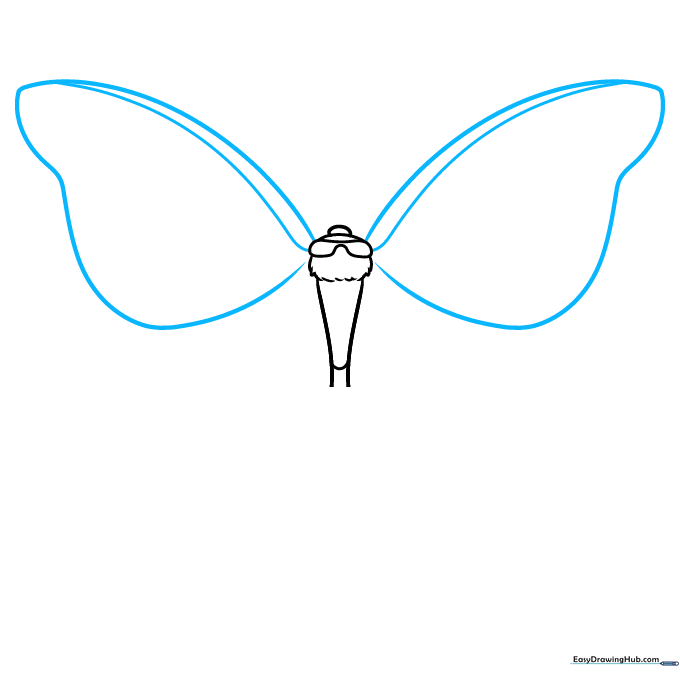
Sketch a large curve reaching toward the top of your page, then add two 'hills' to the edge. Repeat this on the other side. Teacher's Tip: Try to keep your wings symmetrical by checking the distance from the body on both sides.
Creating Wing Symmetry
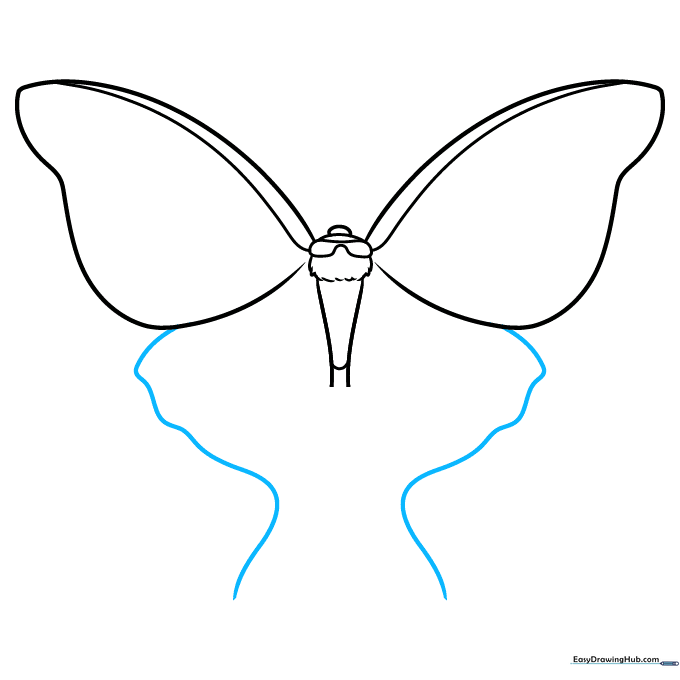
Draw identical wavy lines on the lower section of the wings. Teacher's Tip: Use your non-drawing hand to steady the paper so your lines stay smooth and fluid.
Adding Antennae and Wing Details
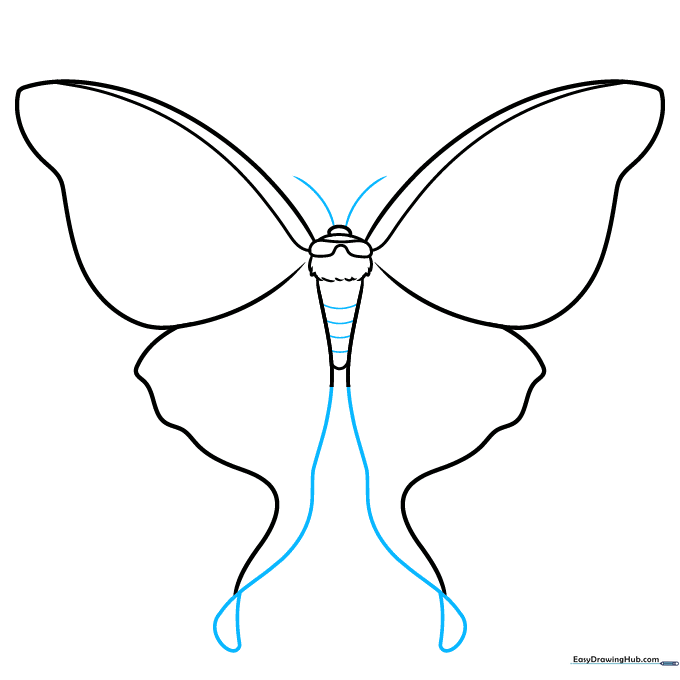
Add loops and wavy lines to the wings, then sketch two simple lines for the antennae. Teacher's Tip: Keep the antennae thin and delicate to match the moth's natural look.
Drawing Antennae and Wing Eyespots
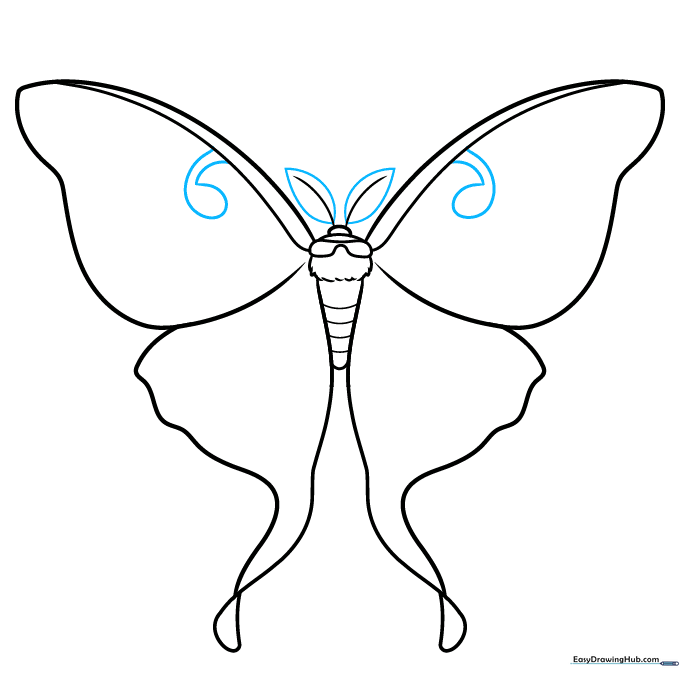
Draw football-shaped outlines around the antennae. On each wing, sketch an oval attached to a small tube. Teacher's Tip: The 'football' shape helps guide your hand for the feathery texture we'll add later.
Refining Wing Patterns
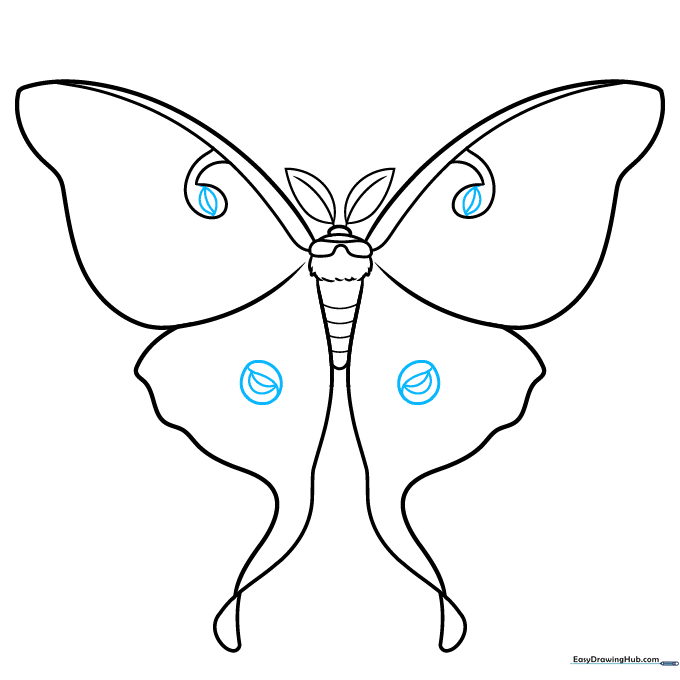
Sketch smaller football shapes inside the ovals. Add circles to the lower wings, followed by crescent moon shapes. Teacher's Tip: Take your time with these curves; they define the unique look of the Luna Moth.
Adding Texture to Antennae
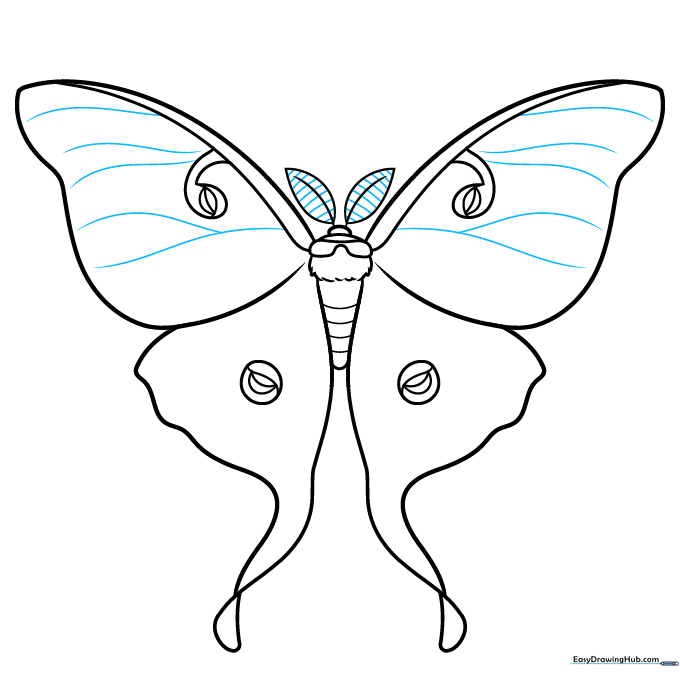
Add small dashes inside the antennae shapes to give them a feathery texture. Sketch five curved lines inside each upper wing. Teacher's Tip: Use short, rhythmic pencil strokes to create the illusion of fine hairs.
Finalizing Wing Details
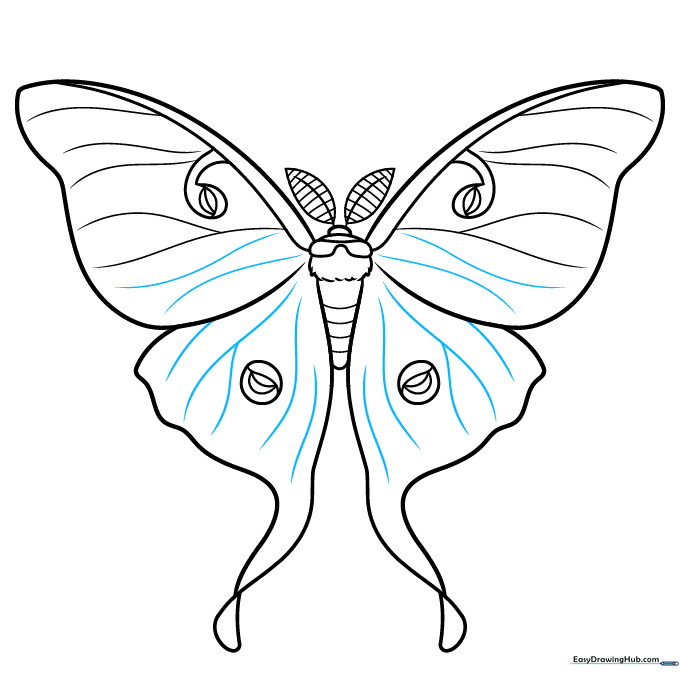
Add more curved lines to the upper and lower wings, ensuring they surround the circles you drew earlier. Teacher's Tip: These lines act as 'veins' on the moth's wings, so keep them flowing naturally toward the edges.
Coloring Your Masterpiece
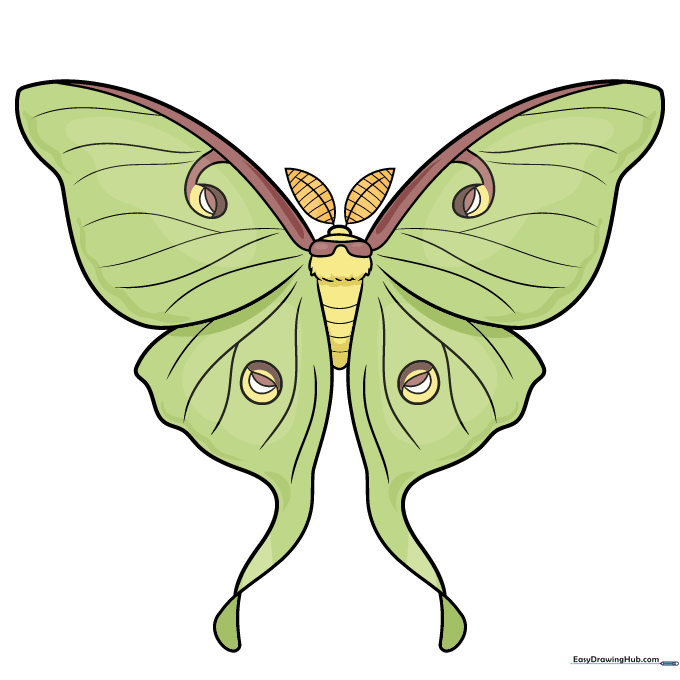
Outline your moth with a black pen, then erase your pencil marks. Use pale green for the wings, with yellow and purple accents. Color the antennae orange and the body in purple and yellow. Teacher's Tip: Use light, overlapping strokes with your colored pencils to get that soft, dusty moth look!
More Tutorials


