How to Draw a Lucky Cat: Easy 10-Step Guide for Kids
Bring a little good fortune to your sketchbook! This tutorial is perfect for artists ages 5 and up who want to master drawing a classic Maneki-neko. You will only need a pencil, an eraser, and your favorite markers to complete this charming, screen-free art project.
🎯 Final Result

Step-by-Step Instructions
Step 1: Sketching the Head and Ears

Draw a soft oval for the head. Add two triangles on top for the ears, and place smaller triangles inside them for detail. Teacher's Tip: Keep the oval rounded and friendly—don't worry if it's not perfectly symmetrical!
Step 2: Adding the Friendly Face
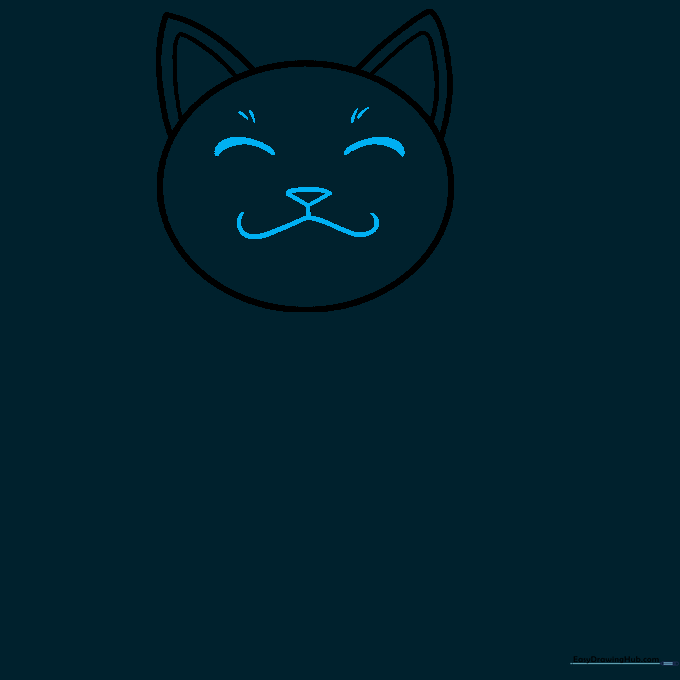
Draw two thick, curved lines for closed eyes and a tiny inverted triangle for the nose. Connect the nose to a sweet, curved smile. Teacher's Tip: Use short, light strokes for the eyebrows to give your cat a happy expression.
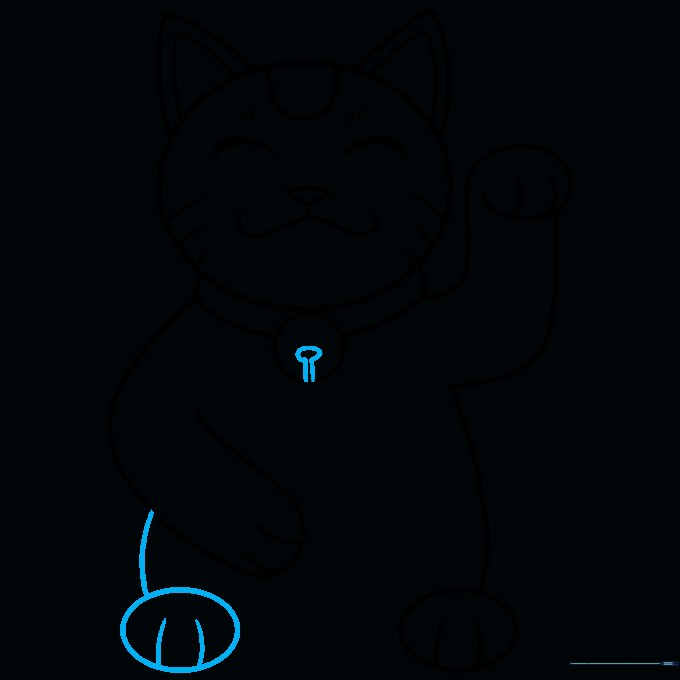
Step 3: Details and Collar
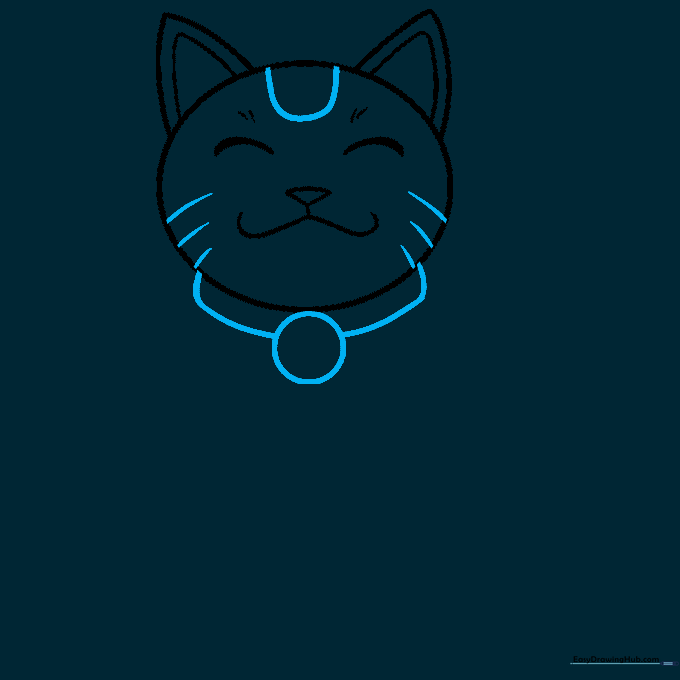
Add whiskers on the cheeks and a small spot on the forehead. Draw a circle below the chin for the coin and outline the collar. Teacher's Tip: Keep the collar lines smooth to make it look like a soft fabric band.
Step 4: The Raised Paw
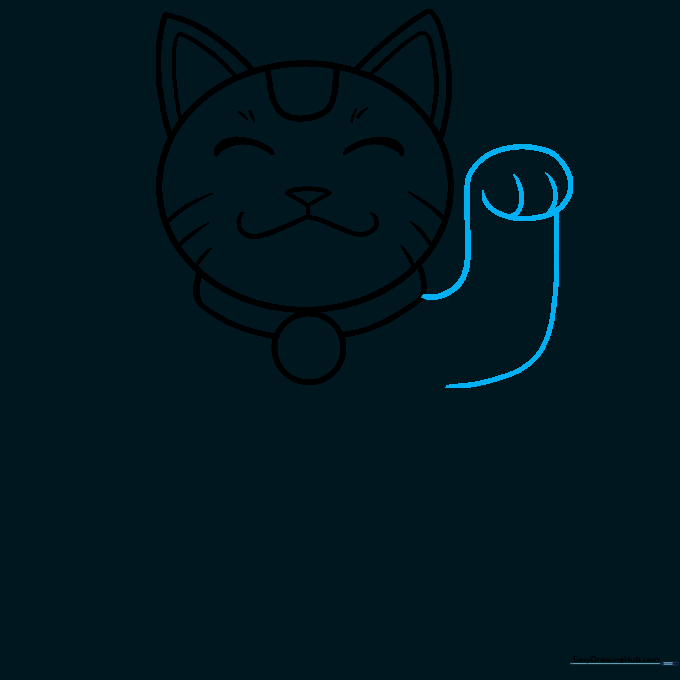
Draw the waving paw using long, sweeping curved lines. Add small notches for the toes. Teacher's Tip: Make the paw look like it's waving 'hello' by angling it slightly outward.
Step 5: The Second Forepaw
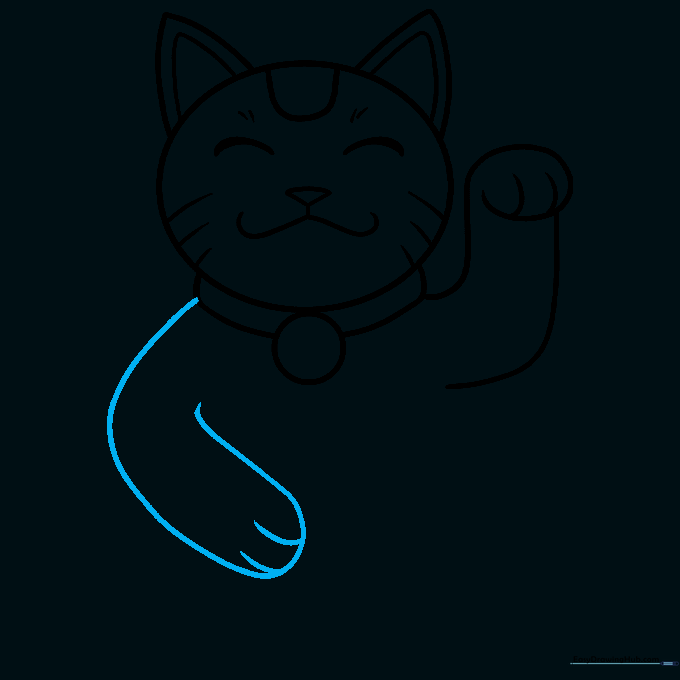
Draw the other forepaw tucked against the body. Use a curved line that doubles back to create the shape. Teacher's Tip: Keep this paw smaller than the waving one to show perspective.
Step 6: The Torso and Rear Paw
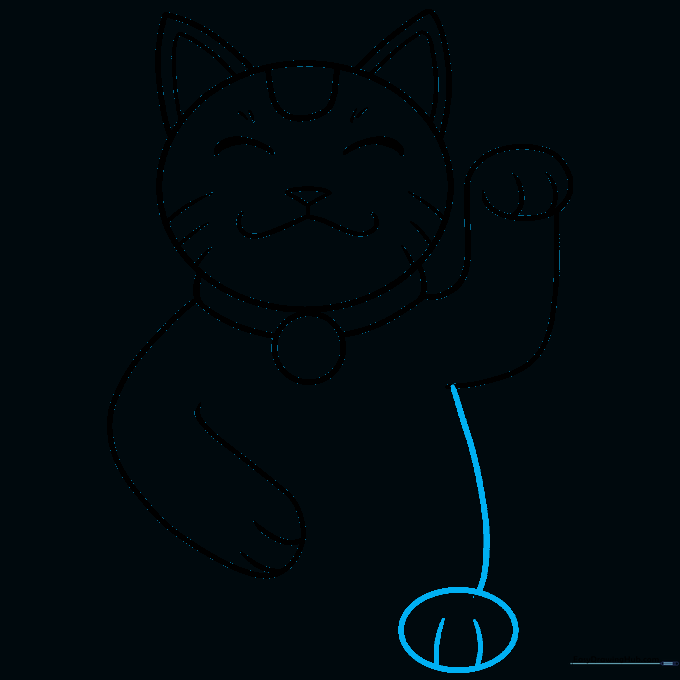
Draw the side of the body and the rear paw using a simple oval shape. Add lines for the toes. Teacher's Tip: Ensure the rear paw sits firmly at the bottom to give your cat a stable base.
Step 7: Balancing the Figure
Draw the final rear paw on the opposite side to balance the drawing. Connect it to the arm with a smooth curve. Teacher's Tip: Symmetry is key here—try to match the size of the first rear paw.
Step 8: Adding the Coin Detail
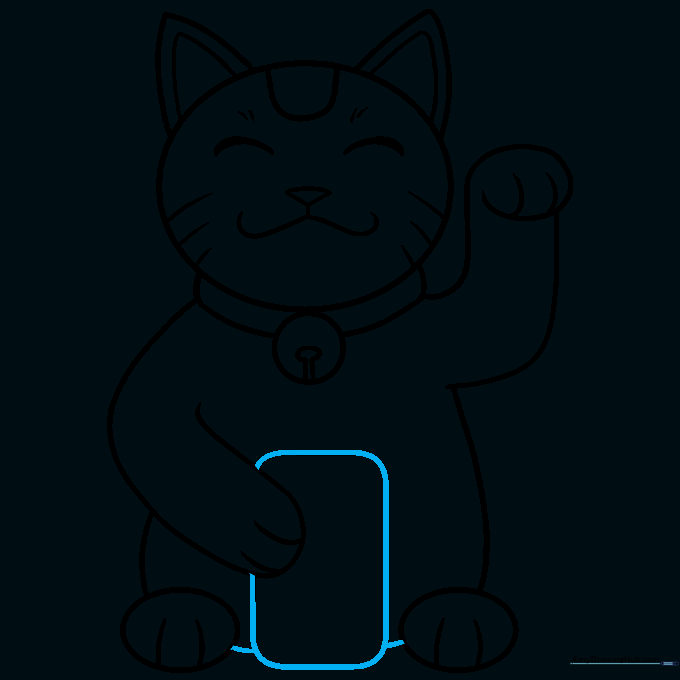
Draw a rounded rectangle inside the paw area to represent a traditional coin. Connect the lines to the rear paws. Teacher's Tip: Use a steady hand for the rectangle to keep it looking clean.
Step 9: Finalizing the Outline
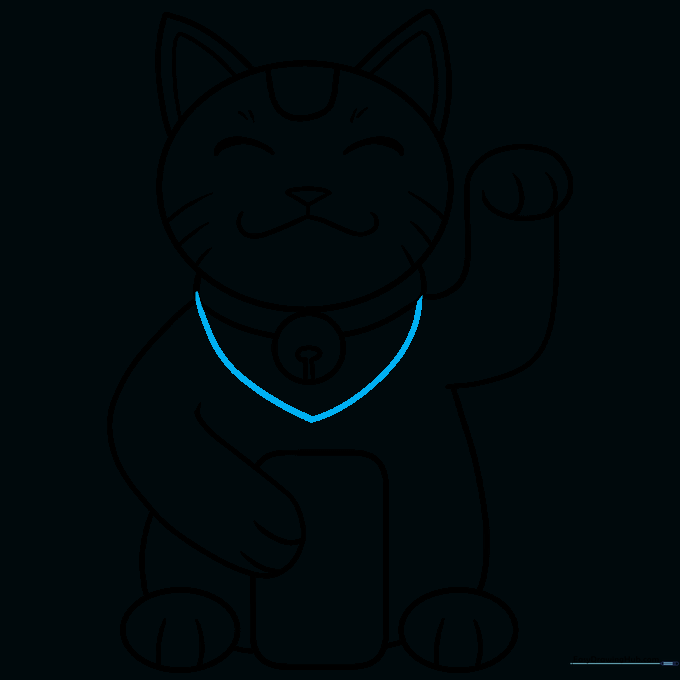
Complete the body by drawing two curved lines from the shoulders that meet at the chest. Teacher's Tip: This creates the 'bib' often worn by traditional lucky cats.
Step 10: Adding Color
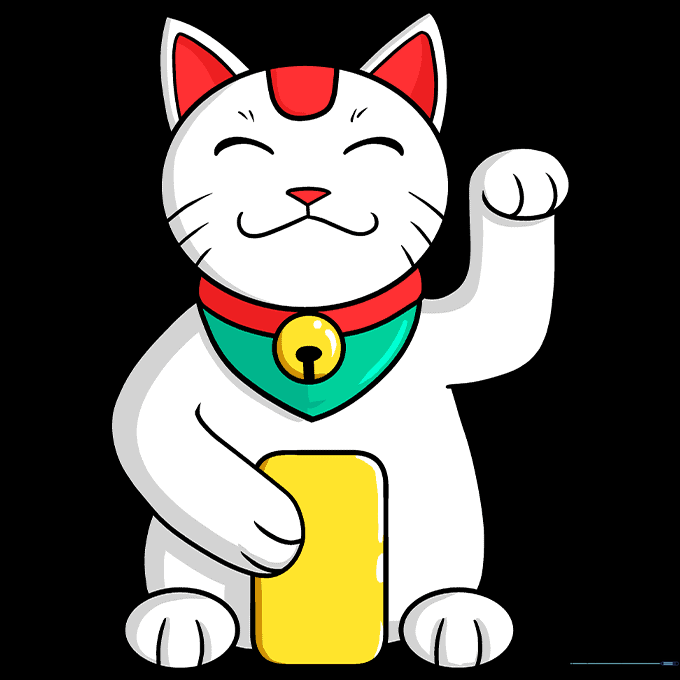
Bring your cat to life with color! Use white for the base, and add red or gold accents. Teacher's Tip: Use bright, saturated markers to make your lucky cat pop off the page.
More Tutorials


