How to Draw a Llama: Easy 10-Step Guide for Kids
Ready to draw a friendly llama? This tutorial is perfect for young artists ages 5 and up. All you need is a pencil, an eraser, and some paper to bring this lovable creature to life while practicing your curved line control.
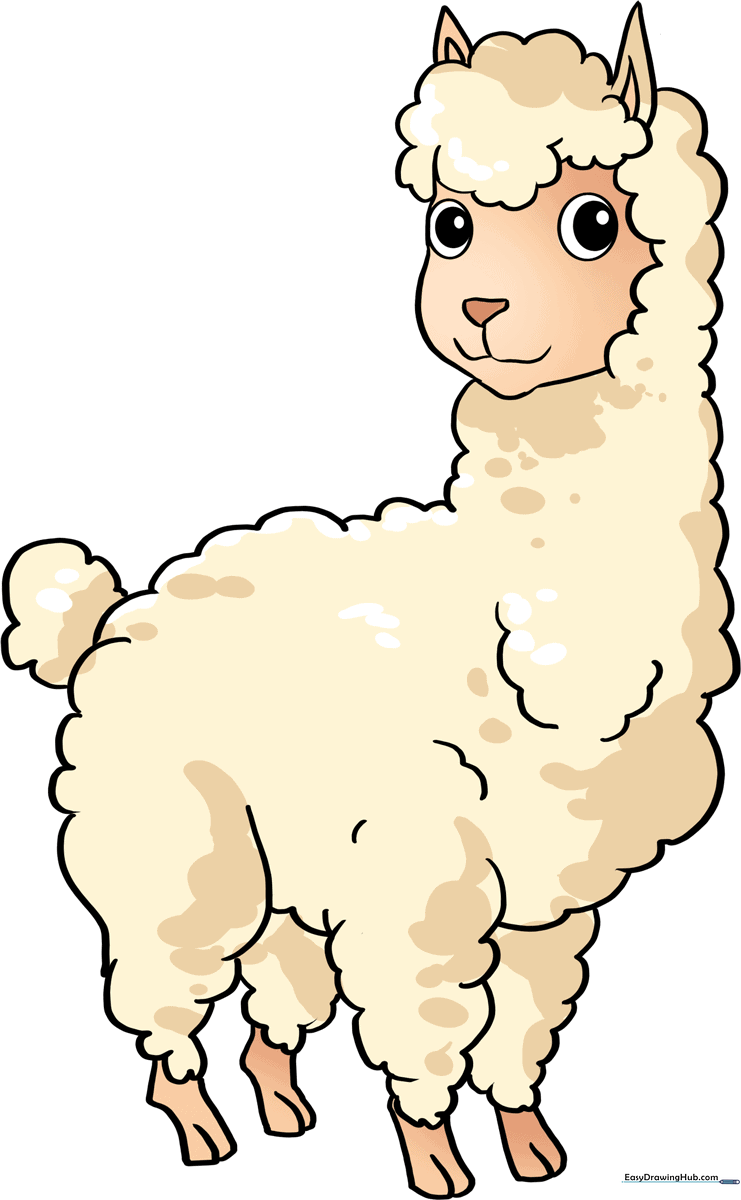
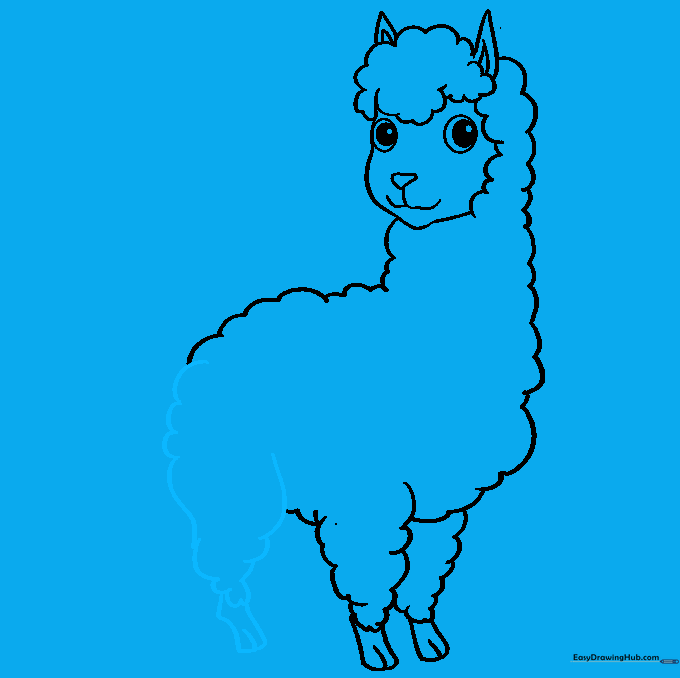
🎯 Final Result
Step-by-Step Instructions
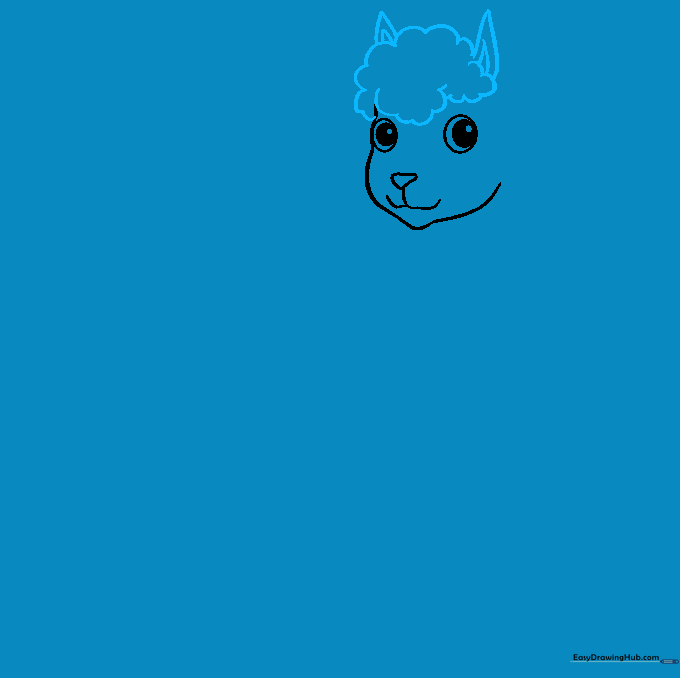
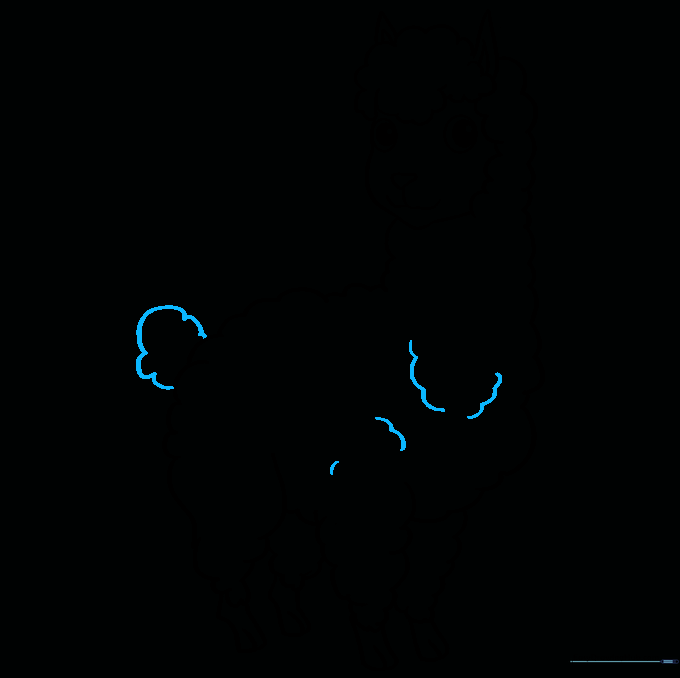
Step 1: Sketching the Face

Start by drawing the llama's face with a long, smooth curved line for the cheek and chin. Add two circles for the eyes with smaller pupils inside, and a rounded triangle for the nose. Teacher's Tip: Keep your pencil pressure light so you can easily adjust the shape if the nose looks a bit crooked!
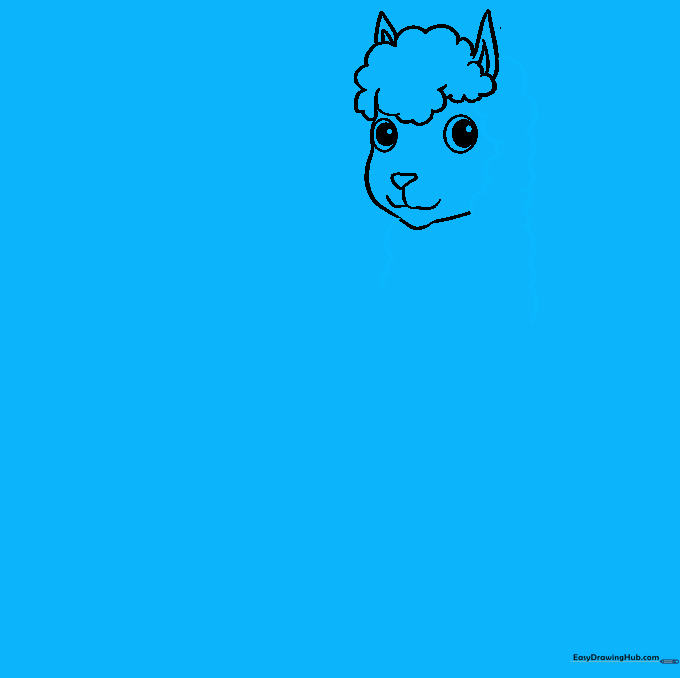
Step 2: Adding Fluffy Hair and Ears
Use a series of connected 'U' shapes to create the llama's woolly hair on top of the head. Add two tall, curved triangles for the ears. Teacher's Tip: Make the 'U' shapes different sizes to give the fur a more natural, fluffy appearance.
Step 3: Defining the Neck
Connect the head to the body by drawing two long, slightly curved lines for the neck. Use short, bumpy lines to suggest fur. Teacher's Tip: Don't make the neck too straight; a slight curve makes the llama look more animated and friendly.
Step 4: Outlining the Body
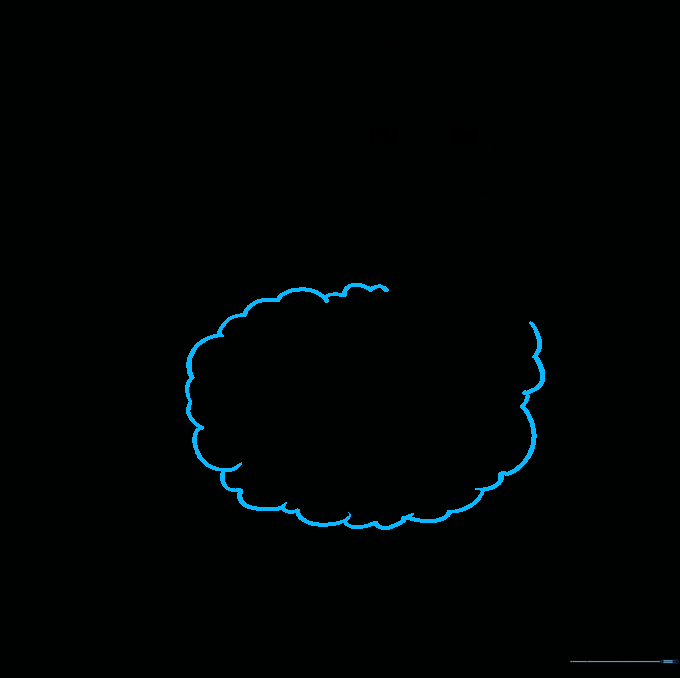
Draw a large, rounded oval shape for the main body using connected, overlapping curved lines. Teacher's Tip: Think of this as drawing a big, soft cloud shape attached to the neck.
Step 5: Drawing the First Foreleg
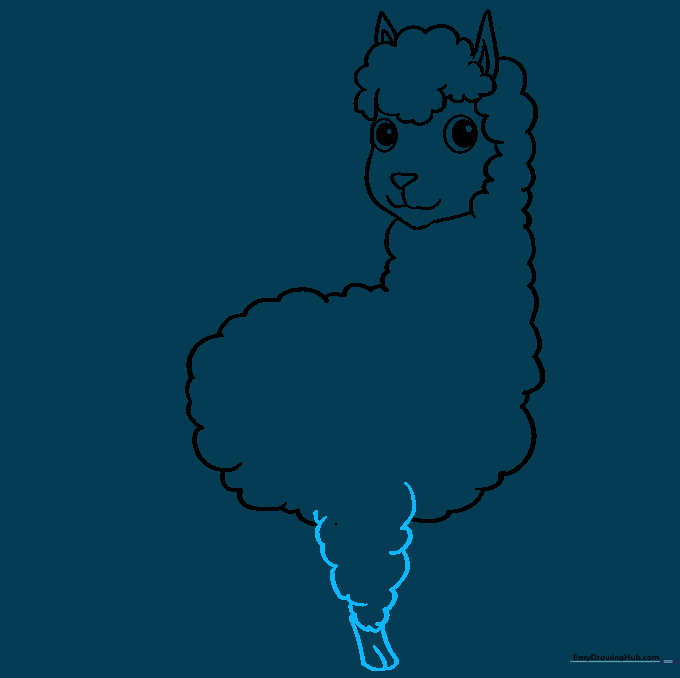
Sketch the front leg using overlapping curved lines to show the fluffy texture. Add a small rectangular shape at the bottom for the foot and a tiny line for the hoof. Teacher's Tip: Erase any overlapping lines inside the leg to make it look clean.
Step 6: Adding the Second Foreleg
Draw the second foreleg slightly behind the first one to create depth. Keep the shape consistent with the first leg. Teacher's Tip: By drawing this leg slightly higher than the first, you create the illusion that the llama is standing in perspective.
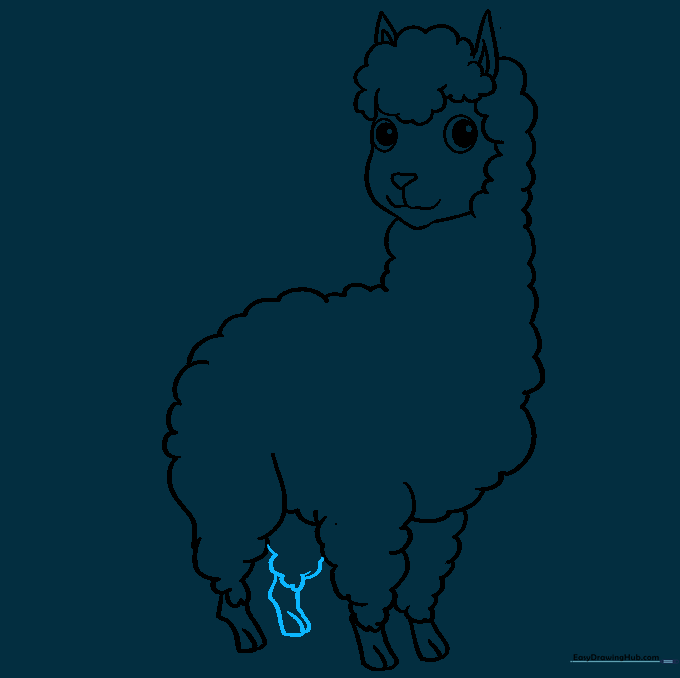
Step 7: Sketching the Rear Leg
Add the back leg using similar curved lines. Make the foot slightly more irregular to show the llama is standing firmly. Teacher's Tip: Don't worry if the back leg looks a bit different; llamas have sturdy legs that support their weight!
Step 8: Completing the Legs
Draw the final leg to complete the set. Ensure all four feet have that small line to indicate the split hoof. Teacher's Tip: Check that your llama looks balanced before moving on to the final details.
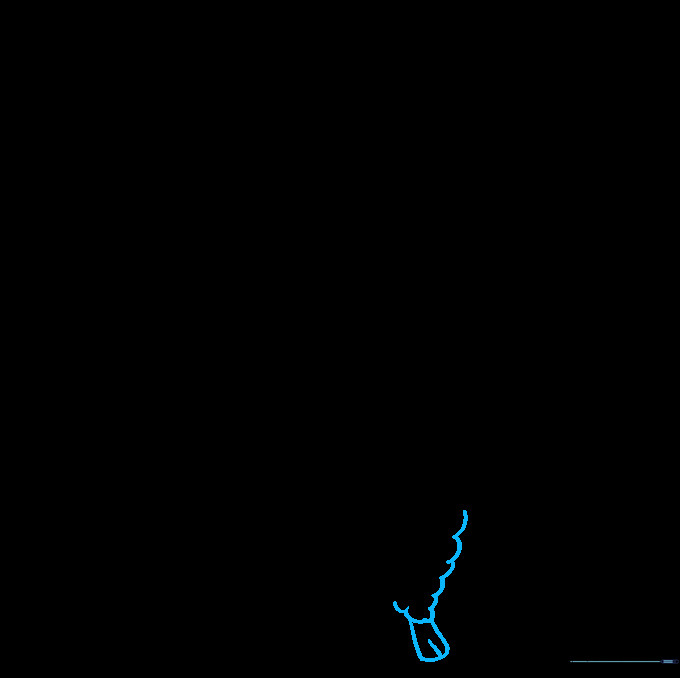
Step 9: Adding the Tail and Texture
Add a small, fluffy tail and go over the body with short, curved strokes to emphasize the woolly fur. Teacher's Tip: Use a darker pencil stroke for the fur texture to make it stand out against the body outline.
Step 10: Coloring Your Llama
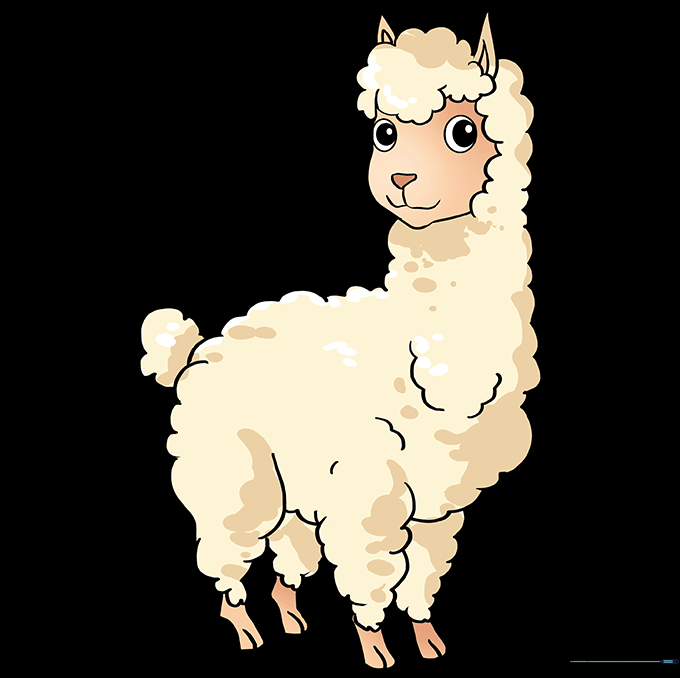
Bring your llama to life with color! Use soft creams, browns, or even white. Teacher's Tip: Try using light, circular shading motions with your colored pencils to mimic the soft, woolly texture of the llama's coat.
More Tutorials


