How to Draw a Lion Cub: Easy 10-Step Guide for Kids
Ready to bring a little king of the jungle to life? This tutorial is perfect for young artists ages 5 and up. All you need is a pencil, an eraser, and some paper to start building your drawing skills with this adorable, easy-to-follow lion cub project.
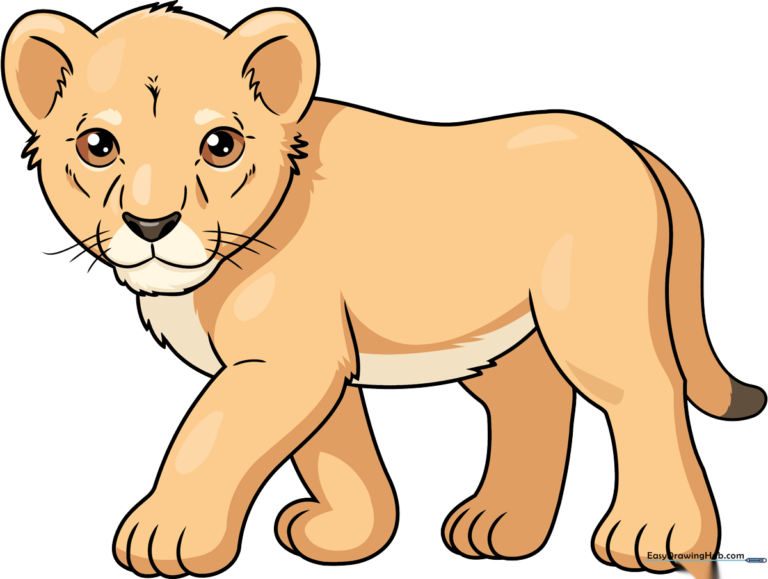
🎯 Final Result
Step-by-Step Instructions
Step 1: Sketching the Expressive Eyes

Start by drawing two curved lines for the upper eyelids. Tip: Keep your pencil pressure light so you can easily adjust the shape if needed. Add a small shaded circle inside each for the pupils, then draw two gentle curves below to mark the nose bridge.
Step 2: Defining the Nose and Mouth
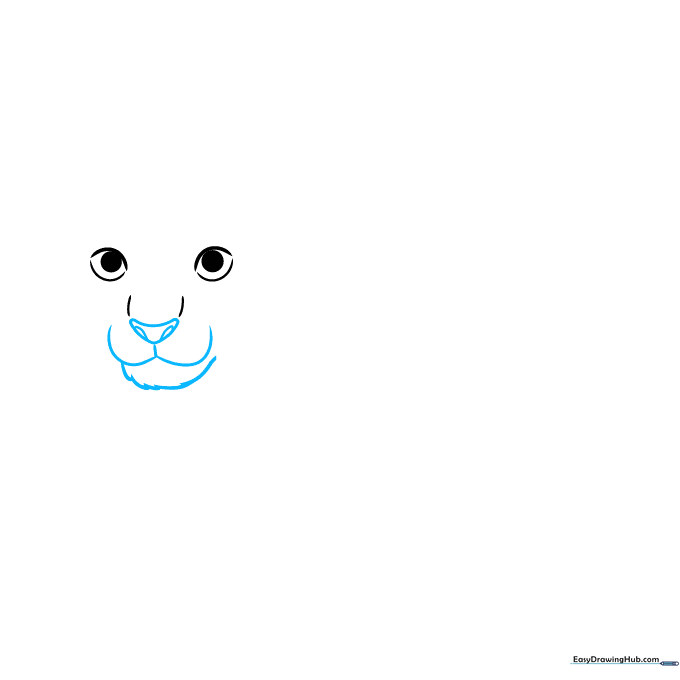
Draw a small, rounded triangle for the nose and add two tiny circles inside for nostrils. Below the nose, sketch a 'W' shape for the mouth. Tip: Use short, quick, jagged strokes to create the fuzzy texture of the chin.
Step 3: Shaping the Face and Ears
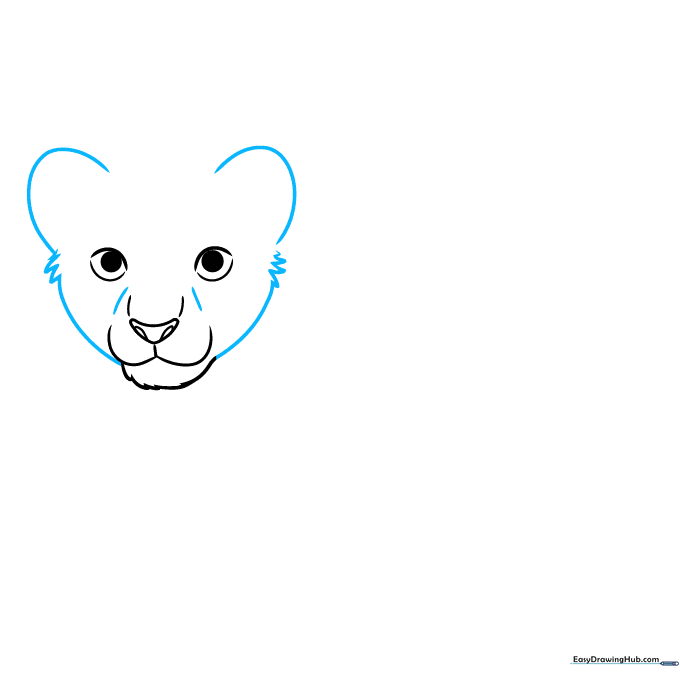
Frame the face using long, smooth curves, transitioning into jagged lines for the cheeks. Add two large 'C' shapes on top for the ears. Tip: Imagine the ears are like soft, rounded petals sitting on top of the head.
Step 4: Adding Fur and Starting the Chest
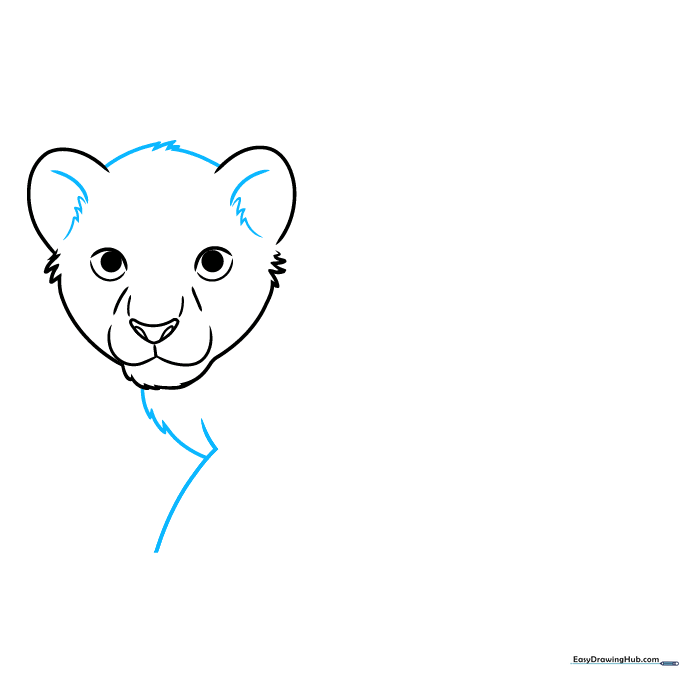
Use short, zig-zag lines to draw the top of the head and the inside of the ears. Extend a line down to start the chest. Tip: Keep your zig-zags irregular to make the fur look natural and soft.
Step 5: Drawing the Front Paws
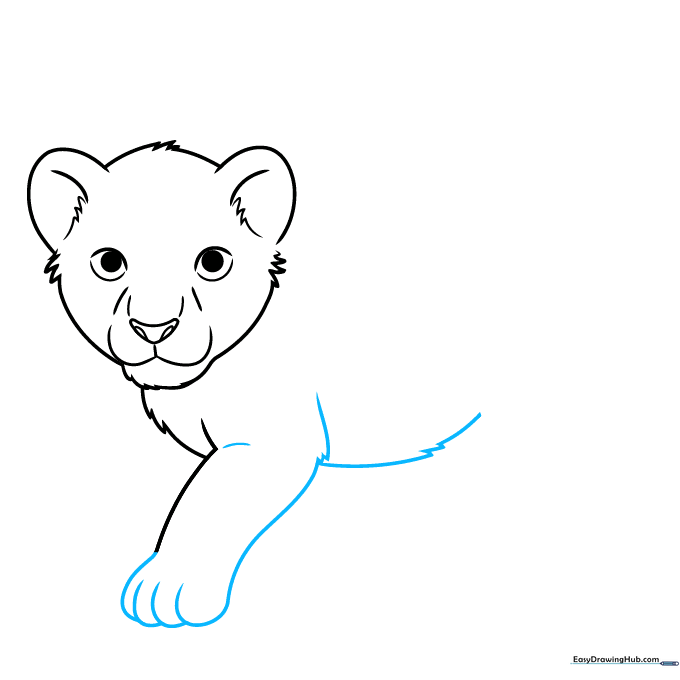
Draw the front leg using an 'L' shape that overlaps the chest. Use small, overlapping curves to create the toes of the paw. Tip: Think of the paw as a rounded mitten shape.
Step 6: Sketching the Back and Rear Leg
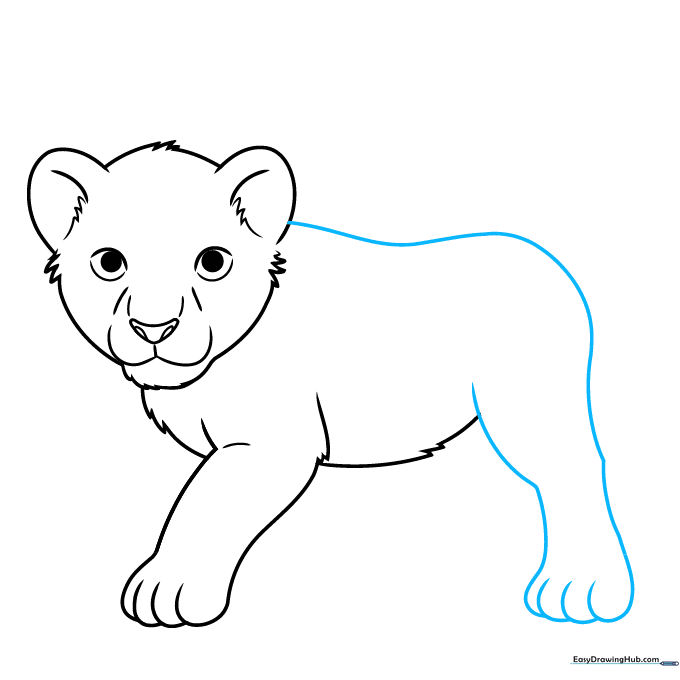
Draw a long, graceful curve for the cub's back. Continue this line down to form the rear leg. Tip: Use a smooth, continuous motion for the back to give the cub a playful, rounded posture.
Step 7: Adding the Remaining Paws
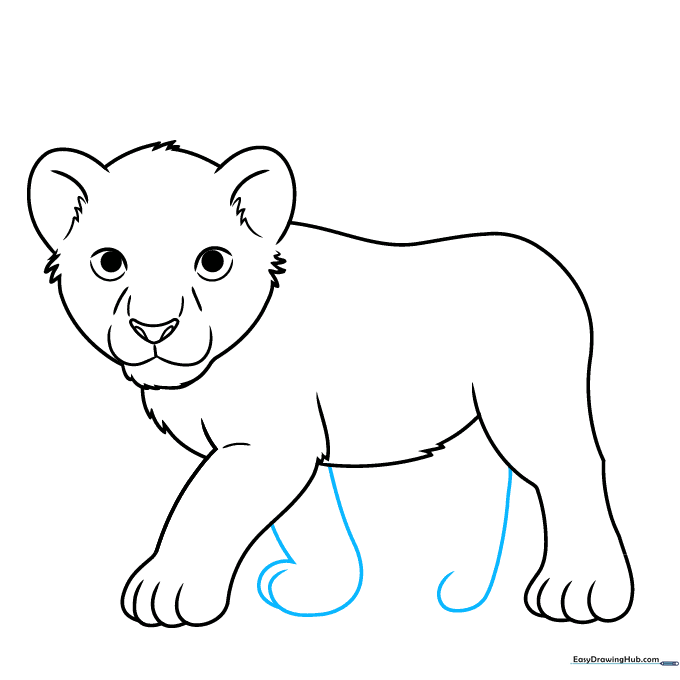
Add the other paws using the same overlapping curve technique from Step 5. Tip: Make sure the paws look like they are resting firmly on the ground to give the drawing balance.
Step 8: Completing the Tail

Finish the rear leg with a few more curves, then draw a long, sweeping line to create the tail. Tip: Add a little tuft of fur at the end of the tail for extra character.
Step 9: Final Details and Whiskers
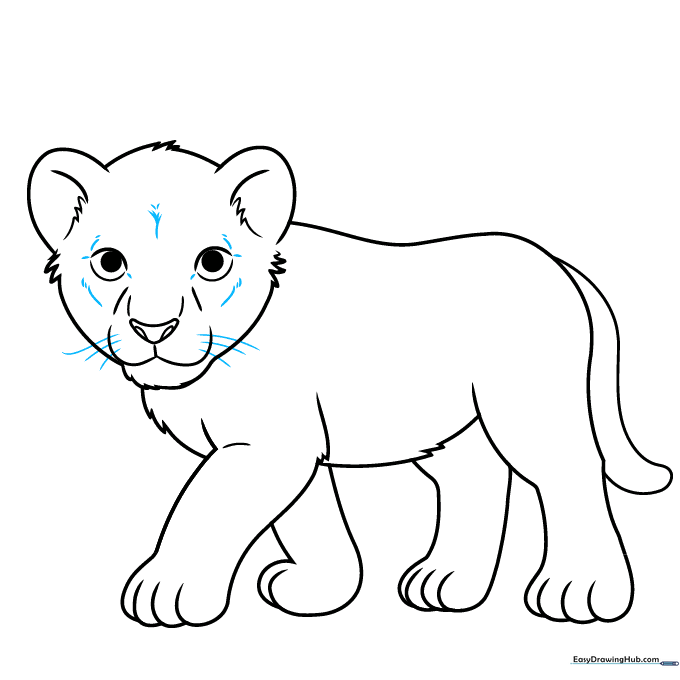
Add small, light lines around the face to suggest fur texture. Finally, draw long, thin lines for the whiskers. Tip: Use a sharp pencil for the whiskers so they look delicate and realistic.
Step 10: Bringing Your Cub to Life with Color
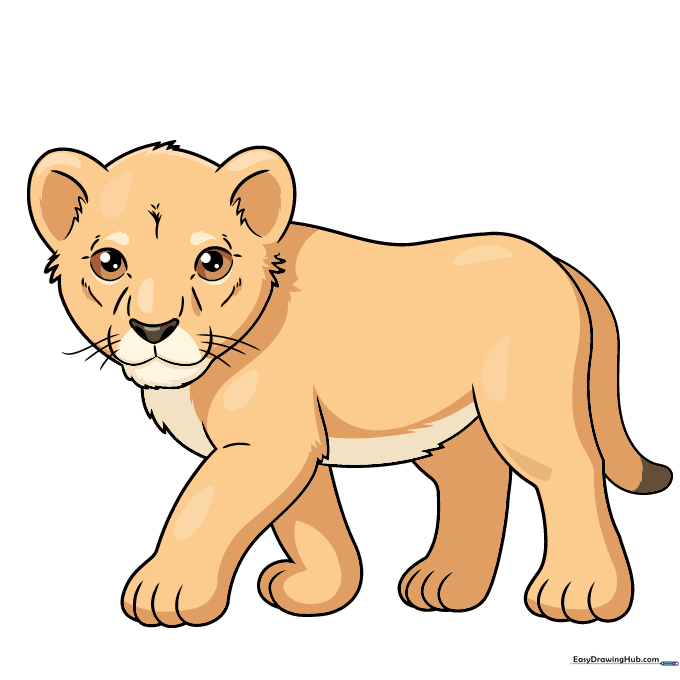
Your outline is complete! Now, add color. Use sandy tans and soft browns for the fur. Tip: Try using lighter colors for the belly and darker shades for the ears to add depth to your drawing.
More Tutorials


