How to Draw a Lily of the Valley: Easy 10-Step Guide
Bring the beauty of spring to your sketchbook with this simple Lily of the Valley tutorial. Designed for artists ages 5 and up, this project uses basic shapes to build a complex-looking floral arrangement. All you need is a pencil, an eraser, and your favorite coloring supplies to get started.
🎯 Final Result
Step-by-Step Instructions
Step 1: Sketching the Stem

Draw two long, wavy, parallel lines that hook at the top. Teacher's Tip: Keep your pencil pressure light here; these lines act as a guide for your flowers, and you'll want to erase any overlapping marks later.
Step 2: Forming the First Bell
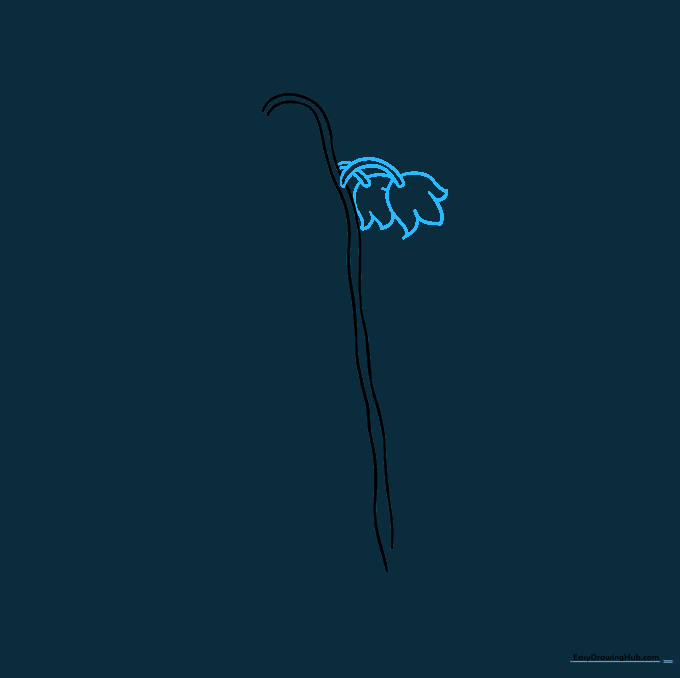
Draw two short, parallel lines extending from the stem, connecting them with an upside-down 'U' shape. Add small curved lines to create the petals. Teacher's Tip: Think of these as tiny bells hanging in the breeze—keep the edges soft and rounded.
Step 3: Adding More Blossoms
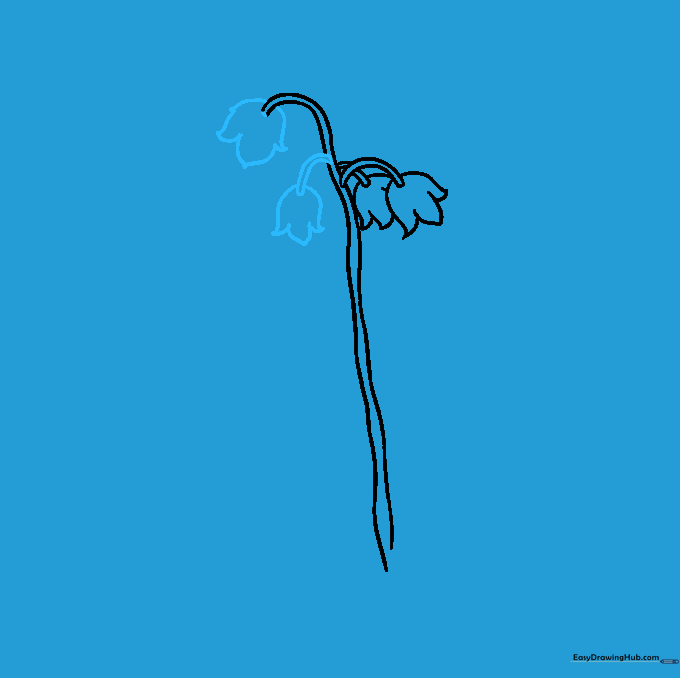
Repeat the bell-making process on the opposite side of the stem. Teacher's Tip: Vary the height of your blossoms slightly to make the flower look more natural and organic.
Step 4: Expanding the Cluster
Continue adding pairs of parallel lines and bell blossoms down the stem. Teacher's Tip: Don't worry if they aren't perfectly symmetrical; nature is rarely perfect!
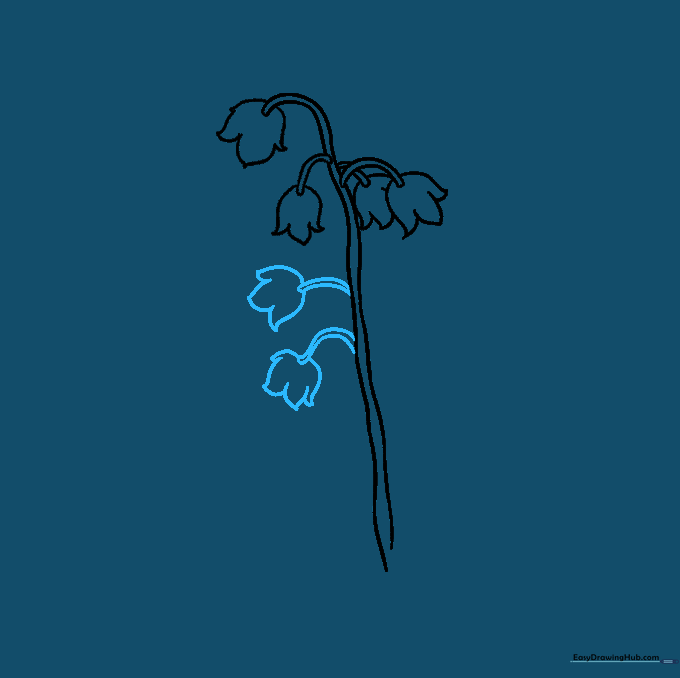
Step 5: Layering the Flowers
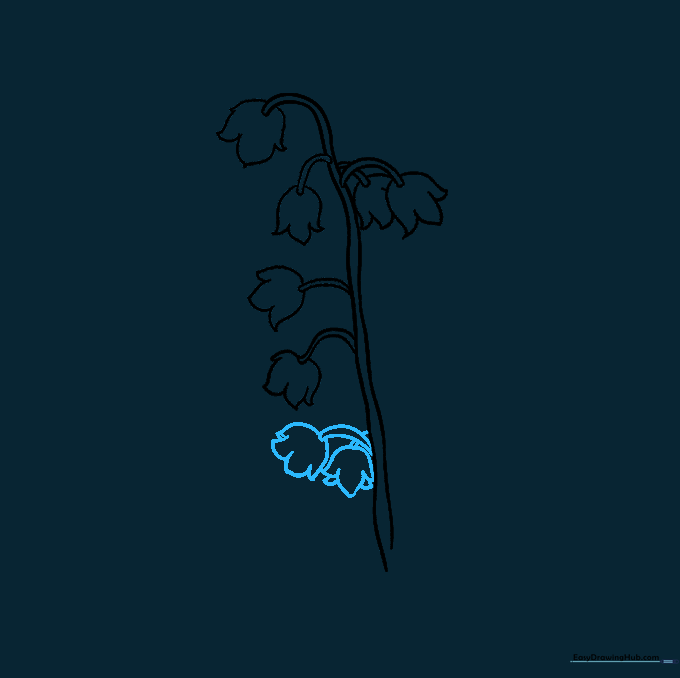
Add two more blossoms, allowing them to slightly overlap the existing ones. Teacher's Tip: Overlapping creates a sense of depth, making your drawing look 3D rather than flat.
Step 6: Filling the Gaps
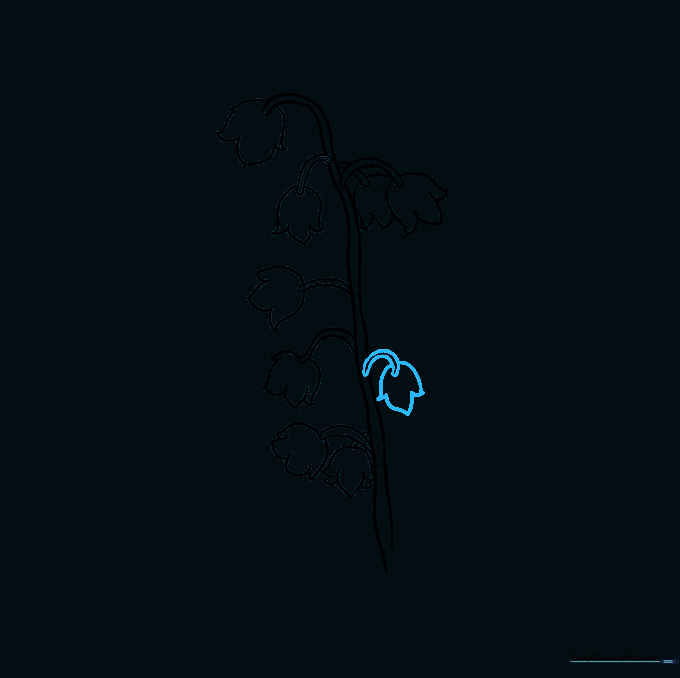
Add one final blossom to fill any empty space on the stem. Teacher's Tip: Check your balance—if one side feels too empty, add a small bud there.
Step 7: Drawing the Main Leaf

Extend three large, sweeping curved lines from the base of the stem, meeting at the top. Teacher's Tip: Use a long, fluid motion with your wrist to get that smooth, elegant leaf shape.
Step 8: Adding a Second Leaf

Draw a smaller leaf on the other side with a fold at the tip. Teacher's Tip: That little 'V' shape at the tip makes it look like the leaf is curling toward the viewer.
Step 9: Adding Leaf Veins
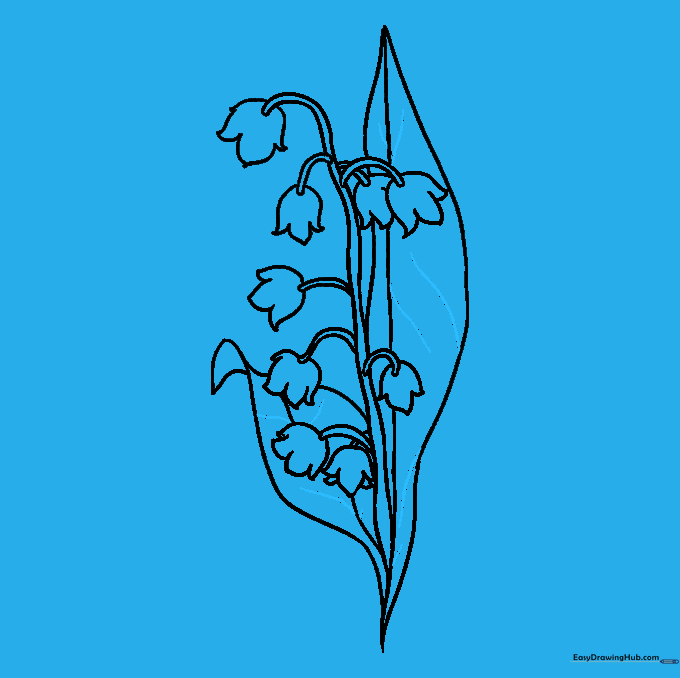
Add delicate, curved lines inside the leaves to represent veins. Teacher's Tip: Keep these lines very faint so they don't overpower the flowers.
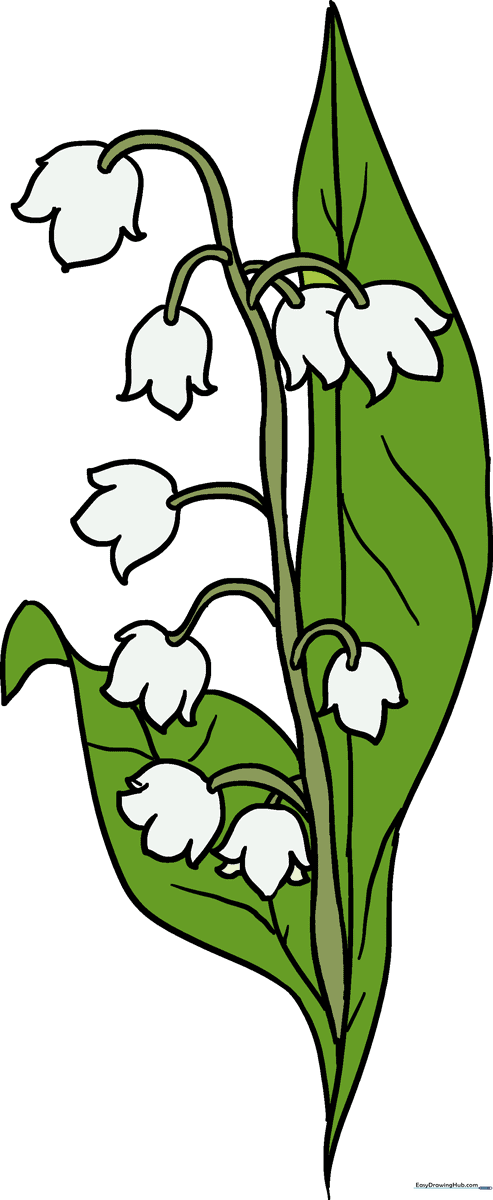
Step 10: Bringing it to Life with Color
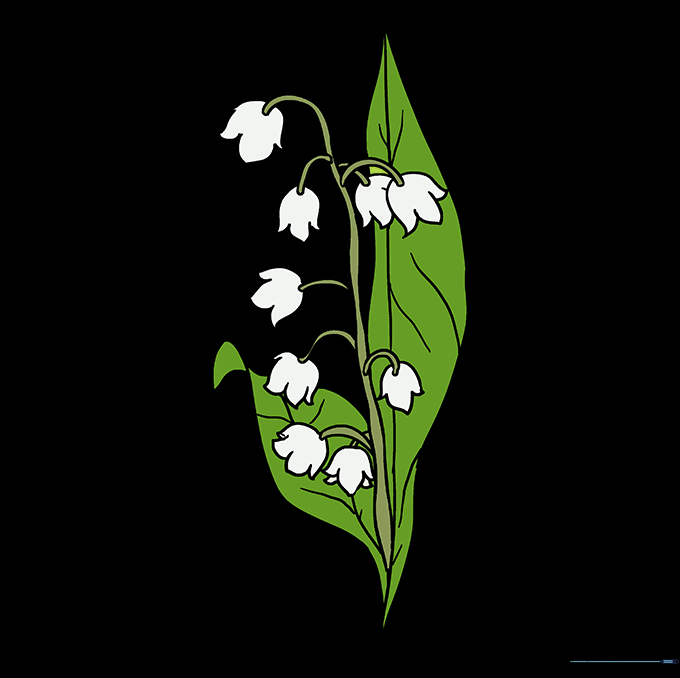
Color your flowers a soft white or pale pink, and use deep greens for the leaves. Teacher's Tip: Use a darker green near the base of the leaves to create a natural shadow effect.
More Tutorials


