How to Draw a Lilac Flower: Easy Step-by-Step Guide
Capture the beauty of spring with this simple lilac drawing tutorial, perfect for artists ages 5 and up. You will only need a pencil, an eraser, and your favorite coloring supplies to create this lush, floral cluster. Follow along to master the art of drawing overlapping petals and natural leaf shapes.
🎯 Final Result

Step-by-Step Instructions
Step 1: Sketching the First Petal

Start by drawing a small oval in the center of your page. Add four 'U' shaped lines around it to form the petals. Teacher's Tip: Keep your pencil pressure light so you can easily adjust the shape if needed!
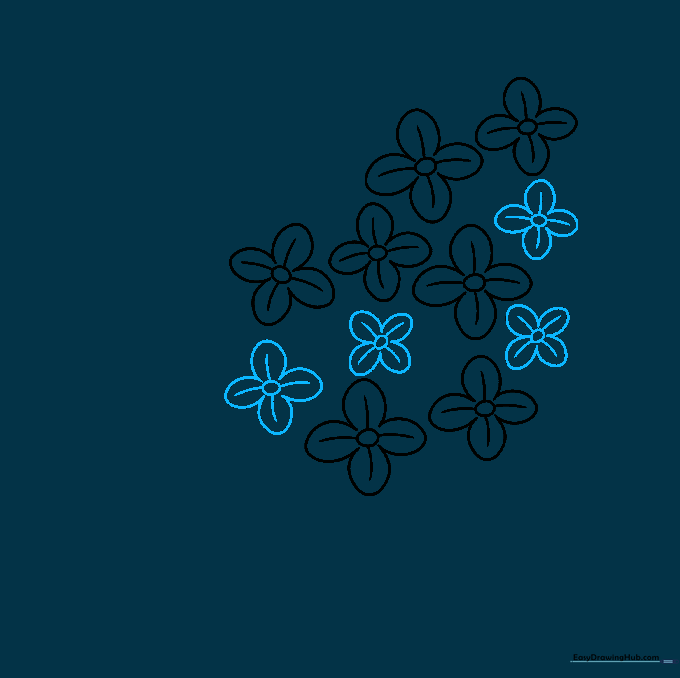
Step 2: Building the Cluster

Add more individual flowers nearby using the same oval-and-U-shape technique. Teacher's Tip: Vary the angles of the petals slightly to make the cluster look more natural and less like a pattern.
Step 3: Creating the Teardrop Shape
Continue adding flowers to build a loose teardrop shape. Teacher's Tip: Don't worry about perfect spacing; lilacs grow in dense, organic bunches, so overlapping is encouraged!
Step 4: Adding Unopened Buds
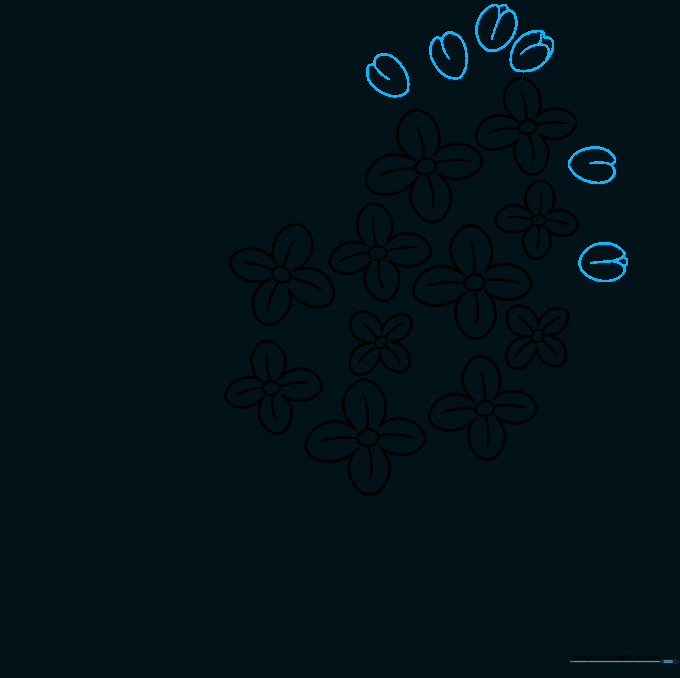
Draw small, pinched heart-like shapes at the top of your cluster to represent unopened buds. Teacher's Tip: Adding a tiny curved line between the heart lobes gives the illusion of petals just starting to unfurl.
Step 5: Filling the Gaps
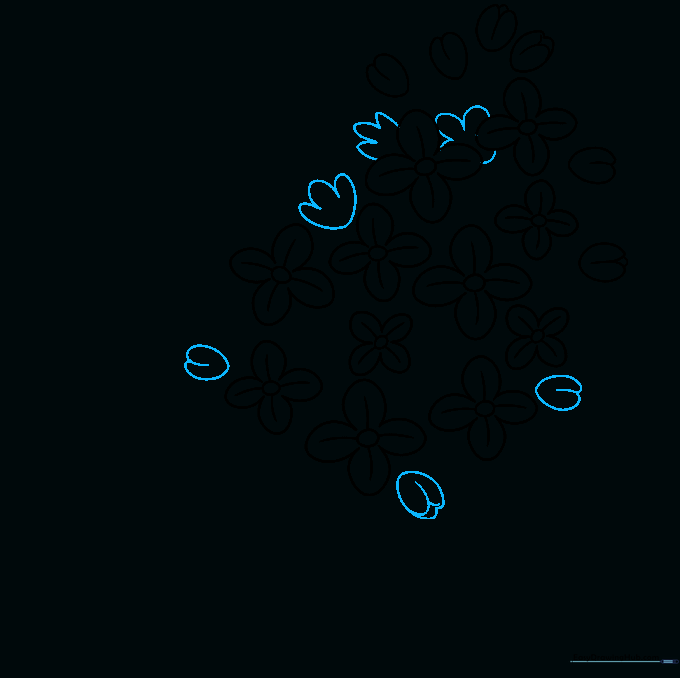
Fill in the empty spaces with a mix of heart-shaped buds and partially opened flowers. Teacher's Tip: Use a variety of shapes—some with three lobes, some with four—to make the drawing look realistic.
Step 6: Refining the Edges
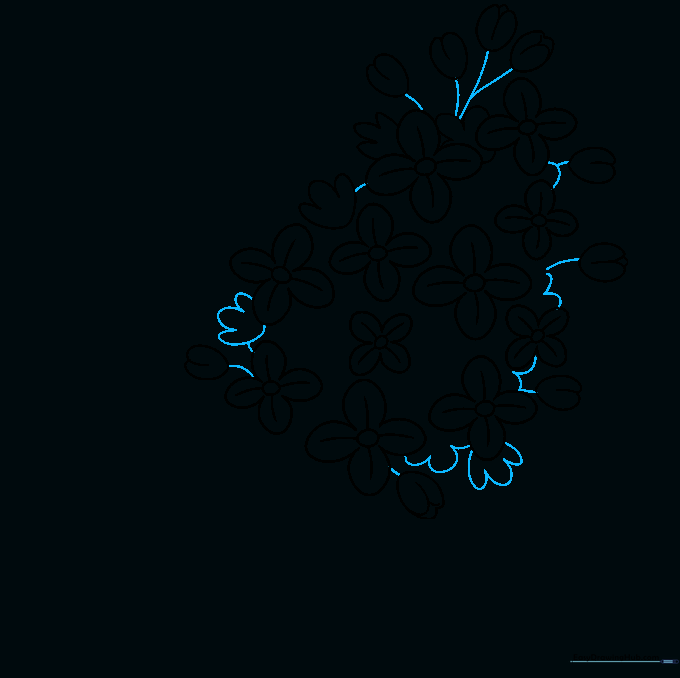
Connect the outer flowers with small 'U' lines to create a soft, rounded edge for the cluster. Add tiny curved stems to the buds on the perimeter. Teacher's Tip: This step adds 'fluffiness' to your drawing.
Step 7: Final Texture Details
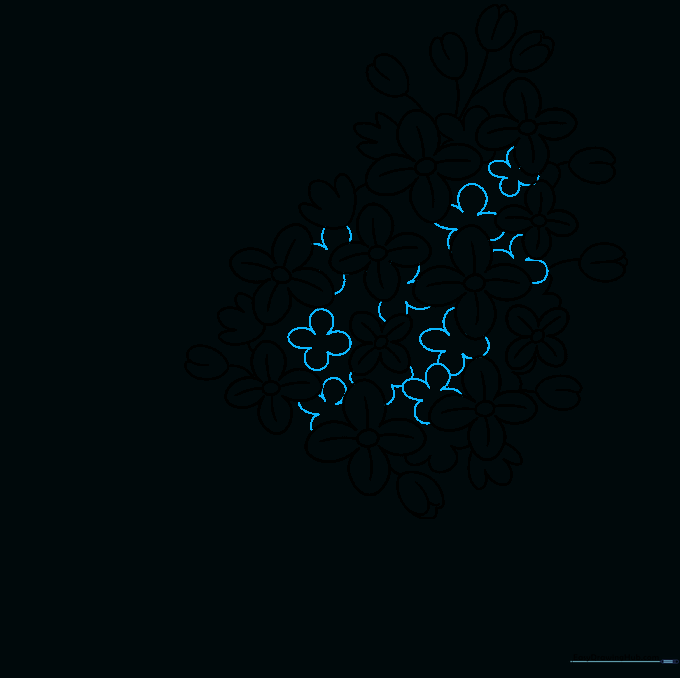
Add a few more partial four-petaled shapes in any remaining empty spots. Teacher's Tip: Focus on making the cluster look dense and full.
Step 8: Drawing the Stem
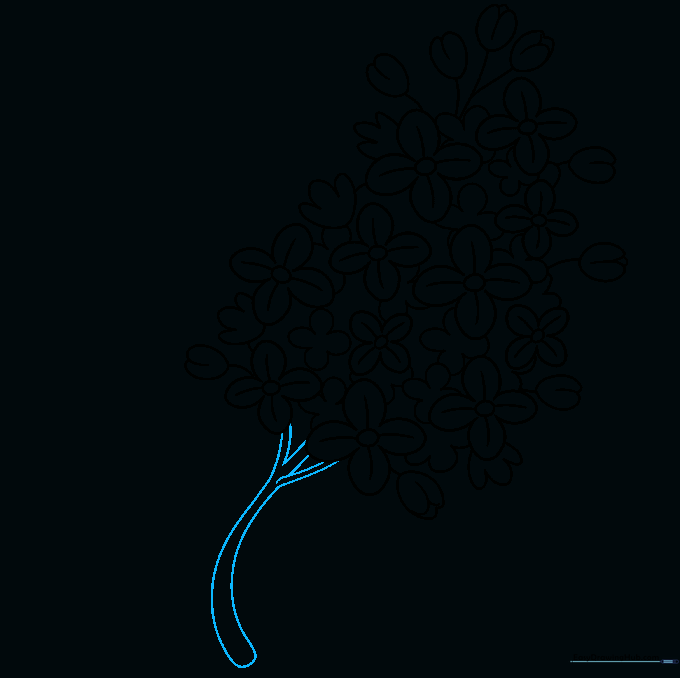
Draw two long, slightly curved lines extending downward to form the stem. Add 'V' shapes at the top where the stem meets the flowers. Teacher's Tip: Make the stem slightly thicker at the base for stability.
Step 9: Adding Leaves
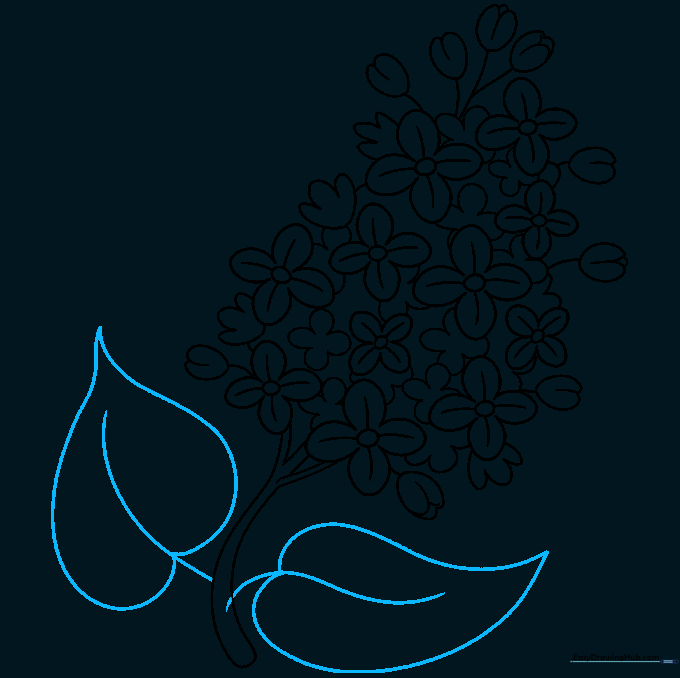
Extend curved lines from the stem to create heart-shaped leaves. Add a central vein line to each. Teacher's Tip: Lilac leaves are broad and pointed; keep your curves smooth to capture that shape.
Step 10: Adding Color

Bring your drawing to life! Use shades of purple, pink, or white for the flowers and a vibrant green for the leaves. Teacher's Tip: Use a darker purple in the center of the flowers to create depth.
More Tutorials


