How to Draw a Library: Easy Step-by-Step Guide for Kids
Bring a quiet reading nook to life with this fun, screen-free drawing activity perfect for ages 6 and up. You will only need a pencil, an eraser, and your favorite markers or crayons to complete this scene. Follow along to build confidence in sketching characters and perspective-based furniture.
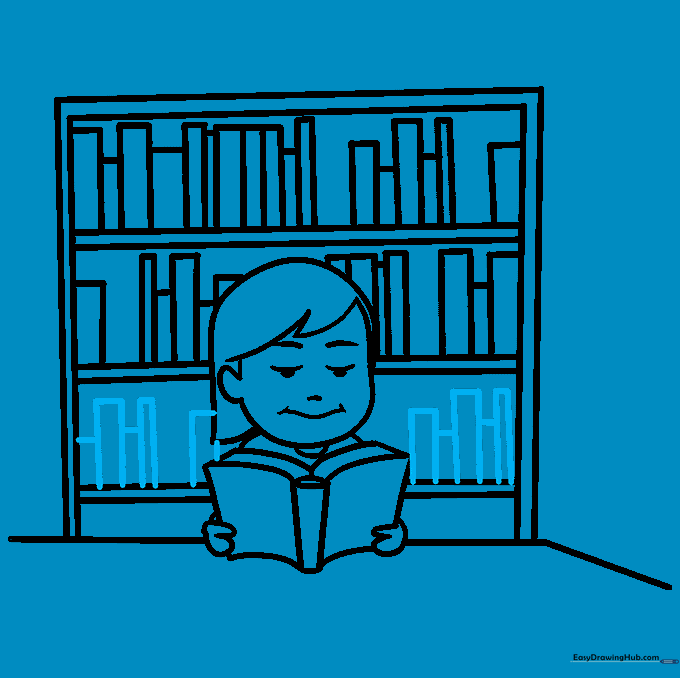
🎯 Final Result

Step-by-Step Instructions
Step 1: Sketching the Reader's Profile

Start by sketching the student's head. Use curved lines for the bangs and the ear. Teacher's Tip: Keep your pencil pressure light so you can easily adjust the hair shape if it looks a bit lopsided.
Step 2: Adding Facial Features

Draw the face details, including small ovals for the eyes and curved lines for the nose and mouth. Teacher's Tip: Since the character is reading, keep the eyes looking downward to show focus.
Step 3: Sketching the Open Book

Draw a narrow rectangle for the book's spine and larger ones for the covers. Add curved lines for the pages. Teacher's Tip: Use a ruler if you struggle with straight lines, but freehand lines give the drawing more character!
Step 4: Drawing Hands and Desk
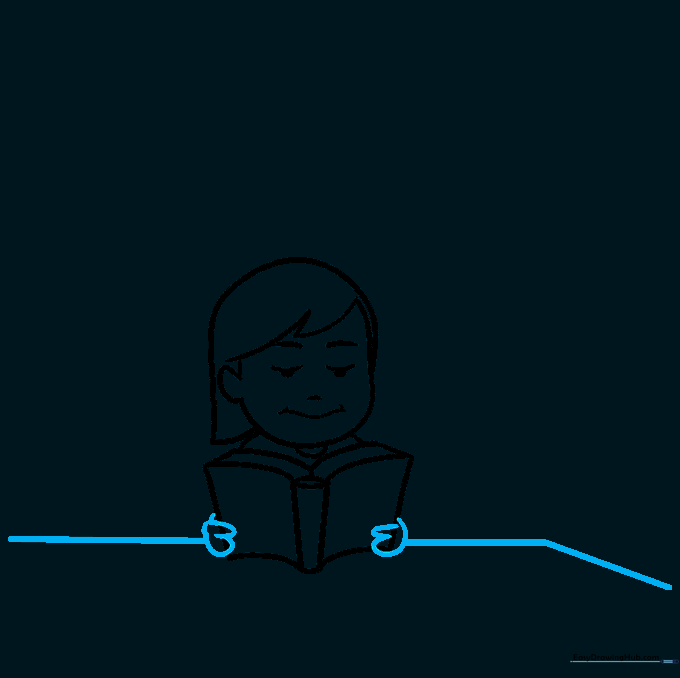
Outline the hands grasping the book and draw a rectangular desk underneath. Teacher's Tip: Make sure the desk lines are horizontal to create a stable base for your character.
Step 5: Building the Bookshelf
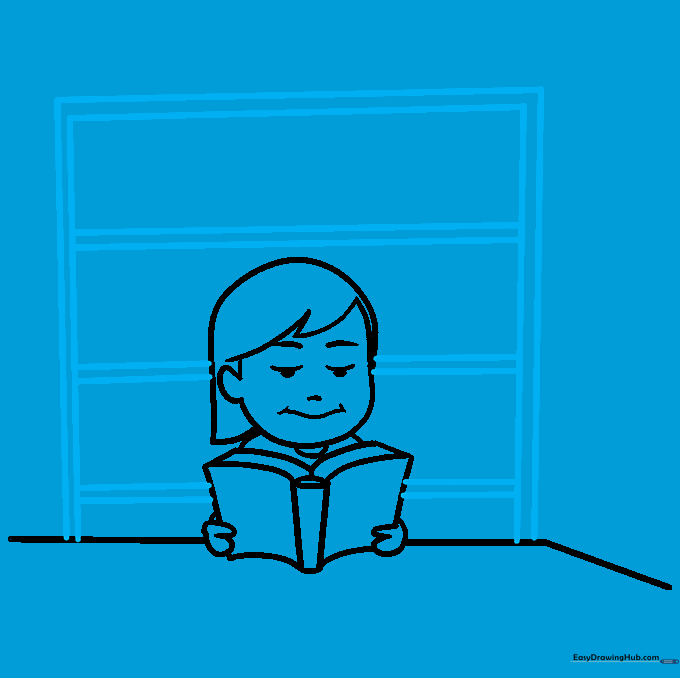
Erase any overlapping lines on the hands, then draw a large rectangle behind the character for the bookshelf. Add parallel lines inside for shelves. Teacher's Tip: Use your eraser to clean up the workspace before adding the background details.
Step 6: Filling the Top Shelf
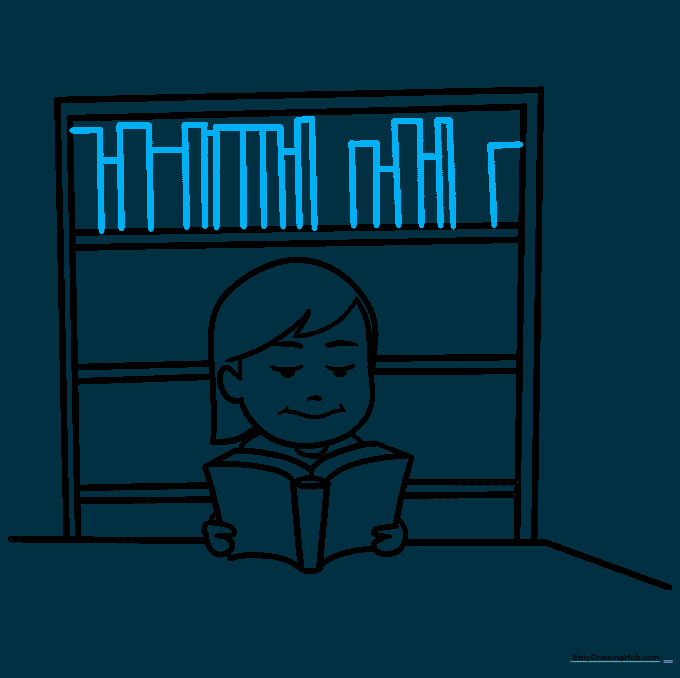
Fill the top shelf with vertical rectangles of varying heights to represent books. Teacher's Tip: Don't make them all the same size; variety makes the bookshelf look realistic and lived-in.
Step 7: Filling the Second Shelf
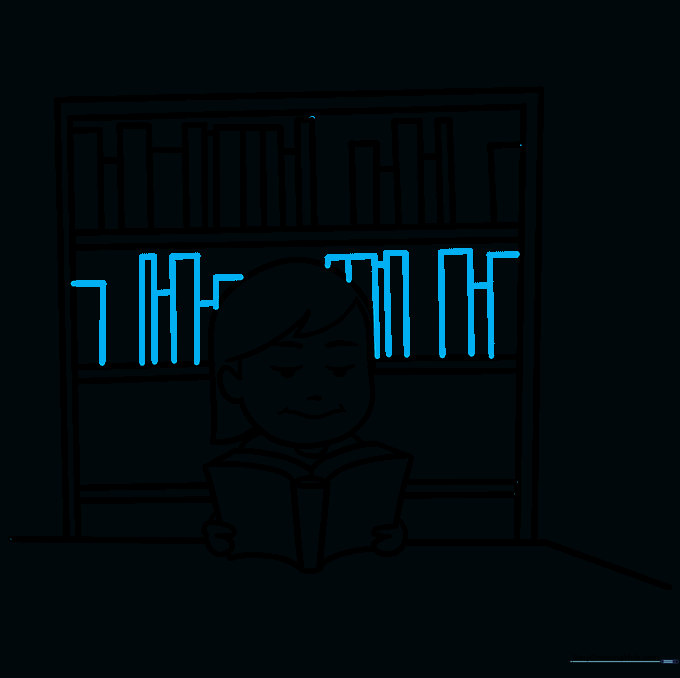
Continue filling the second shelf with more vertical rectangles. Teacher's Tip: Try grouping some books together to create a 'full' library look.
Step 8: Filling the Third Shelf
Complete the third shelf with more books. Teacher's Tip: If you want to get creative, draw one book slightly tilted to make it look like it's falling over!
Step 9: Adding the Library Ladder

Draw a ladder leaning against the bookshelf using two diagonal lines and small horizontal rungs. Teacher's Tip: Ensure the ladder rungs are evenly spaced to keep the perspective looking correct.
Step 10: Adding Color

Bring your library to life with color! Use a rainbow of shades for the book spines. Teacher's Tip: Use colored pencils for the books and a soft brown or grey for the wooden shelves to create a warm, inviting atmosphere.
More Tutorials


